Skip to content

NEW Filament Spool holder with Roller Bearing - Ender3

Advertising
Advertising
?
Creation quality: 5.0/5 (1 vote)
Evaluation of members on the printability, utility, level of detail, etc.

  • 2k views
  • 5 likes
  • 5 downloads
  • 1 collection

License
3D design format
GCODE and STL Folder details Close
  • 1_Cuscinetto_asse_max.stl
  • 1_Cuscinetto_asse_max_3h1m_0,20mm_245C_PETG_ENDER3PRO.gcode
  • 2_Cuscinetto_ghiera.stl
  • 2_Cuscinetto_ghiera_58m_0,20mm_245C_PETG_ENDER3PRO.gcode
  • 3_Cuscinetto_perno.stl
  • 3_Cuscinetto_perno_40m_0,20mm_245C_PETG_ENDER3PRO.gcode
  • 4_Cuscinetto_rulli.stl
  • 4_Cuscinetto_rullo.stl
  • 4_cuscinetto2_gruppo_rulli_4h16m_0,20mm_245C_PETG_ENDER3PRO.gcode
  • 4_cuscinetto2_rullo_1h20m_0,20mm_245C_PETG_ENDER3PRO.gcode
  • 5_Cuscinetto_chiusura_1.stl
  • 5_Cuscinetto_chiusura_1_30m_0,20mm_245C_PETG_ENDER3PRO.gcode
  • 5_Cuscinetto_chiusura_2.stl
  • 5_Cuscinetto_chiusura_2_1h57m_0,20mm_245C_PETG_ENDER3PRO.gcode

Learn more about the formats

Publication date 2024-02-06 at 15:44
Design number 1766329

rambaldi

3D printer file info

3D model description

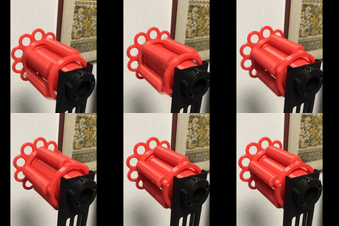
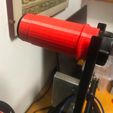
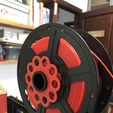
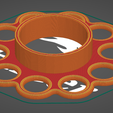
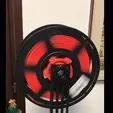
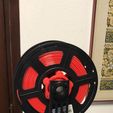
Updated reel support roller bearing - Ender 3pro .
I recently updated my Ender 3 pro by purchasing the Creality kit online, including 2 silicone shields, a Teflon bowden and the aluminum extruder with a new wire drive gear. After assembling and completely cleaning the print head as well as re-tensioning the belts, I noticed that the PETG wire caused greater friction when in contact with the new extruder. Occasionally due to the drag effort the drive gear would jerk, resulting in a failure to feed material to the print head. The result, as expected, was defective and unwatchable prints.
Normally the wire roller is placed on the factory pin of the Ender3 (diam. 30.4 mm) and unwinds, crawling laboriously and causing continuous overlaps of the plastic wire and fatiguing the wire pulling mechanism which sometimes makes empty clicks .
With the roller bearing that I present here, this will no longer happen and the coil will unwind gently and uniformly.
You can sleep peacefully while the printer works for you.
The machine is all formed by interlocking pieces and all printed without supports.

So to solve the friction problem I redesigned from scratch this new roller bearing that supports the wire spool of the Ender3 pro, allowing the use of any spool with an internal diameter of approx. 72 mm (such as the Sun Lu brand threads).
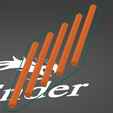
The structure has also been redesigned to be printed faster and with greater resistance. The pins are molded separately and then firmly fitted into the two terminal ring nuts. No glue needed !

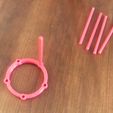
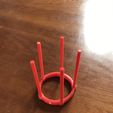
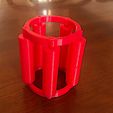
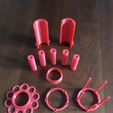
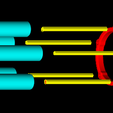
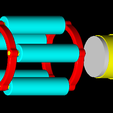
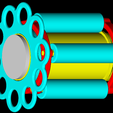
Look at the photographic sequence that helps with the assembly. must proceeds in this way:

1 - Temporarily remove the plastic thread spool
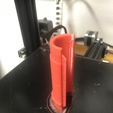
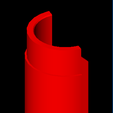
2 - Apply that 2 half-pipes above the original unwinding pin of Ender3
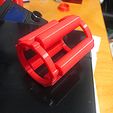
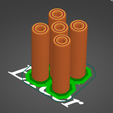
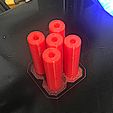
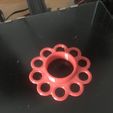
3 - Assemble the roller cage by inserting the roller pin into each hole in the ring nut (a small hammer is needed)
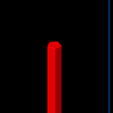
4 - Insert the rollers into each pin
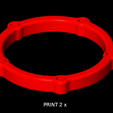
5 - Position the upper ring nut and insert the pins one by one in sequence and gradually (with the help of a small hammer), until they are completely inserted into the holes. The bearing is now complete and ready to install.
6 - insert the roller bearing on the increased pin of the printer
7 - gradually insert the roller bearing retaining ring at the rear end of the pin
8 - that's all, now you can reassemble the spool of thread and enjoy the result

3D printing settings

PETG (recommended) : nozzle 235 Β°C – Bed 70 Β°C
PLA : nozzle 200 Β°C – Bed 55 Β°C
Thickness of the layers 0.20 mm, (the first 0.30 mm), do the raft layer especially for the 5 rollers, the 2 half-tubes .
Before each print always clean the print bed with alcohol and cotton cloth.
On my glass bed to improve adhesion I sometimes spray (sparingly) a little hairspray
Rollers: filling 100 %
Semitubes: 3 vertical walls and 5 lower and upper layers, 30% filling.
I have also attached the GCODEs for the Ender3 pro printer already prepared for optimal printing.
Good 3D printing at all

Advertising


Issue with this design? Report a problem.

Would you like to support Cults?

You like Cults and you want to help us continue the adventure independently? Please note that we are a small team of 3 people, therefore it is very simple to support us to maintain the activity and create future developments. Here are 4 solutions accessible to all:

  • ADVERTISING: Disable your banner blocker (AdBlock, …) and click on our banner ads.

  • AFFILIATION: Make your purchases online by clicking on our affiliate links here Amazon.

  • DONATE: If you want, you can make a donation via Ko-Fi πŸ’œ.

  • WORD OF MOUTH: Invite your friends to come, discover the platform and the magnificent 3D files shared by the community!


Sharing and downloading on Cults3D guarantees that designs remain in makers community hands! And not in the hands of the 3D printing or software giants who own the competing platforms and exploit the designs for their own commercial interests.

Cults3D is an independent, self-financed site that is not accountable to any investor or brand. Almost all of the site's revenues are paid back to the platform's makers. The content published on the site serves only the interests of its authors and not those of 3D printer brands who also wish to control the 3D modeling market.
100% secure payment by credit card, PayPal, Apple Pay, Google Pay, etc.
View all payment options.