Floatwheel ADV TPU Footpad - HYPERFORMA deriv
Floatwheel ADV TPU Footpad - HYPERFORMA deriv


Print Profile(1)

Description
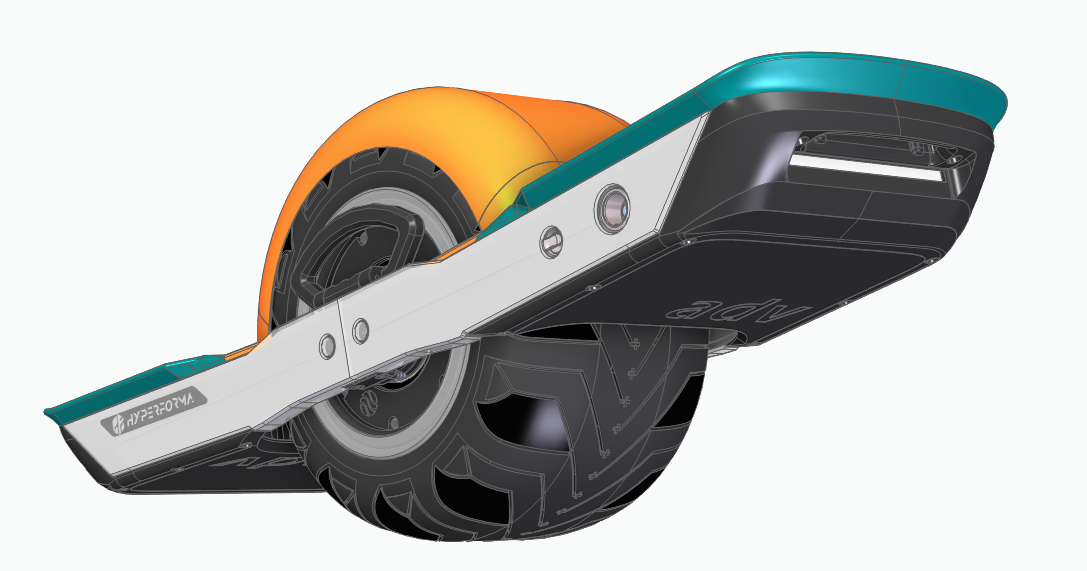
An HYPERFORMA Kush if you will.
**
TPU printable version of HYPERFORMA's footpad, stretched up to 35mm tall reminiscent of the Kush pad from FL.
Don't waste extra filament to get strength from extra perimeters; they won't be under your foot.
However, Insert Holes have been reinforced to cover 10x7 of solid perimeters to prevent tear out.
Top and bottom surfaces thickened ~35mm in from the sides for stiffness. (Removed from centre to reduce filament waste)
Infill pattern found to be crucial. Found Tri-Hexagons to work efficiently and effectively at 10%. DO NOT USE Gyroid or Hexagons as one will produce no stiffness, and the other will 100% summon the flying spagetti monster.
PLATE SETTINGS - Use the full plate. https://wiki.bambulab.com/en/knowledge-sharing/print-volume-limitations
Make sure to remove the “Bed Excluded Area” dimensions from the build plate settings to avoid taking the front of the print head off. (Refer to picture)
AND use the printable Lever Stop Collapser from the linked page and double check out to install it.
*Don't forget to remove it later and keep it on hand for future use)
I used OzFDM TPU 95 Blue, mostly for the colour. Though it did end up noticeably stiffer than Bambulab's HF TPU.
Do necessarily need to use OzFDM (though they are an excellent company), I encourage using harder TPU.
**
Complete derivative of the work completed on ADV footpads by HYPERFORMA.
**
Comment & Rating (6)