Skip to content

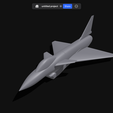
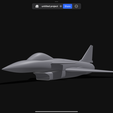
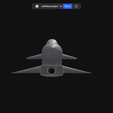
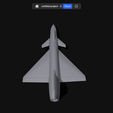
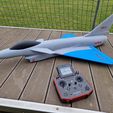
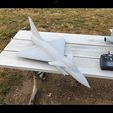
J10 64mm EDF jet (My Personal Favorite)

Advertising
Advertising
?
Creation quality: 5.0/5 (1 vote)
Evaluation of members on the printability, utility, level of detail, etc.

  • 4.4k views
  • 10 likes
  • 38 downloads
  • 1 make

License
3D design format
STL and ZIP Folder details Close
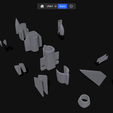
  • J10final.zip
    • J10fuse6.stl
    • J10tail.stl
    • J10fuse5.stl
    • J10fuse4.stl
    • J10large64 cover.stl
    • J10small64 cover.stl
    • J10fuse 1.stl
    • J10fuse 2.stl
    • J10fuse 3.stl
    • J10Rcanard.stl
    • J10Lwingtop.stl
    • J10Lelevon1.stl
    • J10Relevon1.stl
    • J10Lcanard.stl
    • J10Rwingtop.stl
    • J10Lwing.stl
    • J10tail support.stl
    • J10Lelevon2.stl
    • J10Relevon2.stl
    • J10canopy1.stl
    • J10Rwing.stl
    • J10canopy2.stl
  • J10fuse 2 thicker bottom.stl
  • J10fuse1 thick bottom.stl

Learn more about the formats

Last update 2024-02-12 at 00:09
Publication date 2024-02-11 at 13:22
Design number 1777499

3D printer file info

3D model description

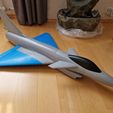
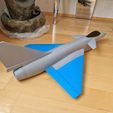
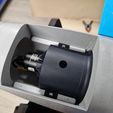
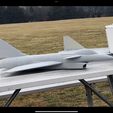
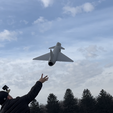
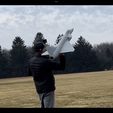
Iโ€™ve always been fascinated with the J10. Ever since I saw the RC turbine Carf j10s with vectored thrust I was amazed and wanted a park flier sized version. I have owned a few foam versions, but they never flew quite right this 64MMJ 10 flies incredibly it has very large control surfaces so itโ€™s the most maneuverable jet Iโ€™ve made so far you will need to lower the rates and use exponential. I have gone through three revisions, I have also tried two power units a normal 4S 64 mm version and a high-powered 6S 64 MM version both fly great. I have included two EDF covers to help fit your fan unit. The sky is the limit with this j10. you can make it a docile flyer or a wild, wild aerobic animal. This J10 intake and exhaust has been optimized for maximum thrust.
Flight videos:
https://youtu.be/mXde0V7ojzw?si=OAriz-UZgmnb8zMQ

Customers build https://youtu.be/OBhuf1YdUw4?si=hZFcvn3ckxKpzQpd

Parts
Any 64mm you choose. 4-6s
Two quality mg 9g servos
Velcro
Assortment of magnets
CA glue
Hot glue for the EDF and EDF cover

Build:
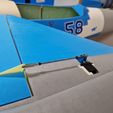
Simply CA, glue everything together starting at the rear. Install the EDF and run extensions down the upper chamber before you glue the EDF section to the subsequent you have this done you can glue everything else together servo wires will need a 6 inch extension servo wires will feed Through the upper chamber you just need to be patient and keep trying to feed it through.

3D printing settings

LW PLA active foaming
1 top layer
1 bottom layer
1 wall
3% infill (grid or gyroid)

Advertising


Issue with this design? Report a problem.

Would you like to support Cults?

You like Cults and you want to help us continue the adventure independently? Please note that we are a small team of 3 people, therefore it is very simple to support us to maintain the activity and create future developments. Here are 4 solutions accessible to all:

  • ADVERTISING: Disable your banner blocker (AdBlock, โ€ฆ) and click on our banner ads.

  • AFFILIATION: Make your purchases online by clicking on our affiliate links here Amazon.

  • DONATE: If you want, you can make a donation via Ko-Fi ๐Ÿ’œ.

  • WORD OF MOUTH: Invite your friends to come, discover the platform and the magnificent 3D files shared by the community!


Sharing and downloading on Cults3D guarantees that designs remain in makers community hands! And not in the hands of the 3D printing or software giants who own the competing platforms and exploit the designs for their own commercial interests.

Cults3D is an independent, self-financed site that is not accountable to any investor or brand. Almost all of the site's revenues are paid back to the platform's makers. The content published on the site serves only the interests of its authors and not those of 3D printer brands who also wish to control the 3D modeling market.
100% secure payment by credit card, PayPal, Apple Pay, Google Pay, etc.
View all payment options.