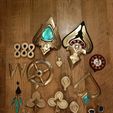
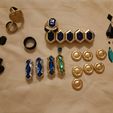
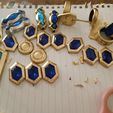
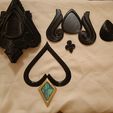
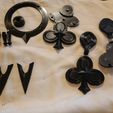
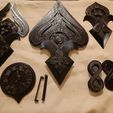
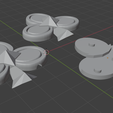
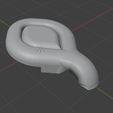
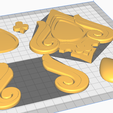
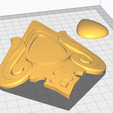
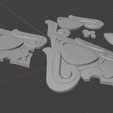
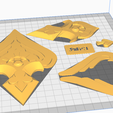
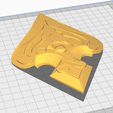
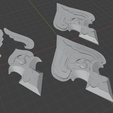
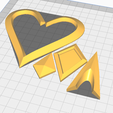
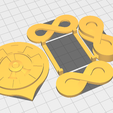
I made these models for my own Aventurine cosplay from Honkai Star Rail, since when I started, there was nothing available.
For some elements, where I wasn't initially sure how I wanted to do them, I included the multiple versions I made.
Some more thought process / instructions are at the end of this text.
Every modell here has been printed at least once, without problems, sliced in Ultimaker Cura, and using a Creality Ender 5 printer. But I'm new to 3d modelling, so some things might not be perfect.
About the print pictures:
Edit on 04.23.: I realised I can just add more pictures here, so I added one more that shows the parts I printed, closer to finished than previously.
The gold parts were made gold by glueing on stretchy golden fabric, and the gems were made with uv resin; some with molds I made using printed gems, some with guleing in foil and then directly filling the indented part with resin.
Some modells may require resizing, but that can be done in the slicer.
A bit more detailed information about the files:
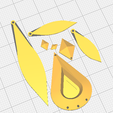
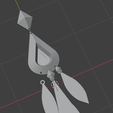
Earring:
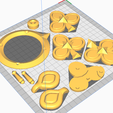
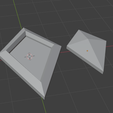
The top pyramid and the teardrop, and the teardrop and the three dangling bits at the bottom are meant to be connected with jump rings. The pyramids are hollow, so an earring base can be glued into the top one, and the bottom three can be glued onto the jumprings on the bottom of the teardrop. (I put foil and domed uv resin on the dangly bits, but the printed part is flat.)
Beads and buttons:
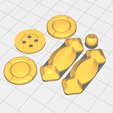
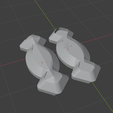
For the long beads, I couldn't manage to make a removable gem, so there are two variations, one has the gem part as part of the bead, and the other is hollow. I used the hollow version myself, put some shiny foil into the hole, and filled it up with uv resin. Every bead needs two sides, so this file should be printed 8x.
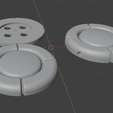
For the buttons, there are two versions, one has horizoantal holes going through it for sewing it on, the other is a 2 part design where the bottom part can be sewed on and the top can then be glued to that. This version is more seamless, but if it gets loose, the whole thing has to be re-done, meanwhile the other can just be sewed back on.
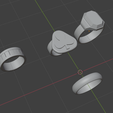
Hand jewellery:
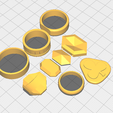
The bracelet beads and gems are separate, so a silicone mold can be made from the gems. I would suggest printing the gems face down, thats how I did it and had no problems.
The card symbol ring is made of two parts for easier printing, and the top part, and the other ring for the same finger have an indent in the back for the connecting thing. (Since the connection part needs to be flexible, I didn't model it, just used fabric for mine. )
The ring with the gem is made from 3 parts, a ring, a case for the gem that should be glued to the base ring, and a separate gem for mold making.
The last ring is pretty straight forward. Don't forget to adjust the sizes to your own figers. :)
Card symbol side and back decor:
Side decor has 2x2 parts, the top part has a part that does not connect; thats where the coat's fabric goes. The clubs symbol part has holes on the bottom to glue in the tassels and a hole on top for a cord.
The symbol for the back is made of two parts that snap together, the back is flat, and there are holes in the middle for the fabrics / tassels.
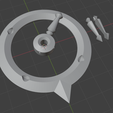
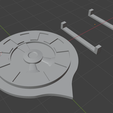
I made four files for the roulette circle on the upper back, the inner circle, the central column, and pointers cut in half, cause I couldn't manage to print them in one piece. The pointers need to be printed 4x. Those and the central column have holes for connecting them, the holes are a bit too small to print a peg, but a toothpick cut to size works perfectly. I didn't do the bigger outer circle cause I feel like that would be too much of a breaking hazard, and will use foam instead.
Shoulder decor:
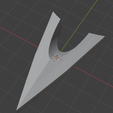
There are three versions, one bent (based on my own mesurements, requires supports), one flat that You can bend for yoursef for a better fit, and lastly one that hasn't got the backing and is just the clubs symbol, the teardrop caseing and the two wings; this way if these are glued on a soft material backing, like eva foam, the whole piece will have more flexibility and can follow the changes in the arm's curvature regardless of the arm position.
Tigh decor:
I didn't model the whole tigh side bag casue I want to make mine soft and useable; instead just made the buckle and a cutout with the logo for painting it on. The buckle has an indent on the bottom for snaps or magnets.
For the front part of the tigh decor, again there are three versions included, one is bent (same as before, based on me, requires supports), second is flat, third is just the inner part and separately the wings, that should be glued on a flexible backing, so it can follow the changes of the leg depending on if You are standing or sitting. However unlike the shoulder decor, I'm not a hundred percent sure this is gonna work without problems because of the shape and placements of the wings; so if You want to make sure, just use the middle part and make the wings out of something more flexible.
Chest decor:
The collar decor is symetric so it can just be printed 2x.
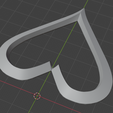
The center chest decor is made of 3 parts, the upside down heart chestwindow, a case for the gem under it, and the gem separately for mold making.
Belt buckle and '8's:
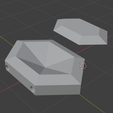
The belt buckle is made of two files, the front and two little pieces that can be glued on the back so a belt can just be thread through.
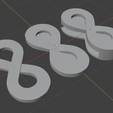
I included three versions for the 8's, (first two are meant to be simply glued on) one has no back, the second is the same just with a solid back, and the third is like the second, but has a base with a horizontal hole so a belt can be thread through. This last one requires supports, and they are a pain to remove but I had worse before. These, whatever version, should be printed 3x.
If You have anymore questions feel free to ask, please tell me if I accidentaly left something out, and happy printing! :)

