Prints (0)
-
No Prints Yet
Be the first to upload a Print for this Design!
Description
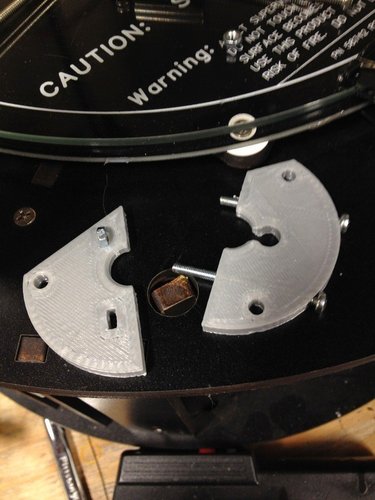
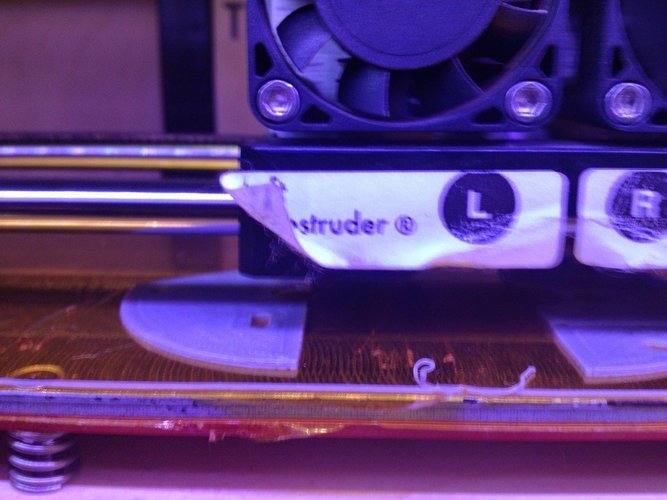
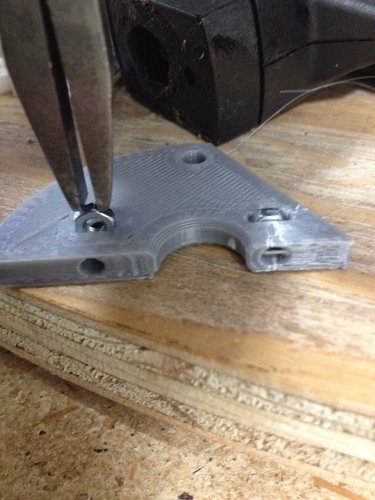
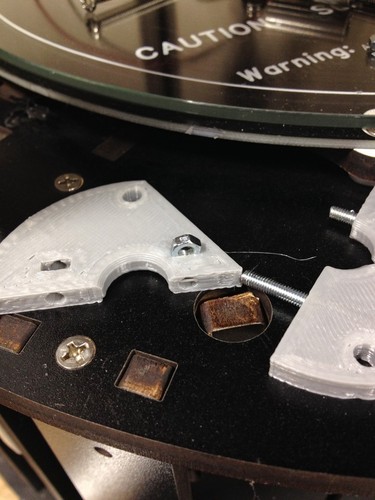
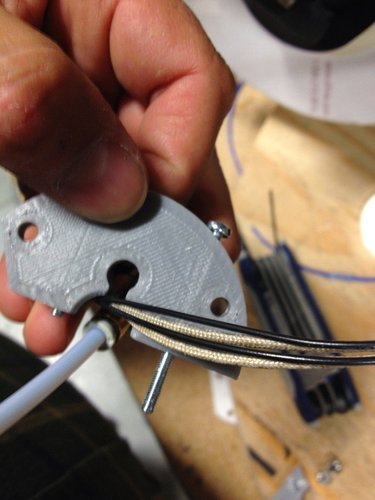
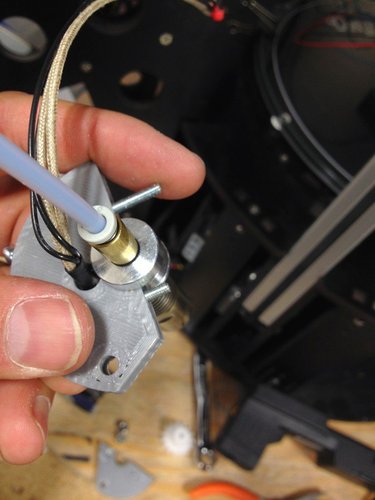
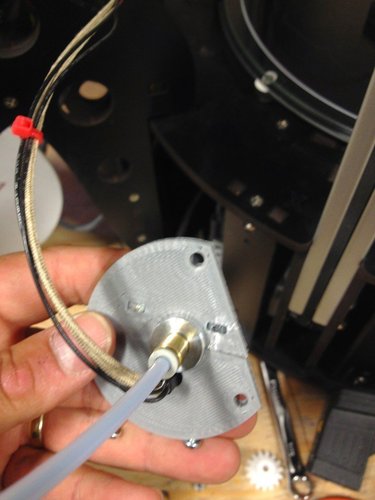
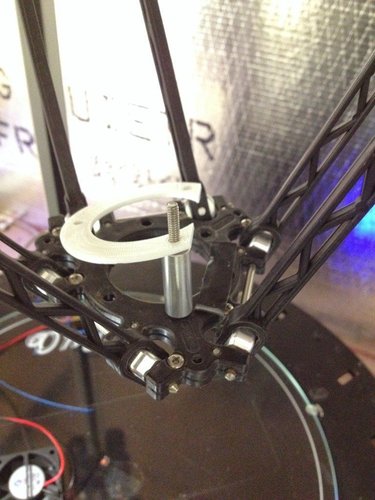
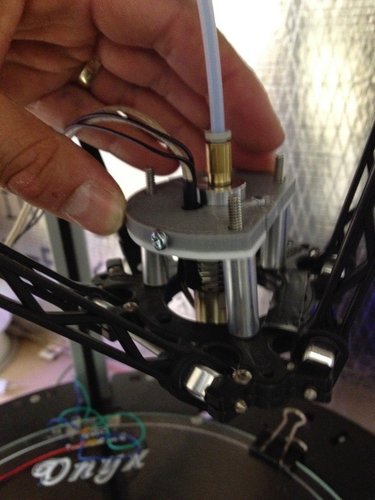
SummaryI needed a mount for my new B3 Innovations Pico Hot End, sooooo... Here it is. This is designed for the Rostock Max from SeeMeCNC (gen 1.) I went with a split design that would fit into the Pico's hot end groove mount slot. The 2 halves are mechanically held together with 2 bolts and nuts. The Top Bottom part is now used as a spacer. InstructionsPrinted on a Replicator with ABS .3 layer height 50% fill 6 shells The core is the part that fits the groove mount on the Pico hot end. I have split this for easy assembly. For a tight fit I also decided to hold the 2 halves together with a M3 x 40mm, and M3 35mm bolt. With the nuts placed in the other half as a screw boss. You will also notice a hole in the Core plate that allows the heater and thermistor wires to pass from the Pico through the core and on to your printer. I originally had the ring on top and bottom to hold the 2 halves together but found that there was too much slop to get a good tight fit. So now the ring can be used as a spacer, or not used at all. I used the existing metal spacers from the original hot end mount. I also made a flat area to mount the fan. Be careful to mount the plate in a way so that the flat area is between 2 arms, this way there will be enough space for clearance between the arms and the fan. DO NOT try to run the Rostock without moving the head around to test clearances -- you may be sorry. DO make sure you re-adjust the max height of XYZ or you may just plow your new pico into your build plate. There are a few pictures to help you assemble the mount.
Comments