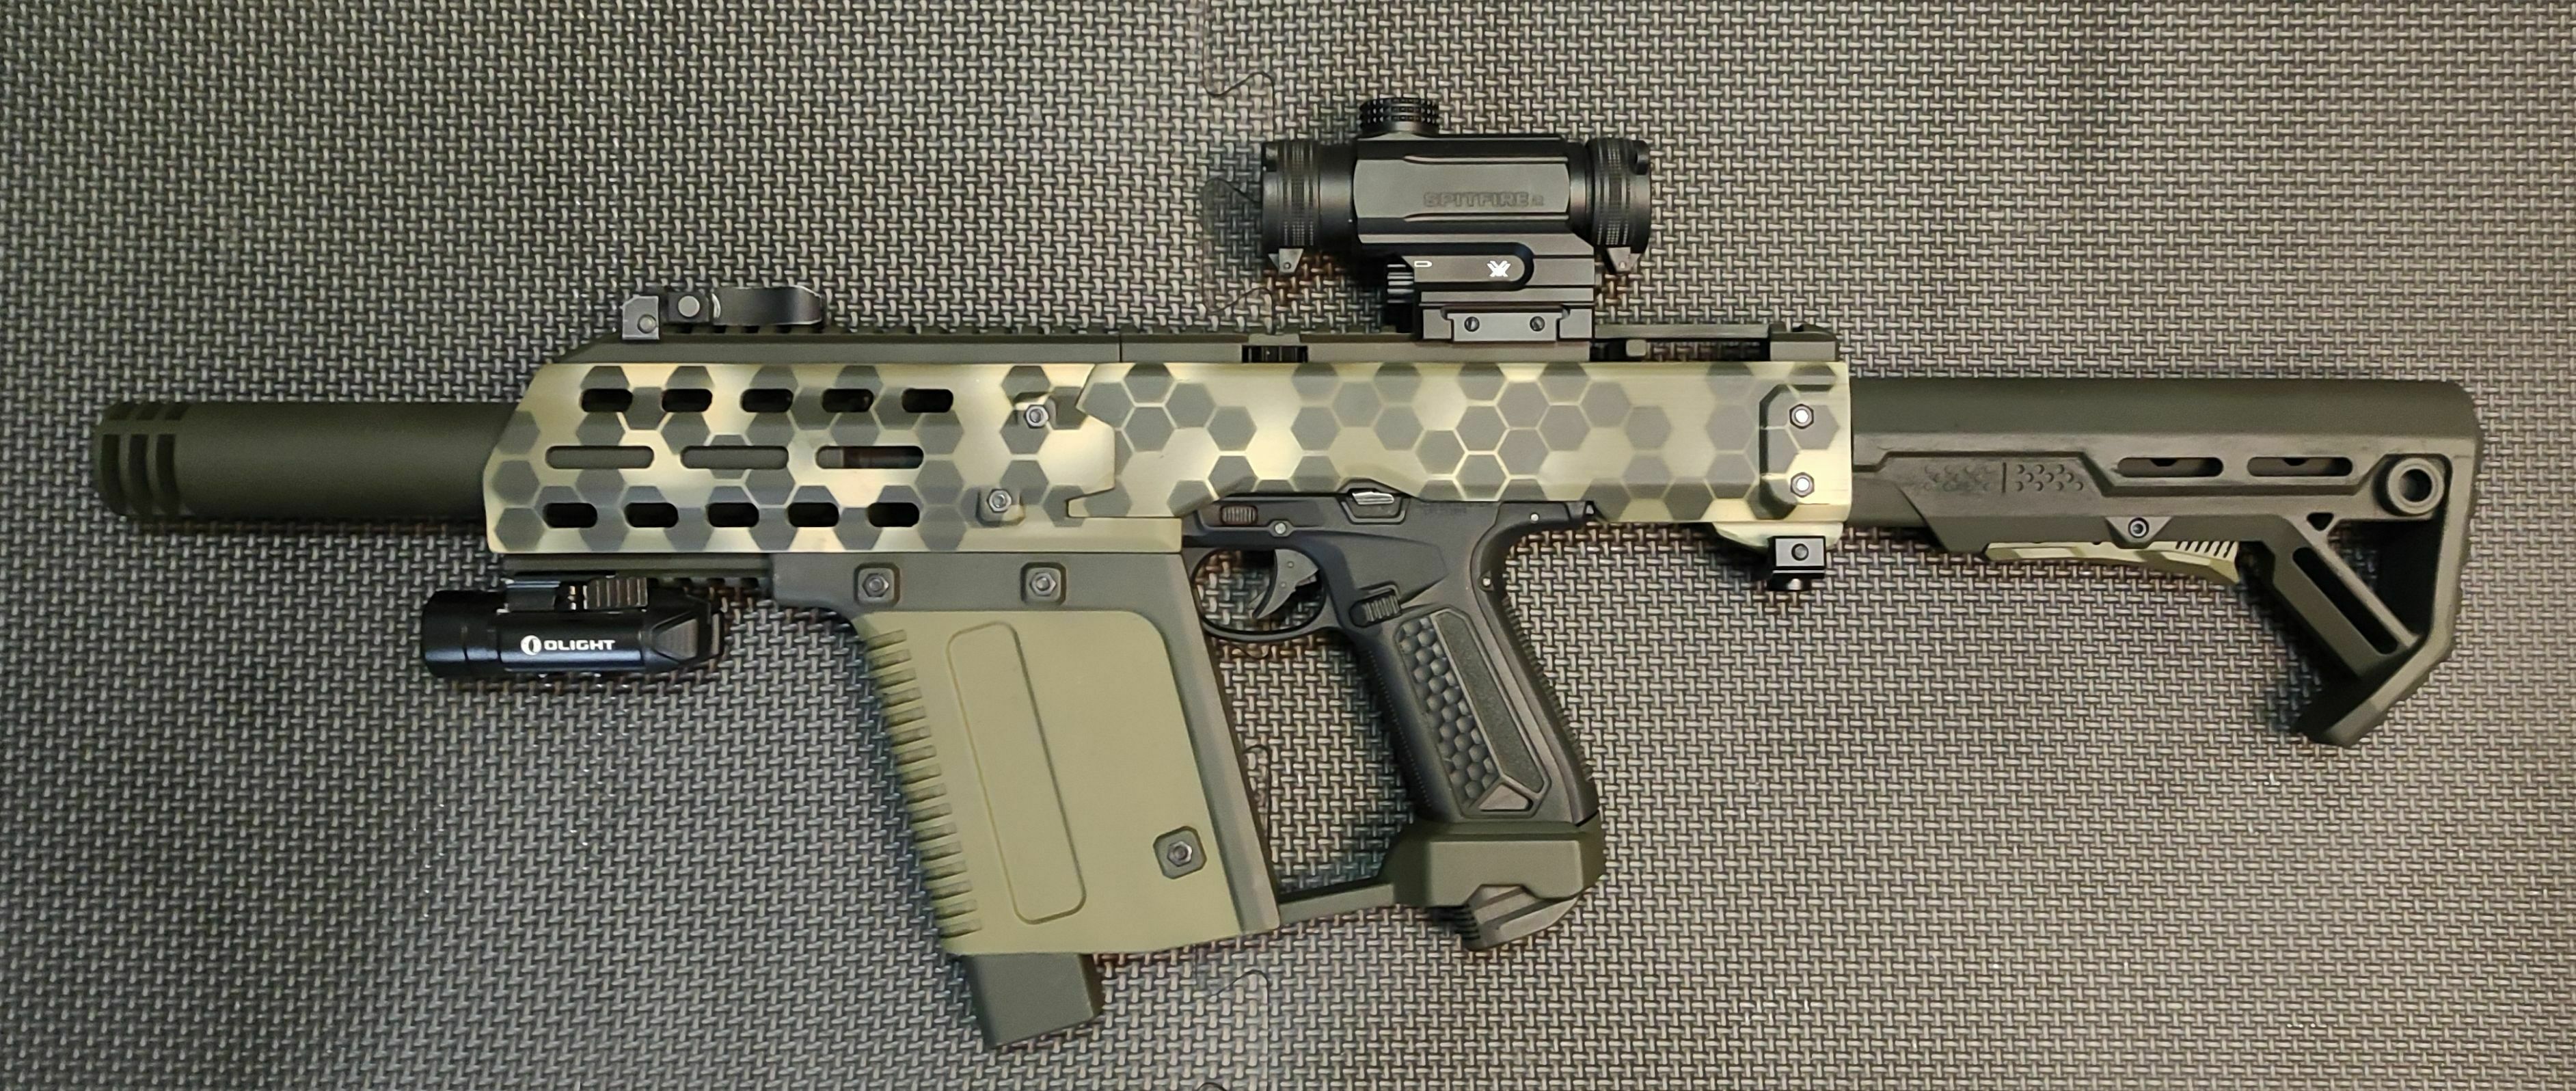
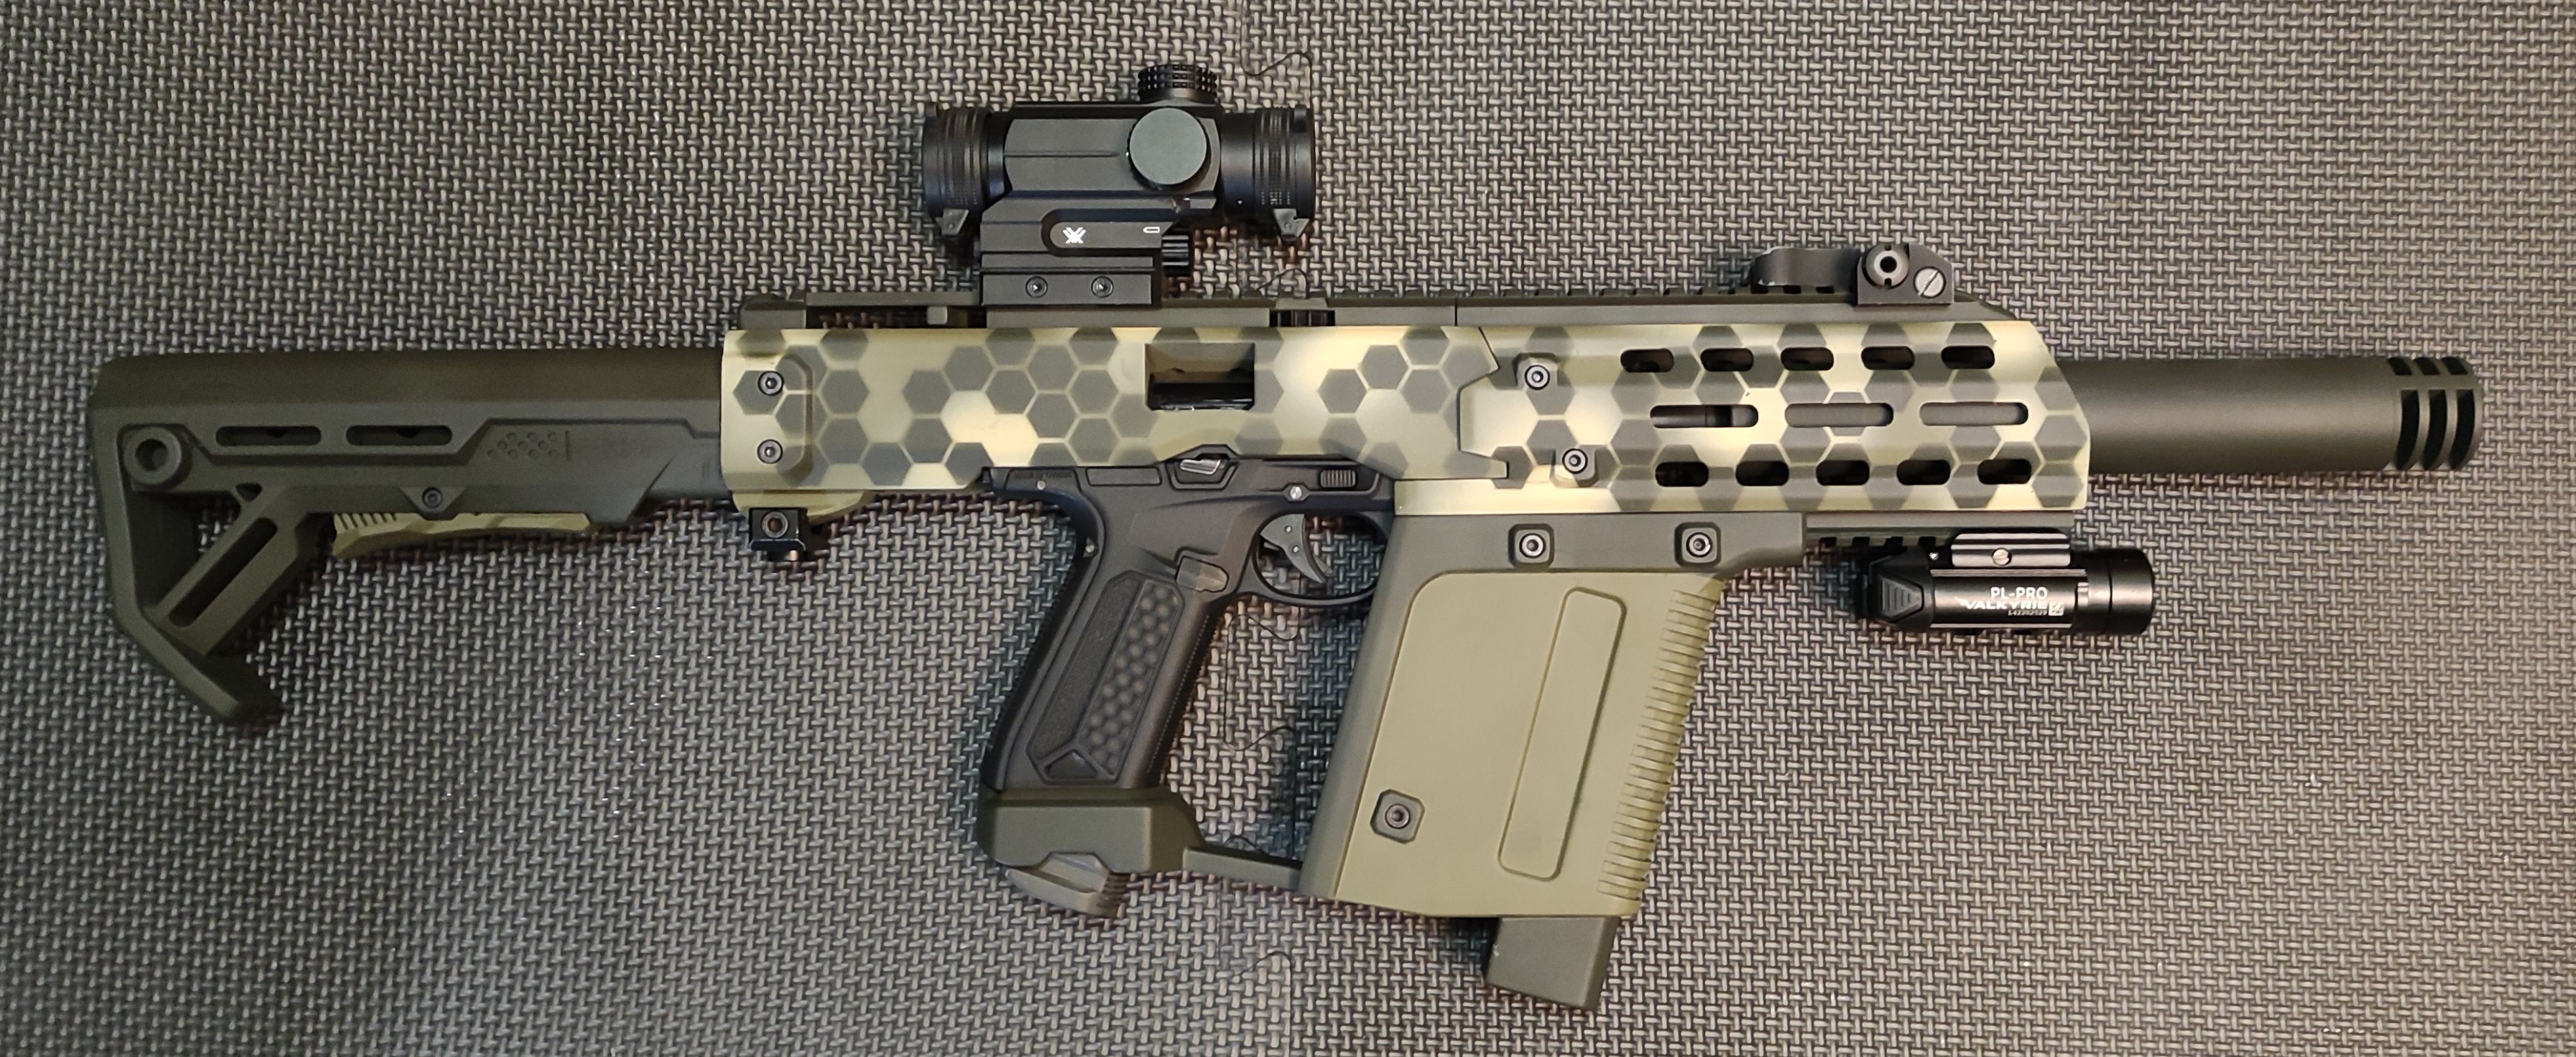
3D model description
IMPORTANT: READ LIST OF PARTS AND INSTRUCTIONS BEFORE YOU BUY THIS KIT, IT WILL NOT WORK WITH STOCK AAP
- !!!BE AWARE THAT THIS KIT REQUIRE YOU TO MODIFY THE BBU!!!
- Printer build plate volume in X or Y must have minimum 270 mm, OR build plate big enough to print longest part at angle ( 270 mm) ,this kit is printed FLAT
- Parts are already oriented for printing.
- KIT is with TDC Mod files
- KIT is without fixed stock, you need to use standard AR ones or Castellan Viper clone
List of Parts Needed:
- Upper Receiver Connector for AAP01
- Outer barrel extender 18 mm x 85 mm (can be a little wider, but not more than 18,8 mm) or longer if you don’t want to use Silencer (silencer cannot be wider than 35 mm).
Screws and bolts in mm standards:
- DIN Standards and measurements:
link
link
link
link
All Screws and Nuts for whole KIT (With angled grip and magwell
DIN 7991 - Hexagon socket countersunk head cap screws
- M3x12 mm– x6
- M3x14 mm- x7
- M3x18 mm- x6
DIN 912 - Hexagon socket Head Cap Screws
- M5x10 - x1 (Back piece KIT) (IMPORTANT 10 mm length of the thread needed, to long may damage your fire selector, to short may damage your BBU thread if use to much force, to be sure remove fire selector and check if the tip of the screw is flush with internat wall of the BBU)
- M4x30 mm- x1
- M4x35 mm– x2
- M4x37 mm– x2 (not standard length, you will probably need to cut longer ones like i did).
- M4x40 mm– x2
DIN 934 - Hexagon Nuts
-M4 - x7
- M3 - x17
For TDC MOD
DIN 913 - Hexagon socket set screws with flat point
M4x4 mm TDC Mod
For TDC Mod with wheel regulation you need also a standard BIT H2 (25 mm in total length) for M4 socket screw, used in screw drivers, to insert into
3D printing settings
PRINT SETTINGS USED and print Info (I use Prusa Slicer) ,Printed KIT on Prusa MK3S
RECOMMENDED PRINT MATERIAL ESUN PLA+ (plain PLA can be to stiff and brittle, do not print with PETG definetly to brittle, some parts will break, already tested)
ADHESION I use BuildTak pads on steel spring sheets, so be sure that your adhesion is excellent, if some parts warped from bed, means that adhesion was not good enough.
do not use textured bed plates only smooth ones
- Layer Height 0.16
- bottom and upper layers x 16
- Perimeters x 5 at least
- Infill 20% to 30%, except for Lever and lock mechanism, and on main body bottom RIS for sling mount and back, port ejection secion (look on printing section of PDF manual).
- Cooling: use autocooling with min 60% and 100% max for overhangs and very short layers, for better layer adhesion
- Supports YES (but not auto, use brush and smart fill in PrusaSlicer)
TOP contact distance for supports 0.16 for better removal with 2 Interface loops
BOTTOM contact distance for supports 0.2 for better stability with 2 interface layers
Support Separation from object 75%
On request If needed i can provide my settings for Prusa Slicer ( for use with Prusa MK3S printers)
- Brim: yes but i use only one pass, more for cleaning nozzle.
- Recommend Use of Ironing for all top surfaces for better finish (or you can sand them later)
In some places after print some sanding may be required. Depends on your printer setup.


:format(webp)/https://fbi.cults3d.com/uploaders/23325212/illustration-file/3a264569-da91-4443-ad2c-3fddb167422f/AAP01-CP2077-Lexington-M10AF-02.jpg)
:format(webp)/https://fbi.cults3d.com/uploaders/23325212/illustration-file/050a768e-7131-4403-823a-827a344b37e0/HPA-Black.jpg)
:format(webp)/https://fbi.cults3d.com/uploaders/23325212/illustration-file/d8e81b6e-9b4a-4ffe-8e94-c0d9e68e05fa/Sanded-and-painted-A.jpg)
:format(webp)/https://fbi.cults3d.com/uploaders/23325212/illustration-file/7533a533-00f0-4bbd-b973-ab06ca9f1776/AAP01-Modern-02.jpg)