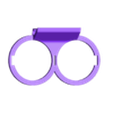
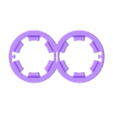
3D model description
Disclaimer of liability: Anything done to your car is at your own risk. I cannot be held responsible for any damaged caused.
I've created a video to demonstrate assembly: https://www.youtube.com/watch?v=daNbPF0xYAU
I'm listing this as a remix because I want to acknowledge the inspiration for this model from ottoen's work, which itself was a remix of AndrewN94's earlier effort. However, strictly speaking, the design is original to me, and I did not actually use either of their models in creating this one.
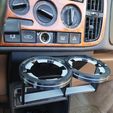
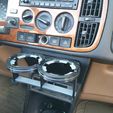
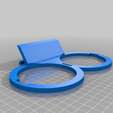
Like their prior efforts, this is a cupholder for the classic Saab 900 (1978–1993, plus 1994 convertible).
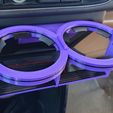
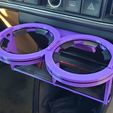
I wanted a cupholder that could fit larger water bottles than those earlier versions could manage, using flexible flaps to accommodate a wider variety of cups while holding everything steady.
I also realized that by optimizing the way in which the pieces are printed and assembled, I could end up with a slimmer product that should be less susceptible to breaking.
See also the single-cup version of this available: https://www.thingiverse.com/thing:5182498
See also the generic version to be modified for other cars: https://www.thingiverse.com/thing:5184066
As always, if you enjoy this design, feel free to tip me a coffee!
Printing
You'll need to use two different filaments for this model: a solid filament with good heat tolerance (I recommend PETG) and a flexible filament (I recommend TPU).
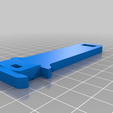
- The STLs "ring-flex" and "platform-grip" should be printed in TPU, and the rest should be printed in PETG.
- Print "leg-side" and "platform-base-side" twice each.
- Use supports for "ring-base."
- For extra durability, I added a bunch of walls and top/bottom layers, and I used 50% infill.
Assembling
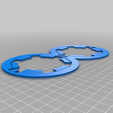
- Start with "ring-base." Hold it such that the angled connector sticking out points downward rather than upward.
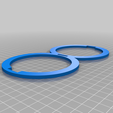
- Place "ring-flex" on top of "ring-base." It shouldn't ultimately matter, but I prefer the way it looks for the fold lines on the flaps to be facing downward.
- Place "ring-top" on top of "ring-flex" such that it forms a sandwich with the TPU piece in between the PETG pieces.
- Push "leg-center" from the top down through the hole in the center of the three pieces. I added a little bit of tolerance, but it should be fairly snug.
- Slide the two instances of "leg-side" into their slots on either side. Note the portion of "leg-side" that curves, and use that to inform the direction in which you place it. The small tabs on either side of "ring-flex" should go through the holes on on the legs. It may take some finagling, but this should ultimately hold the legs in place securely, and they will hold the rings together.
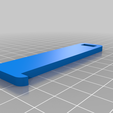
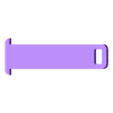
- Push "platform-grip" through the hole at the bottom of "leg-center." You may need to bend "platform-grip" in half long ways in order to do this. The end result should see the piece centered inside of the leg, with the grooved grippy side facing upward.
- Push the tabs at either end of "platform-grip" into the holes on either "leg-side." Again, you may need to bend the ends of "platform-grip" in half to make it fit.
- Take one instance of "platform-base-side" and place the rounded tab into the hole on one instance of "leg-side." It should go underneath "platform-grip." The angled tab on the other end should be positioned against "leg-center" such that you can then slide it (with some effort) into the center hole. This action will stretch "platform-grip" to make it fit, but that should be fine, and it will then hold it securely once in place.
- Repeat the above step with the remaining instance of "platform-base-side," but reversed such that it fits into the remaining space.
- Place the completed cup holder into your Saab!

/https://fbi.cults3d.com/uploaders/14555659/illustration-file/ddf81216-66b2-4cf2-8d55-2c9bf045b97f/DSC_1672.jpg)
