Skip to content

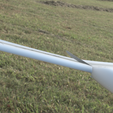
Stinger v2 - rubber band launched free flight glider

Advertising
Advertising
?
Creation quality: 5.0/5 (1 vote)
Evaluation of members on the printability, utility, level of detail, etc.

  • 14.3k views
  • 24 likes
  • 594 downloads

License
3D design format
3MF and STL Folder details Close
  • PI3MK3M_Stinger_CURA.3mf
  • Stinger_all_parts.stl
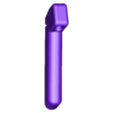
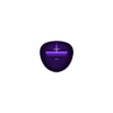
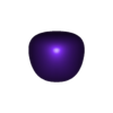
  • cockpit.stl
  • locator_x_3.stl
  • nose.stl
  • rubberbandshooter.stl
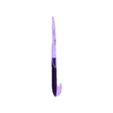
  • wingL1.stl
  • wingL2.stl
  • wingR1.stl
  • wingR2.stl

Learn more about the formats

Publication date 2022-05-21 at 19:36
Design number 731941

3D printer file info

3D model description

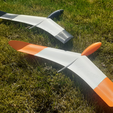
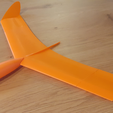
This is the 2nd iteration of a 3D printable toy glider that can be launched by hand or more reliably with a 3D printed rubber band shooter.

Demo video: https://youtu.be/3ou4tPLpRGk

Changes for v2:
The cockpit and nose parts are resized for double wall printing for robustness. For extra crash resistance the nose can also be printed with flex material.

The plane should be launched flat or with a slightly downwards trajectory, ideally from some height. If more weight is added to the nose, by adding infill to the nose part, the glider can be made speedier.

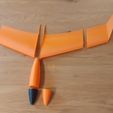
Depending on printing speed all the parts can be printed in less than 5 hours, and glued together in 5-10 minutes with CA glue.

Please post MAKES of your prints. :)

3D printing settings

READ CAREFULLY!

PLA+ filament strongly recommended.

Plane parts:
0.4 mm nozzle and printing line width (slicer setting)
0.25 mm layer height
Wing parts: 1 perimeter/shell/wall
Cockpit and nose parts: 2 perimeter/shell/wall
2 bottom layers
0 top layers
0% infill
Use as high temperature as possible for good layer adhesion (ca 230C for PLA).
Place seam at the trailing edge of the wing parts, and at the bottom of or internally on the body parts.
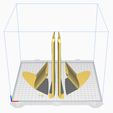
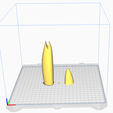
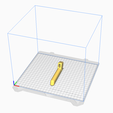
The parts can be printed separately or all at once. Placement on bed as illustrated.
Finished weight should be about 66g for PLA (affected by printing line width!).

Rubber band shooter:
Normal printing settings with about 25% infill.

Post-Printing
Glue plane parts together with medium CA glue (accelerator helpful). Insert locators in slots to help with correct positioning.

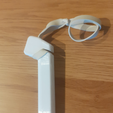
Attach rubber band to rubber band shooter as shown in picture.

Advertising


Issue with this design? Report a problem.

Would you like to support Cults?

You like Cults and you want to help us continue the adventure independently? Please note that we are a small team of 3 people, therefore it is very simple to support us to maintain the activity and create future developments. Here are 4 solutions accessible to all:

  • ADVERTISING: Disable your banner blocker (AdBlock, …) and click on our banner ads.

  • AFFILIATION: Make your purchases online by clicking on our affiliate links here Amazon.

  • DONATE: If you want, you can make a donation via Ko-Fi πŸ’œ.

  • WORD OF MOUTH: Invite your friends to come, discover the platform and the magnificent 3D files shared by the community!


Sharing and downloading on Cults3D guarantees that designs remain in makers community hands! And not in the hands of the 3D printing or software giants who own the competing platforms and exploit the designs for their own commercial interests.

Cults3D is an independent, self-financed site that is not accountable to any investor or brand. Almost all of the site's revenues are paid back to the platform's makers. The content published on the site serves only the interests of its authors and not those of 3D printer brands who also wish to control the 3D modeling market.

100% secure payment by credit card, PayPal, Apple Pay, Google Pay, etc.
View all payment options.