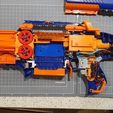
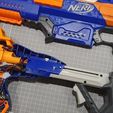
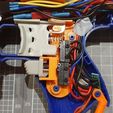
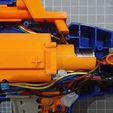
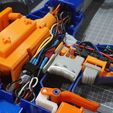
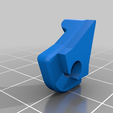
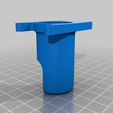
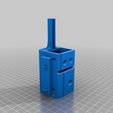
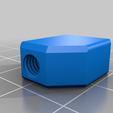
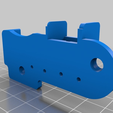
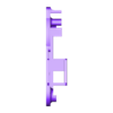
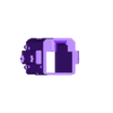
This is a solenoid pusher assembly for the Nerf Rapidstrike, with matching switchplate.
Currently only 35mm Solenoid is supported. FTW will come.
No shell cutting is involved to fit the solenoid into the main shell. Shell cuts are required on the jam door if you retain it, and the trigger if you want to use the included switchplate.
A select fire switch is included if you wish to use a binary rotary switch. It's compatible with this unit: https://au.rs-online.com/web/p/dip-sip-switches/7023369/?sra=pstk
Compatibility with other solenoids is not guaranteed or implied.
Switchplate is designed for Cherry 10a microswitches. e.g. https://au.rs-online.com/web/p/microswitches/0517814/
Video of Solenoid Blaster in Action
https://www.youtube.com/watch?v=Wpc0frcfeG4
Print Instructions
The Solenoid Cage should be printed using a strong infill setting. I actually did mine at 100% with 0.2mm layer height (to ensure dimensional accuracy). The cage can be printed sitting on it's bum (which is an easy print, but you have lots of cleanup), or on it's back (which requires supports, but is an easy cleanup). I prefer the latter.
Ensure that the pusher guide rail is smooth.
The pusher nub can be printed at 100% infill using a strong filament. I use Polymaker Polymax. 0.1mm layer height, because there is an internal thread.
Special considerations for the FTW solenoid
By and large, this is a great solenoid, but with the following caveats:
1) Do not use on 4s. Although the coils can handle it fine, the landing pad cannot and you will mushroom the internal pusher bar over time. Within about 1000 shots, the solenoid will jam. This can be repaired with a file.
Special considerations for the 35mm solenoid
These come with a brass and steel nut on the end. You'll need to remove these. They are torqued together, so please use a spanner and not pliers. Sometimes they are glued in place with CA glue - just heat it a bit to crack it open. Right tools for the right job people.. :)
The return spring on these is garbage. You'll need to replace it with a spring that is stronger, but not too strong. I'm sorry, these's no easy answer here. I found a source of 0.8mm x 12mmx 45mm springs that fit well.
Please thread the nub on all the way. It's fine that there will be some thread out the front of the nub. You'll also need to make more mods to the rear of the blaster, and lose the screw post back there.
Also due to the lower build quality, you may have to jiggle with the cage to get it to fit. I have found that they are all a little different.
Install Instructions
1) Install solenoid into cage. It only goes one way. Use M4x6mm countersunk bolts to hole it in place.
2) Screw on pusher nub. Lubricate guide rail
3) Screw on pusher back plate using nerf screws (M2.3 x 8-10mm)
4) Open rapidstrike. Pull out old pusher. Drop new pusher in.
5) Cut the jam door if required.
If you are using the switchplate, screw the switches in using Nerf screws (M2.3 x 8-10mm). You should remove the lever for the trigger switch, but leave the lever for the rev switch. You will need to cut the trigger as per the photos to fit.
Wiring Instructions
Well, this is largely up to you. I have seen solenoids installed as directly wired semi-auto setups, but I prefer an Arduino control.
My own wiring diagram TBA.
Help??
Come check us out over at Making Stuff Awesome on Facebook.
License
Absolutely no commercial use of these models, firmware, circuit diagrams, etc are allowed. Blaster commissions featuring these models are not allowed unless authorized by myself in advance.
If you do not have access to a 3d printer, please contact myself, Flywheel The World, or you can use 3dHubs (or similar print bureau).
If you have anything else in mind, please contact me.
Change Log
7 Jul 19 - Initial Release.
13 Sep 19 - Firmware updated

/https://fbi.cults3d.com/uploaders/26507194/illustration-file/76c11a7c-9cb6-4ec9-b358-86f846255c64/66364790_10215882354594337_6199565032968159232_o.jpg)
