Skip to content

Dynamod Dungeon Tiles - Sample Pack

Advertising
?
Creation quality: 4.0/5 (11 votes)
Evaluation of members on the printability, utility, level of detail, etc.

  • 32k views
  • 350 likes
  • 2.2k downloads
  • 10 collections
  • 3 comments

License
3D design format
PDF and STL Folder details Close
  • 3D PRINTING INSTRUCTIONS.pdf
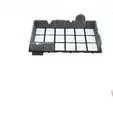
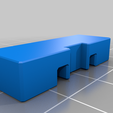
  • Clip.stl
  • Door_Beam.stl
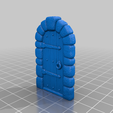
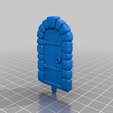
  • Door_Closed_FDM.stl
  • Door_Closed_Resin.stl
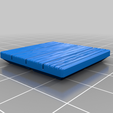
  • Floor_1_A.stl
  • Floor_5_A.stl
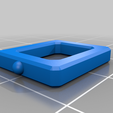
  • Tile_1x1.stl
  • Tile_Edge_1A_Plain.stl
  • Tile_Edge_1B_Plain.stl
  • Wall_Beam.stl
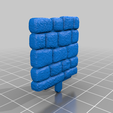
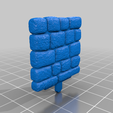
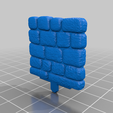
  • Wall_Full_FDM_1.stl
  • Wall_Full_Resin_1.stl
  • Wall_Left_FDM.stl
  • Wall_Left_Resin.stl
  • Wall_Right_FDM.stl
  • Wall_Right_Resin.stl

Learn more about the formats

Last update 2023-01-16 at 14:20
Publication date 2023-01-14 at 16:04
?
Published to Thingiverse on: 2022-06-20 at 23:56
Design number 1009779

3D printer file info

3D model description

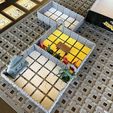
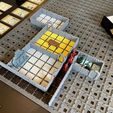
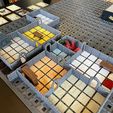
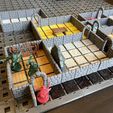
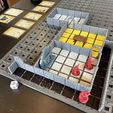
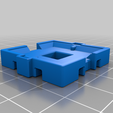
The Next Evolution of Dungeon Tiles

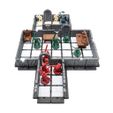
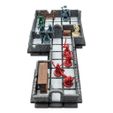
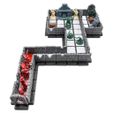
Dynamod creates 3D printable dungeon tile systems that are highly modular with dynamically changing parts, making table top gaming more engaging than ever before.

More information on our website: https://dynamod.games

The Dynamod dungeon tile system offers the following exciting and engaging features:

  • Perfect grids without any wall offsets, making it possible to recreate any existing map grid
  • Dynamically switchable walls, doors and terrain provide full fog of war mechanics to your board game
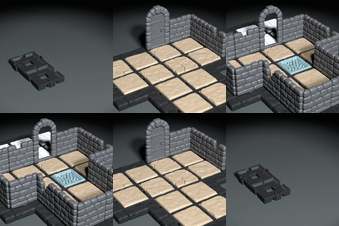
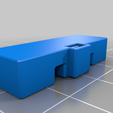
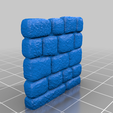
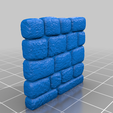
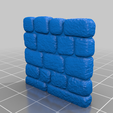
  • Walls and doors slide in from the top and can be changed by simply lifting them up and putting new ones in without clip detachment, this makes it very easy to change closed doors into open doors or walls into secret doors
  • Walls sit in the middle of two tiles, sharing the space and offering full square inch playing space everywhere without oversized terrain.
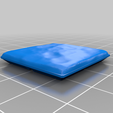
  • The tiles are 32x32mm and the terrain 28x28mm.
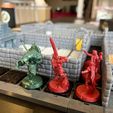
  • All your existing scenery feels right at home from square inch-based games, like the HeroQuest reissue
  • Fast and flexible tile assembly with three choices that work for any gameplay style:
    • The tiles are stable without clips for quick gameplay and have a slight snap and an alignment feature to prevent them from freely sliding around
    • The tiles can hold optional 4mm diameter x 2mm thick disc magnets directly without the need for clips
    • The tiles can use optional sturdy clips for more permanent arrangement without feeling loose or wiggly
  • Tiles are a structural base in which the terrain snaps in from above, this allows for tile reuse or even for switching terrain during gameplay, the floor can for instance become a pit trap
  • Filament painted terrain versions, offering detailed color that can be printed with any FDM printer
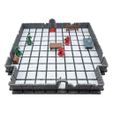
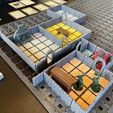
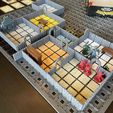
  • Pre-configured larger rooms with multiple tiles for even quicker setup
  • Assembly is fully mechanical and requires no glue
  • Fast print times and conservative material usage
  • Perfect integration into 3D printed StageTop board game table
  • Designed both for FDM and resin printing
  • Full set of remix tools to adapt existing STL models you already have
  • Detailed print instructions for PrusaSlicer, Cura, IdeaMaker and Simplify3D
  • All models have been printed and tested on multiple FDM and resin printers from different brands

3D printing settings

IMPORTANT GENERAL SETTINGS:

• Layer Height
0.2mm
• Perimeters
2
• Infill
20%
• Infill Pattern
Rectilinear
• Perimeters Speed
50% of normal (30 mm/s)
• Ensure the first layer is not resized

(the models already account for initial layer squish)
 

In PrusaSlicer Advanced - Elephant Foot Compensation - 0mm

FOR THE TILES:

Changing the order in which the walls are printed can significantly improve dimensional accuracy. Note that this could impact the smoothness of the surface of your models.

To experiment with printing outer walls first, change these settings:
• In PrusaSlicer
External Perimeters First - On
• In Simplify3D
Outline Direction - Outside-In
• In IdeaMaker
Shell and Infill Order - Outer Shell > Inner Shell > Infill Walls - Outer
• In Cura 4
Before Inner Walls - On
• In Cura 5
Walls - Wall Ordering - Outside To Inside


Some slicers increase the extrusion width above 0.4mm, this can make the outer walls expand beyond the limits of the intended design, making it harder to fit the tiles together.

To experiment with exact 0.4mm extrusion widths, change these settings:

• In PrusaSlicer
Advanced - Extrusion Width - Set everything to 0.4mm
• In Simplify3D
Extruder - Extrusion Width - Manual 0.4mm
• In IdeaMaker
Extruder - Extrusion Width - 0.4mm
• In Cura 4 & 5
Quality - Line Width - Set everything to 0.4mm

FOR THE BEAMS AND CLIPS:

• Perimeters 6

FOR THE WALLS AND DOORS:

•Layer Height
0.2mm
• Perimeters
2
• Infill
20%
• Infill Pattern
Rectilinear
• Perimeters Speed
100% of normal (60 mm/s)

Print inner walls first:

• In PrusaSlicer
External Perimeters First - Off
• In Simplify3D
Outline Direction - Inside-Out
• In IdeaMaker
Shell and Infill Order - Inner Shell > Outer Shell > Infill
• In Cura 4
Walls - Outer Before Inner Walls - Off
• In Cura 5
Walls - Wall Ordering - Inside To Outside

RESIN PRINTING

I recommend printing the tiles with an FDM printer, but they were tested with a resin printer as well. Given the mechanical properties of melting filament and the brittleness or scratch-prone nature of most resins, the FDM printing process will ensure the best long term results.

Ensure you're not overexposing the models. Try one wall and measure the thickness of the beam. It should be around 1.64mm.
If you don't have a caliper to measure this, you can try sliding the wall into the slots of the tiles. The wall or door should easily slide in and out without noticeable friction, but also not wobble around too much.

In general:

• Print vertically but with one corner all the way at the bottom (rotate 90° on the Y axis and 45° on the X axis). This allows for printing many at once.
• No hollowing.
• Unless there's obvious overhangs (like the open doors), only thin supports are needed on the bottom of the beam and the flat bottom surface.

For the walls and doors:

• Print straight without angling, just as they are imported. This allows for printing many at once
• No hollowing.
• Unless there's obvious overhangs (like the open doors), only thin supports are needed on the bottom of the beam and the flat bottom surface.

Advertising


Issue with this design? Report a problem.

Would you like to support Cults?

You like Cults and you want to help us continue the adventure independently? Please note that we are a small team of 3 people, therefore it is very simple to support us to maintain the activity and create future developments. Here are 4 solutions accessible to all:

  • ADVERTISING: Disable your banner blocker (AdBlock, …) and click on our banner ads.

  • AFFILIATION: Make your purchases online by clicking on our affiliate links here Amazon.

  • DONATE: If you want, you can make a donation via Ko-Fi 💜.

  • WORD OF MOUTH: Invite your friends to come, discover the platform and the magnificent 3D files shared by the community!


Sharing and downloading on Cults3D guarantees that designs remain in makers community hands! And not in the hands of the 3D printing or software giants who own the competing platforms and exploit the designs for their own commercial interests.

Cults3D is an independent, self-financed site that is not accountable to any investor or brand. Almost all of the site's revenues are paid back to the platform's makers. The content published on the site serves only the interests of its authors and not those of 3D printer brands who also wish to control the 3D modeling market.

100% secure payment by credit card, PayPal, Apple Pay, Google Pay, etc.
View all payment options.