3D model description
To level my laser engraver roller items (goblets, taperedglasses/cups, tumblers, etc.) I was searching for a rotary roller support bracket for my laser Engraver / cutter and only found very few products that were deisigned, and one super expensive non-user friendly item on a mass web-market site. I wanted to create and have something with a little more heft, and closer to the design of the support bracket that comes with the higher priced laser models, like X-tool Ra@ Pro. But I found they do not sell them separately.
So, I decided to design one that can be mostly 3d printed.
I printed mine out of PLA (quicker, cheaper & easier), but you can print it out of PETG or PLA if you wish. My settings are for PLA+ and/or PLA Meta. The Flexible feet are printed out of TPU.
The items you would have to purchase that cannot be printed are:
2 - 24mm 3D Printer Pom Roller Wheels (with 5mm bearing hole).
2 - 5mm x 30mm Hex cap screws
2- 5mm hex nuts
2 - 1/4-20 hex nuts
1 - 1/4-20 nylon Hex Lock nut
1 - 1/4-20 x (at least) 9" threaded rod (if longer, you will have to cut down).
2 - 1/4-20 flat washers
4 - #5 x 3/4" wood screws to hold top on.
3 - small strips of double sided tape to hold the soft support feet, if you do not want to glue them in.
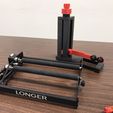
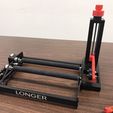
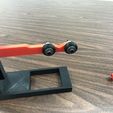
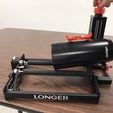
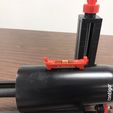
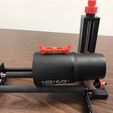
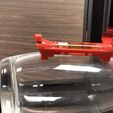
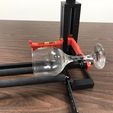
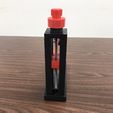
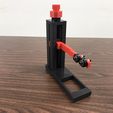
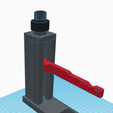
As you can see by the pictures, the height range of the rollers are 1.5 to 7 inches.
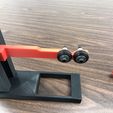
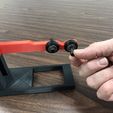
The rollers can be moved easily to adjust the distance ID from 2mm, 10mm & 15mm for larger radius items.
All Items were printed on Longer LK5 Pro.
3D printing settings
Settings for PLA, PLA Meta & PLA+:
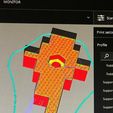
base & Upright assy.
.2 layer height
30% infill
210 nozzle temp
65 bed temp
50% print speed.
No Supports.
No Plate adhesion.
Upright carrier arm & Top Knob
.2 layer height
50% infill
210 nozzle temp
65 bed temp
50% print speed
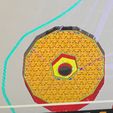
supports - normal & everywhere (but put support blockers in the bolt holes, and nut cavities). at layer 68, drop in a 1/4-20 nut. then let the rest print, and cover the nit, while leaving bolt hole open.
Upright Top
.2 print height
30% infill
210 nozzle temp
65 bed temp
50% print speed
supports - Yes, everywhere
No plate adhesion
Support Feet (Qnt 3)
print TPU
quality .1 layer height
10% infill
220 nozzle temp
70 bed temp
20% print speed
no supports
no bed adhesion
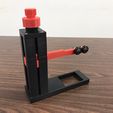
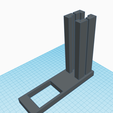
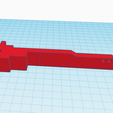
After all items are printed, Slide carrier arm down into slots of upright/base assembly, with V open shape pointed up.
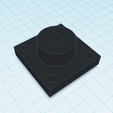
Use 4 #5 wood or metal screws, to screw upright top onto opening on top of upright base.
Screw 1/4-20 threaded rod up through bottom of upright/base, through carrier arm and up through upright top.
Turn assembly upside-down and add flat washer onto threaded rod coming out of underside of bottom of upright base, and add 1/4-20 nylon lock nut to bottom of threaded rod, until rod is even with bottom of nut, and not protruding.
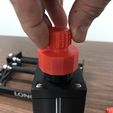
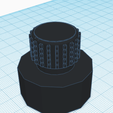
put flat washer on top of upright top, and screw top knob onto threaded rod, until there is no movement of rod up or down (threadlocker on top knob threads are helpful).
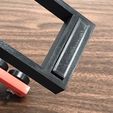
add tpu printed feet into 3 open spaces in bottom of upright base. secure feet in place with adhesive.
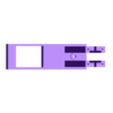
Use 5mmX30mm hex head capscrews to put through center of bearings in 3D printer Pom rollers, and screw capscrews into desired holes on end of carrier arm. screw capscrews in just enough to allow rollers to roll freely, without being too tight, or to loose to allow movement on the capscrew shaft. add 5mm hexnut to end of roller capscrew finger tight to secure in place. move rollers as needed by removing nut, unscrewing 5mm hex cap screws, and putting in desired hole in carrier arm to allow for correct spacing of rollers.

/https://fbi.cults3d.com/uploaders/23234870/illustration-file/e62d4ba0-4813-46fb-98cd-264bb9b2b9fa/IMG_3089.jpeg)
