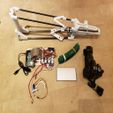
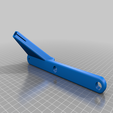
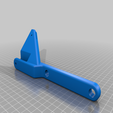
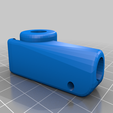
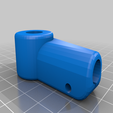
3D- Scanner V5 - open source project
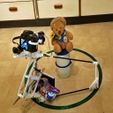
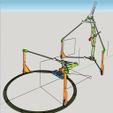
Ein Scanner bei dem die Kamera um das Objekt herumfährt,
anstatt das Objekt auf einem Tisch zu drehen,
bietet einige Vorteile bei der Photogrammetrie,
so dass ein realistischeres 3D- Bild entsteht.
Der Scanner ist faltbar und schnell aufgebaut
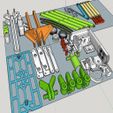
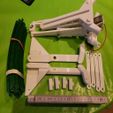
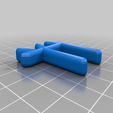
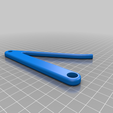
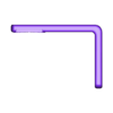
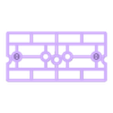
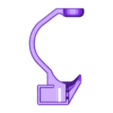
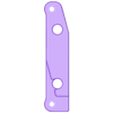
Alle Teile sind leicht zu drucken.
(Druckerfläche mindestens 20 X 20 cm)
am besten mit PETG oder ABS. mit mindestens 4 Shells und 10% Infill
Zusätzliches Material wird benötigt:
Alu- oder Carbon Rohre ⌀ 8mm,
2X 420mm (unten)
2X 460mm (oben)
einige 4M, 5M und 6M- Schrauben mit Muttern,
eine 8M Gewindestange ca. 250mm,
ein paar Kabelbinder,
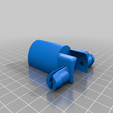
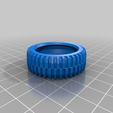
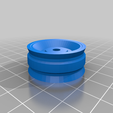
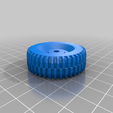
das Antriebsrad entweder als Felge mit PETG und als Reifen mit NinjaFlex Filament drucken, oder komplett drucken und evtl. die Lauffläche gegen Durchrutschen mit Silikon bestreichen, oder passenden Gummiring anbringen.
das Antriebsrad sitzt direkt auf der Getriebeachse des Getriebemotors.
(mit einem Tropfen Superglue befestigen)
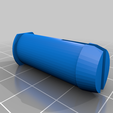
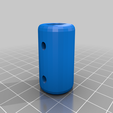
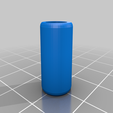
Bei der Höhenverstellung wird eine Kupplung benötigt:
4mm Getriebeachse zu 8mm Gewindestange,
(Alternativ Druckdatei verwenden mit 3M Madenschrauben u. Muttern, dabei zuerst links und rechts 3M Muttern in die vorgesehenen Schächte schieben, anschließend die Madenschrauben in die Muttern einschrauben).
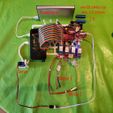
Für die Steuerung:
Raspberry Pi über z. B. VNC Viewer mit PC steuern.
Python Dateien auf Raspberry Pi kopieren
und zum Starten des Scans die entsprechende Datei starten.
nach dem Scan die Bilder z. B. mit WinSCP auf den PC übertragen
4 Stck. Relais 5V (Zur Steuerung der Getriebemotoren via Python)
Powerbank mindestens 10Ah (für Raspberry Pi)
6 V Akku für die Getriebemotoren
2 Getriebemotoren 120 U/min 6V ⌀ 25mm,
z.B.: https://www.amazon.de/gp/product/B074271QR4/ref=ppx_yo_dt_b_asin_title_o01_s00?ie=UTF8&psc=1
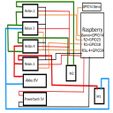
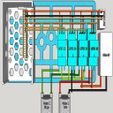
(Schaltplan zur Verkabelung beachten)
Für das Auslösen der Kamera:
Raspberry Kamera mit 1m Kabel verwenden (Dazu passende Python Datei starten)
oder nochmal 2 zusätzliche Relais an einen "angezapften" Kabelauslöser anschließen,
oder ein Mini- Servo (GPIO 14) mittels Adapter am Kameraauslöser anbringen
und damit mechanisch den Auslöser betätigen, (entsprechende Python Datei starten).
oder mit evtl. Vorhandener WlAN- Verbindung der Kamera verbinden
(für schwere Kameras die Schwenkarme um 150mm über den Drehpunkt hinaus verlängern
und entsprechende Gegengewichte an den Enden anbringen)
Elektronik mit Arduino:
Steuerplatine mit Arduino gibt es hier:
https://www.openscan.eu/shop?fbclid=IwAR15n-gMns8kVUlAEFDUwFpUH0eiaEAan2-cYIJAYgy4F5Z5BuBBclaqvx8
Das ist erstmal eine Testversion,
die sich noch verändern kann.
Bei Fragen könnt ihr mich gerne anschreiben.
3D scanner V5 - Open source
A scanner with the camera moving around the object,
instead of turning the object on a table,
offers advantages in photogrammetry,
with a more realistic 3D image as a result.
The scanner is foldable and quick to set up
All parts are easy to print.
(Miniumum printer surface: 20 X 20 cm)
Best with PETG or ABS. with at least 4 layers and 10% infill
Additional material that is needed:
Aluminum or carbon tubes ⌀ 8mm,
2X 420mm (below)
2X 460mm (above)
some 4M, 5M and 6M bolts with nuts,
an 8M threaded rod approx. 250mm,
a few cable ties,
as well as a clutch 4 / 8mm.
(Alternatively use print file with 4 x 3M grub screws and nuts).
For the controller:
Raspberry Pi with Python
4 relays 5V
power bank at least 10Ah (for Raspberry Pi)
6V battery for the gearmotors
2 geared motors 120 rpm 6V ⌀ 25mm,
For example: https://www.amazon.de/gp/product/B074271QR4/ref=ppx_yo_dt_b_asin_title_o01_s00?ie=UTF8&psc=1
For triggering the camera:
Connect 2 additional relays to a "tapped" cable release,
or attach a mini servo to the camera release with an adapter,
or possibly connect with existing WLAN connection of the camera
Electronics with Arduino:
Control board with Arduino is available here:
https://www.openscan.eu/shop?fbclid=IwAR15n-gMns8kVUlAEFDUwFpUH0eiaEAan2-cYIJAYgy4F5Z5BuBBclaqvx8
This is a trial version that can still change.
If you have any questions, simply write me a message.

/https://fbi.cults3d.com/uploaders/16157685/illustration-file/ab2ca2f2-96b9-4e59-ac72-9a9d319e7131/191107_3D-Scanner-V5-03.jpg)
