EEZYbotARM Mk2


EEZYbotARM Mk2
Published 2017-10-10T10:14:01+00:00
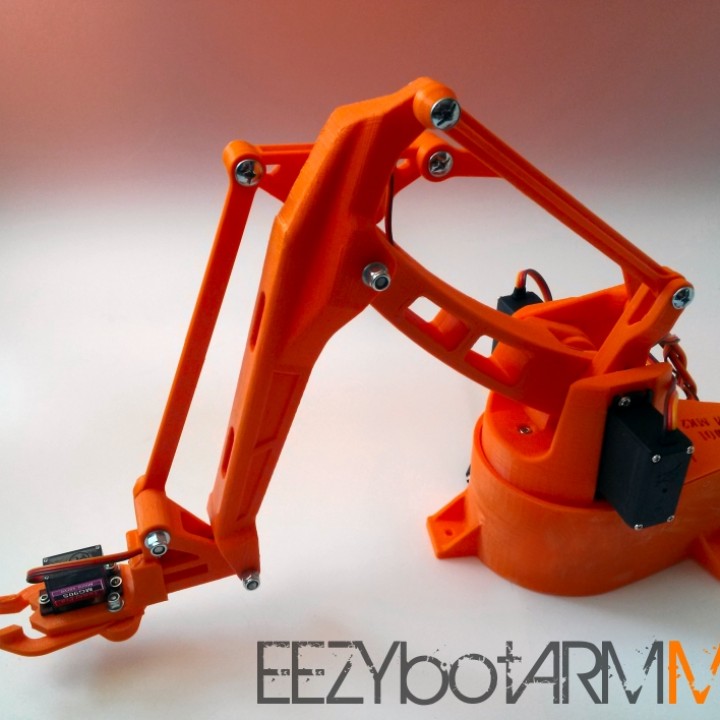
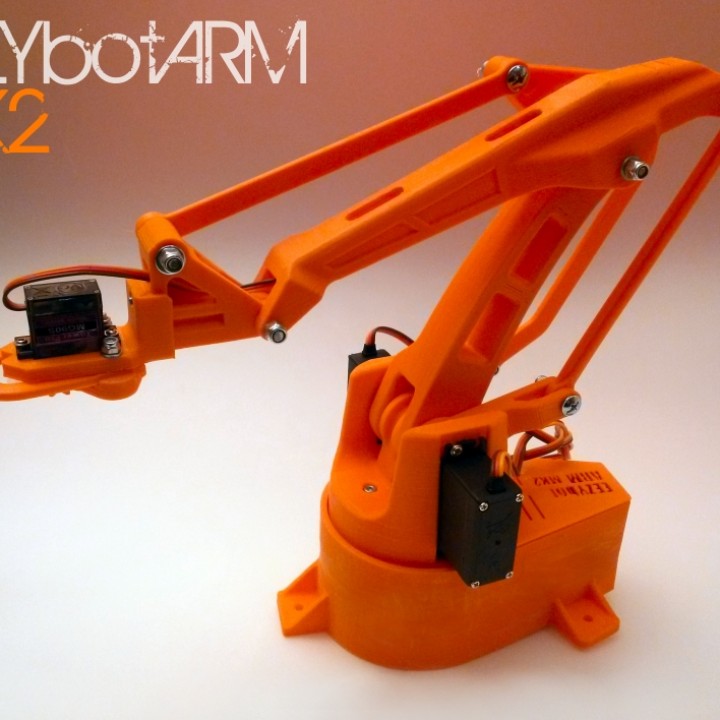
This is a four axis 3D printed robotic Arm.
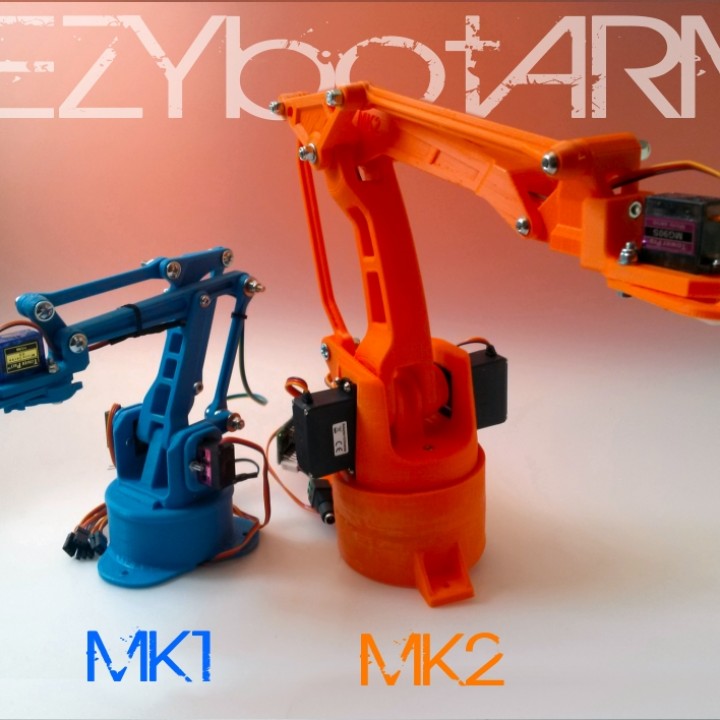
It follows the success of my previous smaller one: the EEZYbotARM so I simply called it MK2 (make 2). It is a little bigger and stronger, just to obtain more payload and increase reach.
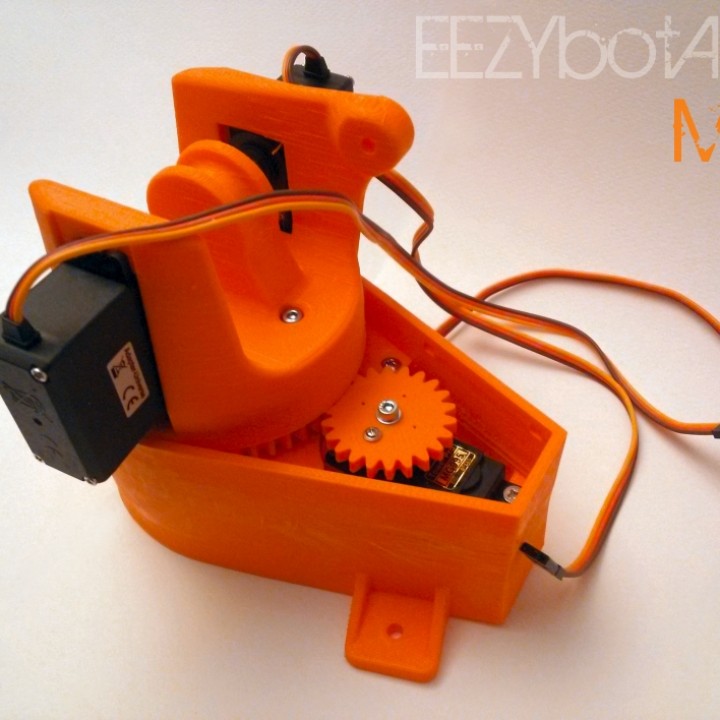
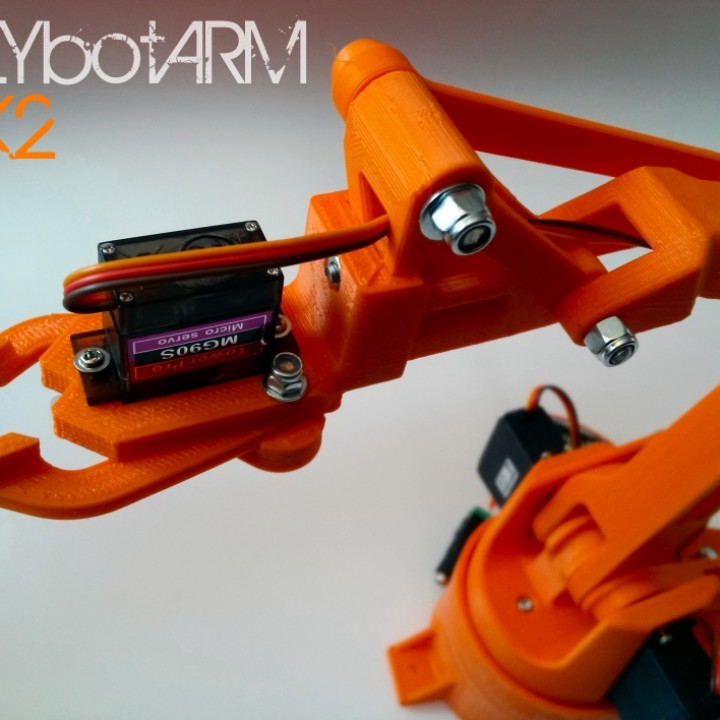
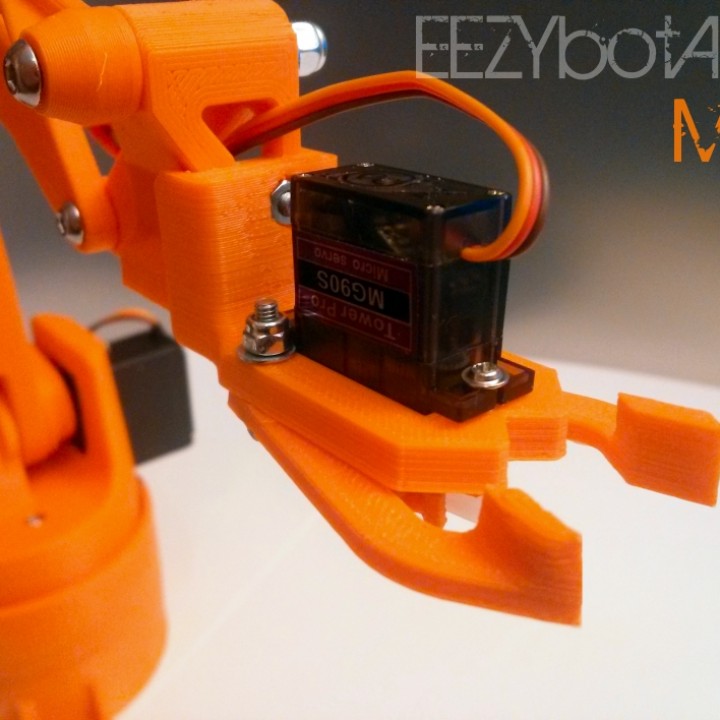
I implemented also some little features like: a replaceable gripper with quick coupler, internal cable routing in main big arms and the vertical axis supported by spheres.
It has been designed without a definite purpose, the aim is educational, providing a suitable hardware that allow to concentrate on exploring all its potential applications.
Following the requests of many users I made available the whole project on my Onshape account. You can find the source CADfiles at this link EEZYbotARM mk2. You can copy and modify the files, designing your own version. Please follow the original licence and provide attributions.


3D PRINTING :
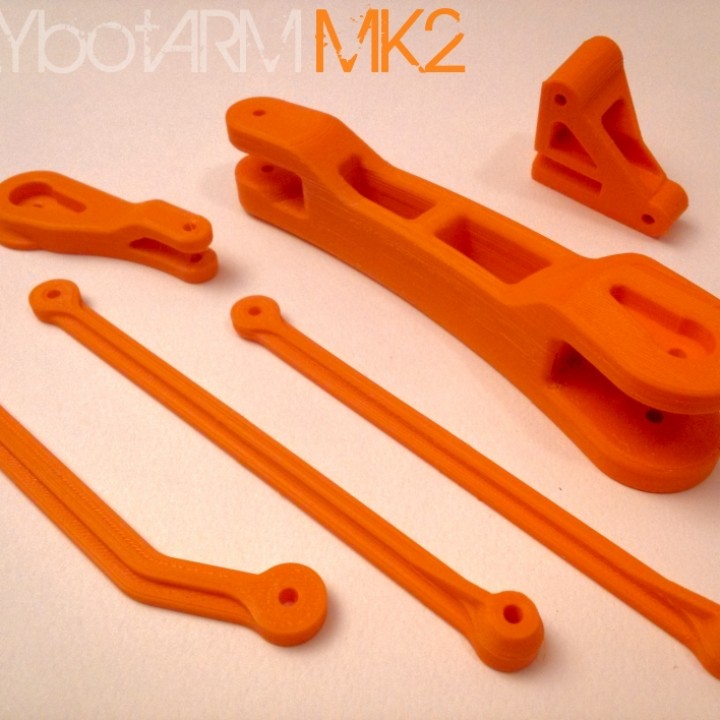
It is a little more challenging to print than the mk1 due to its dimensions and also some parts geometry.
Some few components (like main horizontal arm 006) requires supports enabled and a printing area of 200x200 millimeters. I supply all stl models already correctly oriented to avoid supports when possible.
I printed all the parts using a Prusai3 with ABS filament, but also PLA works great.
HARDWARE :
I used metric hardware and all joints rotate on M4 screws. (in alternative of M4 an #8-32 can be used) Holes of the joints are designed quite tight. This to allow a fine adjust of their diameter using an exact drill bit.
On screws are to be used selflocking nuts. They are to be tightened till the locking of the joint, then consequently you have to loose them until you obtain a smooth movement with a low clearance between components. On the two axis of the main vertical.arm I used M4 threaded rods
SOFTWARE / FIRMWARE :
The purpose of the robot is to provide an educational tool wich allow making experiment with different control methods. I found very easy to use a Mini Maestro 12 Controller from Pololu, it is not very cheap but solve a lot of problems. You have to install drivers, a software and when connected to usb you're are immediately able to drive the servos choosing their speed and acceleration also. You can store the servo position to a sequence and when ready it can be played once or in a loop. Can also be stored in the internal script memory and it can be automatically played without computer connected. (I'm NOT sponsored by Pololu !)
| Date published | 10/10/2017 |
| Dimensions | 200 x 200 mm printable area |
| Technology | FDM |
| Complexity | Difficult |