Canopy Corners for Monoprice Dual head


Canopy Corners for Monoprice Dual head
Published 2017-03-31T09:10:43+00:00
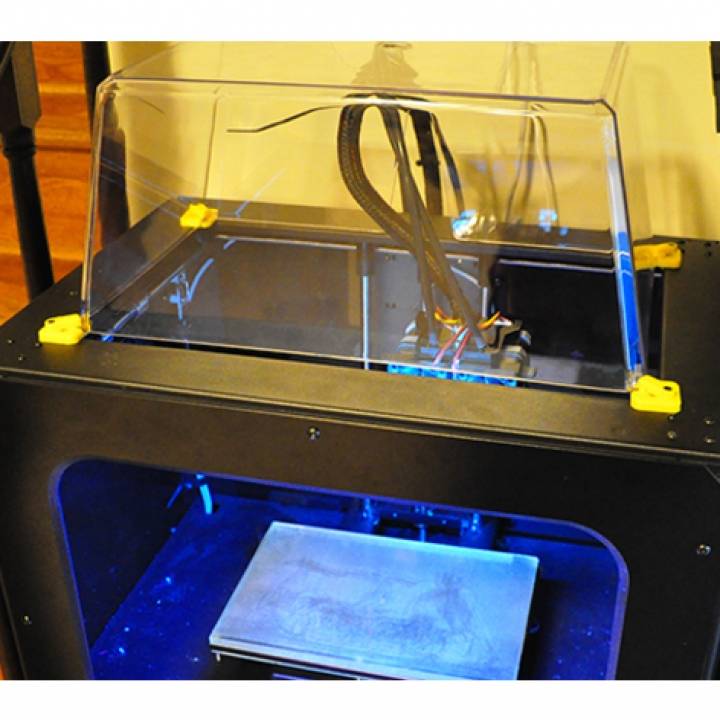
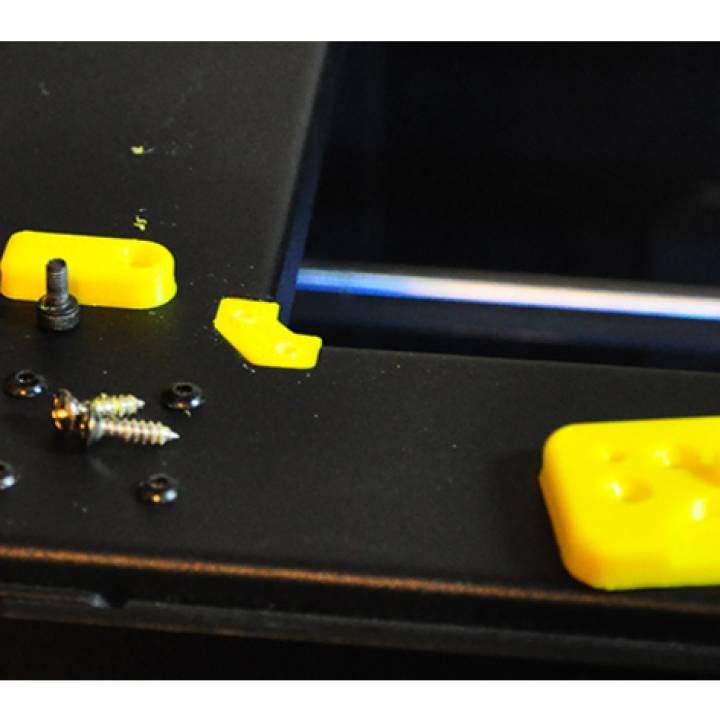
I have the Monoprice Dual Head Printer. I bought the Acrylic Canopy From FlashForge but the canopy would fall though the opening in the top of the printer. I designed the parts to hold the canopy in place. There are four parts Coner1 is placed in the corner underneath the frame Corner 2&3 screw on to the Corner1 and then Corner4 screws into that as a keeper so the Canopy can't slip off. Corner 2&3 adjust for the different length of the Canopy in the X and Y dimensions. You should be able to figure what corner they go in by holding them in place. I used two screws 12mm x 3mm with 6mm countersunk heads and a M3x8mm machine screw to hold the keeper on. The screws all self tap into the plastic.
Note Print 4 each of Corner1 & Corner2 and 2 each of Corner2 & Corner3. Make sure the Bernoulli tubes and the wire harness do not bind on the "T" cut out on the back side of the canopy. Mine was binding when the heads go to the front left corner when starting a print. I used my dremel tool to make an arc cut so the harness clears smoothly.
Since I made a cover for the front of the printer and hand hold covers ABS prints great. Before I used the canopy I was placing cardboard pieces over the top. I also use PEI on the heated bed and with these modifications ABS is my best printing material.


I always print a skirt/brim 3 outlines 2 layers to make sure the head is printing, 2 layers so it is easier remove from the bed. Bed temp 110 head temp 230 for ABS
I use OnShape to design.
I designed it in OnShape and it is a nice tight fit on my printer.
| Date published | 31/03/2017 |
| Technology | FDM |