3D model description
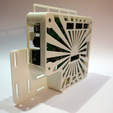
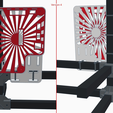
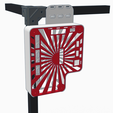
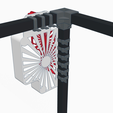
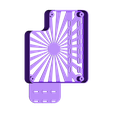
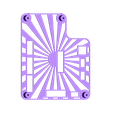
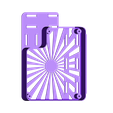
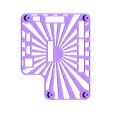
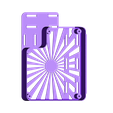
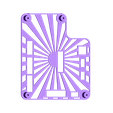
Enclosure for the RigidBot original controller board (RigidBoard).
This differs from the original housing in that:
It is vastly better ventilated - no fan needed.
There is no risk of filament pieces or knocked-off prints hitting the board.
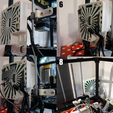
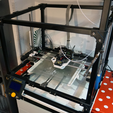
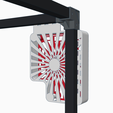
This enclosure is meant to be mounted vertically in one of the outside corners - upper left rear (version 3) or lower left rear (version 4) is recommended, but other places might suit you better depending on cable routing and power supply placement.
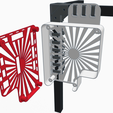
Prints in two parts, base and lid. Designed to be printed as is without support, raft or brim.
Even if using 100% infill (which is overkill), the total weight should be only around 70g (version 3), 85g (version 4), depending on material.
Update 2016-01-18: Version 4
Changed position from upper to lower part of frame for better cable management. Heated bed cable should not be a problem (measured with RB regular original cable).
Increased fastening hole sizes for easier handling when using velcro strips instead of cable ties.
Added cable guides on left side (and made sure the extruder connectors can pass through).
Added additional holes in lower right corner. Can be used to manage stepper motor cables (using cable tie/velcro) or for different positioning of enclosure (fits frame pieces).
Increased top/bottom thickness for more rigidity.
UPDATE 2016-01-31: VERSION 5
Base: Adjusted lower right corner holes. Should now be possible to rotate case 90 degrees and place on lower frame (not yet tested).
Base: Trimmed one of the board mount points to not interfere with power switch.
Base: Added additional board support to eliminate flex when connecting stepper motors.
Lid: Countersunk holes to completely surround socket head screws. Angled in such a way that supports are still not needed when printing.
Shopping list
4 x M3 screws, anything between 17-33mm in length.
3+ x Cable ties or velcro strips
3D printing settings
Post-Printing & Assembly
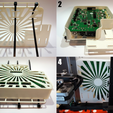
If needed, carefully drill up the screw holes in the pillars of the lid to 3mm. Do the same for the base, but with a 2.5mm drill and/or a 3mm tap.The M3 screws should be able to pass freely through the lid (except the head), and be screwed into the base.
Put cable ties through the reinforced loops of the enclosure base from below. Make sure that the cable tie heads are on the outside of the case in an orientation that allows you to close them (but not yet!). There is room for a bunch of cable ties, but 3 should be enough to keep it steady.
Place the enclosure base on a table. The cable ties should now face towards the table, with only a small small part of them going through the inside of the enclosure.
Place the board on the enclosure base so that the board mounting holes line up with the pillars.
Place the lid on top of the board (on top of the base).
Place 4 x M3 screws through the holes and fasten them. Be careful to not over-tighten.
Fasten the enclosure base to the RigidBot frame using the cable ties. Don't pull them too quick or hard as they may rub against the board when doing so.
Connect all cables. Make sure that the cable to the heated bed can reach the furthest position.

/https://fbi.cults3d.com/uploaders/12994951/illustration-file/5d50322e-b217-4b06-b531-7a49d94677f2/Capture%20d%E2%80%99e%CC%81cran%202016-12-21%20a%CC%80%2010.29.12.png)


