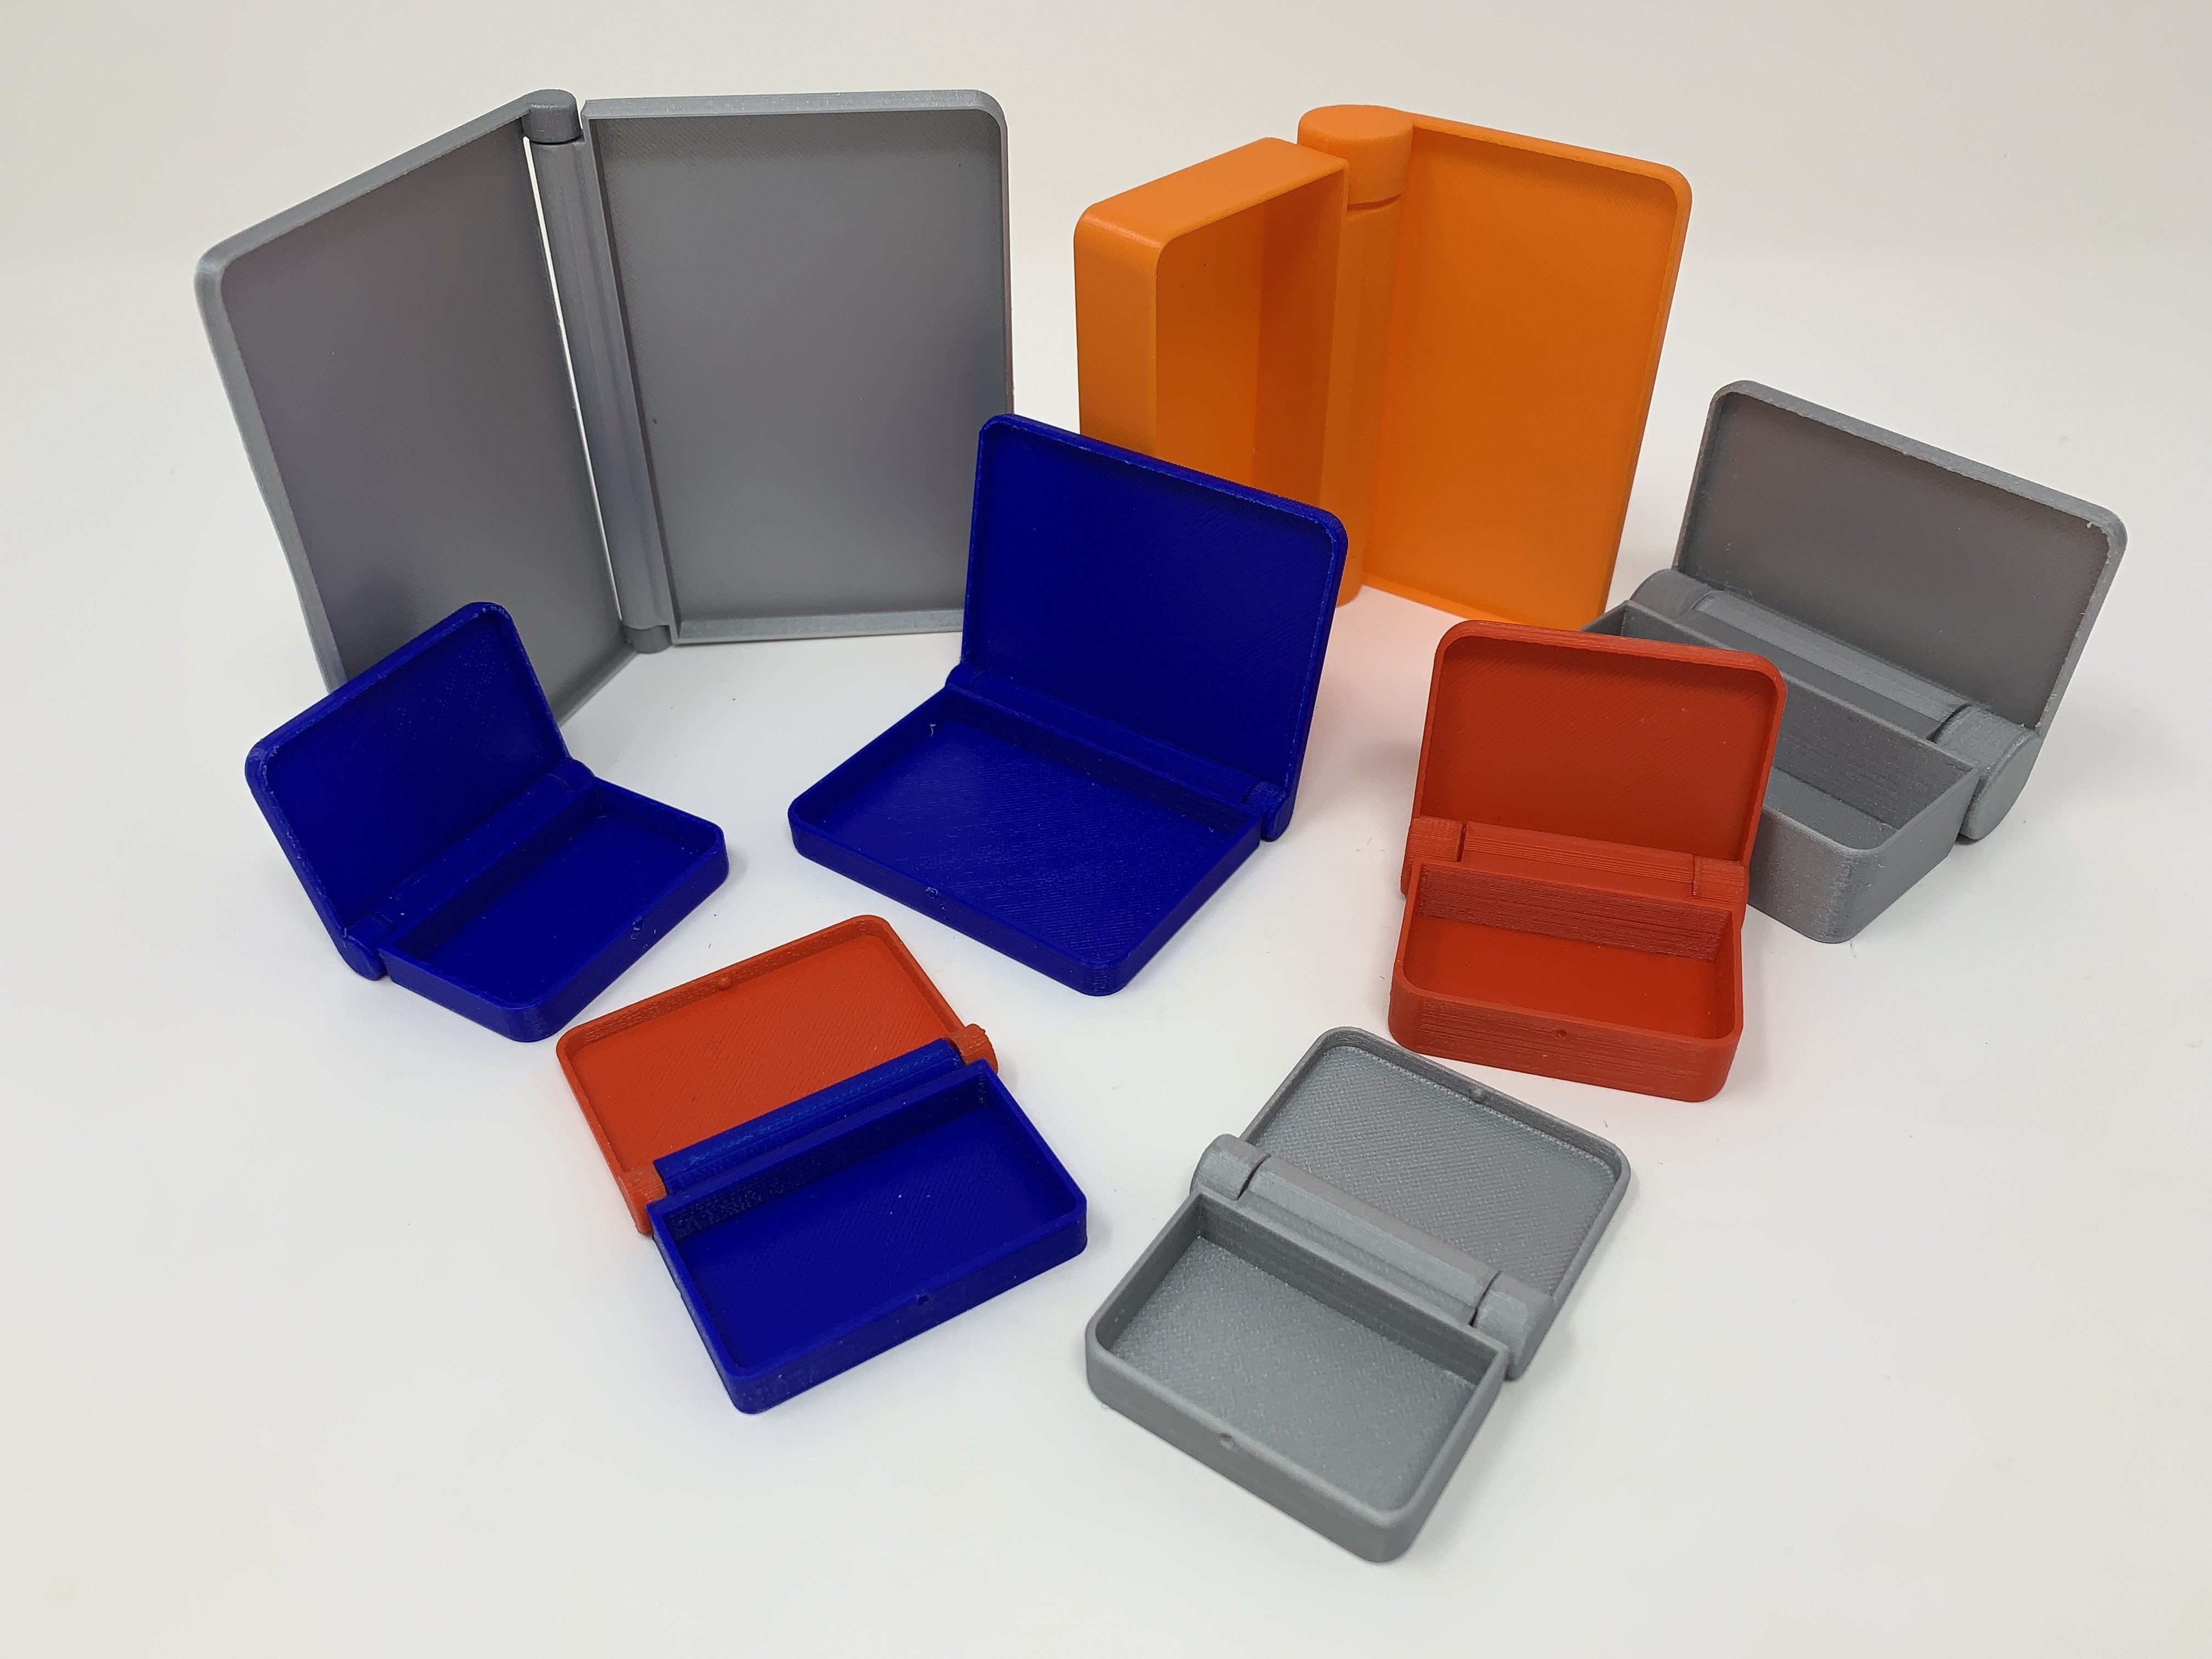
The eight different size and color 3D printed "print in place" hinged containers appearing in the cover photograph of this tutorial do have one thing in common; they were all printed from a single Autodesk Fusion 360 model using "parametric modeling".
In a CAD environment, a parametric model is a model whose size and / or shape may be altered simply by changing dimensional values. In this model, I specified the dimensional values in the Autodesk Fusion 360 "Change Parameters" menu for the Length, Depth, Height, Thickness and Tolerance dimensions of a simple "print in place" hinged container. I then designed sketches for the base, lid and ball and socket hinges, and extruded the various components, using the dimensional values I entered. Thus to change the length of the container, I simply change the Length dimension, to change the depth, I change the Depth dimension and to change the height, I change the Height dimension. When any of the dimensional values on the Change Parameters menu are altered, Autodesk Fusion 360 rebuilds the container to the new dimensions, creating a new model ready for 3D printing, thanks to parametric modeling.
While designing this model, friends of mine questioned as to why I simply didn't scale the model using Cura (the slicer we use) prior to printing. The answer is when Cura scales a model, it scales everything, including the tolerances (or "clearance") between the parts. Thus when scaled up, the hinge becomes loose, and when scaled down, the hinge becomes tight, or even "welded". Parametric modeling ensures the user specified Tolerance (clearance) dimensions are maintained as the model dimensions are changed.
Now the caveats, the model is not without flaws. For example, no limits have been imposed on the dimension values so entering "reasonable" values is up to the user. I suggest using values greater than or equal to those I initially placed in the Change Parameters menu. Negative values are a definite no-no, and excessive Height values in relation to the Length and Width values will cause interesting and problematic side effects. If "non-reasonable" values are entered, errors may (or may not) appear in the timeline of the model to warn that the model, with the specified dimensions, is not printable, so examine both base and lid components prior to printing. And as testing all possible combinations of dimensional values would require time far exceeding my remaining lifetime, I simply did not have the time to test them all.
I've included the Autodesk Fusion 360 file "Print In Place Parametric Hinged Container v1.f3d" which includes the model details, and in the steps that follow are videos showing the steps I performed in creating this model (the videos may be slightly outdated, so stick with the .f3d file for updated details). Familiarity with the Autodesk Fusion 360 environment is highly recommended, and I'm always open to questions, suggestions, comments and criticisms (friendly please) so please feel free to comment and I'll do my best to respond as to why I chose the methods I did in creating this model.
As usual, I probably forgot a file or two or who knows what else, so if you have any questions, please do not hesitate to point them out as I do make mistakes in plenty.
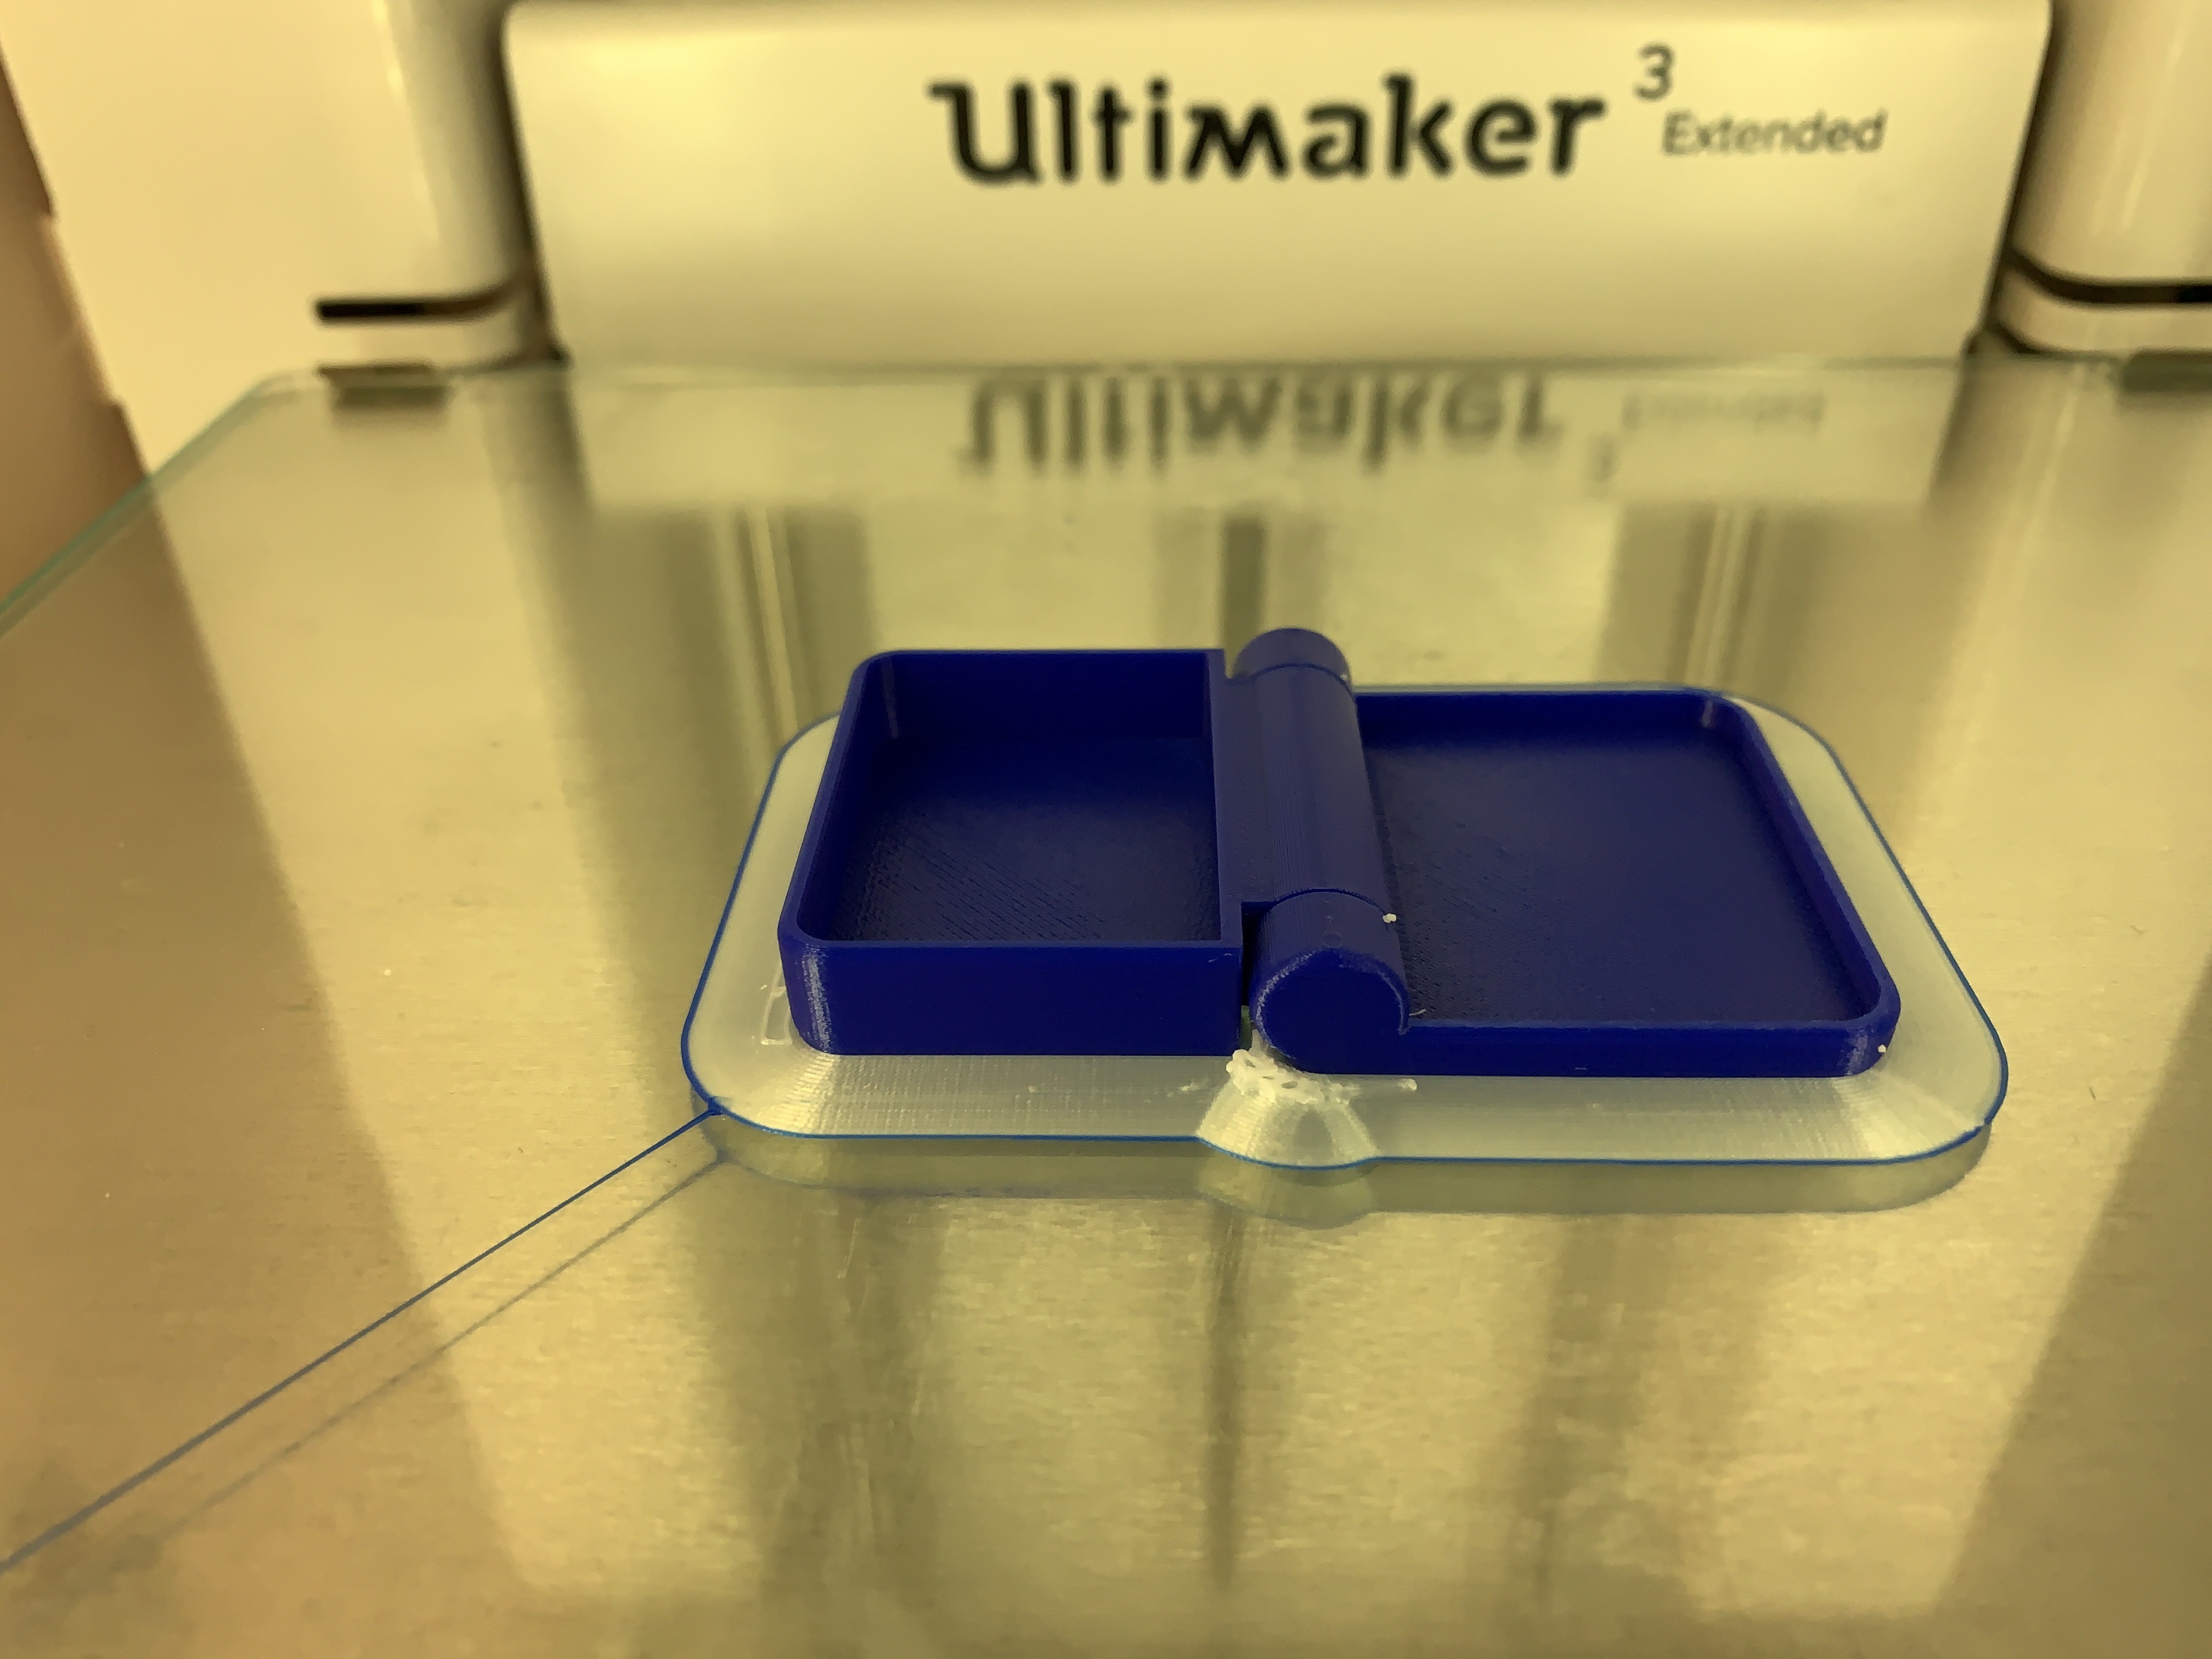
Designed using Autodesk Fusion 360, sliced using Cura 3.5.1, and printed in PLA on an Ultimaker 2+ Extended and an Ultimaker 3 Extended.
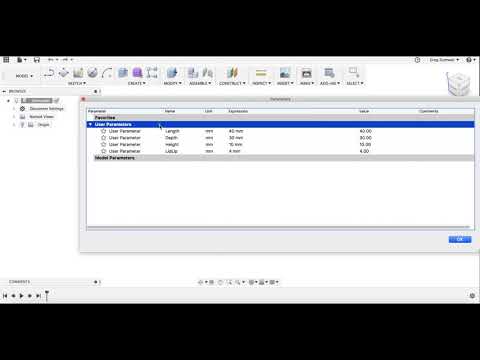
Step 1.
https://www.youtube.com/watch?v=--rvrzCc0zY
The model design starts with dimensioning, and I recommend starting with the values shown in the video.
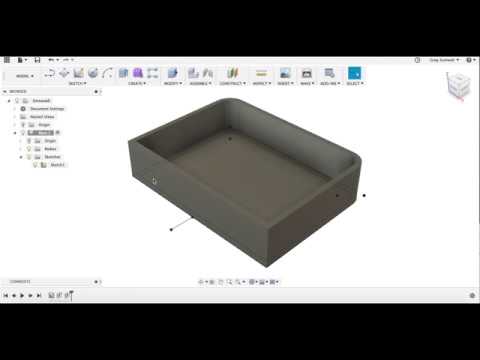
Step 2.
https://www.youtube.com/watch?v=xRGfBjjjOAE
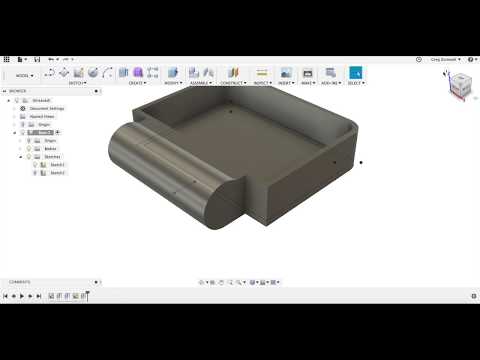
In this step, the outside perimeter of the base is defined as a series of lines using the dimensions Width and Depth (note that a rectangle was not used in this step since when the outside 4mm corner fillets are added, the rectangle constraints are removed causing the model to fail). The base wall thickness is defined towards the base interior using the Thickness dimension. Finally, the base is extruded.
Step 3.
https://www.youtube.com/watch?v=Jc7OKoUhcgo
In this step, the sketch and extrusion for the base hinge are created. Note the hinge center line is (Height / 2) above the X axis.
Step 4.
https://www.youtube.com/watch?v=IuY6uCjj1Tw
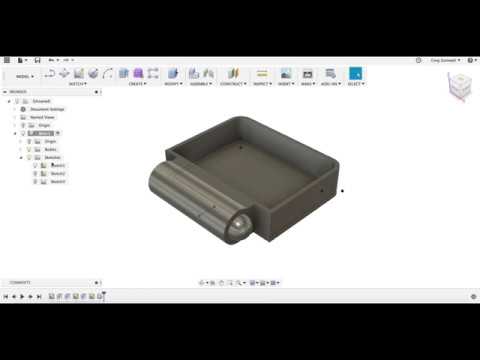
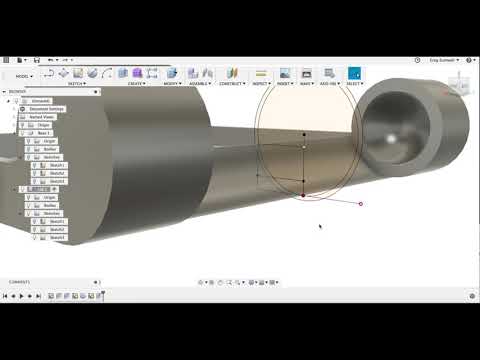
In this step, the sketch and revolve for the base hinge ball joints are created.
Step 5.
https://www.youtube.com/watch?v=go69aT51X8A
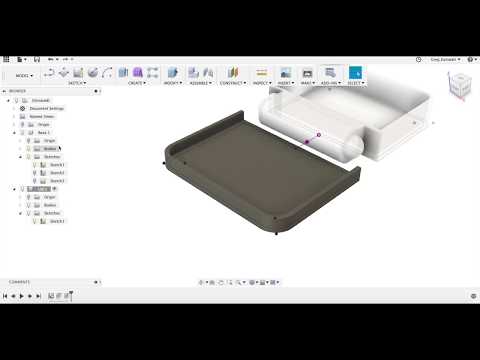
In this step, the inside perimeter of the lid is defined as a series of lines using the dimensions Width, Depth and Tolerance (note that a rectangle was not used in this step since when the outside 4mm corner fillets are added, the rectangle constraints are removed causing the model to fail). The lid wall thickness is defined towards the lid exterior using the Thickness dimension. Finally, the lid is extruded.
Step 6.
https://www.youtube.com/watch?v=a5mrG3bHNmo
In this step, the sketch and revolve for the lid hinge sockets are created.
Step 7.
https://www.youtube.com/watch?v=f_XyWosQbZk
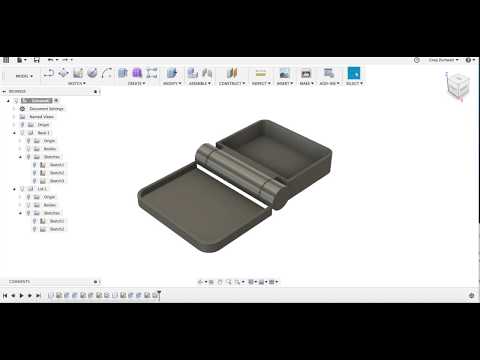
In this step, the sketch and extrusions for the lid to lid hinge sockets are created.
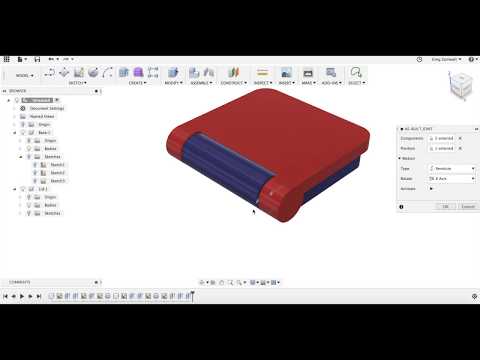
Step 8.
https://www.youtube.com/watch?v=RgUQuApNmY0
In this final step, color, joint, joint limits and animation of the lid are created.
And that is how I created Designing a Parametric "Print in Place" Hinged Container Using Autodesk Fusion 360.
Hope you enjoyed it!
:format(webp)/https://fbi.cults3d.com/uploaders/13550170/illustration-file/0af80681-307b-4589-9d3f-c8f14a707e94/Image0001a.jpg)