3D model description
Note: this includes LaFactoria3D's original mask parts that this is designed to fit. It's a great design, and I include it here because they have since updated the mask base in a way this cannot fit. If you feel their updated version provides better protection I urge you to use it instead.
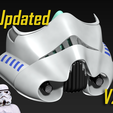
UPDATE: Now with a wider version that better silhouettes the shape properly, the filter pieces fit better, the "teeth" inside the nose grille are a better shape, and I've repaired the thin edge along the bottom where it got way too thin. I found this wider version fits on my Ender 3 print bed if I rotate it by the same way as described below.
ANOTHER UPDATE: Added a thicker model option, which will allow for more structural strength should you print one at a smaller scale for smaller faces.
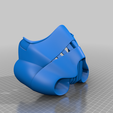
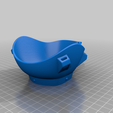
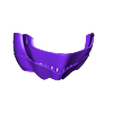
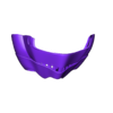
Replacement cap for LaFactoria3D's COVID-19 MASK
While printing mask parts for Lowell Makes I wanted to find some way to help healthcare workers relieve some stress. Making replaceable caps seems the best way to offer an adjustment; these clip right onto existing masks without interfering with function and maybe they can lighten the mood in pediatrics.
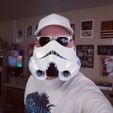
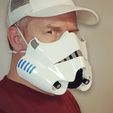
After several requests I can now share the Stormtrooper mask. This one took a while... I was really happy with the base when I discovered I couldn't slice it (using Cura for my Ender 3). I had to make the front a little more blunt and adjust the side tubes and cheeks just so it will fit if rotated 45 degrees on the print area. I think it still looks fairly close if detailed, but I worry the inaccuracies wouldn't pass muster with the 501st.
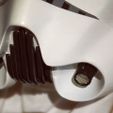
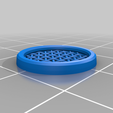
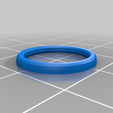
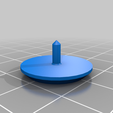
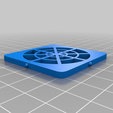
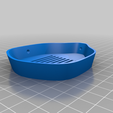
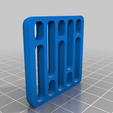
You have a couple filter options depending on how detailed you want to make it. If you want to add metal filters you can fit them in under the filter caps. If you use the filter screen caps instead you can still paint the inside. And if you're not worried about such things, there's a completed version. A fastener is included although a pair of wood screws might be more secure.
I had to compromise the connection ring so it would fit the front vent, so there's a chance this might need to be glued onto the main part of the mask. If it's not secure when I get to print my own I'll try and update the model.
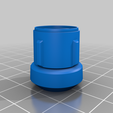
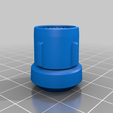
Because the connection arms do not provide protection to keep the filter element in place you can insert the 'Filter Retention Doodad' at the end before attaching the assembled cap. I'll upload a few options of this doodad as a separate download in the future so you have different looks when they're more visible.
Also note that while it slices to use around 100g of filament it needs another 40g for tree supports.
Instructions on how to assemble the rest of the mask efficiently and good materials to use can be found here, thanks to GiveWave Studios: https://youtu.be/9ItpExBEieY
If you find any issues with it or it my instructions are not clear, please let me know so I can make adjustments.
3D printing settings
Most importantly here is to first check that the mask will fit on your printer bed. I use Cura, so my slicer settings are based on it.
The wider version works on my Ender 3 if I rotate it nose-down around 15 degrees, then turn it to a side 45 degrees. Then it can be nudged back and forth until it fits in a printable area. Once you have this figured out, use tree supports and block any supports above the top of the upper clip attachment piece (just so they don't reach up to the top edge). Once that's figured out, the rest is easy peasy.

/https://fbi.cults3d.com/uploaders/14719774/illustration-file/6ae2d9af-8c1f-4827-955b-d7ab56b61ada/StormtrooperV2.png)
