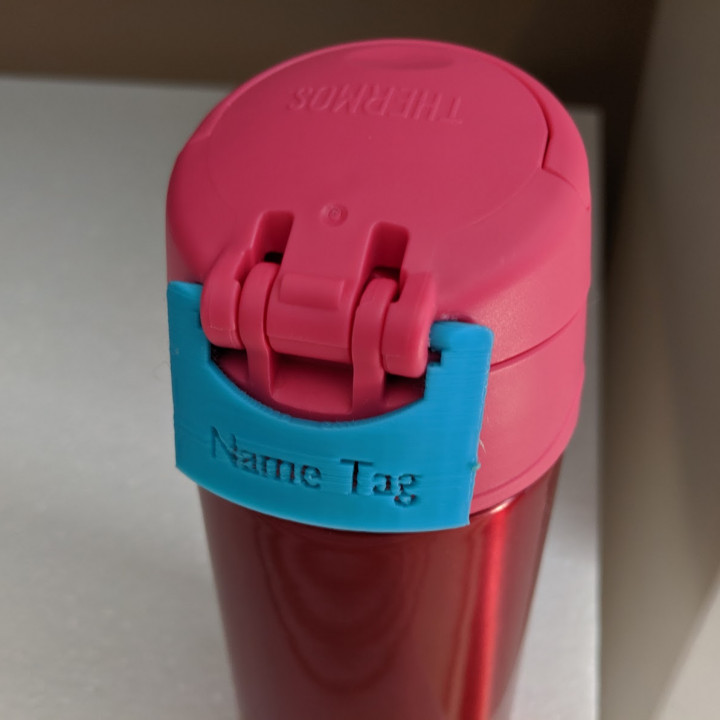
Thermos FUNtainer 12oz 355ml bottle Name Tag


Thermos FUNtainer 12oz 355ml bottle Name Tag
Published 2019-09-12T03:20:14+00:00
My Daughter did not want a name tag attached to the handle..... sigh....
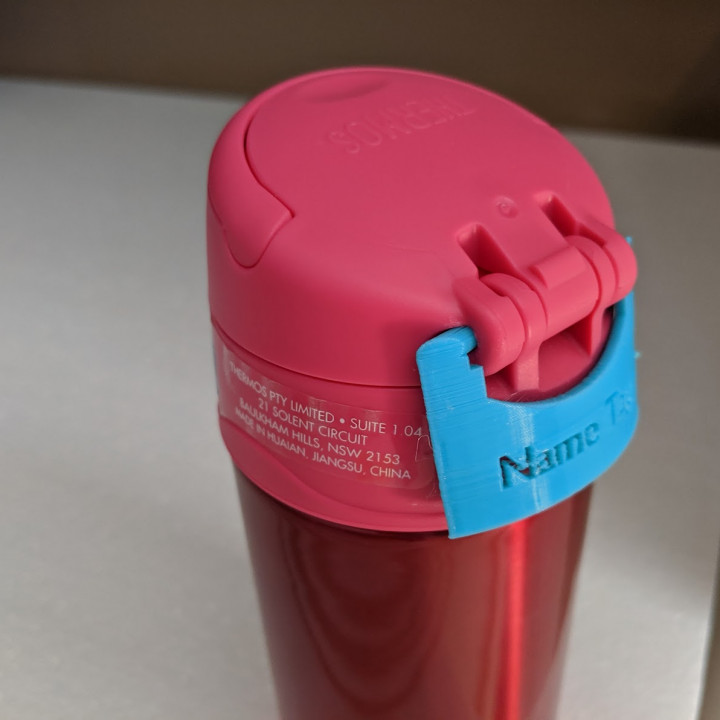
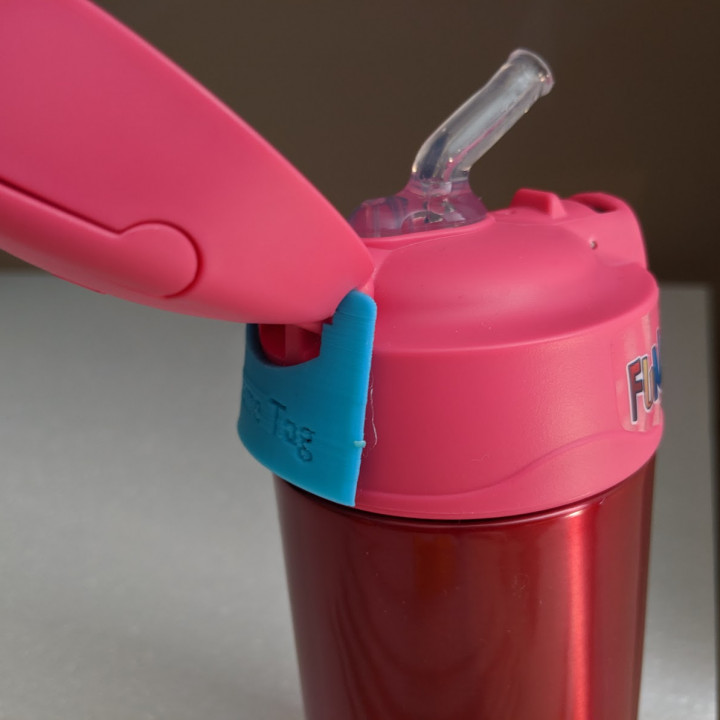
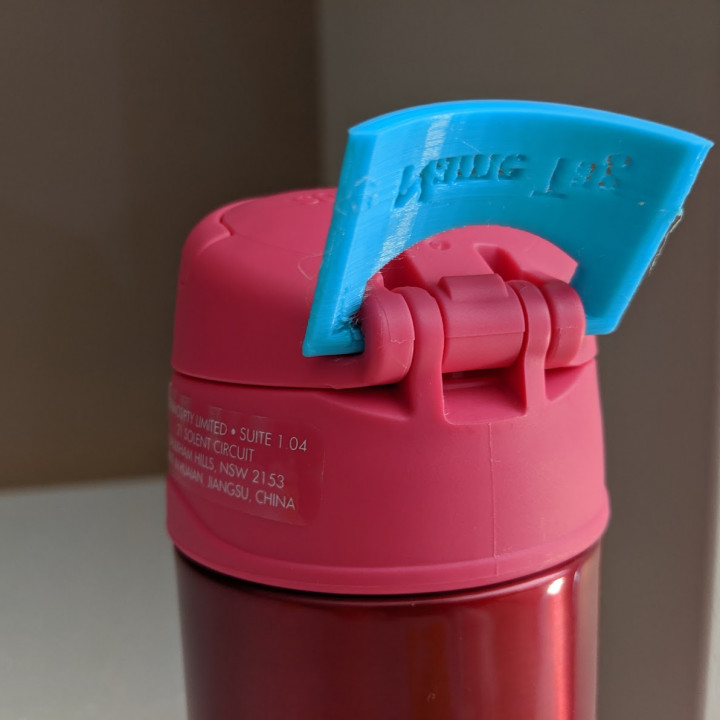
designed this to fit in the hinge of the Thermos FUNtainer 12oz 355ml bottle,
Might also fit the 16oz 470ml bottle, but i don't have one to test, please leave a comment if you try i on the 16oz 470ml bottle.
!-------------------------------------------------------------
Name tag for the Thermos 18oz 530ml bottle
https://www.myminifactory.com/object/3d-print-122953
!-------------------------------------------------------------
blank stl provided so that you can put your own name on it.
designed in FreeCAD,
curved name/text added in Blender
to add name/text in blender 2.8
file > import > stl
on the right, Context/Scene > Units > Unit Scale 0.001, Length Millimeters
on top Overlays > 0.001
Add > Curve > Circle
Context/Object > Scale, for X Y and Z to 33.75
add > text
tab to edit text,
Context/ObjectData > Font > Size 7.5 (adjust accordingly)
Context/ObjectData > Extrude 2mm (or more)
Context/Object > Rotation X 90, Rotation Z 180
i like to duplicate the text object at this point,
select text, on top left, Object > Convert to > Mesh from Curve....text
press "tab", drag mouse to select all the text object, press "x" on keyboard, > Limited Dissolve, "tab" to exit edit mode
Context/Modifiers > Add Modifier > Deform > Curve
Object > select the circle object, by default BezierCircle
click on mode mode on top left, move to make it bigger along the circle, and mode to desired location. "Apply" when ready
hide the text object
click on the Thermos NameTag blank ocbject,
to make a hole
Context/Modifiers > Add Modifier > General > Boolean > Difference, object, select the mesh Text, apply
delete all object , except for the tag,
file > Export > STL
import into slicer, print!
TIP:
to fit the tag to the bottle, do not try to bend the retaining tip, they will break,
instead, with the name tag facing you, hold the back with your fingers, and press down on the middle (where the text are), with your thumb, this will flex the whole thing, and will make the retaining tip go further apart, put in one side first, then the other, and release,...
FreeCad file included


printed standing up with no support, but a little bit of cleaning was required under the retaining clips. (PETG is recomended over PLA on this orientation)
for maximum strength,
print with text facing up, with support, with 0.15 layer height, with a high wall line count, like 10, i use 15. Might need to sand the edges and corners a bit afterwards.
if annealing PLA. scale it up o compensate for shrinkage, for mine it was 105.4% - 105.5%, but all pla are different,
annealing done in 110 degress C, over 20 min, with support still attached.
| Date published | 12/09/2019 |
| Time to do | 30 - minutes |
| Material Quantity | 2 grams |
| Dimensions | 45mm X 7.9685mm X 30mm |
| Support Free | YES |