23 April 2020
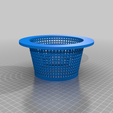
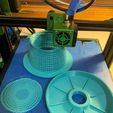
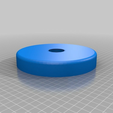
Added image for the PETG printed basket. That's been in the water now for 1 1/2 months now and still looks good. No sign of any deterioration. The basket floor didn't print all that well, but a bit of cleanup had it working OK and was able to glue it to the base of the basket. The basket printed with a fair bit of stringing, so I haven't got the settings quite right yet.
I never bothered at all in the end with the lift ring.
5 March 2020
Added some updated files (066P xxx)
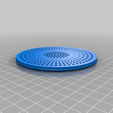
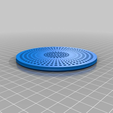
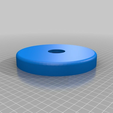
Improved and stronger Lid (Basket Cover)
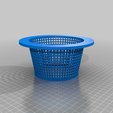
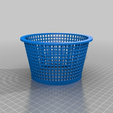
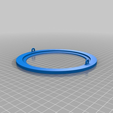
Improved and stronger Basket (basket wo base)
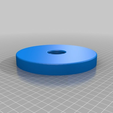
Slight strengthening of floor (skimmer basket floor)
I am currently printing the three up in PETG by Polymaker (Polylite PETG)
As this is the first time I've used PETG the settings are a bit of guess work. But:
Initial layer Temp 240C, Main layers 235C, Initial Speed 10m/s, normal 40m/s Bed @ 80C.
I will post up the results once completed.
Using PLA the Prints last a couple of months before they break, so I hope that the PETG improves their life expectancy a bit.
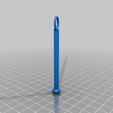
17 Oct 2018: I've added 5 more files. I have not tested the lift ring and the basket floor yet (only finished the design tonight). But the idea is to replace the handle with a center mounted lift ring. It should just take a small stainless/aluminium screw, to fix them together.
So the lift ring (066a Lift ring) and the updated floor (066h skimmer basket floor) go together.
Also added a more reinforced (66b thin cover), updated original cover (066i skimmer basket cover), the original design failed when I neglected to turn the pump of before trying to lift the cover off and pulled a hole right through. It's a bit thicker (probably too thick but at least it won't fail).
Finally, the rim and basket combination (066a basket wo base) now combines the rim and basket into one unit. It was starting to annoy me each time and there is no need to separate them now. The rim, is now sans the mounts for the handle (which is why I added the lift ring), but not sure how that will work in practice yet. As in previous builds the floor/base needs to be super glued to the basket.
(Original)
After having bought several of these pool skimmer baskets over the years, The store I bought them from has now closed down, so it's difficult to find a replacement for the same size basket. Most are larger than this one and almost no one seems to sell the basket cover. So my solution, 3D print it. Now at least I can replace it whenever I need.
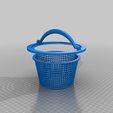
The basket and cover consist of the Cover, over the basket, with hole for the hose and seals itself onto the basket rim. The rim, which takes the handle and carries the remainder of the basket. The basket upper and the basket floor. I've broken these up so that they can be printed separately without supports, and just fit together. The floor I superglue to the basket upper,but the rest just slot together nicely. You could glue the rim and basket together if you need/want, there is a built in rim that gives a good purchase. I haven't had the basket fall apart yet after having it in the pool for a month now. The separate pieces should also allow you to scale them up a bit to suit your pool dimensions.
At the next iteration I plan to modify the cover to take a screw thread for the standard pool elbow hose. At present, it just takes a flexible pool rubber elbow.
Edit: I managed to break the handle loop (Top of the image, showing the basket in the leaves) , so I will move and strengthen that next iteration. It can't go wider as it conflicts with the cover. so it has to move closer to the inner edge.

/https://fbi.cults3d.com/uploaders/15503229/illustration-file/5c565ed6-e9b2-471f-b6f0-108410d399c4/066p_basket_wo_base.png)
