Skip to content

Warbirds Rockets

Advertising
?
Creation quality: 5.0/5 (1 vote)
Evaluation of members on the printability, utility, level of detail, etc.

  • 919 views
  • 4 likes
  • 23 downloads

License
3D design format
STL Folder details Close
  • Pringles_F4U_Rocket_Display_Prop.stl
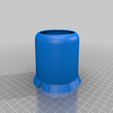
  • Pringles_F4U_Rocket_Fins.stl
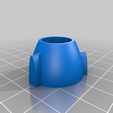
  • Pringles_F4U_Rocket_Nosecone_Base.stl
  • Pringles_F4U_Rocket_Nosecone_Cowling.stl
  • Pringles_F4U_Rocket_Nosecone_Engine_Front_Bank.stl
  • Pringles_F4U_Rocket_Nosecone_Engine_Rear_Bank.stl
  • Pringles_F4U_Rocket_Nosecone_Front.stl
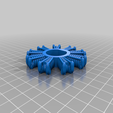
  • Pringles_F4U_Rocket_Prop_Hub.stl
  • Pringles_F4U_Rocket_Prop_Peg.stl
  • Pringles_P-40_Rocket_Fins.stl
  • Pringles_Rocket_Launch_Lug.stl
  • Pringles_Warbird_Rocket_Prop_Peg_Magnets.stl
  • Pringles_p-40_Rocket_Display_Prop.stl
  • Pringles_p-40_Rocket_Nosecone.stl
  • Pringles_p-40_Rocket_Prop_Hub.stl
  • Pringles_p-40_Rocket_Prop_Hub.stl

Learn more about the formats

Publication date 2021-03-23 at 01:56
?
Published to Thingiverse on: 2019-10-17 at 05:32
Design number 338258

3D printer file info

3D model description

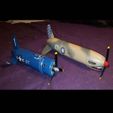
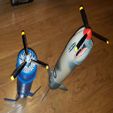
I remixed my "F-Bomb" rocket (https://www.thingiverse.com/thing:3123333) to produce these two rockets themed after some of my favorite warbirds.

These rockets use many parts from the F-Bomb, basically replacing only the nosecone and the tail fin units. Everything else you will need to get from the original design.

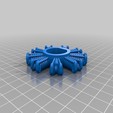
The F4U rocket flies, but demonstrates a little instability, so make it at your own risk. That is to say, it mostly goes up. Just not as straight as I'd like. I suspect the interesting fin arrangement may be causing issues, so I might remake the fins at some point.

The P-40 rocket, however, is a very solid performer with perfect flights every time. My last flight on a D12-3 took it to 348 feet at 98mph.

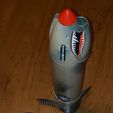
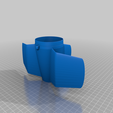
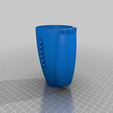
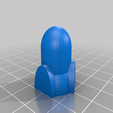
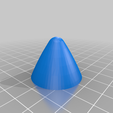
The nosecone for the F4U has several parts that will need to be assembled in this order...
1) On the base, slide on the rear motor bank.
2) Then slide on the front motor bank.
3) Finally slide on the motor front. You should probably glue this piece on. It will hold the other pieces in.
4) Over this assembly, slide the motor cowling and glue in place. The flat portion of the cowling (without the flaps), fits into the notch on the base.

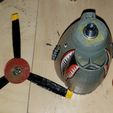
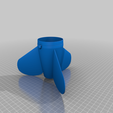
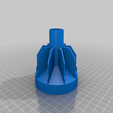
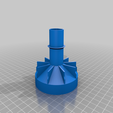
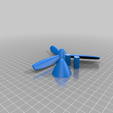
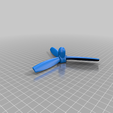
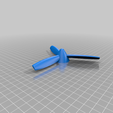
Both nose cones are designed to use a 6700zz bearing. A peg fits into this bearing and then into the spinners. There are two spinners for each nose cone. A "Display" spinner with the props and a "For flight" spinner that has no props. I leave it up to you to chose what you want on the rocket when you fly it, but I'm betting the display spinner could create unexpected results.

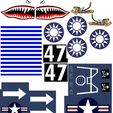
I printed the decals on label stock and applied them to the rockets, but I don't really recommend this as they don't look as good as they would printed on decal stock (which would require you to print a base of white, then mask the areas the decals would go on).

I've flown both these on D12-3s, but as you can see from the videos below, the F4U was a little wobbly in flight. This may have been due to the Pringles can for the body being a little short, the odd design of the fins, or it may simply have been underpowered. It flew well enough for me, though. The P-40 version flew very well.

P-40 Video: https://www.youtube.com/watch?v=F79Su97eT6o
F4U Video: https://www.youtube.com/watch?v=0yiRipgKEiE

UPDATE: I split the P-40 display prop and prop hub into two separate STLs to make them easier to print. I also added the "hollow" prop peg I actually used on my rockets. I put 6mm x 3mm round magnets in there and glued one magnet inside the peg and another in both the display and launch version of the hubs. The peg then stays inside the 6700zz bearing in the nosecone and you can easily switch the display and launch version of the hubs.

3D printing settings

-

Tags

Advertising


Issue with this design? Report a problem.

Would you like to support Cults?

You like Cults and you want to help us continue the adventure independently? Please note that we are a small team of 3 people, therefore it is very simple to support us to maintain the activity and create future developments. Here are 4 solutions accessible to all:

  • ADVERTISING: Disable your banner blocker (AdBlock, …) and click on our banner ads.

  • AFFILIATION: Make your purchases online by clicking on our affiliate links here Amazon.

  • DONATE: If you want, you can make a donation via Ko-Fi πŸ’œ.

  • WORD OF MOUTH: Invite your friends to come, discover the platform and the magnificent 3D files shared by the community!


Sharing and downloading on Cults3D guarantees that designs remain in makers community hands! And not in the hands of the 3D printing or software giants who own the competing platforms and exploit the designs for their own commercial interests.

Cults3D is an independent, self-financed site that is not accountable to any investor or brand. Almost all of the site's revenues are paid back to the platform's makers. The content published on the site serves only the interests of its authors and not those of 3D printer brands who also wish to control the 3D modeling market.

100% secure payment by credit card, PayPal, Apple Pay, Google Pay, etc.
View all payment options.