Skip to content

Raspberry Pi Desktop Retropie Arcade & 7" Screen

Advertising
?
Creation quality: 5.0/5 (1 vote)
Evaluation of members on the printability, utility, level of detail, etc.

  • 3.9k views
  • 5 likes
  • 62 downloads

License
3D design format
STL Folder details Close
  • Arcade_-_7in_NO_touch_screen_hood-1.STL
  • Arcade_-_Arcade_Base_Lower_Front-1.STL
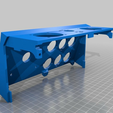
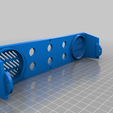
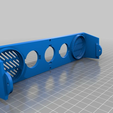
  • Arcade_-_Arcade_Button_Panel-1.STL
  • Arcade_-_Back_Cover-1.STL
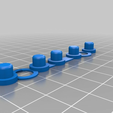
  • Arcade_-_Screen_Buttons-1.STL
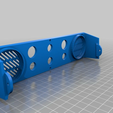
  • Arcade_-_Speaker_Panel-3_button.STL
  • Arcade_-_Speaker_Panel-6_button.STL

Learn more about the formats

Publication date 2021-03-29 at 19:16
?
Published to Thingiverse on: 2018-12-12 at 18:39
Design number 350776

3D printer file info

3D model description

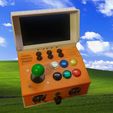
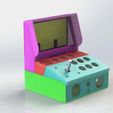
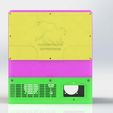
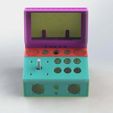
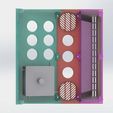
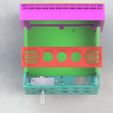
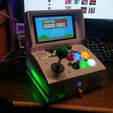
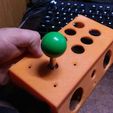
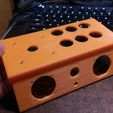
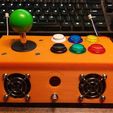
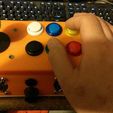
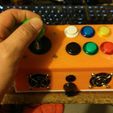
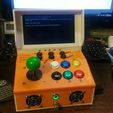
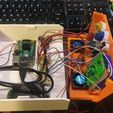
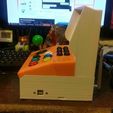
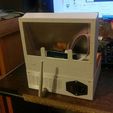
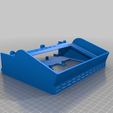
This is a desktop arcade measuring 200mm wide and about 180mm deep.

It is meant to use arcade parts and a raspberry pi 3 or compatible board.

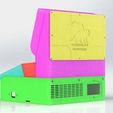
There's access to the SD card along the right side.

Some action here: https://youtu.be/QICjMc53SiY

#Instructions

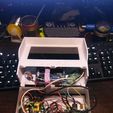
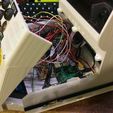
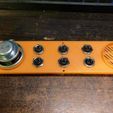
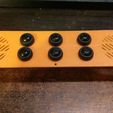
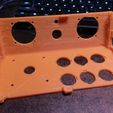
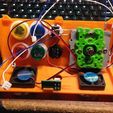
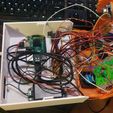
First off mount the raspberry pi, the buttons and speakers in the panels. Once this is done you can mount the USB header and power supply.

I just drilled holes to mount the power supply and USB button controller in the case. Due to the millions of options for these out there there are no hole or bosses included.

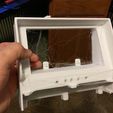
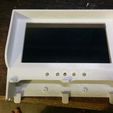
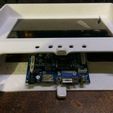
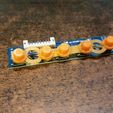
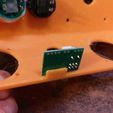
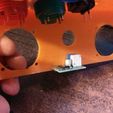
Once the parts are mounted you can snap the screen into the bezel and mount the circuit boards for it. I found the USB Power cord way too large on mine so soldered the power wires right to the back of the plug on the board to save space.

Install Retropie on your SD card, put ROMs in and go! See Retropie's website for details:

https://retropie.org.uk/

#Parts List

This is what I bought and what I am designing it around. You don't have to buy the same but do know this is what I used.

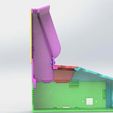
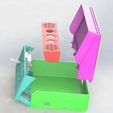
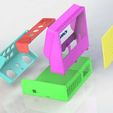
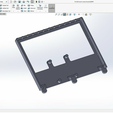
So far the screen slides into snaps on the back and the front button panel is hinged. When you install the speaker cover it ties it all together securely.

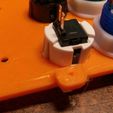
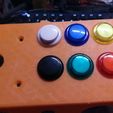
I used hot glue to secure the screen in the frame and superglue to attach the speakers. The buttons have cutouts in the back so they can snap in easy.

See it in action: https://youtu.be/vsuSDn4yhVY

#Thank you!

#Updates

  • 12/12/18 Worked on it all day and uploaded the progress. At this point it's 90% complete. All the listed parts have been ordered and printing will begin this weekend once I can confirm the screen layout.

  • 12/15/18 Got most of the parts in today and decided to go ahead and change the design to make assembly easier. The whole front panel now is attached to the button panel making access much easier. Unit still goes together on the main body with just 6 screws. All files updated!

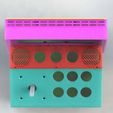
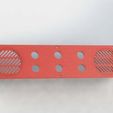
  • Update 2! It's now in line to be printed. I have all the parts and the STLs have been edited. I added a 6 button center panel for MAME style games. The extra 3 buttons give you coin, player 1, player 2 for true arcade style gaming using small push buttons like https://www.amazon.com/gp/product/B0119FH5Z2

  • 12/16/18 Printed some of the parts and making minor tweaks. Changed the speaker surround size and made it taller for easy gluing. I am building mine with MAME buttons so I can attach the MODE of the USB arcade controller to one of them. Edited the mount for the audio amp and volume knob.

Edited the screen hood so the standoff for the board are positioned so the board can be glued to it. This way many boards fit and fit more reliably.

  • 12/23/18 Updated all files! Machine is built and working great. Made some slight design changes to make assembly easier.

  • 12/27/18 All files updated and ready to go. Test prints and first unit came out perfect.

  • 3/12/19 Updated parts list and instructions.

3D printing settings

-

Advertising


Issue with this design? Report a problem.

Would you like to support Cults?

You like Cults and you want to help us continue the adventure independently? Please note that we are a small team of 3 people, therefore it is very simple to support us to maintain the activity and create future developments. Here are 4 solutions accessible to all:

  • ADVERTISING: Disable your banner blocker (AdBlock, …) and click on our banner ads.

  • AFFILIATION: Make your purchases online by clicking on our affiliate links here Amazon.

  • DONATE: If you want, you can make a donation via Ko-Fi πŸ’œ.

  • WORD OF MOUTH: Invite your friends to come, discover the platform and the magnificent 3D files shared by the community!


Sharing and downloading on Cults3D guarantees that designs remain in makers community hands! And not in the hands of the 3D printing or software giants who own the competing platforms and exploit the designs for their own commercial interests.

Cults3D is an independent, self-financed site that is not accountable to any investor or brand. Almost all of the site's revenues are paid back to the platform's makers. The content published on the site serves only the interests of its authors and not those of 3D printer brands who also wish to control the 3D modeling market.

100% secure payment by credit card, PayPal, Apple Pay, Google Pay, etc.
View all payment options.