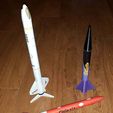
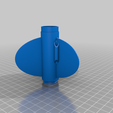
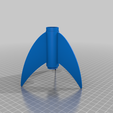
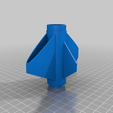
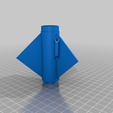
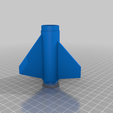
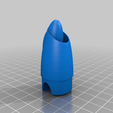
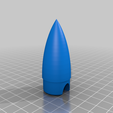
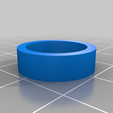
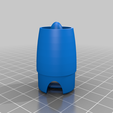
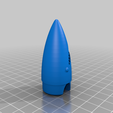
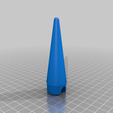
I plan to have a "Rocket Day" with some family to recover from the Covid Quarantine days and designed this rocket kit for the event. There are five nose cones and five fin units that can be mixed and matched in however you see fit resulting in 25 different combinations.
To build one of these rockets you will need:
1 of the Fins
1 of the nose cones
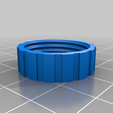
1 of the motor retainers
1 of the motor stops
1 BT-50 body tube
1 BT-20 body tube (cut to 90mm)
1 12" parachute
1 18" (or so) piece of 1/8" elastic.
Modelling clay
You can cut the 24mm body tube to the length you want. The White and red rockets in the photo use 9" of tube while the Purple rocket is using 5.5" of scrap tube I had laying around. The longer the body tube the less weight you will have to add to the nose. The standard length of BT-50 tubes is 18", so using 9" tubes you can build two rockets. And since they come multi-packs of 3-6 tubes, it's really easy to assemble a bunch of kits by cutting tubes to length and printing enough parts.
Build Instructions:
After printing and cleaning up the parts, the 90mm of engine tube can be glued into the fin unit with the bottom of the motor tube flush with the threaded end of the fin unit. The motor stop is glued inside the motor tube in such a way that the motor also comes flush with the bottom of the fin unit. The fin unit can then be glued into the bottom of the body tube. I used epoxy for all this.
For the shock cord (Elastic), I used the Estes paper wedge design with the shock cord folded twice in a paper wedge and then glued about 1.5" down inside the top of the body tube. I then used a piece of nomex cloth slid over the shock cord instead of recovery wadding, but you can forgo that and just use wadding like regular small rockets. Tie the shock cord to the nose cone and attach the chute to the nose (or make a loop about 4" down from the nose and attach it there, like I did).
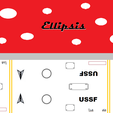
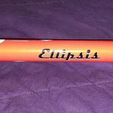
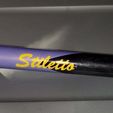
Decorate the body however you like, but I've provided some sample files you can print on label stock (I used vinyl label stock with a glossy finish). You can then cut out the entire piece and wrap the body tube. The lines to the sides of the decals mark 1/4 spacing around the body tube and can be used to align your designs.
You will need to drill a hole in the bottom of the nose and will need to pack in modelling clay to balance the rocket for stability. 3D printed fin units are on the heavy side compared to the regular plastic units that come with some rocket kits, and so it's important to get the rocket balanced.
Balancing:
To balance a rocket, load it like you would for flight with a motor in it. I like to balance it with the largest motor I plan to use, so for these that would be a C6-5. The balance point should be about 1.5", give or take, above the fin unit, so use that as a starting point. Add clay to the nose until it balances there. Tie a 10 foot string to the rocket at this point and, with the rocket still loaded, take it out to a clear area and swing it around your head. A balanced rocket should swing nose first. If it tumbles, experiment with adding weight to the nose until it swings straight.
The attached videos show these flying on an A8-3, a B6-4 and a C6-3. Normally I'd not recommend a C6-3 over a C6-5, however as these rockets need the longer delay. I just didn't happen to have any C6-5s.
Videos of the launches:
Stiletto (A8-3): https://www.youtube.com/watch?v=FJ7HFNuknOA
Ellipsis (B6-4): https://www.youtube.com/watch?v=pr781X4bs-M
Stiletto (C6-3): https://www.youtube.com/watch?v=ov_A_whR3xA

/https://fbi.cults3d.com/uploaders/17181044/illustration-file/3e207be1-1094-4164-a24c-6004810fbf6b/Trio.jpg)
