Skip to content

DIY Spectroscope with USB Webcam and Grating

Advertising
Advertising
?
Creation quality: 5.0/5 (1 vote)
Evaluation of members on the printability, utility, level of detail, etc.

  • 3.9k views
  • 1 like
  • 45 downloads

License
3D design format
STL Folder details Close
  • Bot_short.stl
  • Case_Base_Bottom.stl
  • Case_Top_Lid.stl
  • Fixture_AUSDOM1080p.stl
  • Grating_Holder_Frame.stl
  • Slit_Holder_Frame.stl
  • Top_short.stl
  • Top_short.stl

Learn more about the formats

Publication date 2021-04-25 at 23:32
?
Published to Thingiverse on: 2019-01-12 at 23:37
Design number 411644

3D printer file info

3D model description

Update Feb06 2020
I uploaded a shorter version as requested in the comments.
If someone tests this shorter design, please let me know, if it works as expected.


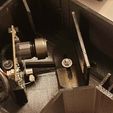
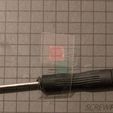
This is an optical spectroscope for near-UV to near-IR spectroscopy based on a CMOS webcam in conjunction with an optical grating (i.e. 1000 lines grating).
It works with free software (for non-commercial use), like the very sophisticated SpectraGryph and the less complex Theremino Spectrometer v2.7 or with Public Lab online via spectralworkbench.org.

https://www.effemm2.de/spectragryph/
http://www.theremino.com/en/downloads/automation#spectrometer

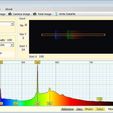
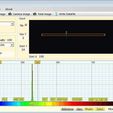
I added two reference measurement figures of my setup with a 1000 lines/mm grating.
First figure shows the calibration based on an energy saving lamp and its Hg-lines (436nm, 546nm calibration lines) and the other figure is a proof measurement of a green laser (532nm). Accuracy is quite good and completely sufficient for my needs.

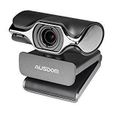
A fitting webcam for this purpose is the AUSDOM 1080p Full HD PRo Webcam. It is easy to disassemble (only 4 screws) and the IR filter in the objective can be removed (tip: attach a strip of Tesa on the filter first in case it cracks). Of course, any LED of the webcam has to be cut off as well.

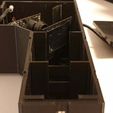
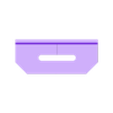
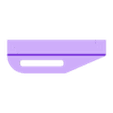
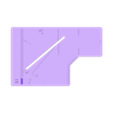
The whole assembly consists of 5 parts:
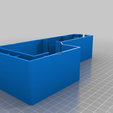
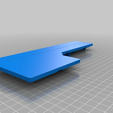
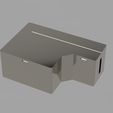
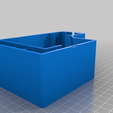
- case base for mounting and adjusting everything
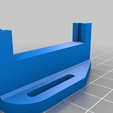
- camera fixture (for AUSDOM 1080p PCB here)
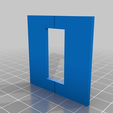
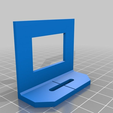
- Grating frame holder
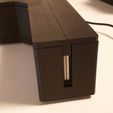
- Slit holder
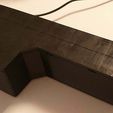
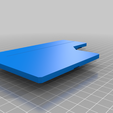
- case top lid

For the assembly you will also need
- one bare webcam (without housing) like an AUSDOM 1080p Pro
- graiting foil (1000 or 500 lines)
- 2 blades or similar for the slit
- 2x M3 20mm screw + nuts + washers

I attached the camera pcb and the grating foil with superglue to the respective holders.
2x M3 20mm with nuts and washers fix the camera and the grating holder to the base.
The grating holder should be adjusted to the 140Β° marking and the camera to the 150Β° marking. Other ratios are possible for increased resolution but might be harder to adjust to.

3D printing settings

-

Advertising


Issue with this design? Report a problem.

Would you like to support Cults?

You like Cults and you want to help us continue the adventure independently? Please note that we are a small team of 3 people, therefore it is very simple to support us to maintain the activity and create future developments. Here are 4 solutions accessible to all:

  • ADVERTISING: Disable your banner blocker (AdBlock, …) and click on our banner ads.

  • AFFILIATION: Make your purchases online by clicking on our affiliate links here Amazon.

  • DONATE: If you want, you can make a donation via Ko-Fi πŸ’œ.

  • WORD OF MOUTH: Invite your friends to come, discover the platform and the magnificent 3D files shared by the community!


Sharing and downloading on Cults3D guarantees that designs remain in makers community hands! And not in the hands of the 3D printing or software giants who own the competing platforms and exploit the designs for their own commercial interests.

Cults3D is an independent, self-financed site that is not accountable to any investor or brand. Almost all of the site's revenues are paid back to the platform's makers. The content published on the site serves only the interests of its authors and not those of 3D printer brands who also wish to control the 3D modeling market.

100% secure payment by credit card, PayPal, Apple Pay, Google Pay, etc.
View all payment options.