Skip to content

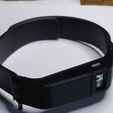
Enclosure and Wristband for FitBit Force electronics

Advertising
Advertising
?
Creation quality: 5.0/5 (1 vote)
Evaluation of members on the printability, utility, level of detail, etc.

  • 1.1k views
  • 1 like
  • 11 downloads

License
3D design format
SKP and STL Folder details Close
  • Fitbit-Force-Enclosure_1.stl
  • Fitbit-Force-Enclosure_2.stl
  • Fitbit-Force-Enclosure_3.skp
  • Fitbit-Force-Wristband_1.stl
  • Fitbit-Force-Wristband_2.stl

Learn more about the formats

Publication date 2021-10-11 at 23:08
?
Published to Thingiverse on: 2014-10-02 at 21:53
Design number 541216

3D printer file info

3D model description

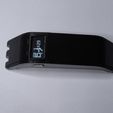
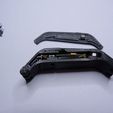
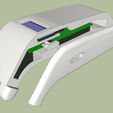
This is a replacment enclosure for the FitBit Force I have. I needed to open the device since the LiPo battery seemed to have died (it turned out that water found its way into the "sports" smartwatch (what did they think when they designed a fitness tracker which isn't waterproof???!)). Since opening this device means breaking it, I needed an new encolosure for the electronics.

Also I'm still trying to figure out how to make the charger connection, the opening to access the pins is there, but the original charger connection is molded into the metal part of the old housing and therefore its not likely that I'll get it out in one piece (besides the fact that it needs the metal housing as a mechanical clip). Thinking of using a 2 mm spaced female header with some two component glue soldered to the board with small wires.

3D printing settings

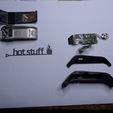
Opening the FitBit Force (without demaging the electronics) is quite difficult. The wristband(s) are glued to the main body so get rid of those first (just pry with a screwdriver under the wristband).

Then use a cutter nife and cut a little bit of the outer edge of the plastic cover and again pry it open with a small screwdriver. The whole top cover is one very thin plastic part.

Below the Display glued onto the plastic cover is also the NFC tag chip with the antenna, which can be peeled off and also put into the new enclosure.

You need to get the little Push-Button out of the old enclosure so it can be mounted on the new one. Also the plastic support/ mount under the display needs to be removed (without breaking the glass display or the flex-connector), so that the display fits in its new place.

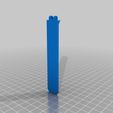
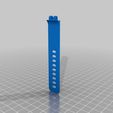
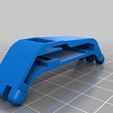
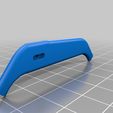
Added files for the wristbands, I printed them in PLA (still have to figure out how to print TPE with my Makerger M2...) and used hot water, to bring them into the shape I wanted them (on my wrist). It worked pretty well, even closing the wristband still works.

Advertising


Issue with this design? Report a problem.

Would you like to support Cults?

You like Cults and you want to help us continue the adventure independently? Please note that we are a small team of 3 people, therefore it is very simple to support us to maintain the activity and create future developments. Here are 4 solutions accessible to all:

  • ADVERTISING: Disable your banner blocker (AdBlock, …) and click on our banner ads.

  • AFFILIATION: Make your purchases online by clicking on our affiliate links here Amazon.

  • DONATE: If you want, you can make a donation via Ko-Fi πŸ’œ.

  • WORD OF MOUTH: Invite your friends to come, discover the platform and the magnificent 3D files shared by the community!


Sharing and downloading on Cults3D guarantees that designs remain in makers community hands! And not in the hands of the 3D printing or software giants who own the competing platforms and exploit the designs for their own commercial interests.

Cults3D is an independent, self-financed site that is not accountable to any investor or brand. Almost all of the site's revenues are paid back to the platform's makers. The content published on the site serves only the interests of its authors and not those of 3D printer brands who also wish to control the 3D modeling market.

100% secure payment by credit card, PayPal, Apple Pay, Google Pay, etc.
View all payment options.