This is a remix of https://www.thingiverse.com/thing:3485963 but when I try to make a remix of the original design thingiverse won't let me. Make sure you check out the original design and information.
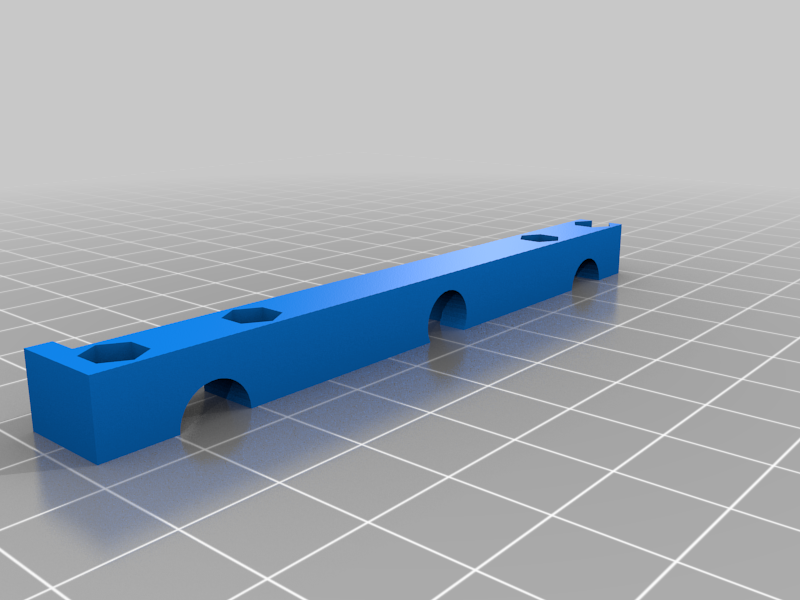
You have to remove the two roller bearings on the right side of the X gantry to install the bucket.
You will need some 1/16" or 1.5mm silicone sheet. I had a bunch from another project, there are lots of ways to get some. I've even seen people cut if from silicone cooking utensils or other cooking supplies.
I print the bucket standing up with supports.
I use Cura, and all the material changes are done within the End code of each extruder. Nothing is written in Start code for the extruders! I have copied and pasted the start and end codes I'm currently using for the printer, as well as the end codes for each extruder below. FYI this is not perfect, I'm no expert so you will likely end up changing things. There is a M104 to set the temp to 216. This was to try and prevent a delay where the extruder drops temp during the purge and has to heat back up. I typically print PLA+ at 215 so adding a degree seems to help it recover to 215 when the change is done. there is also a short 1.5 second delay in each change, this was to try and let it ooze just a little before it wipes the nozzle and moves back to the print. Make sure you turn off the purge tower in Cura. Also Build plate adhesion extruder needs to be set to Left Extruder.
Make a copy of your current SV02 printer and replace all the start and end codes with these. remember, NO Start code on the extruders.
Printer START code;
G21 ; Metric values
M201 X500.00 Y500.00 Z100.00 E5000.00 ;Setup machine max acceleration
M203 X500.00 Y500.00 Z10.00 E50.00 ;Setup machine max feedrate
M204 P500.00 R1000.00 T500.00 ;Setup Print/Retract/Travel acceleration
M205 X8.00 Y8.00 Z0.40 E5.00 ;Setup Jerk
M220 S100 ;Reset Feedrate
M221 S100 ;Reset Flowrate
G28 ; Home all
G29 ; Level Bed
G90 ; Absolute positioning ON
M107 ; Fan OFF
G1 Z15 F2400 ; Raise nozzle 15mm
T0 ; Extruder 1 ON
M211 X1 S0 ; Disable soft endstops
G1 X315 F6000 ; Move to bucket
G92 E0 ; Zero extruder
G1 E90 F500 ; Load filament
G92 E0 ; Zero extruder
G1 E60 F100 ; Purge
G92 E0 ; Zero extruder
G1 E-3 F3000 ; Short retract
G92 E0 ; Zero extruder
G1 X295 F6000 ; Wipe
G1 X315 F6000 ; Wipe
G1 X295 F6000 ; Wipe
G1 X315 F6000 ; Wipe
G1 X295 F6000 ; Wipe
G1 X315 F6000 ; Wipe
G1 X2.0 Y40 Z0.28 F5000.0 ;Move to start position
G1 X2.0 Y200.0 Z0.28 F1500.0 E15 ;Draw the first line
G1 X2.4 Y200.0 Z0.28 F5000.0 ;Move to side a little
G1 X2.4 Y40 Z0.28 F1500.0 E30 ;Draw the second line
G1 Y20 F5000 ; Wipe
G92 E0 ;Reset Extruder
G1 Z2.0 F3000 ;Move Z Axis up
Printer END code;
G91 ;Relative positioning
G1 E-6 F2700 ;Retract a bit
G1 E0 Z0.2 F2400 ;Retract and raise Z
G1 X5 Y5 F3000 ;Wipe out
G1 Z10 ;Raise Z more
G1 E-84 F2000 ;Withdraw filament
G90 ;Absolute positionning
G1 X Y230 ;Present print
M106 S0 ;Turn-off fan
M104 S0 ;Turn-off hotend
M140 S0 ;Turn-off bed
M84 X Y E ;Disable all steppers but Z
Left Extruder END code;
M104 S216 ; Set temp to 216 (one degree over print temp)
M211 X1 S0 ; Disable endstops
G91 ; Relative positioning ON
G1 E-6 F2700 ;Retract a bit
M400 ; Wait for finish
G1 E-4 Z0.1 F2400 ;Retract and raise Z
G1 X0.4 Y0.6 F3000 ;Wipe out
G1 Z0.9 F1000 ; Raise nozzle by 1mm
G90 ; Absolute positioning ON
G92 E0 ; Zero extruder
G1 E-80 F2000 ; Withdraw filament
G1 X315 F6000 ; Go to Purge Bucket
G92 E0 ; Zero extruder
T1 ; Extruder 2 ON
G92 E0 ; Zero extruder
G0 E90 F1800 ; Reload filament
G92 E0 ; Zero extruder
G0 E60 F180 ; Purge
G92 E0 ; Zero extruder
G1 E-0.00 F3000 ; Short retract
G92 E0 ; Zero extruder
M400 ; Wait for finish
G4 P1500 ; Delay 1.5 seconds
G1 X295 F6000 ; Wipe
G1 X315 F6000 ; Wipe
G1 X295 F6000 ; Wipe
G1 X315 F6000 ; Wipe
G1 X295 F6000 ; Wipe
G1 X315 F6000 ; Wipe
G92 E0 ; Zero extruder
G91 ; Relative positioning ON
G1 Z-1 F1000 ; Lower nozzle by 1mm
G90 ; Absolute positioning ON
M400 ; Wait for finish
Right Extruder End Code;
M104 S216 ; Set temp to 216 (one degree over print temp)
M211 X1 S0 ; Disable endstops
G91 ; Relative positioning ON
G1 E-6 F2700 ;Retract a bit
M400 ; Wait for finish
G1 E-4 Z0.1 F2400 ;Retract and raise Z
G1 X0.4 Y0.4 F3000 ;Wipe out
G1 Z0.9 F1000 ; Raise nozzle by 1mm
G90 ; Absolute positioning ON
G92 E0 ; Zero extruder
G1 E-80 F2000 ; Withdraw filament
G1 X315 F6000 ; Go to Purge Bucket
G92 E0 ; Zero extruder
T0 ; Extruder 1 ON
G92 E0 ; Zero extruder
G0 E90 F1800 ; Reload filament
G92 E0 ; Zero extruder
G0 E60 F180 ; Purge
G92 E0 ; Zero extruder
G1 E-0.00 F3000 ; Short retract
G92 E0 ; Zero extruder
M400 ; Wait for finish
G4 P1500 ; Delay 1.5 seconds
G1 X295 F6000 ; Wipe
G1 X315 F6000 ; Wipe
G1 X295 F6000 ; Wipe
G1 X315 F6000 ; Wipe
G1 X295 F6000 ; Wipe
G1 X315 F6000 ; Wipe
G92 E0 ; Zero extruder
G91 ; Relative positioning ON
G1 Z-1 F1000 ; Lower nozzle by 1mm
G90 ; Absolute positioning ON
M400 ; Wait for finish
:format(webp)/https://fbi.cults3d.com/uploaders/15014541/illustration-file/c34ea50f-b409-48ea-83c5-3db10fc40cfe/SV02_Bucket.png)

/https://preview3d-images.cults3d.com/variants/z4a3tuo84pp7yk53h76k1igtgaen/cbbb7afd8a0ec9560f7f7940881f98c31dcb04582a03efcc135070de65821be8)
/https://preview3d-images.cults3d.com/4kgkbowuc7o463t6x3uiyjn2fae5)


