Skip to content

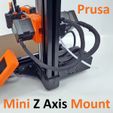
Prusa Mini & Clones Z Axis Rigid Mount

Advertising
Advertising
?
Creation quality: 5.0/5 (1 vote)
Evaluation of members on the printability, utility, level of detail, etc.

  • 6.5k views
  • 6 likes
  • 75 downloads
  • 1 comment

License
3D design format
STL and ZIP Folder details Close
  • Cable_Spacer.stl
  • Electronics_Housing_Mk1.stl
  • Foot_Washer_Mk1.stl
  • Prusa_Mini_Z_Axis_Mod_BOM1.zip
  • Z_Axis_Mount_MK1.stl

Learn more about the formats

Publication date 2021-06-09 at 21:59
Design number 448216

3D printer file info

3D model description

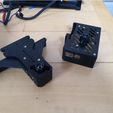
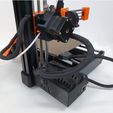
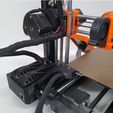
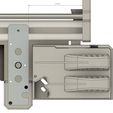
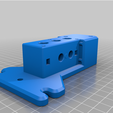
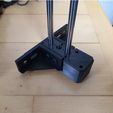
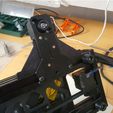
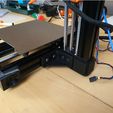
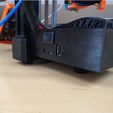
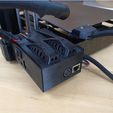
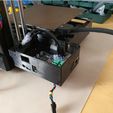
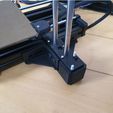
This is a replacement Z Axis Mount and Electronics Enclosure for The Prusa Mini & Clones.

The primary design motivation was to provide a much more rigid assembly to the Z Axis of the Mini. Since installing this mod on my clone I have found that the prints have far better layer construction and all ringing\ghosting that was witnessed in the stock arrangement is no longer present.

The separation of the Z Axis structural elements and the Electronics Enclosure makes life a lot easier in terms of general alignment and servicing. I have found both the X & Y axis alignment to the bed much better than the stock arrangement.

Installation

1.I have included a BOM with the uploaded files. Please note the links within the file are indicative for reference and not automatically the ones I have used.
2.I have suggested the M6 Screw Post Fit Nuts because the Collette is 8 mm and fits very snuggly into the holes in the 3060 bracket. A M6 x 50 can be used alternatively without the 30 mm threaded bar but will require a M6 Nylok to each bolt.
3.Retain the M3 T nut within the horizontal face of the adjacent 3030 extrusion to fix the top aluminium plate as per the existing configuration.
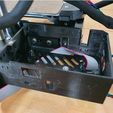
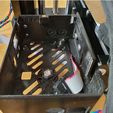
4.Insert the Display ribbon cable into the Electronics housing before fixing the housing to the extrusion and Z mount bracket.
5.There are included some sacrificial layers to some holes to allow the parts to be printed without support, these will need to be cleaned out prior to insertion of the relevant bolts.
6.To achieve the best parallel alignment all fixing should not be fully tightened until you are satisfied with the X & Y axis alignment.
7.I have included a cable spacer to allow the cables nearest to the Extruder motor to be returned away from the slightly higher Housing Lid and keep them clear from the heat of the stepper motor.
8.The design uses the existing Z Mount\housing lid.
9.The foot\spacer washer is required to space off the foot below the Electronics Housing to make it level with the rest.

Printed with Real Black PETG on my HEVO.
1.Z Axis Mount printed @0.25 layer height with 3 perimeters, 40% infill and 4 layers to top and bottom @ 50 mms.
2.Electronics Enclosure printed @ 0.25 layer height with 2 perimeters, 20% infill, 3 layers top & bottom @ 50 mms.

Detachable Cooling Duct can be found here:
https://cults3d.com/en/3d-model/tool/prusa-mini-detachable-cooling-duct
https://www.thingiverse.com/thing:4881770

Advertising


Issue with this design? Report a problem.

Would you like to support Cults?

You like Cults and you want to help us continue the adventure independently? Please note that we are a small team of 3 people, therefore it is very simple to support us to maintain the activity and create future developments. Here are 4 solutions accessible to all:

  • ADVERTISING: Disable your banner blocker (AdBlock, …) and click on our banner ads.

  • AFFILIATION: Make your purchases online by clicking on our affiliate links here Amazon.

  • DONATE: If you want, you can make a donation via Ko-Fi πŸ’œ.

  • WORD OF MOUTH: Invite your friends to come, discover the platform and the magnificent 3D files shared by the community!


Sharing and downloading on Cults3D guarantees that designs remain in makers community hands! And not in the hands of the 3D printing or software giants who own the competing platforms and exploit the designs for their own commercial interests.

Cults3D is an independent, self-financed site that is not accountable to any investor or brand. Almost all of the site's revenues are paid back to the platform's makers. The content published on the site serves only the interests of its authors and not those of 3D printer brands who also wish to control the 3D modeling market.

100% secure payment by credit card, PayPal, Apple Pay, Google Pay, etc.
View all payment options.