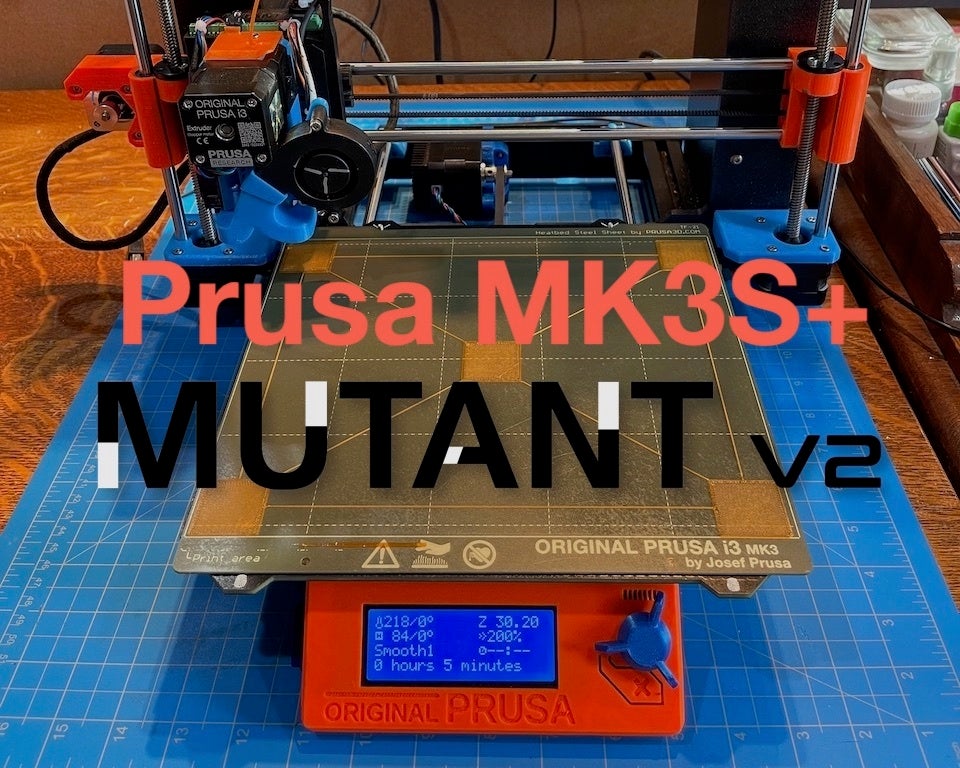
Prusa MK3S/+ & MK2.5S Mutant Upgrade Kit
Detailed assembly instructions are still being developed. When they become available they will be posted to my Patreon page for my subscribers. Please consider subscribing here: https://www.patreon.com/MediaMan3D
A complete Prusa MUTANT upgrade how-to video (currently being edited) will be available by the end of January 2022 on my YouTube channel: https://www.youtube.com/c/MediaMan3D
November 6th Update!
All the STLs have been refined and updated. Repkord's Prusa MUTANT upgrade is complete and on its way back to Pooch to place in the Repkord Prusaprint farm.
READ the included PDF for more information.
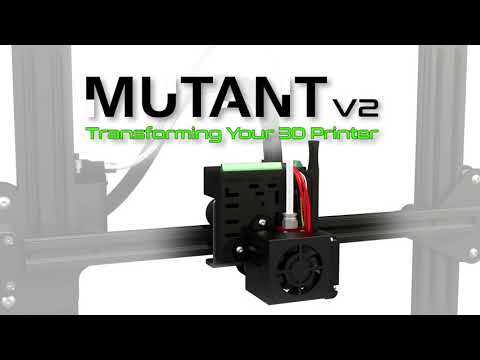
What is a MUTANT?
Watch this brief video:
https://www.youtube.com/embed/bql39s__IqQ
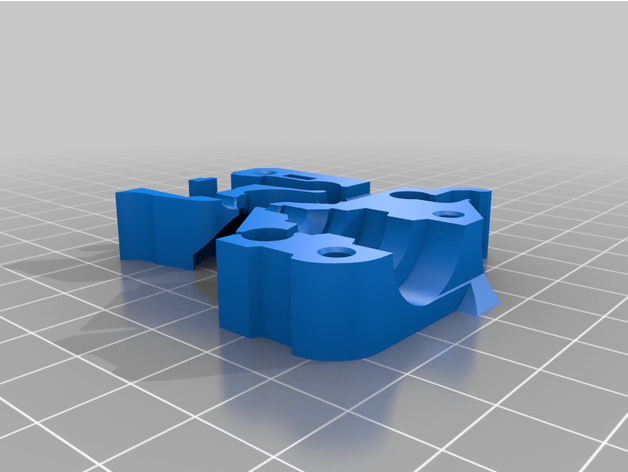
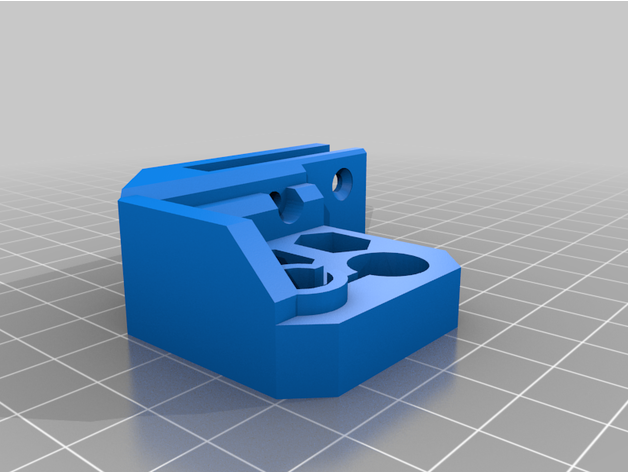
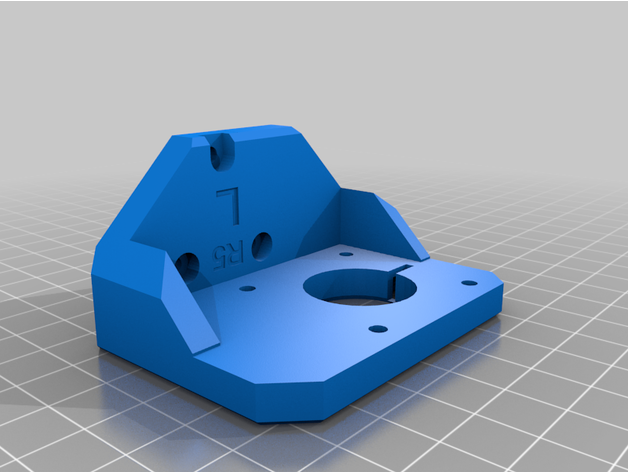
Use this Kit to add the Wham Bam MUTANT Universal Tool Swapping System to a Prusa MK3S+ (or Prusa MK2.5S) 3D printer.
https://www.youtube.com/embed/IM-qZBwvbzE
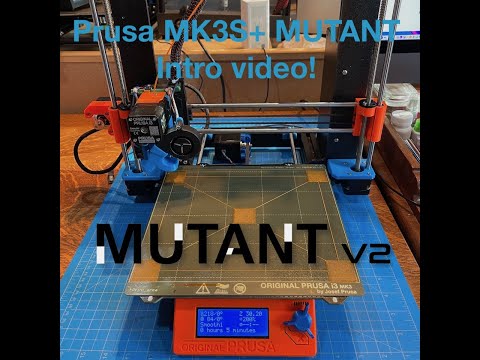
If you want to learn more about the MUTANT and its benefits, check this video out:
https://www.youtube.com/embed/pSfKaMEj2bE
This Prusa Mutant upgrade kit when installed with the Wham Bam System MUTANT on your Prusa 3D printer will allow you to swap out your printer’s extruder/hotend (or any other tool) in seconds. This upgrade kit also maintains your Prusa’s full 250mm x 210mm x 210mm build volume and does NOT require any firmware changes. Optionally, with this upgrade you can also increase your Z axis build height by 50mm!
Here is the Bill of Materials needed to upgrade your Prusa
- One working stock Prusa MK3S or MK3S+
- One Wham Bam Systems MUTANT (either a Base kit or a Quad kit)
Use this link https://bit.ly/2Y6iYgE and code “MediaMan2021” for an extra 15% discount when buying from Wham Bam Systems.
((Note: This Prusa Mutant upgrade kit can also be used for a Prusa MK2.5S. The MK2.5S does not require any of the Y axis parts as the Z frame can be directly adjusted on the Y axis. No spacers required. A version of this kit is being developed for a Prusa Bear.))
In addition to the Prusa 3D printer and the Wham Bam MUTANT, there are a few additional hardware parts that are required to complete the upgrade kit.
- M3 12mm Flat head socket cap screws (2)
While you will reuse most of the screws and nuts from the disassembly of the Prusa parts, you will need an assortment of a few M3 screws and nuts:
M3 8mm hex head screws (8)
M3 10mm hex head screws (8)
M3 18mm hex head screws (8)
M3 25mm hex head screws (4)
M3 30mm hex head screws (4)
M3 35mm hex head screws (4)
M3 hex nuts (20)
M3 square thin nuts (reuse Prusa type 1.7mm thin)
https://www.amazon.com/iExcell-Thread-Stainless-Socket-Assortment/dp/B08PDHVTQJ
Plenty of ZIP ties
I would like to thank Pooch at Repkord for providing a Prusa MK3S and thanks to Peter at Wham Bam Systems for providing a MUTANT Quad to use in creating the how-to video on upgrading a Prusa to have the MUTANT tool changer!
Why do you need this upgrade kit in order to add the Wham Bam MUTANT to your Prusa 3D Printer?
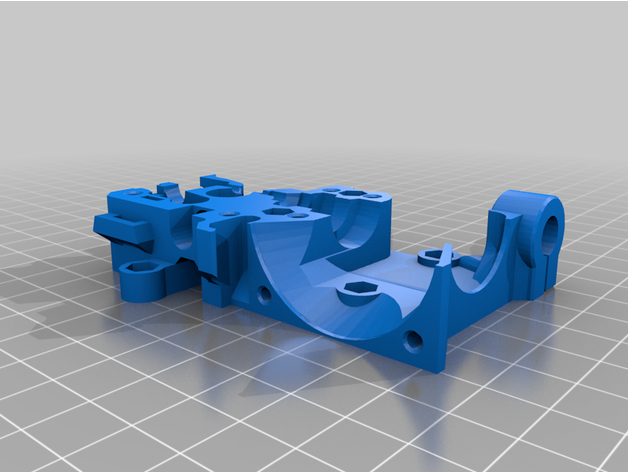
The MUTANT X gantry assembly is 30mm wider than the OEM Prusa X gantry, and with the MUTANT’s added thickness, will move the hotend forward on the Y axis by -15mm. Adding the MUTANT without this upgrade kit would cause your printer’s build volume to shrink by 30mm on the X axis and 15mm on the Y axis.
But worse than loosing 935 cubic centimeters of build volume (30mm x 15mm x 210mm), if you added the MUTANT to the Prusa without this upgrade kit, you will no longer be able to use Prusa’s calibrated setup tools. This is because the hotend and Pinda probe on the X gantry are now offset by 15mm X and -15mm Y from what the Prusa firmware is expecting. The calibration and setup tests will fail. Without the Prusa setup and calibration tools, it will make maintaining your Prusa printer very difficult.
How does this kit preserve the Prusa’s full build volume?
In order to preserve the full build space, this upgrade modifies the X axis to be 30mm wider (15mm on the left and 15mm on the right) and repositions the build plate on the Y axis forward by 15mm. These modifications compensate for the larger size of the MUTANT X gantry and ensures that the hotend and Pinda Probe are in the same position as the Prusa firmware expects. With compensation changes this kit provides, all of the Prusa firmware setup and calibration features work as expected.
Didn’t you say I could get 50mm more Z axis build height, how does that happen?
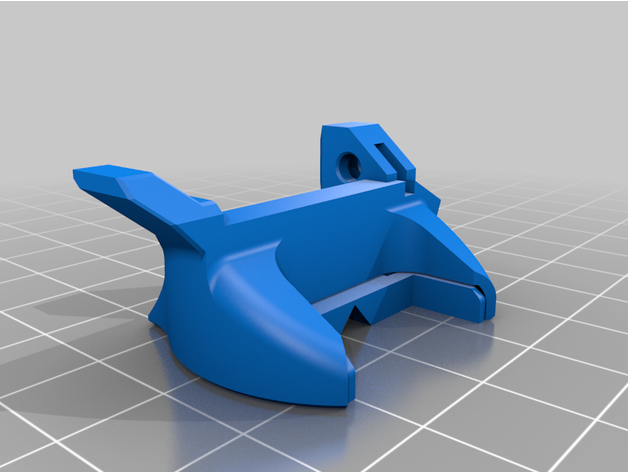
Yes, by printing four optional STL files you can actually increase your Z axis build height by an additional 50mm to a max Z height of 260mm! The extra 50mm Z height is FREE, because you will reuse the two original 370mm linear rods that you removed from the X gantry, to replace the two 320mm Z axis linear rods.
No changes to the Z axis stepper motors or threaded rods are necessary because the X gantry’s motor and idler mounts are inverted to account for the shorter threaded rods, that combined with taller Z axis top brackets to capture the taller linear rods allow the Prusa X gantry to move vertically on the Z axis an extra 50mm. This option does require a simple edit to the Prusa firmware and then re-flashed on the controller board to have the printer recognize the new height. The source code edits are provided, as well as HEX files of the latest 3.10 firmware build.
How hard is this Prusa MUTANT upgrade to install?
Consider this an advanced upgrade to a Prusa printer. This reversible upgrade is a significant yet straight forward modification to your Prusa 3D printer.
This kit has been designed, documented, assembled, and fully tested with the Wham Bam MUTANT V2 on both the Prusa MK3S+ and MK2.5S 3D printers. When assembled correctly, this upgrade kit with the Wham Bam MUTANT will allow either the Prusa MK3S+ or MK2.5S 3D printer to perform as expected.
If you purchased and assembled the kit version of your Prusa 3D printer, then this upgrade will be a rebuild of the X gantry, repositioning the Z axis mounts, and padding the Y axis mounts and motor bracket. The extruder/hotend wire loom must be extended by 150mm to reach over the top of the Z frame.
Important Note:
If you purchased your Prusa 3D printer pre-built, and you have never disassembled this printer or any other 3D printer, then consider this to be a significant upgrade.
If you are not comfortable disassembling half your printer, this upgrade may not be for you. Familiarity the printer’s controller board is required. Familiarity with wiring and safely extending electrical component cables is also required. Improper connection of the wiring on the controller board or on the MUTANT static or mobile plates could blow a fuse, damage the controller board, or cause a fire. Any modifications you make to your 3D printer are your responsibility. You accept all responsibility for any outcome from performing this upgrade.
Is there anything else required to add the MUTANT to my Prusa 3D printer?
In addition to buying the MUTANT from WhamBam Systems, and printing the required STLs (both original and modified Prusa parts) found in this kit, there are a few additional hardware items required in order to to complete this upgrade. You will need to purchase two 400mm Linear Motion Rods for the wider X gantry. You will also either need to purchase some pre-made extension cables for the extruder/hotend wire loom, or alternatively to completely rebuild the wire loom so that it can reach over the top of the Prusa's Z frame. A detailed BOM for these items with links is provided in this upgrade kit.
What about using other extruder/hotends or other tools on the MUTANT with my Prusa?
This upgrade kits supports modifying your Prusa to be able to use any extruder/hotend setup you can attach to the Wham Bam MUTANT (or any other tool for that matter such as a laser engraver, pen plotter, vinyl blade, etc.). But this kit only includes the parts needed to attach the OEM extruder/hotend assembly for either an MK3S+ or MK2.5S to the MUTANT Mobile plate (current as of 8-15-2021). For any other brand or style of hotend, other extruder/hotend combo, or any other tool type, please see the WhamBam MUTANT tool support pages for compatibility and MUTANT mobile plate mounting information. https://whambamsystems.com/mutant-support
Do I need multiple PINDA probes (one for each tool on a MUTANT Mobile plate)?
You have two choices:
Connect the PINDA Probe’s wires to the MUTANT mobile plate connectors. You will need to have a PINDA probe for each mobile plate. The advantage to this is that you can calibrate each PINDA to that extruders' hotend, and tool swaps are much quicker.
Keep the PINDA Probe connected directly to the Prusa’s controller board. This allows you to use just the one probe with any number of hot-ends or other tools that you attach to your printer via the MUTANT. Also note that if you go this route, the OEM Prusa PINDA Probe does not need to be extended, as its cable is long enough to reach over the top of the Z axis frame with this upgrade. The option will require you to re-calibrate the PINDA to the hot-end for each tool swap.
What needs to be done once the upgrade installation and reassembly of the printer is completed?
You will simply need to perform Prusa’s normal new printer calibration tests and Z offset setup. Follow the instructions as provided in your Prusa manual.
A complete Prusa MUTANT upgrade how-to video (currently being edited) will be available by the end of November on my YouTube channel: https://www.youtube.com/c/MediaMan3D
Use this link https://bit.ly/2Y6iYgE and code “MediaMan2021” for an extra 15% discount when buying from Wham Bam Systems.
https://youtu.be/bql39s__IqQ
https://youtu.be/IM-qZBwvbzE
:format(webp)/https://fbi.cults3d.com/uploaders/13300488/illustration-file/3b342408-be17-445d-84cc-42ebd16bc3af/Prusa_Mutant.jpg)


/https://preview3d-images.cults3d.com/variants/btuihsgar9sw8hc4oh2dqv5no4ho/77d3f3b93f425080e8527932a83b54282f99f31ca9700de02f554c0ba0d78731)
/https://preview3d-images.cults3d.com/variants/jtrep03p58w0339dri1mh26j0tnv/77d3f3b93f425080e8527932a83b54282f99f31ca9700de02f554c0ba0d78731)
/https://preview3d-images.cults3d.com/sfg1meagxwx7mislx3r326r5sh9i)
/https://preview3d-images.cults3d.com/variants/x6zer654s45ad2r5g4g341u0louj/77d3f3b93f425080e8527932a83b54282f99f31ca9700de02f554c0ba0d78731)
/https://preview3d-images.cults3d.com/variants/uc5486dgkox7ozfv2ymseqjaaibn/77d3f3b93f425080e8527932a83b54282f99f31ca9700de02f554c0ba0d78731)
/https://preview3d-images.cults3d.com/variants/8cl15dny2gg31cg0yfwoarxx0w2m/77d3f3b93f425080e8527932a83b54282f99f31ca9700de02f554c0ba0d78731)
/https://preview3d-images.cults3d.com/variants/h2ypi5gcozt9r931c6o5ktu2xhiz/77d3f3b93f425080e8527932a83b54282f99f31ca9700de02f554c0ba0d78731)
/https://preview3d-images.cults3d.com/sovro775hleswpxxempsugndx5dk)
/https://preview3d-images.cults3d.com/variants/fks67yo6rco12b9vvyncb9uiqxfy/77d3f3b93f425080e8527932a83b54282f99f31ca9700de02f554c0ba0d78731)
/https://preview3d-images.cults3d.com/variants/4lijjs7be6ooxp62wu7upyifhqe0/77d3f3b93f425080e8527932a83b54282f99f31ca9700de02f554c0ba0d78731)
/https://preview3d-images.cults3d.com/n2r7hkzth14u046yjf4ac1cd2xwc)
/https://preview3d-images.cults3d.com/variants/3zkoxgafb4y409xu0jvpmx4rharc/77d3f3b93f425080e8527932a83b54282f99f31ca9700de02f554c0ba0d78731)
/https://preview3d-images.cults3d.com/variants/68vbb4u1z3wmk6aoaqizkn2xd88y/77d3f3b93f425080e8527932a83b54282f99f31ca9700de02f554c0ba0d78731)
/https://preview3d-images.cults3d.com/variants/fw21434u4yj8zoxt1mp8ptc8yjw7/77d3f3b93f425080e8527932a83b54282f99f31ca9700de02f554c0ba0d78731)
/https://preview3d-images.cults3d.com/18dfp6syq6by1rwn4bib0a2dd7qn)
/https://preview3d-images.cults3d.com/variants/0ubu0k2ng59chpl6sajxidtegfcj/77d3f3b93f425080e8527932a83b54282f99f31ca9700de02f554c0ba0d78731)
/https://preview3d-images.cults3d.com/wt5iknpgqjkvvub28vz8j96h4n6f)
/https://preview3d-images.cults3d.com/ex1ad6m611efw18ry5o70opum5yb)
/https://preview3d-images.cults3d.com/variants/wlx3n0ygkjz66w5lpp8ftm8vp88z/77d3f3b93f425080e8527932a83b54282f99f31ca9700de02f554c0ba0d78731)
/https://preview3d-images.cults3d.com/variants/fju06tvw34gu1kedxhdnchu7n7eh/77d3f3b93f425080e8527932a83b54282f99f31ca9700de02f554c0ba0d78731)
/https://preview3d-images.cults3d.com/variants/rhl8d4899b8gx62o2ndn5qsyvmkb/77d3f3b93f425080e8527932a83b54282f99f31ca9700de02f554c0ba0d78731)
/https://preview3d-images.cults3d.com/1ii2jxt5f9garlj6rv7aii4n7yef)
/https://preview3d-images.cults3d.com/variants/j7v80ym1lvxequc13zy6iemlo0u5/77d3f3b93f425080e8527932a83b54282f99f31ca9700de02f554c0ba0d78731)


