Why?
When you ride your bike in an urban environment, sometimes you need attention. Not only from pedestrians, but also from drivers. A loud bicycle bell can help here. And that’s exactly what the CommuterBell is. LOUD. But be careful: You should not expect miracles…
How does it work?
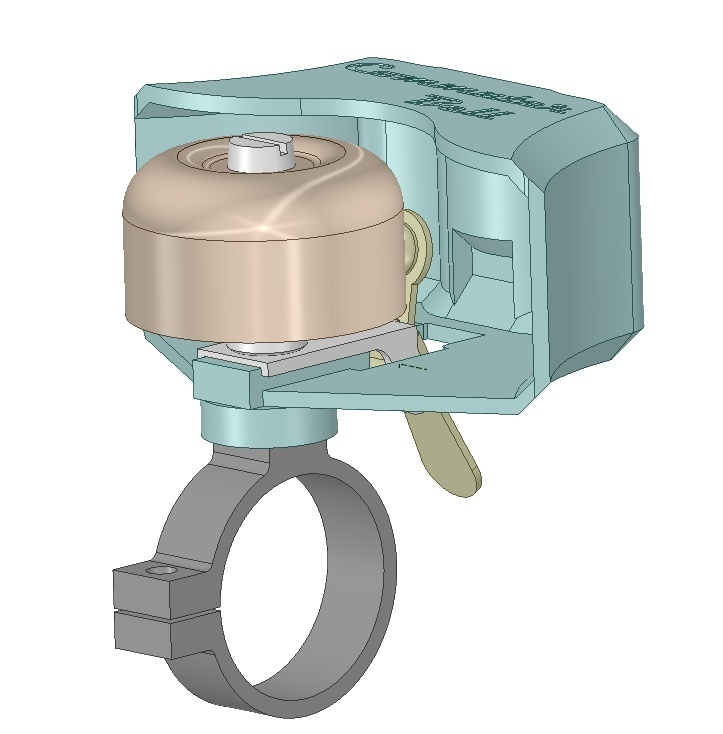
The idea behind to improve the sound pressure level of a $10 bicycle bell significantly by manipulating the directivity pattern of the bells sound. A regular bicycle bell shows an omnidirectional directivity pattern. In short: the sound goes more or less everywhere. Being on the street the bells sound partially going backwards is not helpful at all. The idea is using a reflector to increase the sound pressure of the bell in front of the bike.
Beating physics is not possible. Speaking frankly: it is only a partial reflection. But it gives you some extra decibel for getting attention (5-6dBA). For a full reflection the reflector needs to be much bigger (mounting a satellite dish to the handlebar may be a solution, but with considerable disadvantages for the aerodynamic…).
It was challenging to find a design that works with different frequencies (unfortunately the pitch of different identical brass bells is not the same) and conditions (sound wavelength is dependent on the air temperature). I spent hours and hours on measurements of the sound pressure level and the directivity. Please keep in mind that the most significant differences biggest difference can only be perceived from a certain distance.
What do you need?
I tried to keep the design as simple as possible.
At first you need one of those common made in china brass bells (although there are different colours I recommend to purchase the brass design, as the paint on the bells surface causes some damping) :
https://www.amazon.com/-/en/dp/B07VRZ4T7W
https://de.aliexpress.com/item/4000318986070.html
This one from Walmart should work, too (not available here in Germany…): https://www.walmart.com/ip/Zefal-Premium-Brass-Bike-Bell-Loud-No-Tools-Needed-Sturdy/344322800
Important:
Those bells are cheap and quality control might be not perfect. In some cases the hammer to trigger the bell is too far from the bell itself. In this case you may bend it a little bit towards the bell. The space between hammer and bell should not exceed 1mm. A plastic card (credit card) can help to measure the distance.
In addition you need a M5x40mm or M4x40mm Machine Screw (it is hard to predict if the bell comes with an M5 Thread or an M4 thread, my experience is, that most of them have an M5 thread):
https://www.amazon.com/MroMax-Machine-Stainless-Recessed-Phillips/dp/B07YG19JWW
https://www.amazon.com/Adiyer-40-Pack-Machine-Stainless-Phillips/dp/B06Y1YCSB8
You may go to your local hardware store to get it.
Even the dimensions of the bells differs a little bit. Therefore I provide different spacers to be mounted below the reflector to compensate this.
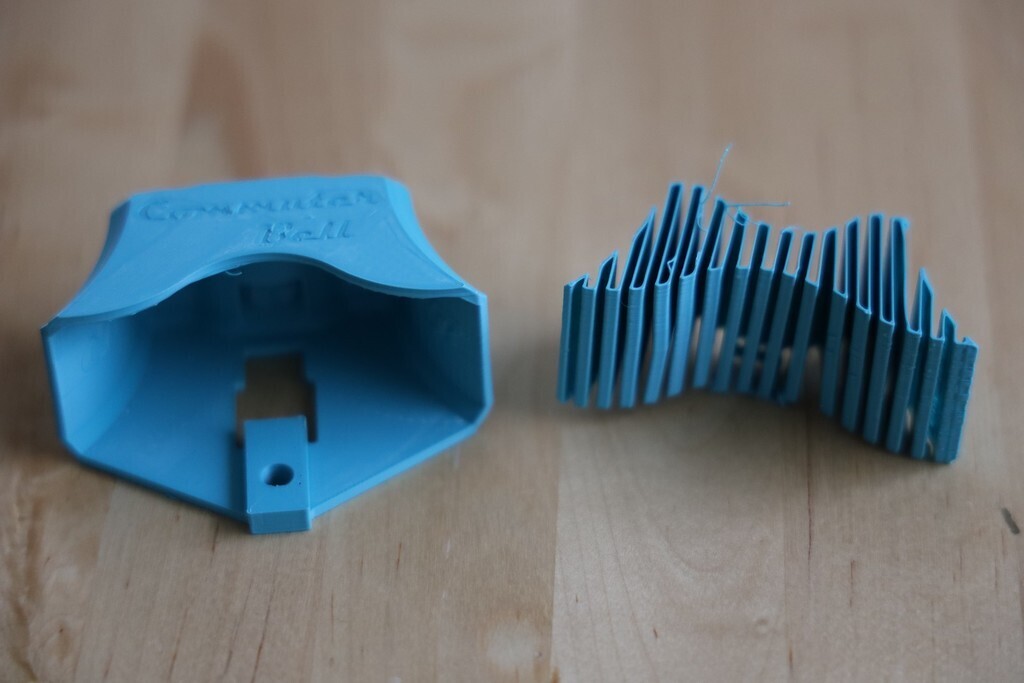
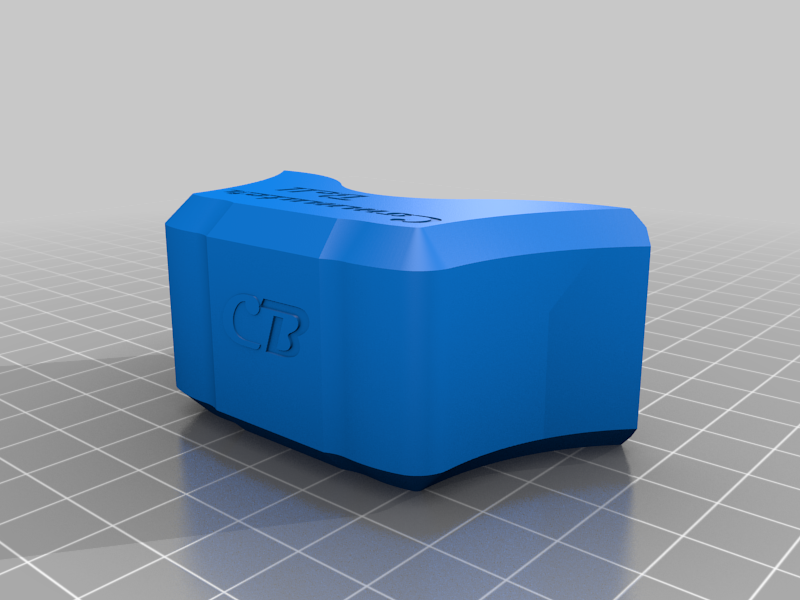
Printing the parts:
I use a Creality Ender 6 with a 0,4mm nozzle and PLA or PETG filament. It is important, that the reflector is printed more or less massive. I use 7 perimeter walls (@0,34mm) and 8 Bottom and Top layers, resolution 0.2mm. For getting better surfaces I use ironing on the top layers (5% flow). You will need supports, I recommend ZigZag support @15-18% density a support roof can help to get a better bottom surface in the reflector shell. ABS might be worse a try. The stiffer the material is, the better the reflection should be.
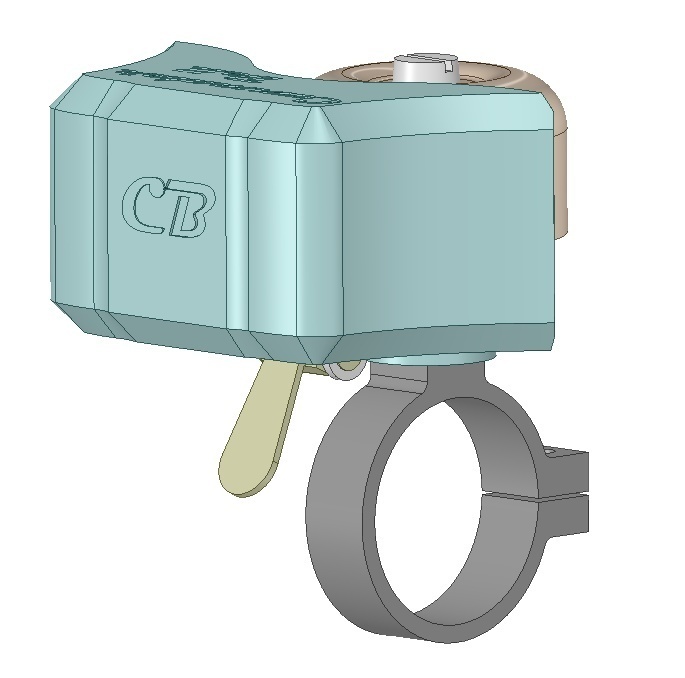
Mounting the commuter bell…
… is somewhat easy. You have to unmount the brass bell completely.
Than assemble the parts in the following way:
- Put the spacer on the handlebar mount
- Mount the trigger mechanism to the printed reflector, you may twist it through the hole in the bottom.
- Replace the original screw by the 40mm screw and mount the bell, the nylon washer, the aluminum spacer, the reflector with trigger to the handlebar mount
- The screw needs to be tightened firmly, not damaging the printed parts
Your support is highly appreciated:
I thought about selling this project to a company (I applied for a patent to protect the design anyway). But what I really would like to do is to support my local gliding club which is in financial trouble currently. The aim of the club is to make flying gliders affordable for everyone and not to pursue it as an elitist hobby for the rich. They are committed to flight training for young people, getting the kids away from smartphones and video games to the real world.
I would be very grateful if you could support the club with a few dollars.
This is possible using Paypal:
https://www.paypal.com/donate/?hosted_button_id=9L2X3Y83RFF74
Or ‘buy me a coffee’:
https://buymeacoffee.com/ftvspandau
Work in Progress:
Although the basic design is final with regard to ergonomic aspects it is far from being perfect (especially if you use a non horizontal handlebar). I work on some improvements for the mounting.
In parallel I’m working on a design for other bells, too (e.g. Spurcycle Raw Bell and Crane E-NE)
:format(webp)/https://fbi.cults3d.com/uploaders/22721967/illustration-file/9a4a9ce0-0354-41af-8147-541275f37fa8/CB_V6_03.jpg)


/https://preview3d-images.cults3d.com/variants/q1pjxpzex40vc1uj7i69v59zrnbv/0efb2e1d82dc631f5d34681a1ec0e058e5293ebb996af2b22972af828007c8d8)
/https://preview3d-images.cults3d.com/variants/hraqpxx2ga0iisr6b6wly8a8keu7/0efb2e1d82dc631f5d34681a1ec0e058e5293ebb996af2b22972af828007c8d8)
/https://preview3d-images.cults3d.com/variants/jdq6jert4y07bhhe0iemougqzqbs/0efb2e1d82dc631f5d34681a1ec0e058e5293ebb996af2b22972af828007c8d8)
/https://preview3d-images.cults3d.com/variants/rondos8s3qt1td13ara7loiy8toc/0efb2e1d82dc631f5d34681a1ec0e058e5293ebb996af2b22972af828007c8d8)


