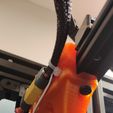
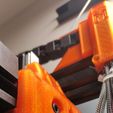
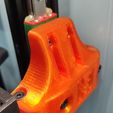
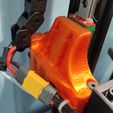
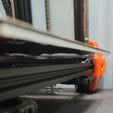
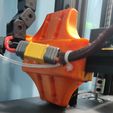
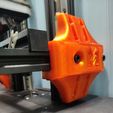
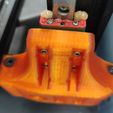
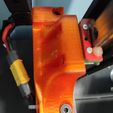
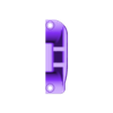
This is a mod with which you can install linear guides on the Z-axis of the Ender 6. greatly improving the quality of the layers, displacements and virtually zero maintenance.
Installation of these mods are not complicated but we will need some tips and materials.
The installation of the mod is easier than it looks.
We will need:
2 linear guides 530mm so we will have to cut some 55cm guides MGN12H. they can always protrude 20mm above is not a problem
----with 500mm linear guides would work as long as we have modified the extruder with a Volcano or a mod that lowers the height as these would be very tight and the skids would come out with the original extruder.
4 MGN12H runners as each one will need 2 per linear guideway.
12 M5 screws to anchor the mod to the original structure
12 M5 T-nuts
16 M3 screw to anchor the skids to the mod
M3x8mm screws and T-M3 sockets to anchor the linear guide and the skids.
1.Print the mod with very strong PETG parameters,10 perimeters, 60%-80% filling.
3.Unmold the original four skids with wheels and leave the bed with loose structure.
4.Place the guides with the two runners each on the sides anchoring them with the T-nuts and the screws (it is recommended at least 1 screw every 2 holes) and do not tighten completely until everything is assembled in order to be able to level.
Insert the printed mods through the 20/20 profile that has the bed anchored and place them in their corresponding places with their M5 T-nuts previously inserted through the slots.
6.place all the screws loosely and place the screws to the skids centering them well, once the skids are well placed go tightening all the screws little by little and crosswise until everything is securely fastened.
7.the left linear guide has a slot for a cable tie to hold the bed cable, it also has a hole to anchor an optional cable guide.
8.to level the bed correctly. with the printer on we take the printer to home Z and tighten a little the first screw of the upper linear guide so that it is fixed but can move the guide without falling, then we lower Z to the lower minimum and tighten the last screw hard but without fixing it completely, then we do home Z a few times to see that it is not forced and if everything goes smoothly we tighten all the screws one by one first one on one side and then the other on the other side.
9lastly it would be advisable to modify in the laminate the height in Z from 400mm to 390mm to avoid forcing the motor when lowering the Z down as these mod occupy 1cm more.
10.lubricate well and finish tightening everything and that's it.
11.TIP- if you changed the Extruder mod and you have left over the original extruder motor which is bigger and stronger, you can mount it on the lower z-axis reversing the direction of rotation and we would gain much more torque and strength in the Z-axis, you would have to change the legs so that the motor does not hit the table. I did it and it improved a lot.

/https://fbi.cults3d.com/uploaders/14331862/illustration-file/2dc50cb7-4d7e-4f94-8a34-929f4adad5a8/IMG_20220424_112513.jpg)
