Skip to content

Anycubic Chiron Y Axis Linear guide mod

Advertising
Advertising
?
Creation quality: 5.0/5 (2 votes)
Evaluation of members on the printability, utility, level of detail, etc.

  • 3.4k views
  • 3 likes
  • 54 downloads

License
3D design format
DXF and STL Folder details Close
  • Belt_Spacer.STL
  • CY-Slider-2.DXF
  • CY-Slider-2.STL
  • Endstopspacer.STL
  • rail-clamp-gauge.STL

Learn more about the formats

Publication date 2022-05-06 at 05:22
?
Published to Thingiverse on: 2021-07-21 at 06:59
Design number 716253

3D printer file info

3D model description

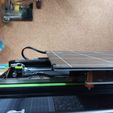
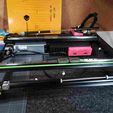
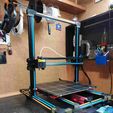
This is a drop-in improvement for the Anicubic Chiron Y-Axis carriage. I decided to design a roller wheel-to-linear axis modification that did not require the changing of end stop positions, packing the heated print bed or reduced the available print volume.
I am happy to say that this modification does not affect the original design of the printer in any way so that all print dimensions are still the same and the automated leveling is just as as it was meant to be.

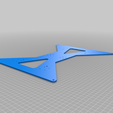
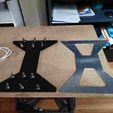
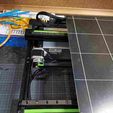
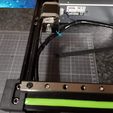
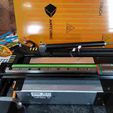
In order to produce a drop-in replacement for the Y-axis sub-carriage, I designed a new sub-plate to attach to the linear rails. The sub plate is 3mm aluminum and can be cut with home tools using a print of the DXF drawing as a template. I decided to have mine laser cut for a nominal cost. Once I had the new plate the rest was simple matter of dismantling the printer heated bed and removing the two 2040 extrusions that hold the roller sub-assembly for the heated bed.

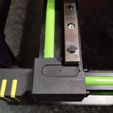
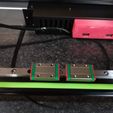
Once the two 2040 extrusions are removed the linear rails need to be clamped to the extrusion so that the holes for the retaining screws may be drilled. The holes are 3mm for the 30mm bolts that will hold the rails. Be sure to place the rails with equal distance from each end. This is the most delicate step in the entire operation because the linear rails need to be parallel.

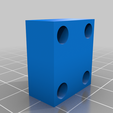
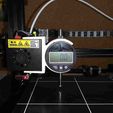
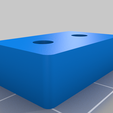
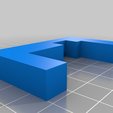
So to ensure that the linear rail is parallel to the 2040 extrusion before drilling I printed a little gauge to use for this purpose - it is useful to print two of them so that you can have one at each end when tightening the clamps. Naturally, it is recommended that you print all the necessary parts in this mod before embarking on the adventure. There aren't many so it is a relatively easy task.

You will also need to shorten the heated bed springs - whether you cut them or simply purchase new ones is up to you. The size can be 0.8x8x20 (0.8mm wire, 8mm dia, 20mm long). I just cut my existing springs and ground the ends flat with an angle grinder.

3D printing settings

-

Advertising


Issue with this design? Report a problem.

Would you like to support Cults?

You like Cults and you want to help us continue the adventure independently? Please note that we are a small team of 3 people, therefore it is very simple to support us to maintain the activity and create future developments. Here are 4 solutions accessible to all:

  • ADVERTISING: Disable your banner blocker (AdBlock, …) and click on our banner ads.

  • AFFILIATION: Make your purchases online by clicking on our affiliate links here Amazon.

  • DONATE: If you want, you can make a donation via Ko-Fi πŸ’œ.

  • WORD OF MOUTH: Invite your friends to come, discover the platform and the magnificent 3D files shared by the community!


Sharing and downloading on Cults3D guarantees that designs remain in makers community hands! And not in the hands of the 3D printing or software giants who own the competing platforms and exploit the designs for their own commercial interests.

Cults3D is an independent, self-financed site that is not accountable to any investor or brand. Almost all of the site's revenues are paid back to the platform's makers. The content published on the site serves only the interests of its authors and not those of 3D printer brands who also wish to control the 3D modeling market.

100% secure payment by credit card, PayPal, Apple Pay, Google Pay, etc.
View all payment options.