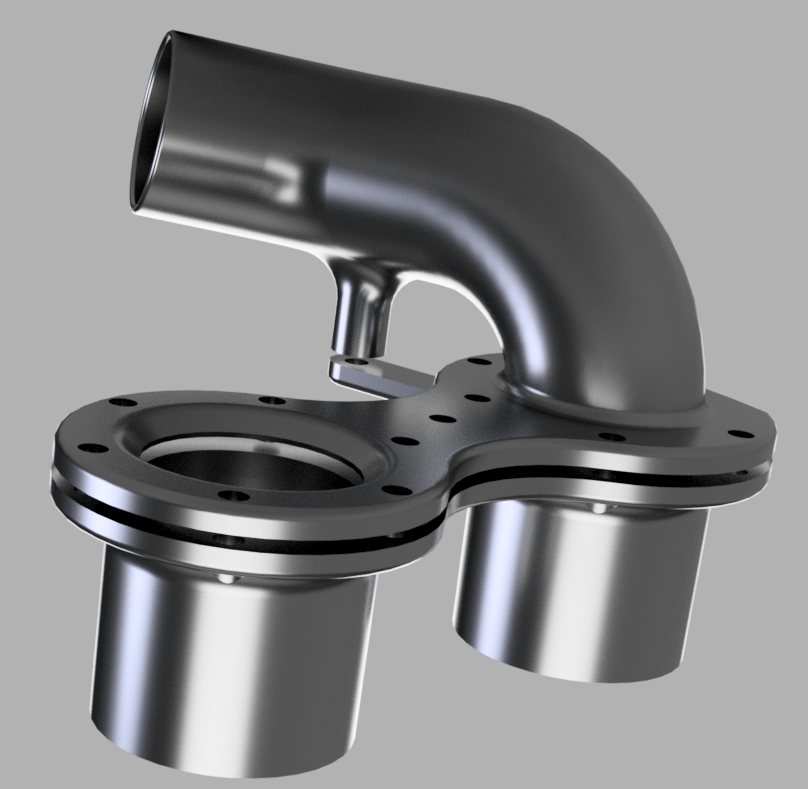
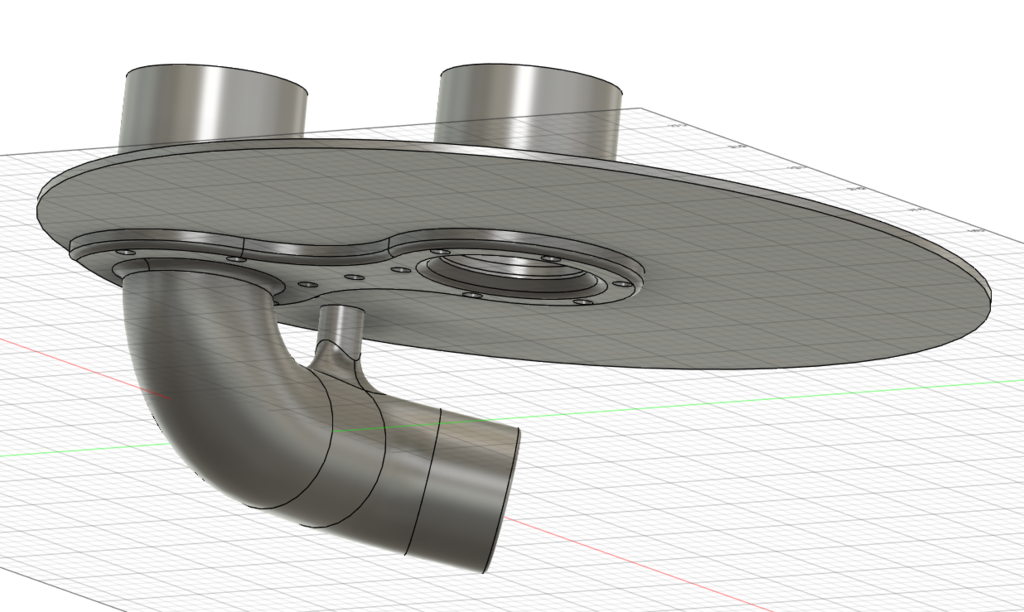
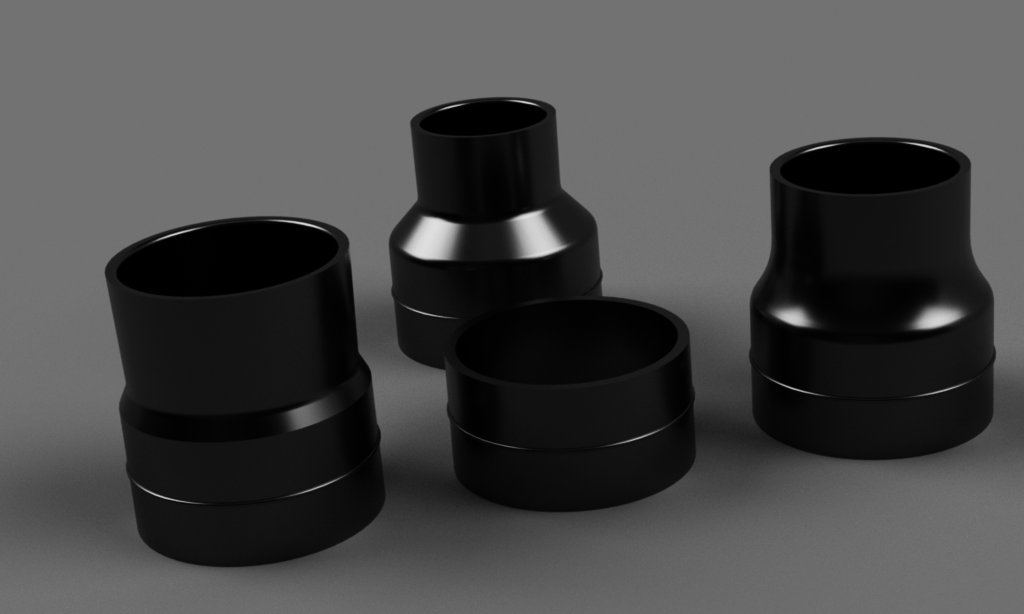
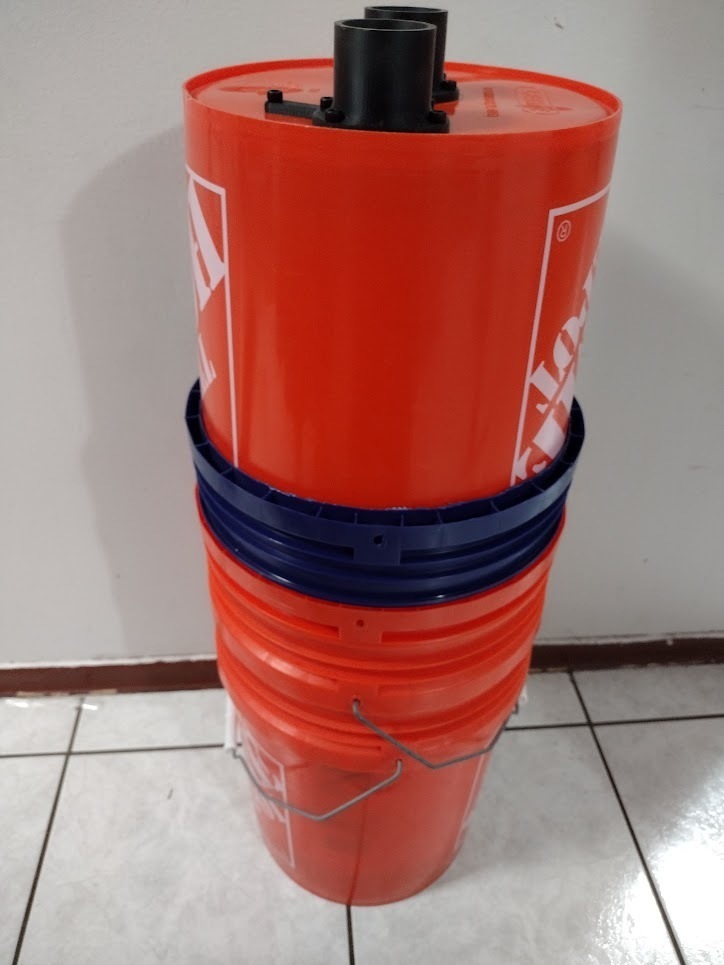
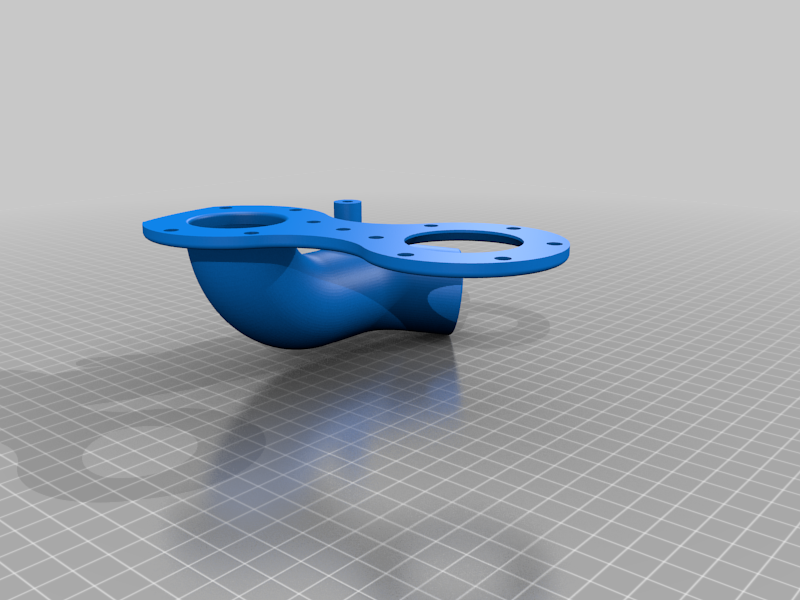
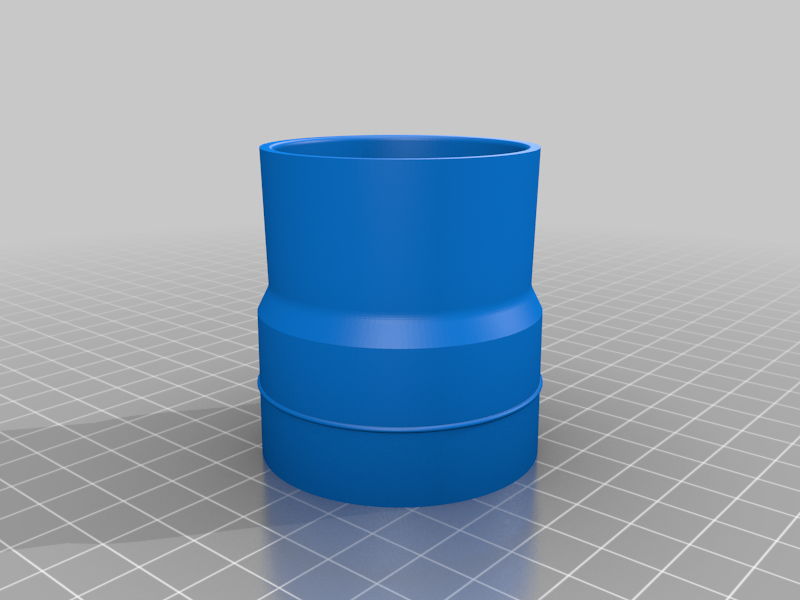
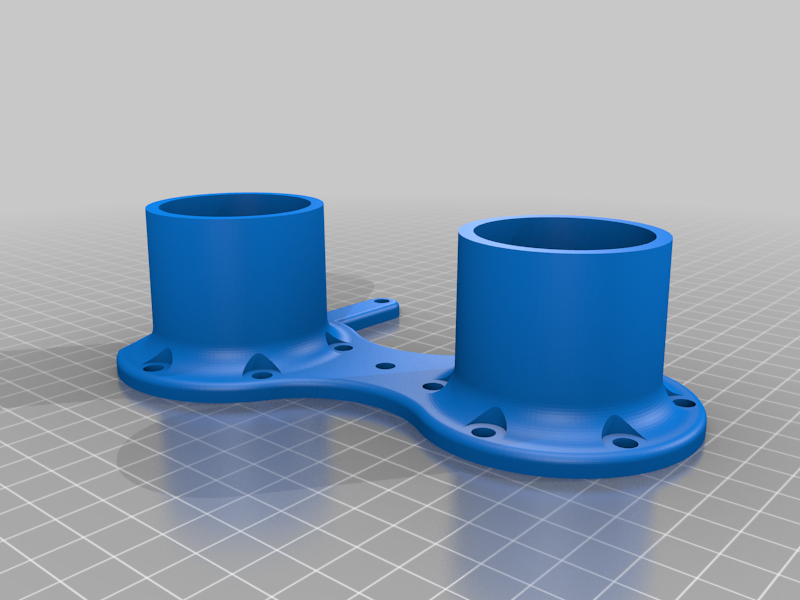
The DustMunch is an easy to print, high performance cyclone dust collection system designed to bolt into a 5 gallon bucket. This compact design will quickly print on most small printers, unlike many of the larger cyclone systems out there, and will fit most 5 gallon buckets without issues. This collector pairs nicely with the Harbor Freight Tools Bauer Mini Shop Vac and includes the adapters to use the odd Bauer stock hose. It also includes a standard 1.75" shop vac hose slip collar adapter so it should fit most generic vacuum hoses. I can add more adapters if requested. See below.
You will need 4x matching 5 gallon buckets, 13x M5x20 bolts, 12x M5x12 nuts. When selecting buckets, try to find those with the flattest bottoms (least warped!).
You will need to cut 2 of the buckets. For the top bucket, you need to remove part of the upper rim and handle (see pics). Cut the wire handle off, then cut off the first 2 structural rings on the upper rim. Chamfer the new edge to 45 degrees. This lip will friction fit into the lower collection bucket. You may need to put a slight chamfer on the lower bucket as well.
Once you are able to test fit the upper bucket into the lower, take the upper bucket and cut a 40 to 45mm hole out from the center of the top bucket where the intake goes. Use the top print and a sharpie to mark this on center.
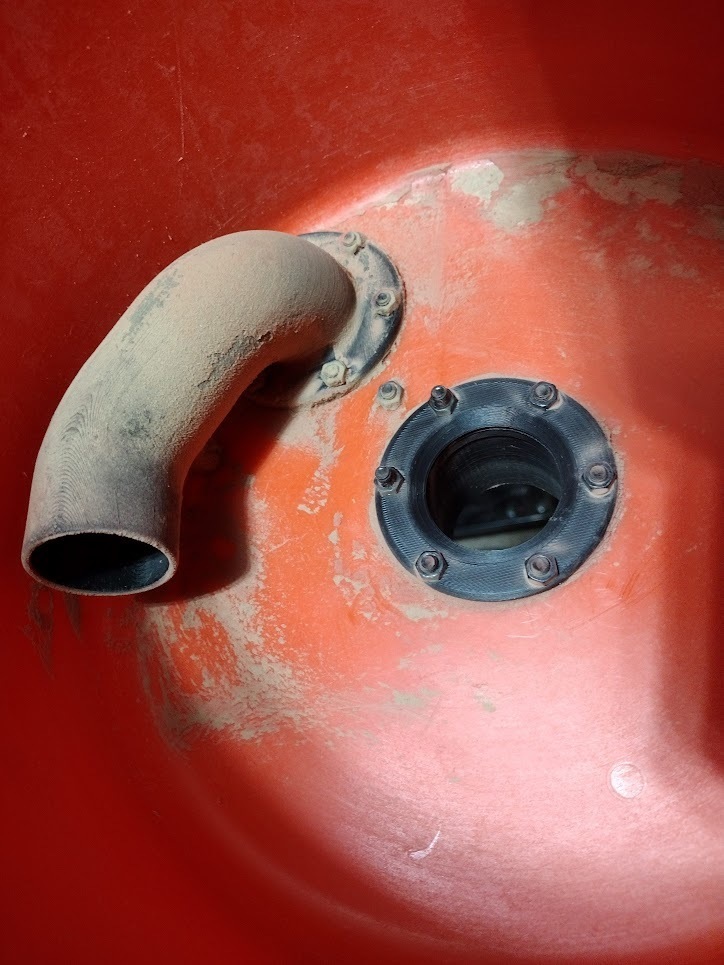
Once you have an acceptable center hole, center the top print on the bucket again and drill through one of the flange holes using a 5mm or equivalent bit. Use tape to hold the part in place while drilling, if needed. Bolt the part through the first new hole. Now drill any hole in the other flange, and bolt it down.As long as you like the position, drill out the rest of the flange holes, being careful not to drill through the print on the one tricky hole above the tube.
If you need to adjust the print at all, remove one of the two bolts and redrill for the second bolt in another flange hole. You can always come back and redrill the the previous one that is "off" after everything else is torqued in where you want it. Install 2-3 more bolts and nut them down to secure the top print. Drill the hole on the tab last. This supports the inlet tube and should be precisely locked in place, so only do this after the fixture has been secured and aligned where you want it. The angle of the inlet tube matters! It should be tangent to the bucket wall, about 15-25mm away from it. As long as your center hole and center bolt pattern is actually on center, this will be the case.
Once the top print is bolted in place, take a sharpie and mark the template for the intake tube hole. Unbolt the top print and cut out the marked area. At this point you can install both top and bottom prints as well as all bolts and nuts. Make sure there are no burrs or plastic shrivlets causing air gaps - everything should be flush, flat, and snug. Double check to ensure all bolts are torqued in. No sealants or glues are needed. It is best to install bolts and nuts one at a time, but leave them slightly loose. The play is handy when getting the last few items installed. Once all parts are in place and fit, torque them all down so they are snug.
Take the second bucket and cut the entire top ring off of it, then slip the ring over the top bucket like a belt. This adds rigidity and helps prevent any collapsing of the upper bucket.
The other 2 lower buckets can remain unmodified (barring any need to chamfer the collection bucket for fitting the cyclone bucket lip). Put a few inches of sand or stone in the bottom bucket, then put the lower collection bucket in that. The bottom bucket is a weighted base that adds anti-collapse rigidity. I suggest not using water, which can harbor bacteria or make a mess.
Once all 4 buckets are together, you are done. Make sure to empty your collector when the collection/lower bucket gets close to full. It can take more but it will be a mess to empty. To empty, just pop the cyclone "lid" off, and lift the collection bucket out of the base bucket using its own handle.
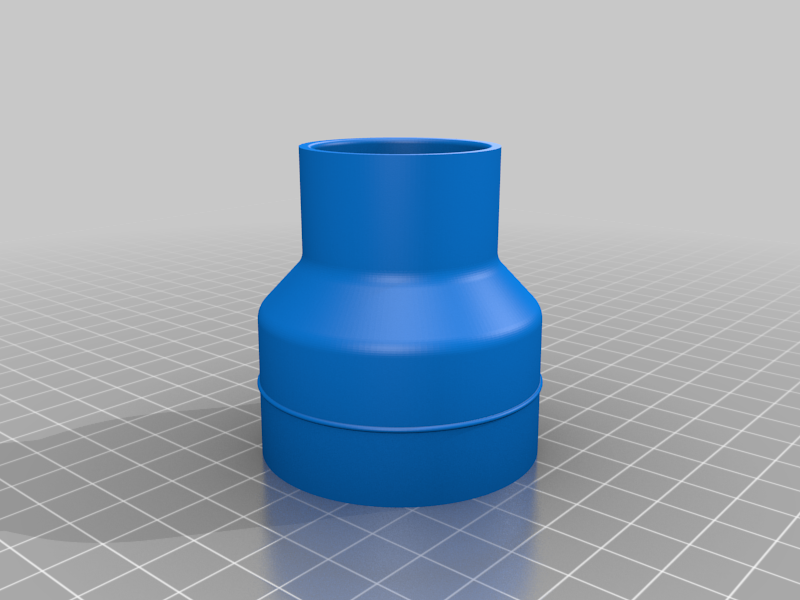
Both the intake and outlet pipes use the same taper pattern. At its base it is 50mmOD 40mmID, 40mm tall with .5mm taper inner and outer. See the Slip Collar dimensions for cross section data to make your own adapter for these. I have also included a blank STL so you can combine with your own existing hose adapter.
Do you need a custom size adapter and don't have the skills/software? No prob! Drop me a line with the dimensions below and I'll generate it - it's easy and quick. I need:
OUTER diameter of hose end in mm (the narrow tip part)
OUTER diameter of the hose end 30mm away from the tip (the wider part)
This will give me the diameter and taper needed to revolve a new part for anyone who wants one. Please let me know what make/model it goes to and I'll add it if I am able.
Designed in NY-US with love.
Copyright 2023 REFC Labs LLC
The REFC Labs DustMunch is licensed under Creative Commons Attribution NonCommercial ShareAlike license.
You are free to:
Share — copy and redistribute the material in any medium or format
Adapt — remix, transform, and build upon the material
Under the following terms:
Attribution — You must give appropriate credit, and provide a link to the license, and indicate if changes were made. You may do so in any reasonable manner, but not in any way that suggests the licensor endorses you or your use.
NonCommercial — You may not use the material for commercial purposes.
ShareAlike — If you remix, transform, or build upon the material, you must distribute your contributions under the same license as the original.
REFC Labs, LLC
About Me
REFC Labs, or RedEyeFlightControl Labs, started in 2020 as a maker/manufacturer in the canna space, offering highly engineered solutions to enthusiasts. Since then, The Lab has offered significant improvements to many other day to day activities. From hifi Audio to human input to personal care and beyond...Ready to become a believer? The Lab has you covered.
Got an idea you want improved? Drop me a line!
Red
:format(webp)/https://fbi.cults3d.com/uploaders/26809579/illustration-file/d77e4fe8-9018-41f0-921c-30869b0dc980/770102f9-d4f2-4701-a671-59a3a39d091a.png)


/https://preview3d-images.cults3d.com/a6t57ipcnmaydrxd2cddevry83ah)
/https://preview3d-images.cults3d.com/yw80r1xb0b7y0dnmv22hs1d2jnht)
/https://preview3d-images.cults3d.com/obm7b0zxv65ajd66qpowtqgeir3f)
/https://preview3d-images.cults3d.com/1vu2qqnpxjuyd6p9gw1up4q081df)
/https://preview3d-images.cults3d.com/byddk2kpbandtmmuf851exako225)
/https://preview3d-images.cults3d.com/xoltwrxxnnqlpb6n0pt4bnc11nae)

