Skip to content

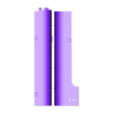
P1P Modified surround with Bosses added for hinges and panel attachments

Advertising
?
Creation quality: 5.0/5 (1 vote)
Evaluation of members on the printability, utility, level of detail, etc.

  • 867 views
  • 1 like
  • 1 collection
  • 1 make

License
3D design format
STEP, STL, and ZIP Folder details Close
  • 10 BOTTOM_LEFT_PANEL v3.step
  • 10 BOTTOM_LEFT_PANEL v3.stl
  • 12 BOTTOM_RIGHT_PANEL v3.step
  • 12 BOTTOM_RIGHT_PANEL v3.stl
  • 13 TOP_REAR_PANEL.step
  • 13 TOP_REAR_PANEL.stl
  • 8-32 knob.step
  • 8-32 knob.stl
  • All Mid sides v3.step
  • All Mid sides v3.stl
  • Back Left Column.step
  • Back Left Column.stl
  • Back RIght Column.step
  • Back RIght Column.stl
  • Both MID FLAT PANELS MODIFIED.step
  • Both MID FLAT PANELS MODIFIED.stl
  • Front Left column.step
  • Front Left column.stl
  • Front Right Column.step
  • Front Right Column.stl
  • Glass Frame LH v0.step
  • Glass Frame LH v0.stl
  • Glass Frame RH v1.step
  • Glass Frame RH v1.stl
  • P1P Hinge.step
  • P1P Hinge.stl
  • TOP_LEFT_PANEL v4.step
  • TOP_LEFT_PANEL v4.stl
  • TOP_RIGHT_PANEL v0.step
  • TOP_RIGHT_PANEL v0.stl
  • attachments.zip

Learn more about the formats

Publication date 2023-07-13 at 01:18
Design number 1322003

3D printer file info

3D model description

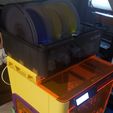
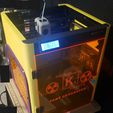
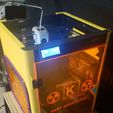
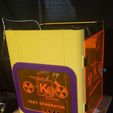
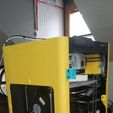
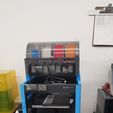
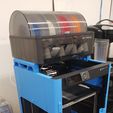
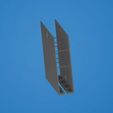
This is for all the files associated with my P1P surround upgrade. I wanted to come close to fully enclosing my P1P and may yet put a top on it. See disclaimer on Bambu's Support Wiki if you think you want to enclose yours all the way.

What is in my surround upgrade?

The surround is to the flat panel with round vertical corners.
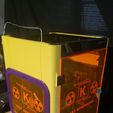
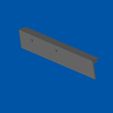
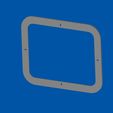
I created a boss on all sides of the rectangular openings on the sides in order to be able to use tabs or the included frame to install acrylic or PC panels. They are modeled for 1/8" thick panel. All parts involved to add the 8 total bosses were modified.

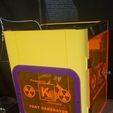
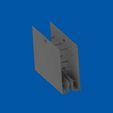
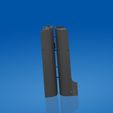
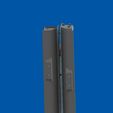
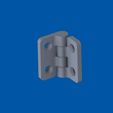
The Front Left Column pieces were modified top and bottom to add a hinge boss that fits the included print in place hinge.

The Front left lower column was modified to include a modeled in magnet bracket to be able to install a bracket to hold the door closed.

Both LH and RH top sides were modified to have their inside attachment boss moved 1/32" lower so that the slight shrink even in PLA won't cause the panels not to fit right. (both my printers at home and work cracked near the ends before I did this).

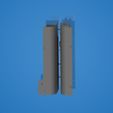
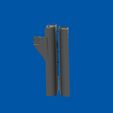
Two Clearance holes were added to the upper RH back Column for screws that interfere on the original design.

All holes that are meant to be threaded (bosses and Magnet Bracket were modeled to be tapped with an 8-32 tap.

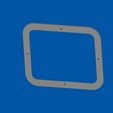
I have also included the frame I am using on mine. The LH and RH side are close but not quite the same. I printed mine on my Kobra Max and it took what seemed like forever.

I have also included the knob that is in the pictures and it is molded for 8-32 as well.

In the files you will find some with the parts connected together by small rectangular features. These are to help them print. I found it all but impossible to get these to stay on the build plat especially later in the print when the leverage is so much more force during that loud wipe across the infill. So this was my solution. Feel free to remove them as I did include both step and stl.

If you want cut acrylic panels with your logo or your design engraved look for Potassium Solutions coming to Etsy soon and we can hook you up.

3D printing settings

I used the standard P1P settings for their PLA Matte with the infill wall overlap set at about 50 percent and the infill set 30 percent. I made sure to err on the smaller side when I picked my Cali line if that makes sense to others in the Bambu World. support was set to what was needed to support the connecting features.

Advertising


Issue with this design? Report a problem.

Would you like to support Cults?

You like Cults and you want to help us continue the adventure independently? Please note that we are a small team of 3 people, therefore it is very simple to support us to maintain the activity and create future developments. Here are 4 solutions accessible to all:

  • ADVERTISING: Disable your banner blocker (AdBlock, …) and click on our banner ads.

  • AFFILIATION: Make your purchases online by clicking on our affiliate links here Amazon.

  • DONATE: If you want, you can make a donation via Ko-Fi πŸ’œ.

  • WORD OF MOUTH: Invite your friends to come, discover the platform and the magnificent 3D files shared by the community!


Sharing and downloading on Cults3D guarantees that designs remain in makers community hands! And not in the hands of the 3D printing or software giants who own the competing platforms and exploit the designs for their own commercial interests.

Cults3D is an independent, self-financed site that is not accountable to any investor or brand. Almost all of the site's revenues are paid back to the platform's makers. The content published on the site serves only the interests of its authors and not those of 3D printer brands who also wish to control the 3D modeling market.

100% secure payment by credit card, PayPal, Apple Pay, Google Pay, etc.
View all payment options.