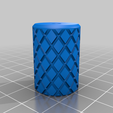
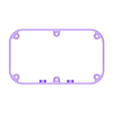
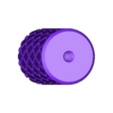
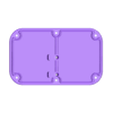
Spinner Control Case
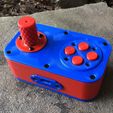
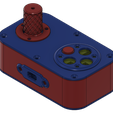
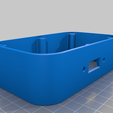
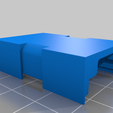
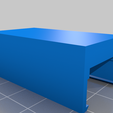
A case for a spinner control for retro arcade games. A work in progress.
Arduino source code available on GitHub
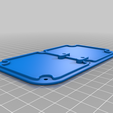
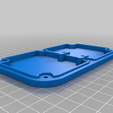
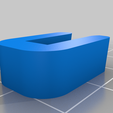
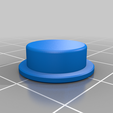
The case lid can be flipped for right handed or left handed spinner operation. The button assembly uses micro switches taken from an old mouse. RIP MX518. You served me well.
All parts were printed with a 0.4 mm nozzle. All holes were sized for threaded inserts for M3 and M2.5 screws. STEP files are provided if you need to make adjustments.
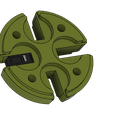
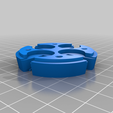
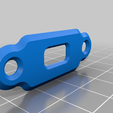
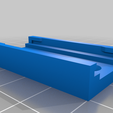
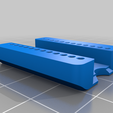
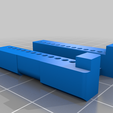
I've included a fit test model for the microswitch slots that can be printed before printing the full microswitch carrier. You want the switch to fit snugly, but bear in mind that if it the fit is really tight then it's going to force the sides of the slot outward making the adjacent slots even tighter.
The optical encoder I used does not tolerate less that 5v input. My Arduino was supplying a bit under 5v and I was testing using the full length leads to the encoder. When testing without the boost converter the encoder did not work. My converter output is set to 8v.
Optional Things
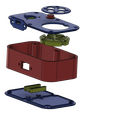
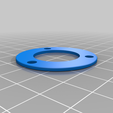
I chose to mount the MCU with header pins installed because it helps to hold it solidly in place. The MCU gets sandwiched between the MCU cover and the mount which is screwed to the bottom cover and the whole thing is held together using a zip tie. There is also a mount meant to be used without the cover, just a zip tie holding the board in place. If you use a different MCU than the one I used then you may need to make your own solution for mounting.
Likewise, the front cover is designed to fit my MCU. Modify if needed.
There is a mount with cover for the booster to snap into, but these things come in various shapes. I don't use the cover and I stick the mount to the bottom case cover with a 3M double-sided stickie. You could just stick the booster directly to the bottom cover.
If you don't use threaded inserts then you will want to resize the holes. For quality heat set inserts and tools I recommend CNC Kitchen (I am not affiliated). They sell quality products and ship promptly in my experience.
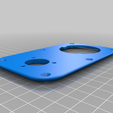
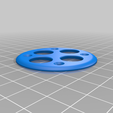
There are 2 bottom cover options. The thinner one saves 3mm. The thicker one should be able to accommodate the encoder without its case removed, but you will probably need to rotate the encoder screw holes to avoid interference. I recommend removing the encoder's metal case; it just makes everything easier and you can verify the wiring that way.
Firmware
The firmware running on the spinner is based on Wilfried JEANNIARD's repo, modified to allow the spinner to act as a DPAD. While holding down button 1 press button 4 then release both buttons. There will be a 1 second delay and then scroll mode will be toggled. While in scroll mode the spinner will send DPAD UP presses to the host when turned clockwise and DPAD DOWN presses when turned counter-clockwise. While holding button 4 the spinner will send DPAD RIGHT and DPAD LEFT.
To configure the spinner in the MiSTer UI do the following:
- Toggle scroling mode on
- Using a keyboard, enter the
define joystick buttons function
- Hold button 4 on the spinner when asked to press
RIGHT and turn the spinner CW
- When asked to press
DOWN, release button 4 and turn the spinner counter-clockwise
- Skip the 2 tilt tests
- Hold button 4 and turn the spinner CW then CCW to define
RIGHT AND LEFT
- Release button 4 then turn the spinner CCW then CW to define
DOWN and UP
- Toggle scrolling mode off
- Press and release buttons 1-4 to define
A, B, X, and Y
- Press enter on the keyboard to save the configuration
If you mess up during these steps press escape and try again.
Links for parts I purchased for this project

/https://fbi.cults3d.com/uploaders/24837915/illustration-file/986574d9-acbd-43b6-abe4-9ab73f450c07/25757d21-aed2-4394-aa07-63dc5031b21d.jpg)
