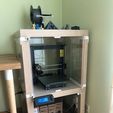
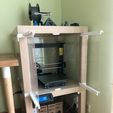
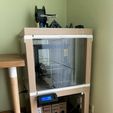
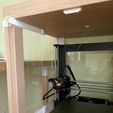
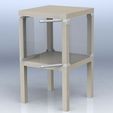
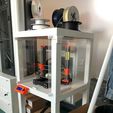
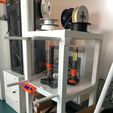
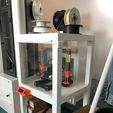
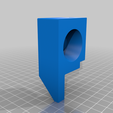
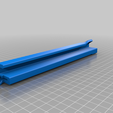
Dominik Cisar's Lack Enclosure (https://www.thingiverse.com/thing:2864118) is incredible and already contains so many great design considerations, but as a maker myself, I'm always looking to add something more. Knowing that I need to keep the enclosure doors open when printing with PLA, I wanted to find a design that could hide/slide/remove the doors so they wouldn't take up space in my room. I searched all over the internet until I found a perfect remix called the “Slack Lack” (https://www.thingiverse.com/thing:3485510). The original designer nnorton00 incorporated these clever sliding-hinges that allow the doors to tuck back inside the enclosure keeping them neatly out of the way (video). He designed the “Slack Lack” to fit an Ender 3 with paving stone so the Plexiglass dimensions ended up being significantly taller than the ones called out in the original Lack enclosure. Unfortunately for me, I had already ordered Plexiglass for the original Lack enclosure, but decided I would remix nnorton00's design to fit! So if anyone else has the original Lack Plexiglass and wants to make an enclosure with fancy sliding doors, then this is the remix for you!
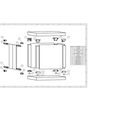
In the following instructions I use abbreviations to describe the location of the parts in the finished assembly. The abbreviations are defined as follows: TL → Top Left, TR → Top Right, BL → Bottom Left, BR → Bottom Right. I also made an exploded view drawing to help with assembly.
Build can also be found on PrusaPrinters (https://www.prusaprinters.org/prints/68735-prusa-slack-lack-enclosure)
Purchase Parts:
- QTY 12 - 20x6x2mm magnets (used to secure the doors from unwanted sliding and opening)
- QTY 8 - 6x50mm wood screws (used to mount the corner pieces)
- QTY 14 - 5x20mm wood screws (used to mount the table legs, catches, and door stop)
- QTY 3 - 5x20mm wood screws (used to mount the PSU bracket)
- QTY 1 - 3x10mm wood screw (used to secure the PSU in the bracket)
- QTY 3 - 440x440mm thickness 3mm Plexiglass
- QTY 2 - 220x440mm, thickness 3mm Plexiglass
Print Settings:
- I used PrusaSlicer's recommended print settings for PETG at 0,2mm layer height
- Added paint-on supports for corner_TL.stl & corner_TR.stl
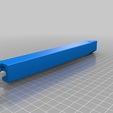
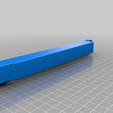
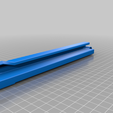
- Added brim and supports for the door rails (top_right_rail.stl & top_left_rail.stl & bottom_right_rail.stl & bottom_left_rail.stl)
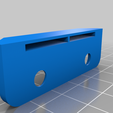
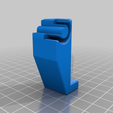
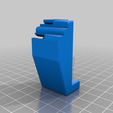
- Print 2x back_top_corner.stl 2x back_bottom_corner.stl 4x catch.stl
Assembly:
- Press fit QTY 4 magnets into TL, TR, BL, BR corners (if they do not stay in use superglue)
- Check magnet polarity in the corners then press fit QTY 4 magnets into the sliding hinges ensuring that the matching corner-hinge combination attracts
- Use QTY 4 - 6x50mm screws to secure the top corners to the bottom-side of the upper table (use the pre-drilled holes in the lack table and the edges of the plastic part should align with the table)
- Use QTY 8 - 5x20mm screws to secure the legs to the top corners (pre-dilled hole should face out)
- Slide the QTY 3 big Plexiglass into the top corner pieces
- Use QTY 4 - 6x50mm screws to secure the bottom corners to the legs (use the pre-drilled holes in the lack legs and the edges of the plastic part should align with the leg)
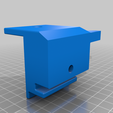
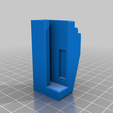
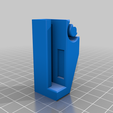
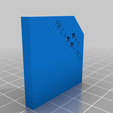
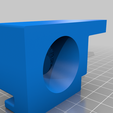
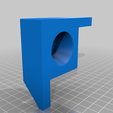
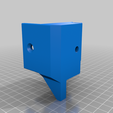
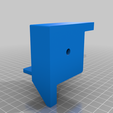
- The locations of the 4x catch.stl vary at each corner so I created a “hole finder” part to help
- Use a sticky note or some temporary sticker to identify the front side of the table (later we will install the door stop which will indicate the front)
- Slide the hole finder over the front left corner until it aligns with the two perpendicular edges, then with a pen mark inside the circle labeled “FR L”
- Slide the hole finder over the front right corner until it aligns with the two perpendicular edges, then with a pen mark inside the circle labeled “FR R”
- Slide the hole finder over either of the back corners until it aligns with the two perpendicular edges, then with a pen mark inside the circle labeled “B”, repeat with the remaining corner
- Use QTY 4 - 5x20mm screws to secure the catches to the top-side of the lower table
- Place the upper table on top of the lower table making sure the side without the Plexiglass wall is aligned with the front indicating sticker on the lower table
- Depending on if you want the door stop to be on the top or bottom, slide QTY 2 magnets into the TL & TR rail or the BL & BR rail
- Use any PVA-based white glue (Elmer's school glue/crafting glue) and secure the TL rail and BL rail onto QTY 1 of the door Plexiglass, repeat for the right side
- Immediately after securing the rails to the Plexiglass, slide the door subassembly through its respective corner pieces to ensure smooth movement
- Let the door subassemblies dry for ~1 day
- Put the sliding hinges into the hoops on their respective rails, the joints should feel tight so they don't flap around when sliding the doors in/out, use strips of paper to tighten if needed
- Watch nnorton00's video to learn how to install and remove the doors
- With the doors installed, check magnet polarity in the rails then slide QTY 2 magnets into the door stop ensuring that the doors are attracted to it
- Close one of the doors and mark the location for the front face of the door stop then use QTY 2 - 5x20mm screws to secure the door stop onto the top-side of the lower table.
- Finally, follow Prusa's Enclosure V2 guide (https://blog.prusaprinters.org/mmu2s-printer-enclosure_30215/) for how to install the PSU externally
Below are links to the other parts that I used to complete my enclosure build:
Angled heat bed cable cover (https://www.prusaprinters.org/prints/40051-prusa-heatbed-cable-cover)
External PSU mount and replacement bracket (print file 11) (https://www.prusaprinters.org/prints/3673-prusa-enclosure-v2-mmu2s/files)
External LCD mount (https://www.prusaprinters.org/prints/31178-prusa-lack-enclosure-external-lcd-mount)
Enclosure cable pass through (printed wider one to fit LCD cables) (https://www.prusaprinters.org/prints/5355-prusa-lack-enclosure-cable-passthrough)
Filament grommet (https://www.prusaprinters.org/prints/16836-low-strain-ikea-lack-table-filament-grommet)
Spool holder (https://www.prusaprinters.org/prints/28572-spool-holder-plateau-mount)
Steel sheet holder (https://www.prusaprinters.org/prints/51462-expandable-steel-sheet-holder-mk-mini)
If you have any questions please feel free to ask! I do not have time to add variations of the parts for different magnet/Plexiglass sizes so if you want to change them I can send a .zip file of my SolidWorks project.

/https://fbi.cults3d.com/uploaders/28070054/illustration-file/a78a83f4-23d7-4083-a733-d269c7dddc98/b_2.jpg)
