Skip to content

LED Desk Lamp

Advertising
Advertising
?
Creation quality: 5.0/5 (1 vote)
Evaluation of members on the printability, utility, level of detail, etc.

  • 1.1k views
  • 4 likes
  • 21 downloads

License
3D design format
Folder details Close
  • SPST_slide_switch_toggle.stl
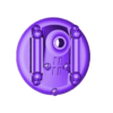
  • arm_plate_without_peglegs.stl
  • lamp_battery_switch_base_4.stl
  • lamp_bulb_5.stl
  • lamp_peglegs_1.stl
  • lamp_peglegs_2.stl
  • lamp_peglegs_3.stl
  • lamp_shade.stl
  • peg_cap.stl
  • shade_clip_rotated.stl

Learn more about the formats

Publication date 2023-04-25 at 18:49
?
Published to Thingiverse on: 2012-07-25 at 18:10
Design number 1187286

3D printer file info

3D model description

Check out our Etsy for all of our 3D printed awesomeness!
https://www.etsy.com/shop/CarryTheWhat

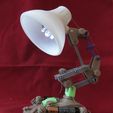
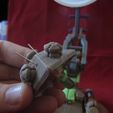
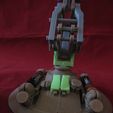
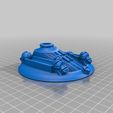
This is the fully functional solder-free version of the snap-together mini lamp. Besides a 3D printer, all you need is some LEDs and some conductive thread like this: http://members.shaw.ca/ubik/thread/order.html

It's a work in progress because there are still some kinks to work out, and I'm not sure what LEDs I want to use yet.

I used v0.2 of the 3D-PCB library, which has tolerances calibrated for the Makerbot Replicator.

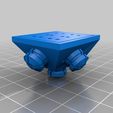
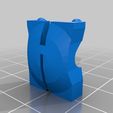
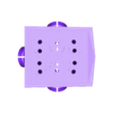
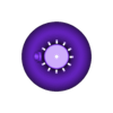
The "bulb" of this lamp is an array that can hold 6 LEDs, and it snaps into the peg that holds the lamp shade on.

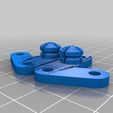
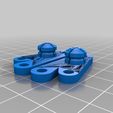
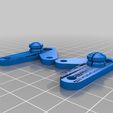
Some of the arm pieces have an added peg so that the conductive thread can run down the arm to the base (on each side) without overlapping.

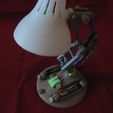
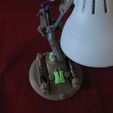
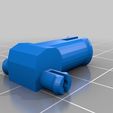
The base has been adapted to accommodate 2xAAA batteries and a toggle switch.

This model was made in blender, using the 3D-PCB openscad exports.

3D printing settings

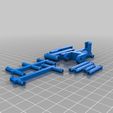
Print one of each file, with the exception of the 'peg caps' (print lots of these).

The lamp is assembled much like the snap-together version -- assemble the arm in the same way. Once the arm is together, insert the LEDs into the bulb. It is a 2x3 array, with pairs of holes. When inserting an LED, make sure you insert the positive lead (the longer one) into the hole on the inside. This way, all the positive leads will emerge together in the center, and the negative leads will emerge together on the sides.

Once you've inserted the LEDs you want, bend the excess into the peg slots nearby. tweezers are helpful to get a good bend. Next, cut two long lengths of conductive thread -- a few feet should give you plenty of leeway for wrapping.

Detailed instructions for how to wrap can be found here: http://www.instructables.com/id/3D-Printed-Circuit-Boards-for-solder-free-printab/step3/Wrap-it-up/

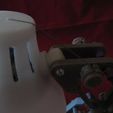
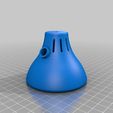
Positive first: wrap up the positive peg on the top of the bulb, and insert a cap. Then wrap the negative pegs together to the remaining peg -- insert the peg caps to ensure a good hold. Thread the two threads out of the bulb towards the arm. In my prototype, I ran the positive out through the hole that snaps the arm to the shade, and the negative out the hole at the top of the shade -- but it doesn't really matter as long as it's not the same hole.. Do this while you insert the lamp shade and then snap the bulb into place.

There are then three sets of pegs down the arm structure. When you wrap your way down, make sure to flex the arm structure in many directions to make sure you leave enough slack to allow for a wide range of motion. When you reach the bottom of the arm, attach it to the base. Wrap the excess threads to their respective battery terminals, again leaving enough slack for the range of motion you want.

Cut two more lengths of thread, about 12 inches should be sufficient. Run one from one battery terminal across the switch. Tie a knot in the toggle, and run it to the other battery terminal. Again, for detailed instructions, see the instructables.

And you're done!

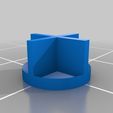
EDIT One of the pegs, going from the arm through the shade into the bulb, is originally printed at an upwards orientation, causing it to be prone to snapping. I have uploaded a modified version so it can be printed on it's side.

Advertising


Issue with this design? Report a problem.

Would you like to support Cults?

You like Cults and you want to help us continue the adventure independently? Please note that we are a small team of 3 people, therefore it is very simple to support us to maintain the activity and create future developments. Here are 4 solutions accessible to all:

  • ADVERTISING: Disable your banner blocker (AdBlock, …) and click on our banner ads.

  • AFFILIATION: Make your purchases online by clicking on our affiliate links here Amazon.

  • DONATE: If you want, you can make a donation via Ko-Fi πŸ’œ.

  • WORD OF MOUTH: Invite your friends to come, discover the platform and the magnificent 3D files shared by the community!


Sharing and downloading on Cults3D guarantees that designs remain in makers community hands! And not in the hands of the 3D printing or software giants who own the competing platforms and exploit the designs for their own commercial interests.

Cults3D is an independent, self-financed site that is not accountable to any investor or brand. Almost all of the site's revenues are paid back to the platform's makers. The content published on the site serves only the interests of its authors and not those of 3D printer brands who also wish to control the 3D modeling market.

100% secure payment by credit card, PayPal, Apple Pay, Google Pay, etc.
View all payment options.