Skip to content

RunCam2 4K Rocket Mount Coupler

Advertising
?
Creation quality: 5.0/5 (1 vote)
Evaluation of members on the printability, utility, level of detail, etc.

  • 1k views
  • 1 like
  • 8 downloads

License
3D design format
Folder details Close
  • BT-70-ShockCord-Plug.stl
  • BT-80-ShockCord-Plug.stl
  • RunCam2-BT70-25Degree-Coupler.stl
  • RunCam2-BT80-45degree-Coupler.stl

Learn more about the formats

Publication date 2023-05-03 at 00:27
?
Published to Thingiverse on: 2023-04-30 at 21:45
Design number 1199904

3D printer file info

3D model description

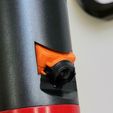
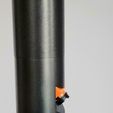
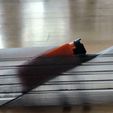
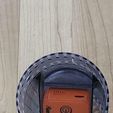
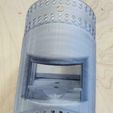
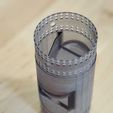
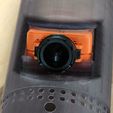
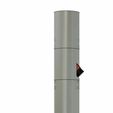
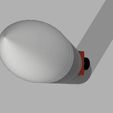
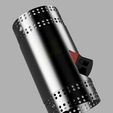
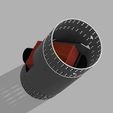
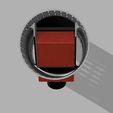
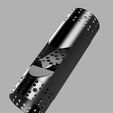
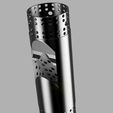
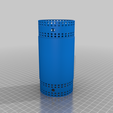
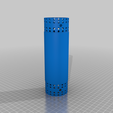
So i wanted to start using my RunCam2 4K camera on some smaller rockets. This cam, although small, is rather bulky to mount on the side of a rocket so I set off to make one that could mount internally. I've made 2 versions of this for standard size body tubes, BT-70 and BT-80. The BT-80 camera mount is set at 45 degrees while the BT-70 is set at 25 degrees off vertical and designed to make sliding the camera in its place easily while limiting how much of the camera protrudes from the side of the rocket and maintaining a decent viewing angle.
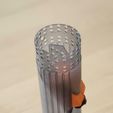
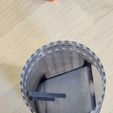
There is a bit more mass on the "back" side of the coupler/mount so as to help keep the center of mass along the vertical axis as close to the middle as possible when the camera is in place. i put a lot of hole cutouts wherever i could to help keep the weight down. The BT-80 weighed in at 49 grams while the BT-70 came in at 55 grams as it had to be taller to fit as much of the camera inside as possible (This weight was with Siraya Tech Fast Resin, results may vary depending on your Filament/resin. The FWD and AFT shoulders have 4 rows of cutouts and then 3 x 5mm holes in the middle to be used with plastic rivets so the camera could in theory be placed on existing rockets.
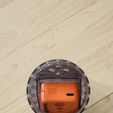
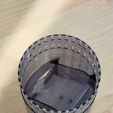
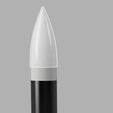
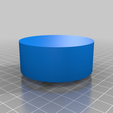
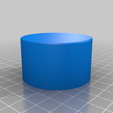
I also made a couple of "cups" that can be slid into the bottom and glued in place if you wanted to attach a shock cord/parachute to this piece. I use this mount/coupler with a4" Body tube on top of it attached with Rivets and a nosecone. The entire top end of a rocket interchangeable with any other rockets by just removing the shock cord from the nosecone of said rocket and attaching this entire piece in its place. Picture is worth a thousand words so see attached video (https://youtube.com/shorts/HeNh2FP4TU8) on how i use mine.

These are the removable plastic rivets i like to use: https://www.apogeerockets.com/Building_Supplies/Misc_Hardware/Removable_Plastic_Rivets

Please do share your creations if you try it!

Advertising


Issue with this design? Report a problem.

Would you like to support Cults?

You like Cults and you want to help us continue the adventure independently? Please note that we are a small team of 3 people, therefore it is very simple to support us to maintain the activity and create future developments. Here are 4 solutions accessible to all:

  • ADVERTISING: Disable your banner blocker (AdBlock, …) and click on our banner ads.

  • AFFILIATION: Make your purchases online by clicking on our affiliate links here Amazon.

  • DONATE: If you want, you can make a donation via Ko-Fi πŸ’œ.

  • WORD OF MOUTH: Invite your friends to come, discover the platform and the magnificent 3D files shared by the community!


Sharing and downloading on Cults3D guarantees that designs remain in makers community hands! And not in the hands of the 3D printing or software giants who own the competing platforms and exploit the designs for their own commercial interests.

Cults3D is an independent, self-financed site that is not accountable to any investor or brand. Almost all of the site's revenues are paid back to the platform's makers. The content published on the site serves only the interests of its authors and not those of 3D printer brands who also wish to control the 3D modeling market.

100% secure payment by credit card, PayPal, Apple Pay, Google Pay, etc.
View all payment options.