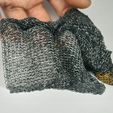
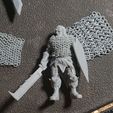
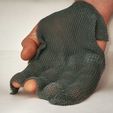
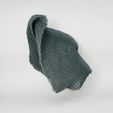
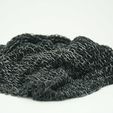
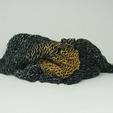
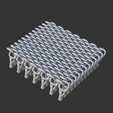
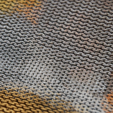
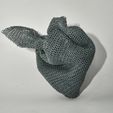
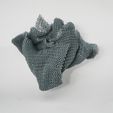
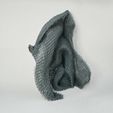
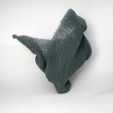
TLDR: use rigid resin, and adjust exposure slightly up if ring supports fail or down if they stick. I was printing slowly, but I recently was able to go faster so you should be fine with standard speeds eg. TSMC enabled 65>160mm/min, 3>4mm lift. Also on my Saturn 1 with a bad screen, I have been able to scale down to 60% with the new S5.6 test files, there are briefer instructions with those files than here.
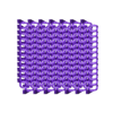
I use good detailed resin with a Saturn 1 that currently has a bad screen so the middle over exposes yet I am still able to just about print full sheets, the okay parts of my screen can do as little as 200um gaps, which means I will be able to print it smaller when I get a new screen, anyone with a better printer, especially something like a Saturn 2 or a DLP printer will definitely be able to print it smaller which would be interesting to see but might not be practical as the rings could be too weak. If you try this and the supports don't work let me know and I'll adjust them.
I have on my page a test part consisting of a few ball socket joints with specific gaps from 150-300um, you should be able to break the ball off it's support with your nail or a tool, if you can move it around in the socket it's a success, 250 should be good enough to print the rings, 225 is safer though, also I'd recommend doing this across the build plate to check for uneven exposure.
When doing a full bed print you could have the raft peel off if you have too few or too short base layers, but again we want them low so having a well-sanded base for maximum adhesion is ideal. If all this is in order and it prints well you could try lowering the rings for less resin usage and lower times, you could get as low as 30mins, I prefer to play it safe though, if you don't have a well flattened sanded and levelled base then you can overcome this just by moving the rings up slightly and using a thicker raft but this will be wasteful. I also have some test parts for this, just some simple cubes with writing on them to identify where they were printed so with calipers you can check flatness z height and level.
You should use a raft, but it should be very small to avoid waste and to reduce sticking, a big raft with many long bottom layers can cause the bottom of the rings to expand more and stick so if you have a very well-levelled and flattened bed try 0.1-0.2mm raft height with 2-4 base layers and 0-3 transition, you will need something very sharp to peel this raft off like a razor blade.
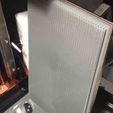
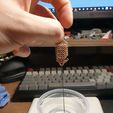
Also to save resin, let your bed sit in your vat for a while as shown in one of my photos, this could mark your FEP but it hasn't for me and it's the best drain excess resin because it's vertical, this can take up to 15 mins to get all the resin drained out.
If you overexpose the rings can join; you want to expose as high as possible without this happening so that the rings are as strong as possible. Start with a test piece at your normal exposure, preferably calibrated with the cones of calibration, and either it will work or you might have to go underexpose by 0.1-0.2s (on a mono printer). Although most people would be better off underexposing it's best to not to start there because if you unexposed too much and the rings are ripped off the supports as a result while most rings will get caught by surrounding rings, some may be left in the vat which is worse than just overexposing and the rings sticking.
If the rings are under-exposed they can be too weak, if supports are underexposed they fail, if they over expose they hold onto the rings and cause damage while taking the mail off the supports, so there is a fine balance I've tried to strike here, if you in one print both have supports failing due to underexposure and rings sticking due to them joining, and you have done everything I said then adjusting exposure up or down won't help, if this is the case let me know and I'll make some variants with a tiny bit weaker or stronger supports.
Slow lift speeds and decent lift heights are also recommended because, at 50um layer height, it should be less than an hour to print with slow settings (65mm/m lift or lower) so there is no point risking breaking it.
Removing the supports, cleaning, and curing:
https://youtu.be/V1c6RhYfouk
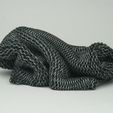
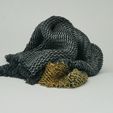
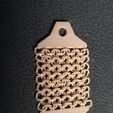
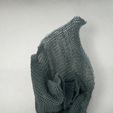
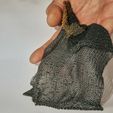
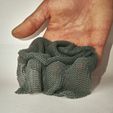
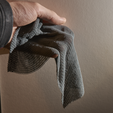
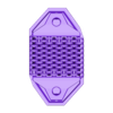
To remove it from the supports I recommend with gloves moving your finger around the edges to break them free from the support and then push down and to the side to loosen the rest of the rings, you should be careful here because you could break them but it's much harder to break here than while pulling off the rings so it's worth doing this over than just pulling. Another method for loosening the rings is by spraying with IPA and then scrubbing in small circles with a soft brush, this cleans and if the supports are weak enough can loosen or remove the rings all at once. Next of course you pull them off, preferably at an angle and very gently and slowly so you can see if any particular rings are sticking and need pushing off individually. Finally it's time for cleaning and curing, while they are very small and detailed and you don't want them to stick now so they do need to be cleaned well, because they are open it's surprisingly easy to clean and cure, you would have more trouble with a hollow print than these, personally, I use IPA with an ultrasonic cleaner (IPA in a sealed container to prevent fires), and that works great for me, but anything that normally works should work. Due to their small size, not much time is needed to cure, if you wanted to find a perfect curing time you could try printing the strength test stl which has some plates with holes to attach weight to, so you can see what cure time or resin is the strongest. I get just over 250g or 50g per ring with Elegoo 8k Space Grey resin.

/https://fbi.cults3d.com/uploaders/27757239/illustration-file/c6aa658f-23b3-45c9-b440-887723f57c25/DSC04430.jpg)
