3D model description
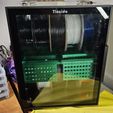
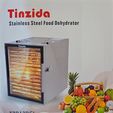
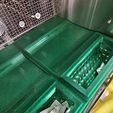
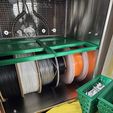
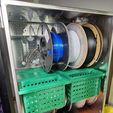
I made this shelf for my new Tinzida TZD12DGL food dehydrator which I am using to dehydrate my filament spools.
This is the link to the exact dehydrator that this was modeled to fit:
https://www.amazon.com/gp/product/B0BYN1NDKV/ref=ppx_yo_dt_b_asin_title_o03_s00?ie=UTF8&psc=1
It is a great dehydrator because it fits up to 10 1Kg spools once you remove the hardware that the racks slide on, from the inside. But if you remove that hardware to max out its volume, the slide in racks can no longer be supported.
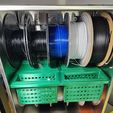
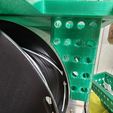
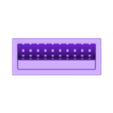
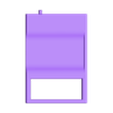
So I made this organizer shelf mod. Prints in 2 pieces so all parts can fit on a 250x250mm build plate, the two shelf pieces slide together with a notch and key feature, which can be glued after assembly if you wish for better stability, but no glue is necessary. (The connection between shelf parts was much too tight at first, resulting in the one pictured to crack a little; But I have since adjusted the model to have better tolerance where they connect. It is now tight and snug, yet not so tight that they will break sliding together. Just make sure you completely clean out all support material from the grooves really well.)
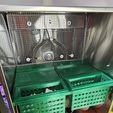
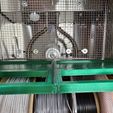
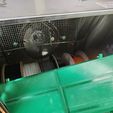
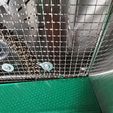
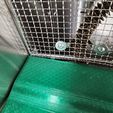
The pegs in the back slide into the grill at the back of the cabinet to support the rear, then the front of the shelf simply rests on the spools below it.
I measured the pegs in the back to fit the dehydrator unit that I bought. They may not line up perfectly with the one you got as the grill may be positioned slightly different from one dehydrator unit to the next. This is a variable I cannot control, However if necessary, this is very simple geometry and you should be able to easily edit it in tinkerCAD to better fit your exact dehydrator.
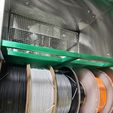
Then you can stack another 5 spools on top of the shelf, and dry your desiccant in the desiccant cups for reuse.
The disiccant cups are easily removable, even with all 10 spools in there, and the shelf is also quite easy to insert and remove as needed.
3D printing settings
DO NOT print this in PLA, unless the only thing you are putting in the dehydrator is also PLA with appropriate temp settings.
If you are drying PETG spools at 55c, and you have a PLA shelf in there, it will start melting and deforming. This shelf must be printed with a high temp material. PETG at a minimum.
Also the shelves will need some support for the edge with the notch and key, and minimal supports under the pegs in the back.
The dessicant cup can be easily printed upside down, with some painted supports for the inside bottom of the cup where it would have to do the bridging, unless you are just a wizard with bridging settings. Then you should be able to get it done with no supports.
I printed this on the Bambu Lab X1C, which has a 250x250mm build plate. This entire project can be printed in 2 print jobs.
You can fit one shelf and one dessicant cup on the plate at a time. Repeat this for each side. The hybrid auto tree supports in bambu studio did a nice job for this. I print at .16 layer hight with a .4 nozzle, and i used a .25 Z-gap between the support interface and the model, and it printed nice and was still easy to remove. You may have to use a tool to dig out a little debris from the supports from the inside of the grooves.

/https://fbi.cults3d.com/uploaders/23775763/illustration-file/379f60b9-f7ce-4585-98b1-059852fdb1c7/20231022_200123.jpg)
