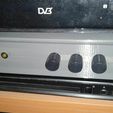
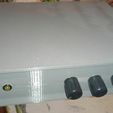
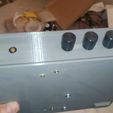
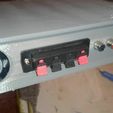
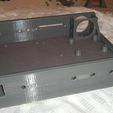
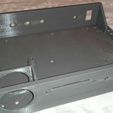
Here I present a box design for mounting an audio amplifier.
It is a simple assembly and it needs some easy to find electronic components, but it is necessary to know that you can have them before proceeding to download the file.
Personally I get them from Aliexpress Stores, but they are located in many other places.
Components:
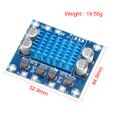
30w+30w digital amplifier board.
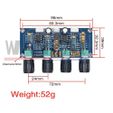
Peramplifier board with three band tone control.
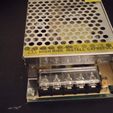
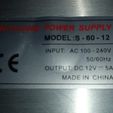
12V 5A power supply or 24V 2.5A power supply.
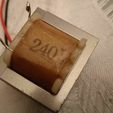
Miniature 12V AC output transformer (Optional).
Fan 40x20 12 or 14 volts, depending on source.
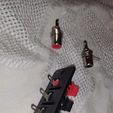
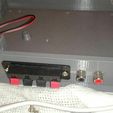
Dual socket speaker terminals.
RCA female plug two units.
M3 screw inserts.
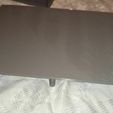
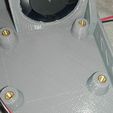
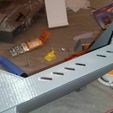
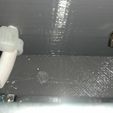
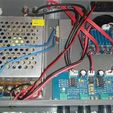
The pictures I have added in parts are helpful for assembly.
The assembly shown in these images is the first test. Then I modified the position of the power supply, so that it was not so close to the front of the case.
I also put the labels on it, which are also optional in Spanish or English.
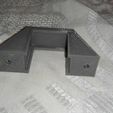
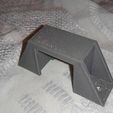
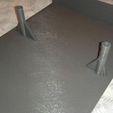
The legs are mounted directly without problems, by pressure. It is important to make sure that there are no plastic leftovers or threads. With PLA or ABS there is no problem.
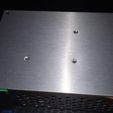
The source is mounted with the screws from underneath, using the three center holes.
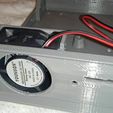
The amplifier is placed right next to the fan. Care must be taken not to bend cables towards the fan.
The preamplifier is fixed only with the potentiometers. It is small and hardly weighs. Included with control knobs.
The miniature transformer is optional. It turns out that there are two models of this preamplifier. One model is 12 volt AC and makes the use of this element necessary. But there is the 12 volt DC model and that connects directly to the power supply.
If you use a 24 volt power supply it would be mandatory to use this transformer for the preamp.
The cables used for the RCA inputs and the preamp must be shielded. As well as between the preamp and the amp.
The fan is very easily positioned by inserting it from above.
The led needs a series resistor or use a 12V led. For 24V I don't know if there are any (maybe).
The led hole would need to be widened if you use a socket. Relaying the socket or making a hole, has to be done with a slow twist in case of PLA. For ABS it is not necessary because it is machinable.
For the switch it may be necessary to profile the edges, since I have found that there are manufacturers that have some wider sizes.
The assembly of the top cover is very easy. But before printing it, it is necessary to make sure that with the material used and the operation of your printer, the coupling is accurate. Otherwise, it would be enough to give between 0.2 and 0.4 mm more to the X-axis.
The power cable used, is the common two-wire cable. With the types of cable I tested, no corrections had to be made to the inlet hole. It has to be fixed with a cable tie to avoid pulling.
This kit works very well and gives me good sound quality. Before I set about designing a box, I ran it with no box and no ventilation and in all the summer heat. So now with this assembly it goes perfect and without any electrical risk of accidentally touching wires.
If there is any detail that I have missed, I will add it to the text or content.

/https://fbi.cults3d.com/uploaders/14654865/illustration-file/7fe67548-5fa5-4b7b-b728-3aae5c8bdd8a/IMG_20231017_055348.jpg)
