PLEASE READ THE WHOLE DESCRIPTION INCLUDING THE EDITS IN THE END
Original post
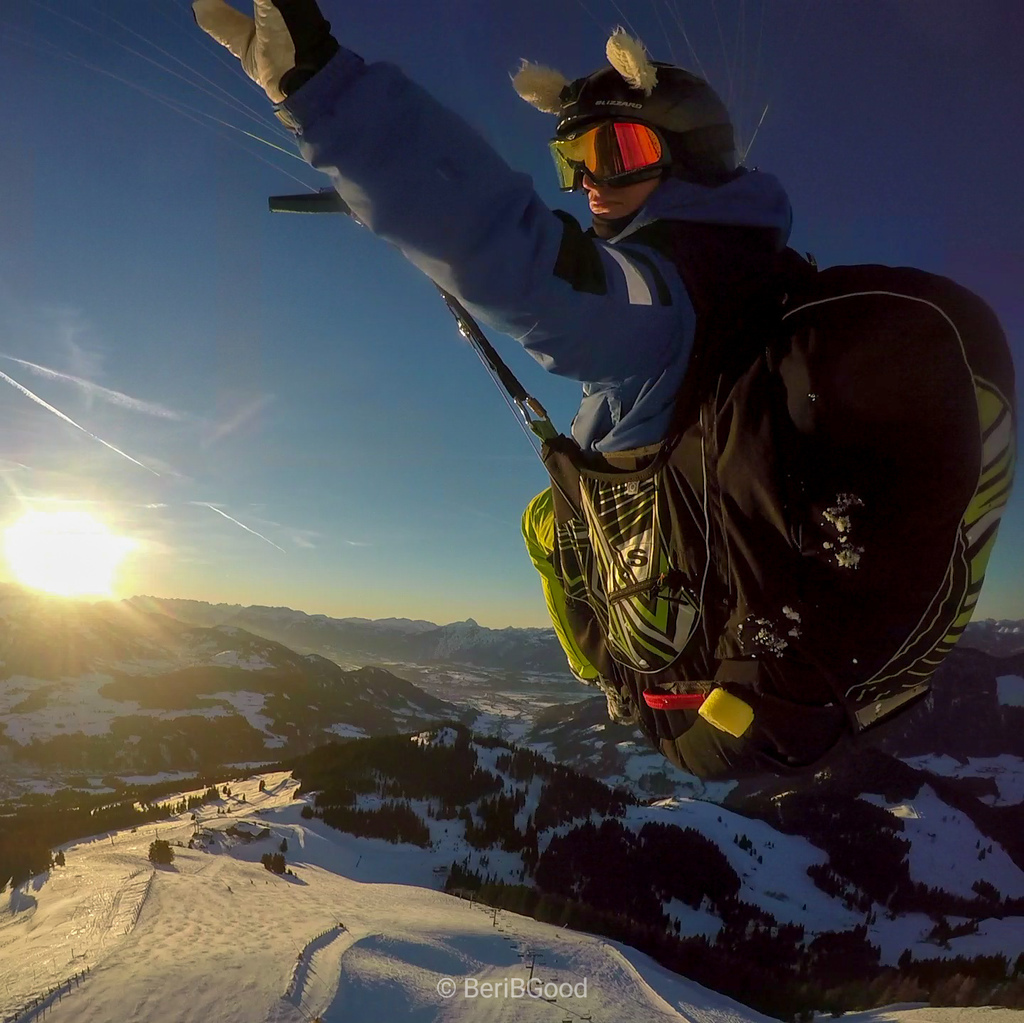
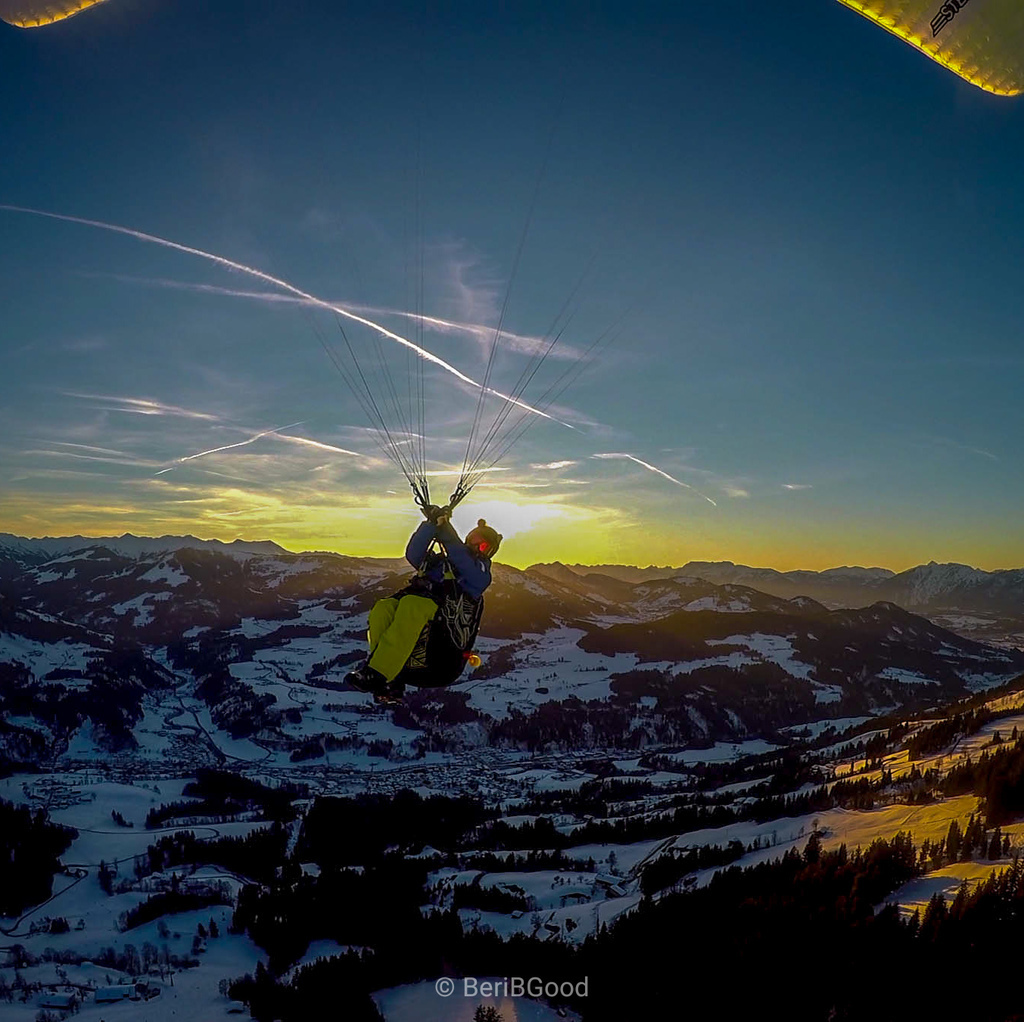
I have been using a "PET bottle" chasecam for the last 4 years made of a standard PET bottle and a Gopro surf mount. It was working well but the drag was never enough and the camera was always too close to me for perfect pictures and videos and the roll/pitch stabilisation was not that great.
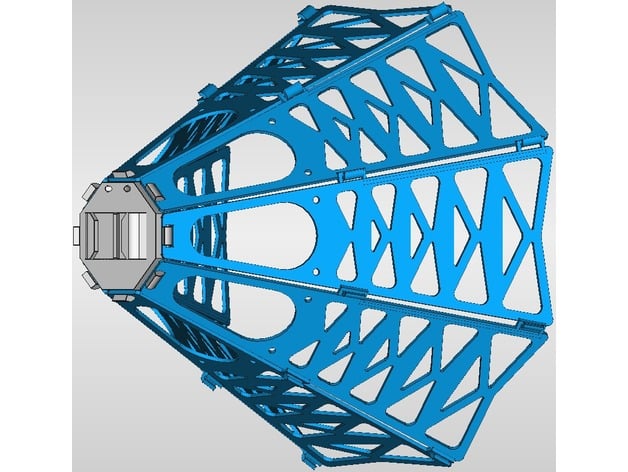
There are different designs for chase cam on the market (like stick-like, windsock and badminton designs). I went for a badminton-like shape to maximize the drag and hopefully get the camera further away from me and much more stable.
Why did I then design a complete new design instead of using one of the already available design on the market or Thingiverse ?
Well, I do not like cords, zip ties or screws to assemble the chase cam. I wanted to be able to assemble it fast before every take-off and disassemble after every landing to save as much space as possible in the carrying bag.
So I played with different mounting clips to achieve exactly that goal.
Any other GoPro fork I tried from here was too lose or too tight and broke too easily unfortunately, so I designed a completely new one to be sturdy enough and still allowing a good grip on the GoPro to keep the camera angle.
I recommend a long line to attach it to the glider. My line is a bit longer than the paraglider's lines so that the chase cam could never fly between the lines. The cam would fly into my harness back.
This is also an advantage because I can attach the cam to my riser carabiner for the take-off and release it when I am safe. The camera is not bouncing on the ground, messing with the angle, not being messy or getting stuck somewhere.
As the camera is looking straight to the front, it is recommended to attach it around the middle of the glider, if you attach it near the ears, you could miss the angle.
I attach mine on the C-Level. Do not attach it directly to the brake level or you could have a profile deformation that will change the flight behavior of your glider.
Of course, if this is attached in the middle loops, then the camera is flying directly in your turbulences... but this is still quite ok. If you use a newer GoPro like the 7th generation, the electronic stabilisation should be more than enough to get smooth footage. (I still use the 4th gen).
Link to a small video, not stabilisation correction in post production at all, only color correction applied: https://www.youtube.com/watch?v=z3465FSYloE
EDIT 28/04/2019:
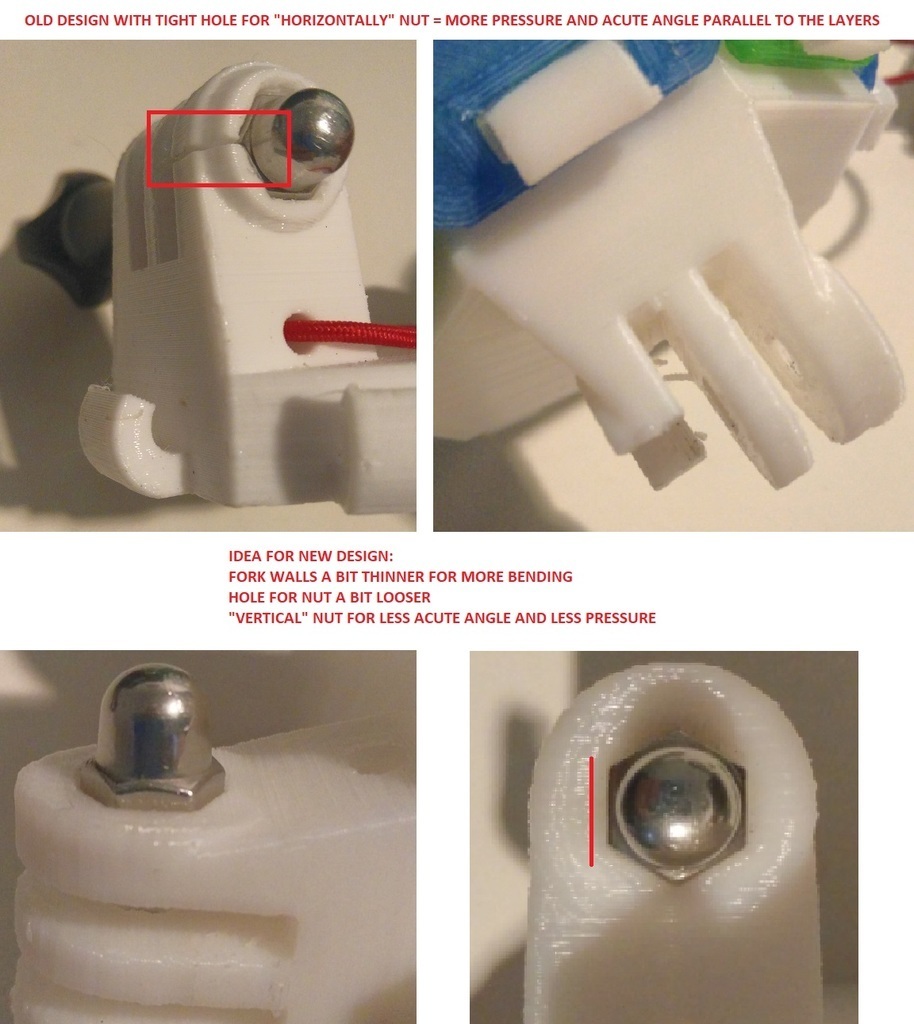
The Gopro Fork keeps breaking where the nut goes in.

This was to be expected because of the printed layers orientation.
The camera can still be held in place, but this is not really trustworthy ...
I am working on redesigning a bit this time with a real CAD software (FreeCad maybe) and printing it with TPU maybe. I will keep you posted.
EDIT 08/05/2019
I added pictures of the problem and ideas for a new design.
It did not matter which material I used (PETG, PLA).
I am pretty new to the 3D printing world, maybe I could have improved the prints and the layer adhesion, but I think the design itself should be improved first because of evident weaknesses. If you add the cold ambient air while flying, this was doomed to break.
I tested the new approach successfully without crack even when tightening pretty strongly.
I still would not recommend to over tighten it anyway, this is still a 3D printed plastic with "weak" layer bonding at the critical place.
Changes are:
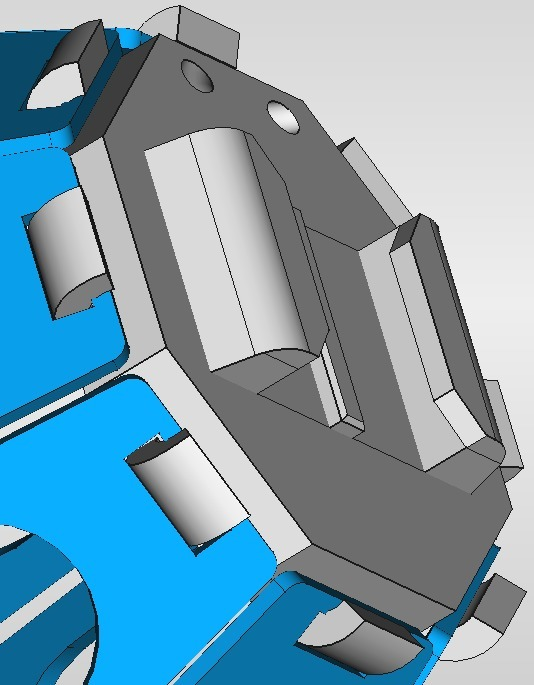
- Minimally thinner walls at the fork to allow a bit more flexibility instead of being stiff and cracking.
- A bigger hole for the screw nut to fit in (i had to press fit my screw nut in the old design and this already caused hard pressure on the layers).
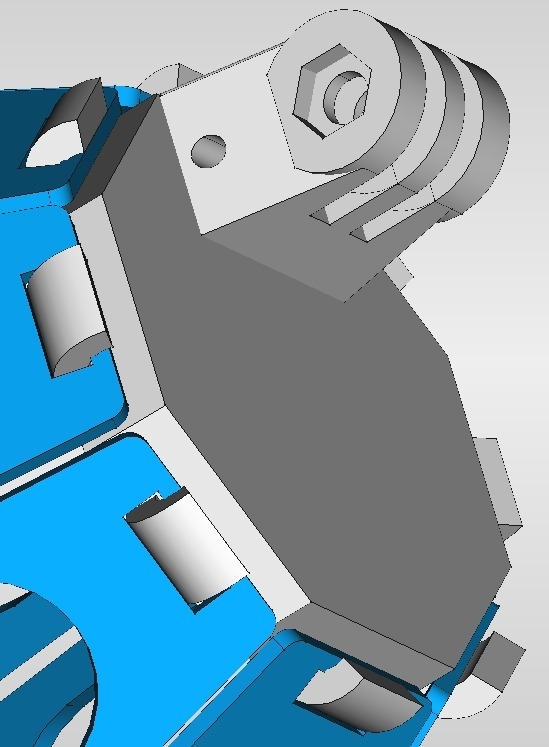
- The nut has been rotated so that the side wall of the nut is now perfectly orthogonal to the layers, no more acute angle there (see the picture above for better understanding)
- You could also try to cure your prints using an oven, hot air gun or even a lighter, I melted somewhat the layers near the screw nut and this seems to also improve the stiffness.
- A definite improvement would be to use flexible filament, I might try this as well if the prints still fail at cold temperature.
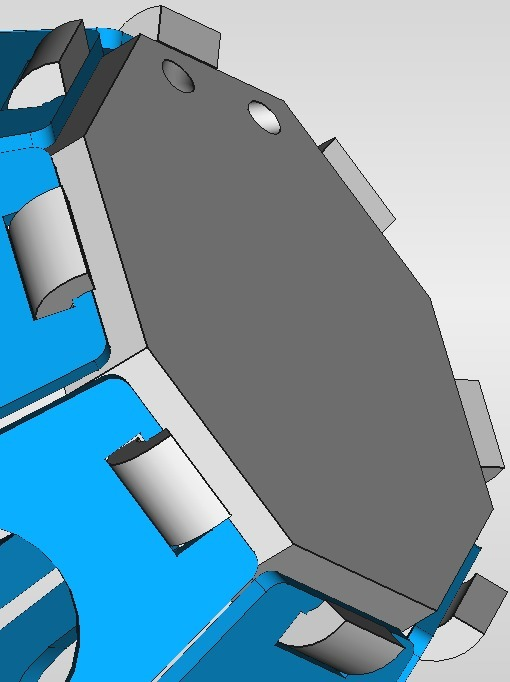
I plan to design it as an octogonal base big enough to directly stick a gopro mount (even the surf mount !) using the 3m Stickers. I will also share a design without the fork to allow you to stick the Gopro mount directly to the plate.
I might share the improved design even for an hexagonal plate if I find time to draw it again on FreeCad.
EDIT 16/05/2019
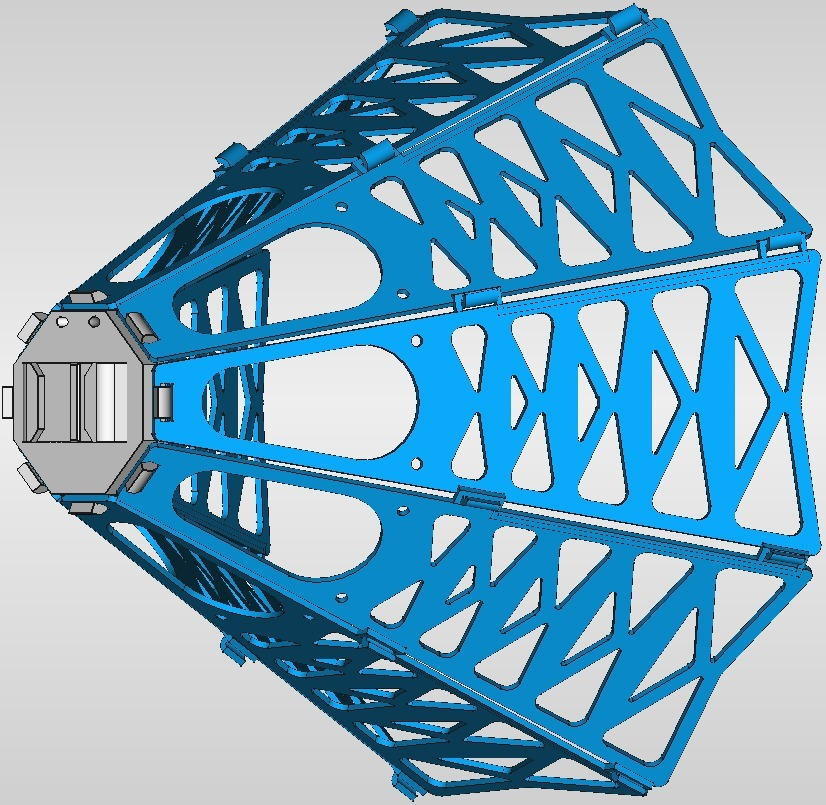
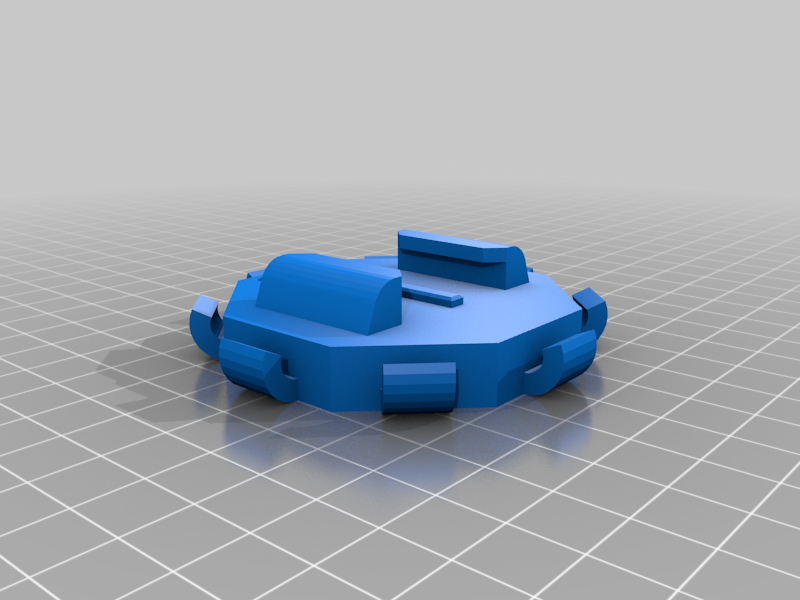
I finished the design and successfully printed a completely newly redesigned chasecam.
- The plate is now octogonal (every chase cam on the market is octogonal, so I figured it might be for a good reason)
- The plate now comes in 3 designs
1. GoPro Fork (improved design and should be ok now, I tested it only in "warm" conditions but it makes a good impression)

2. GoPro Flat mount (I am very surprised, but this seems to be very sturdy! I still added a leash hole for the camera, better safe than sorry. This is what I will be using in the future I think)

3. "Naked" to stick a flat mount oneself (with leash hole)

- The feathers are less wide (100 mm instead of 120 mm) for an overall ~ 260 mm wingspan (120 mm would give more than 320 mm and would be too big for take-off in my opinion)
- The design on the feather is new, it seems it would be more efficient for better drag (I hope ...)
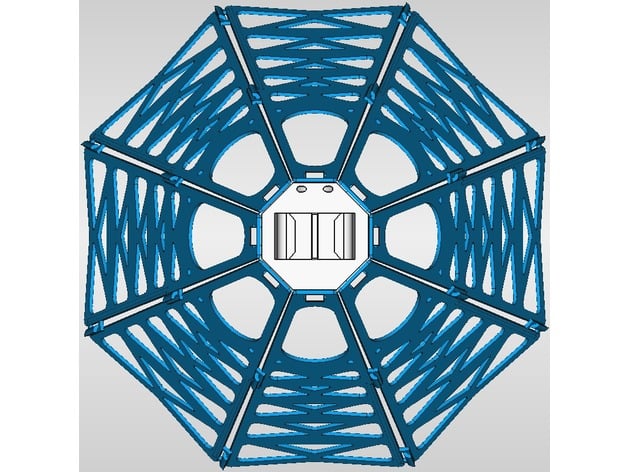
- The hooks on the plate and feathers have been improved for less clearance and better hold.
- The "old" feathers could still be used, but the hooks are pretty bad for the octogonal plate because of the bigger angle between each feather and the too small hooks (it will easily disassemble)
Files available, I printed the fork and the flat mount version but could not test in real conditions yet.
EDIT 19/03/2020
I tested the chasecam and this is very stable.
I modified the GoPro slide shoe mount, this was way too tight and was a pain to release the buckle once inside. I had to rework some parts with a cutter knife to get the tolerances right...
So new version 2.1 is available with corrected tolerances. I tested 2 parts, they were perfect in the end on my printer.
I hope this works for you as well.
:format(webp)/https://fbi.cults3d.com/uploaders/13878366/illustration-file/56198076-635f-41eb-8aae-c426eb3a4fc5/Printed_chasecam_with_flat_mount%5B1.jpeg)


/https://preview3d-images.cults3d.com/kg21c3slkdzlz43mfuqh51ojcf0i)
/https://preview3d-images.cults3d.com/8lu4n5t2d2lin5jdnaqk2hb4h3r4)
/https://preview3d-images.cults3d.com/463vwh95nin4pgcxy2o7um1t6025)
/https://preview3d-images.cults3d.com/o90qlpz6ecscr2ove3tt1sx6yzzy)

