3D model description
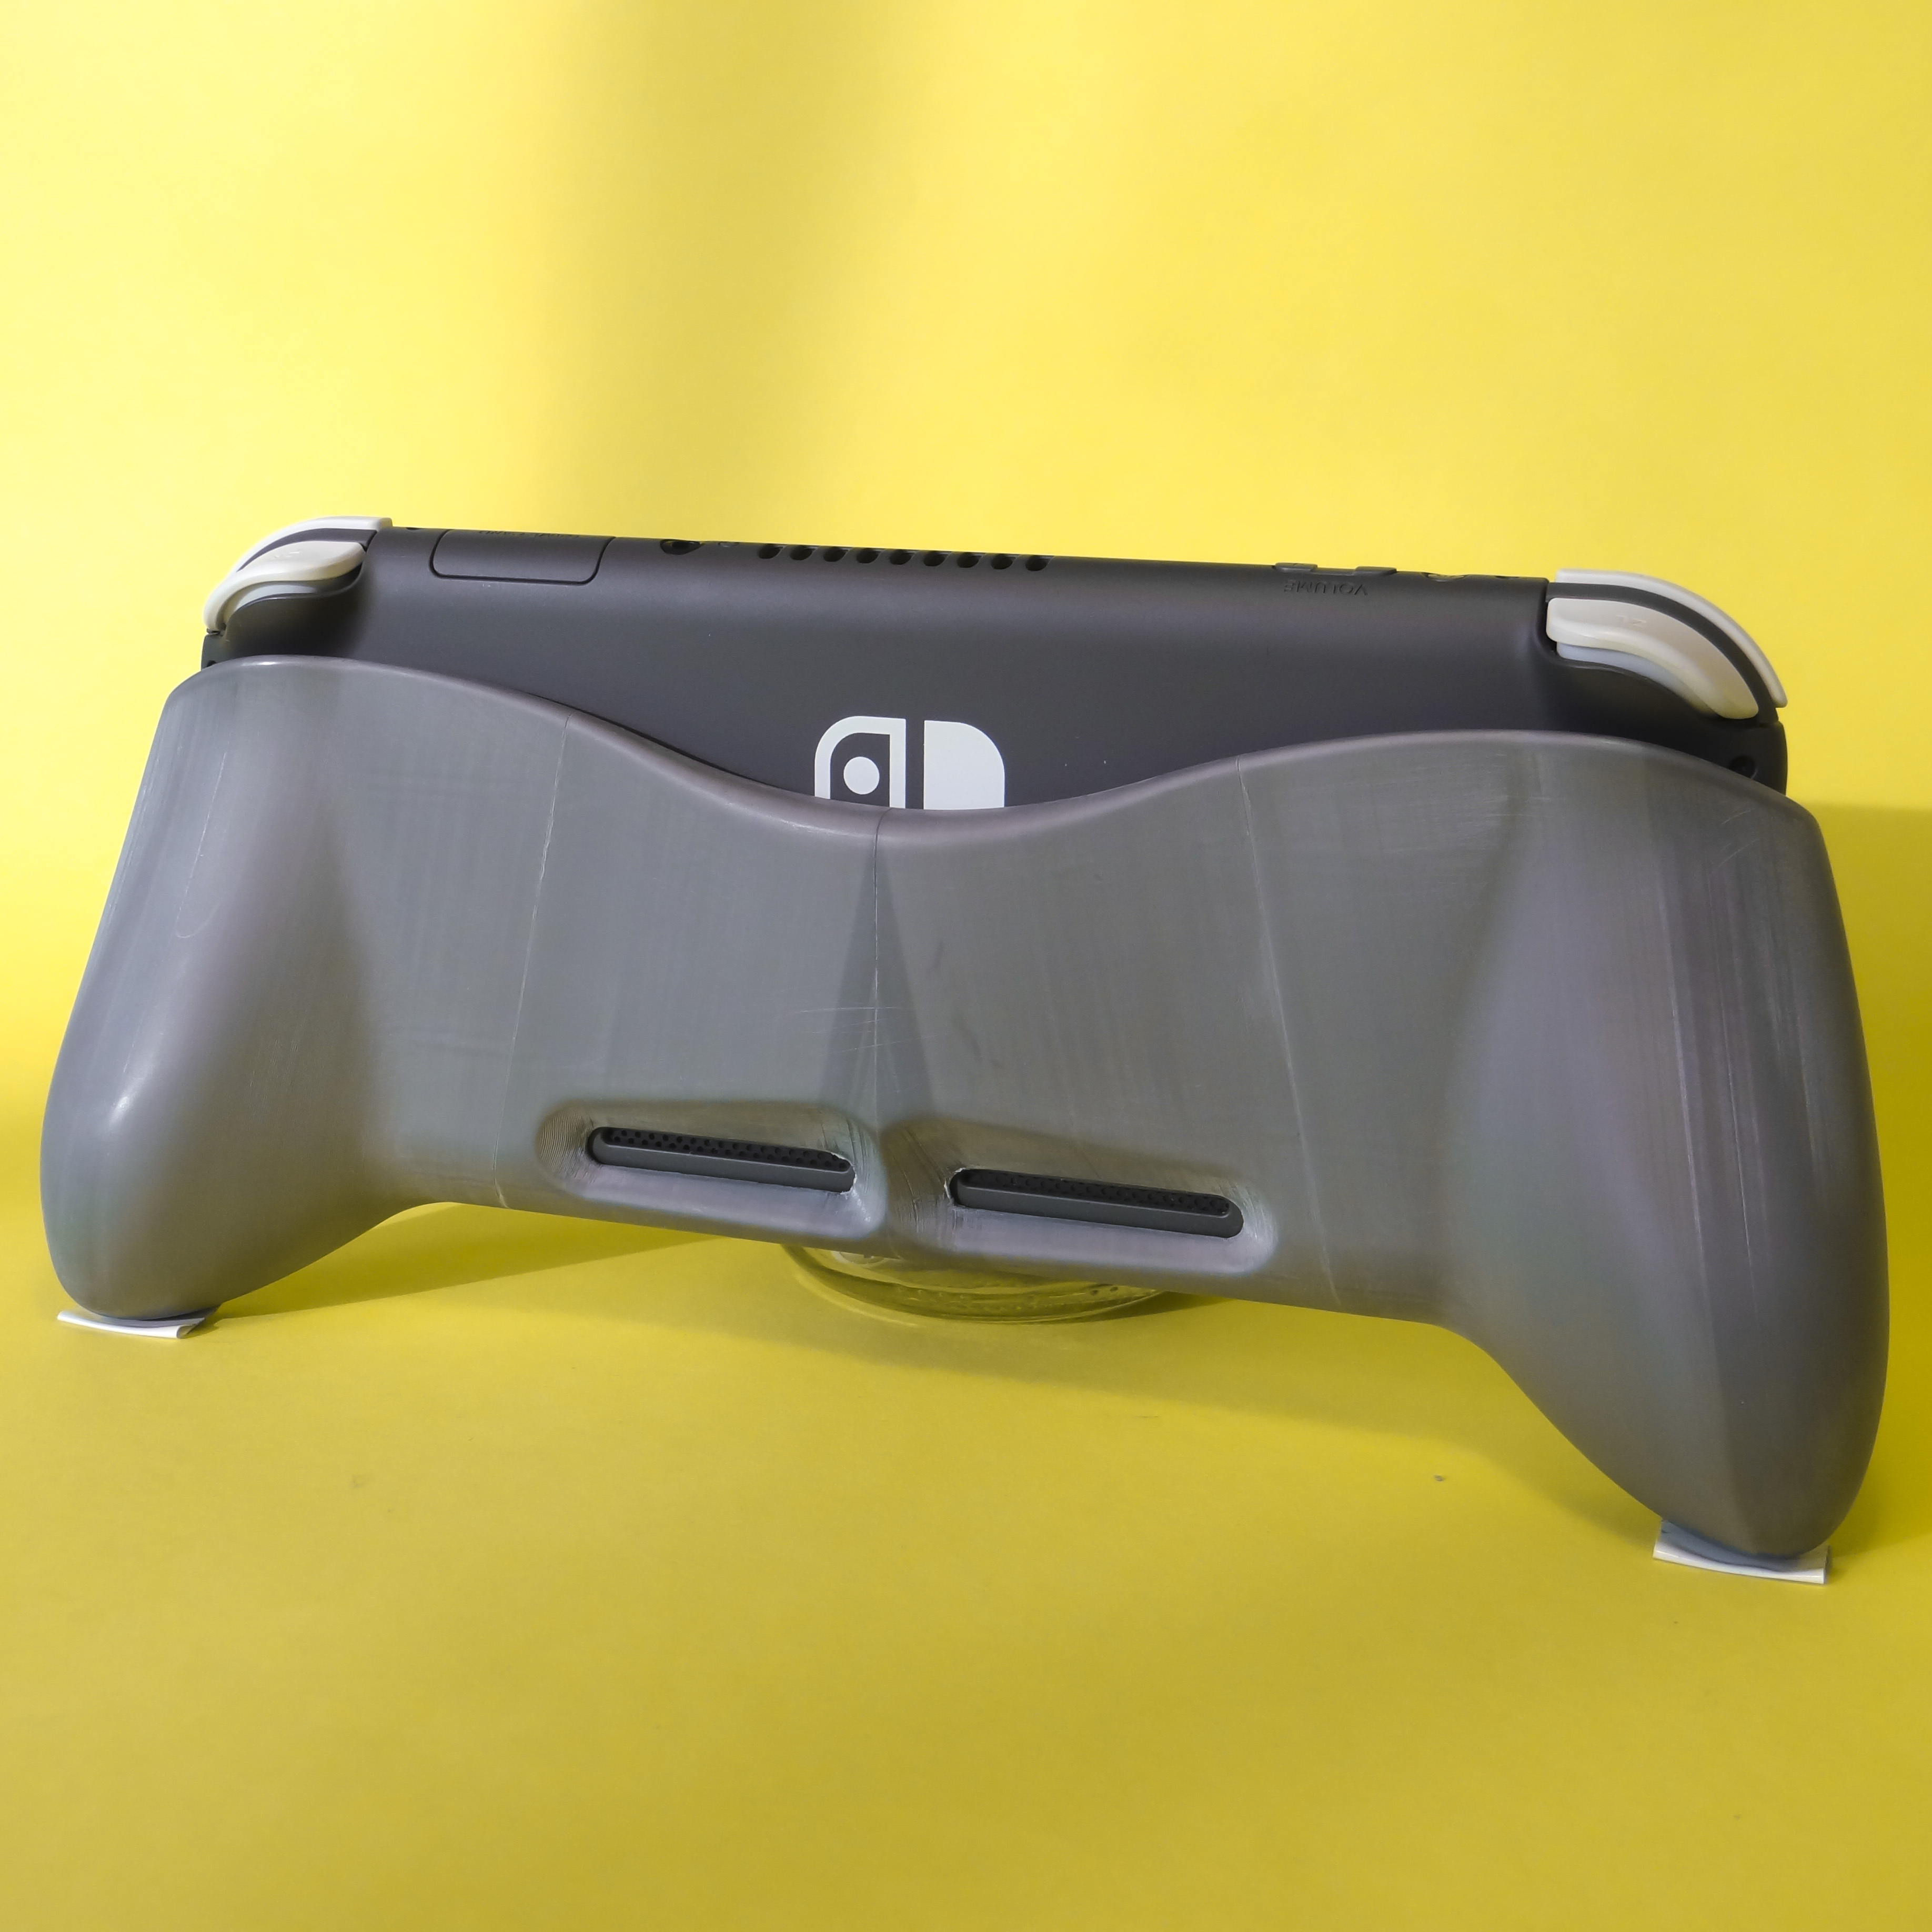
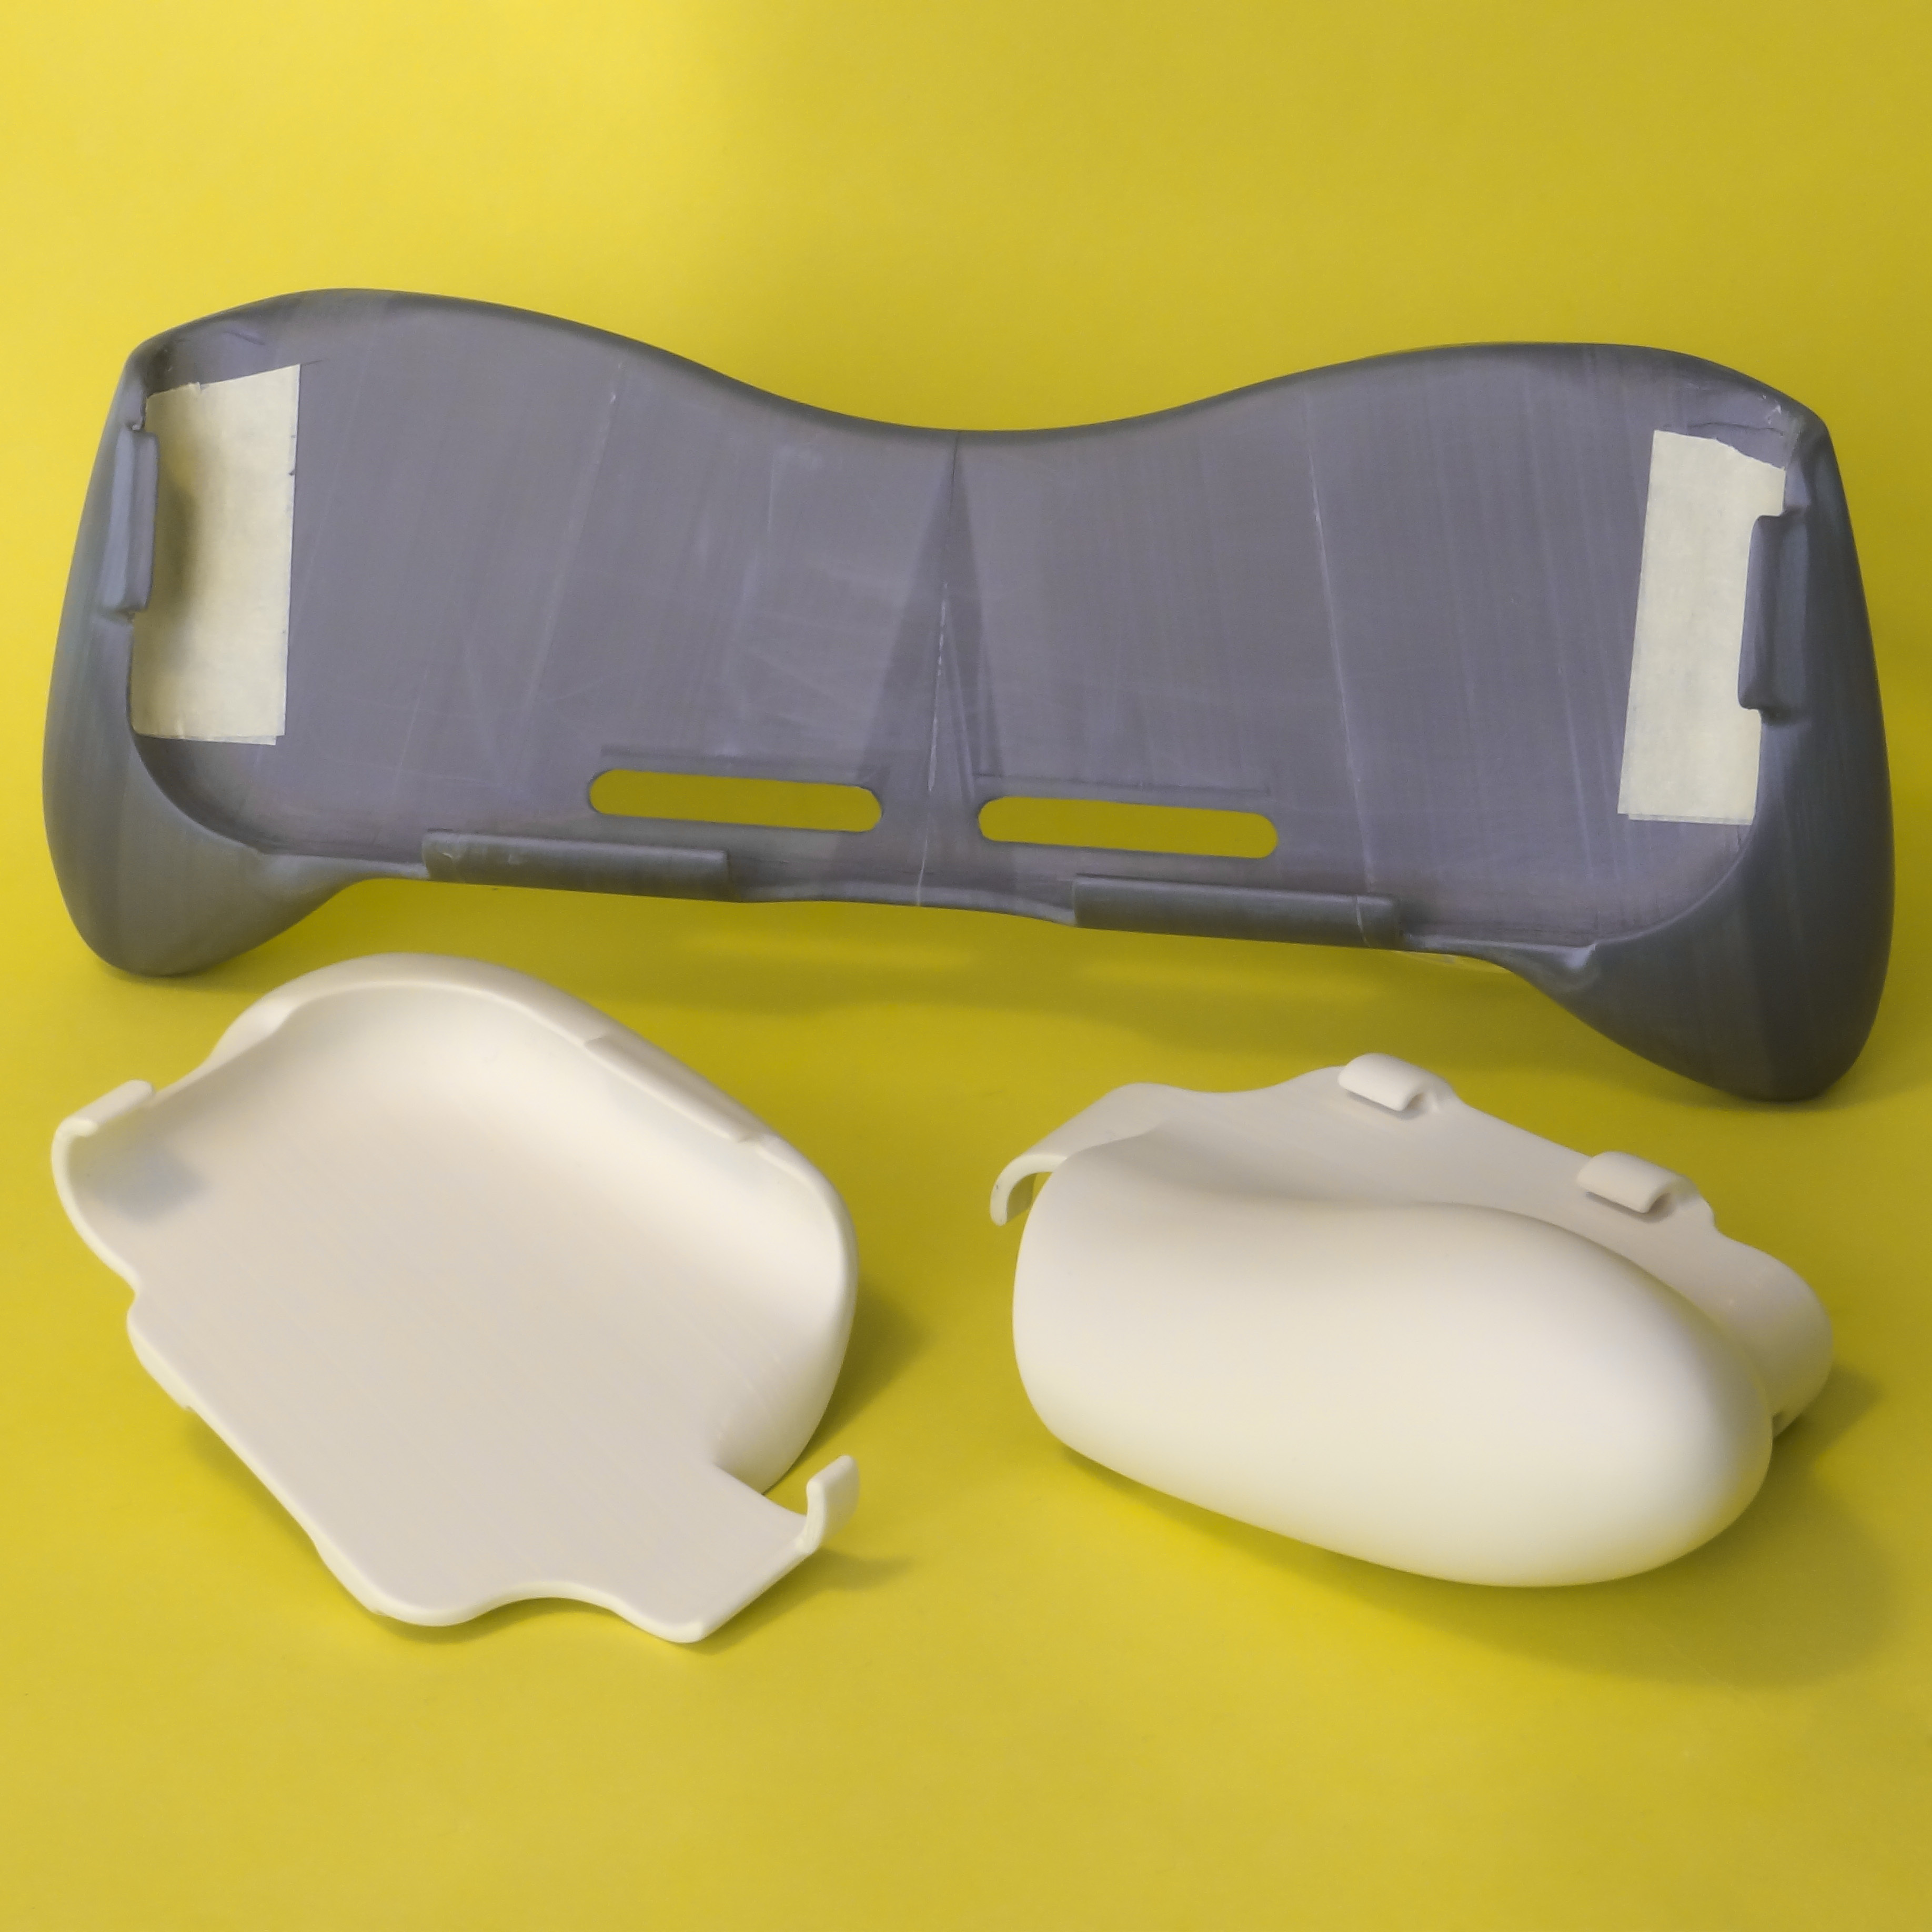
Finally bringing support for the entire Nintendo Switch lineup; this is my take on an ergonomic grip for the Switch Lite. Right of the bat let me clarify that I’ve included two separate designs, a split version similar to my previous design for the full size consoles, and a single piece version. The grip geometry is the same but there are some pros and cons to each.
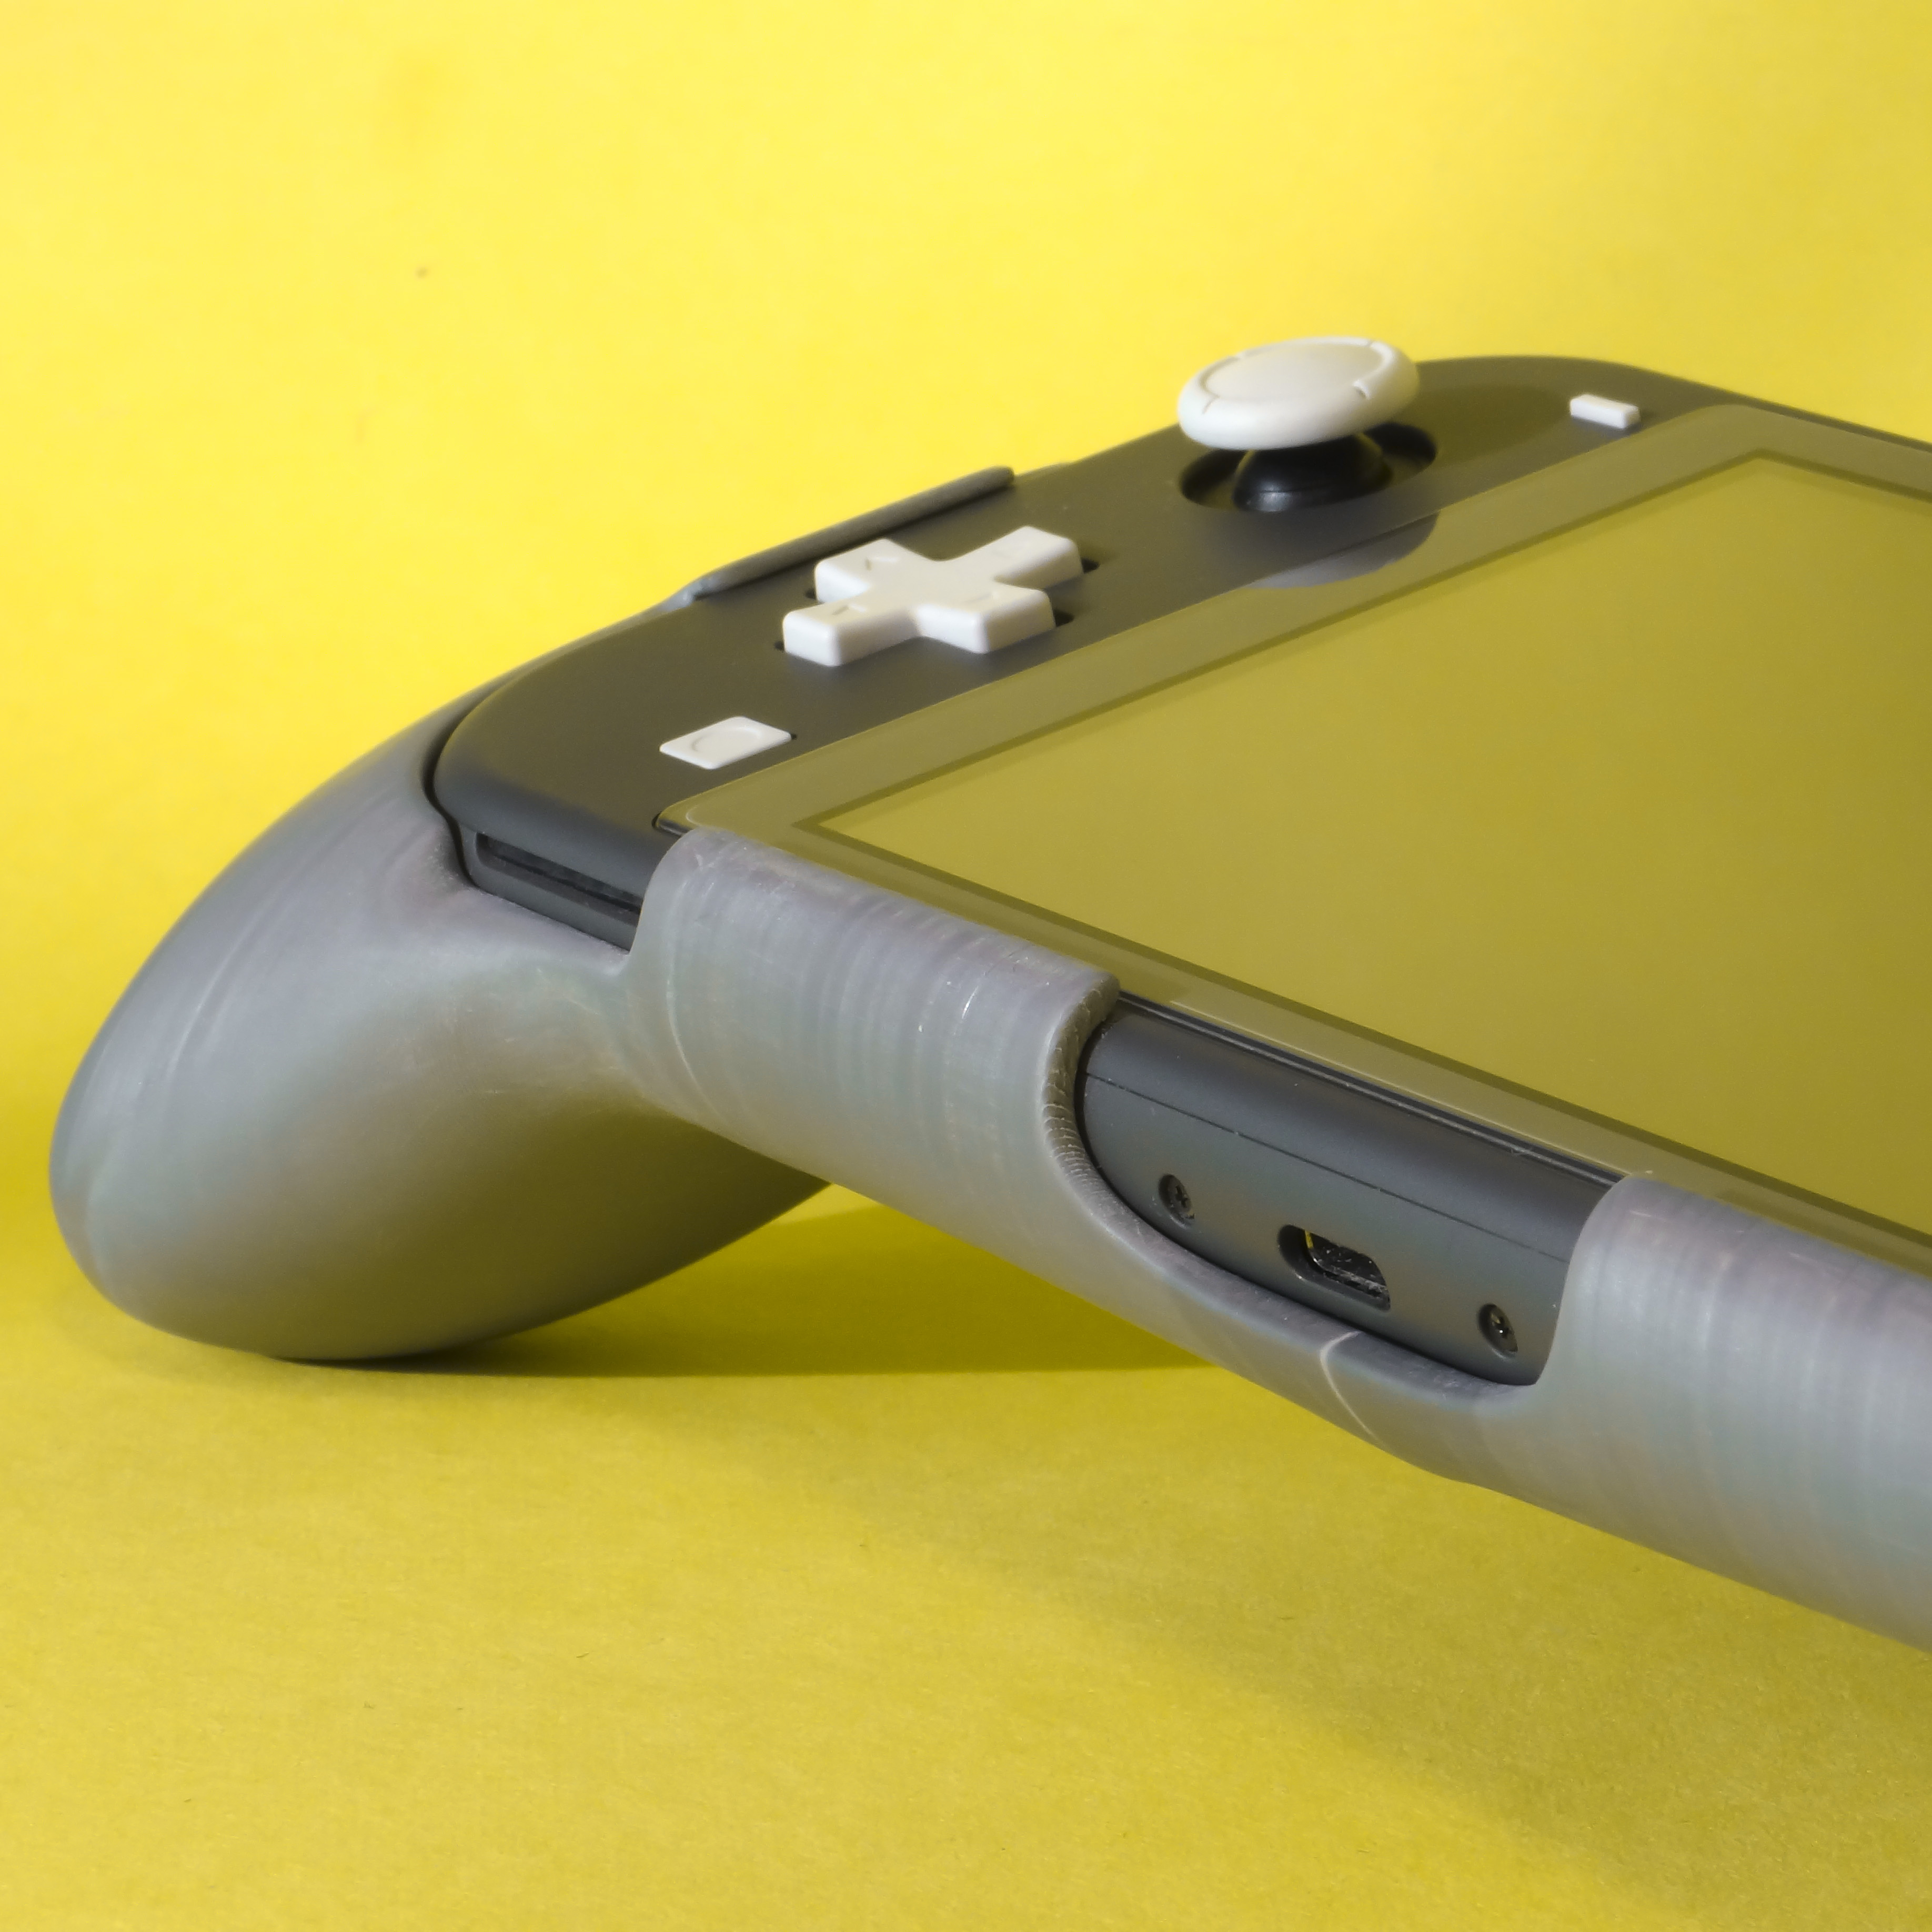
A quick aside before going into more detail; the pictures are somewhat out of date and I’ve made some minor changes to both versions. Most notably for the split version; the power and volume buttons, gamecard slot and headphone jack now all remain accessible and the only thing actually covered up is the SD-card slot. The went holes on the single piece version now also line up properly with the once on the console.
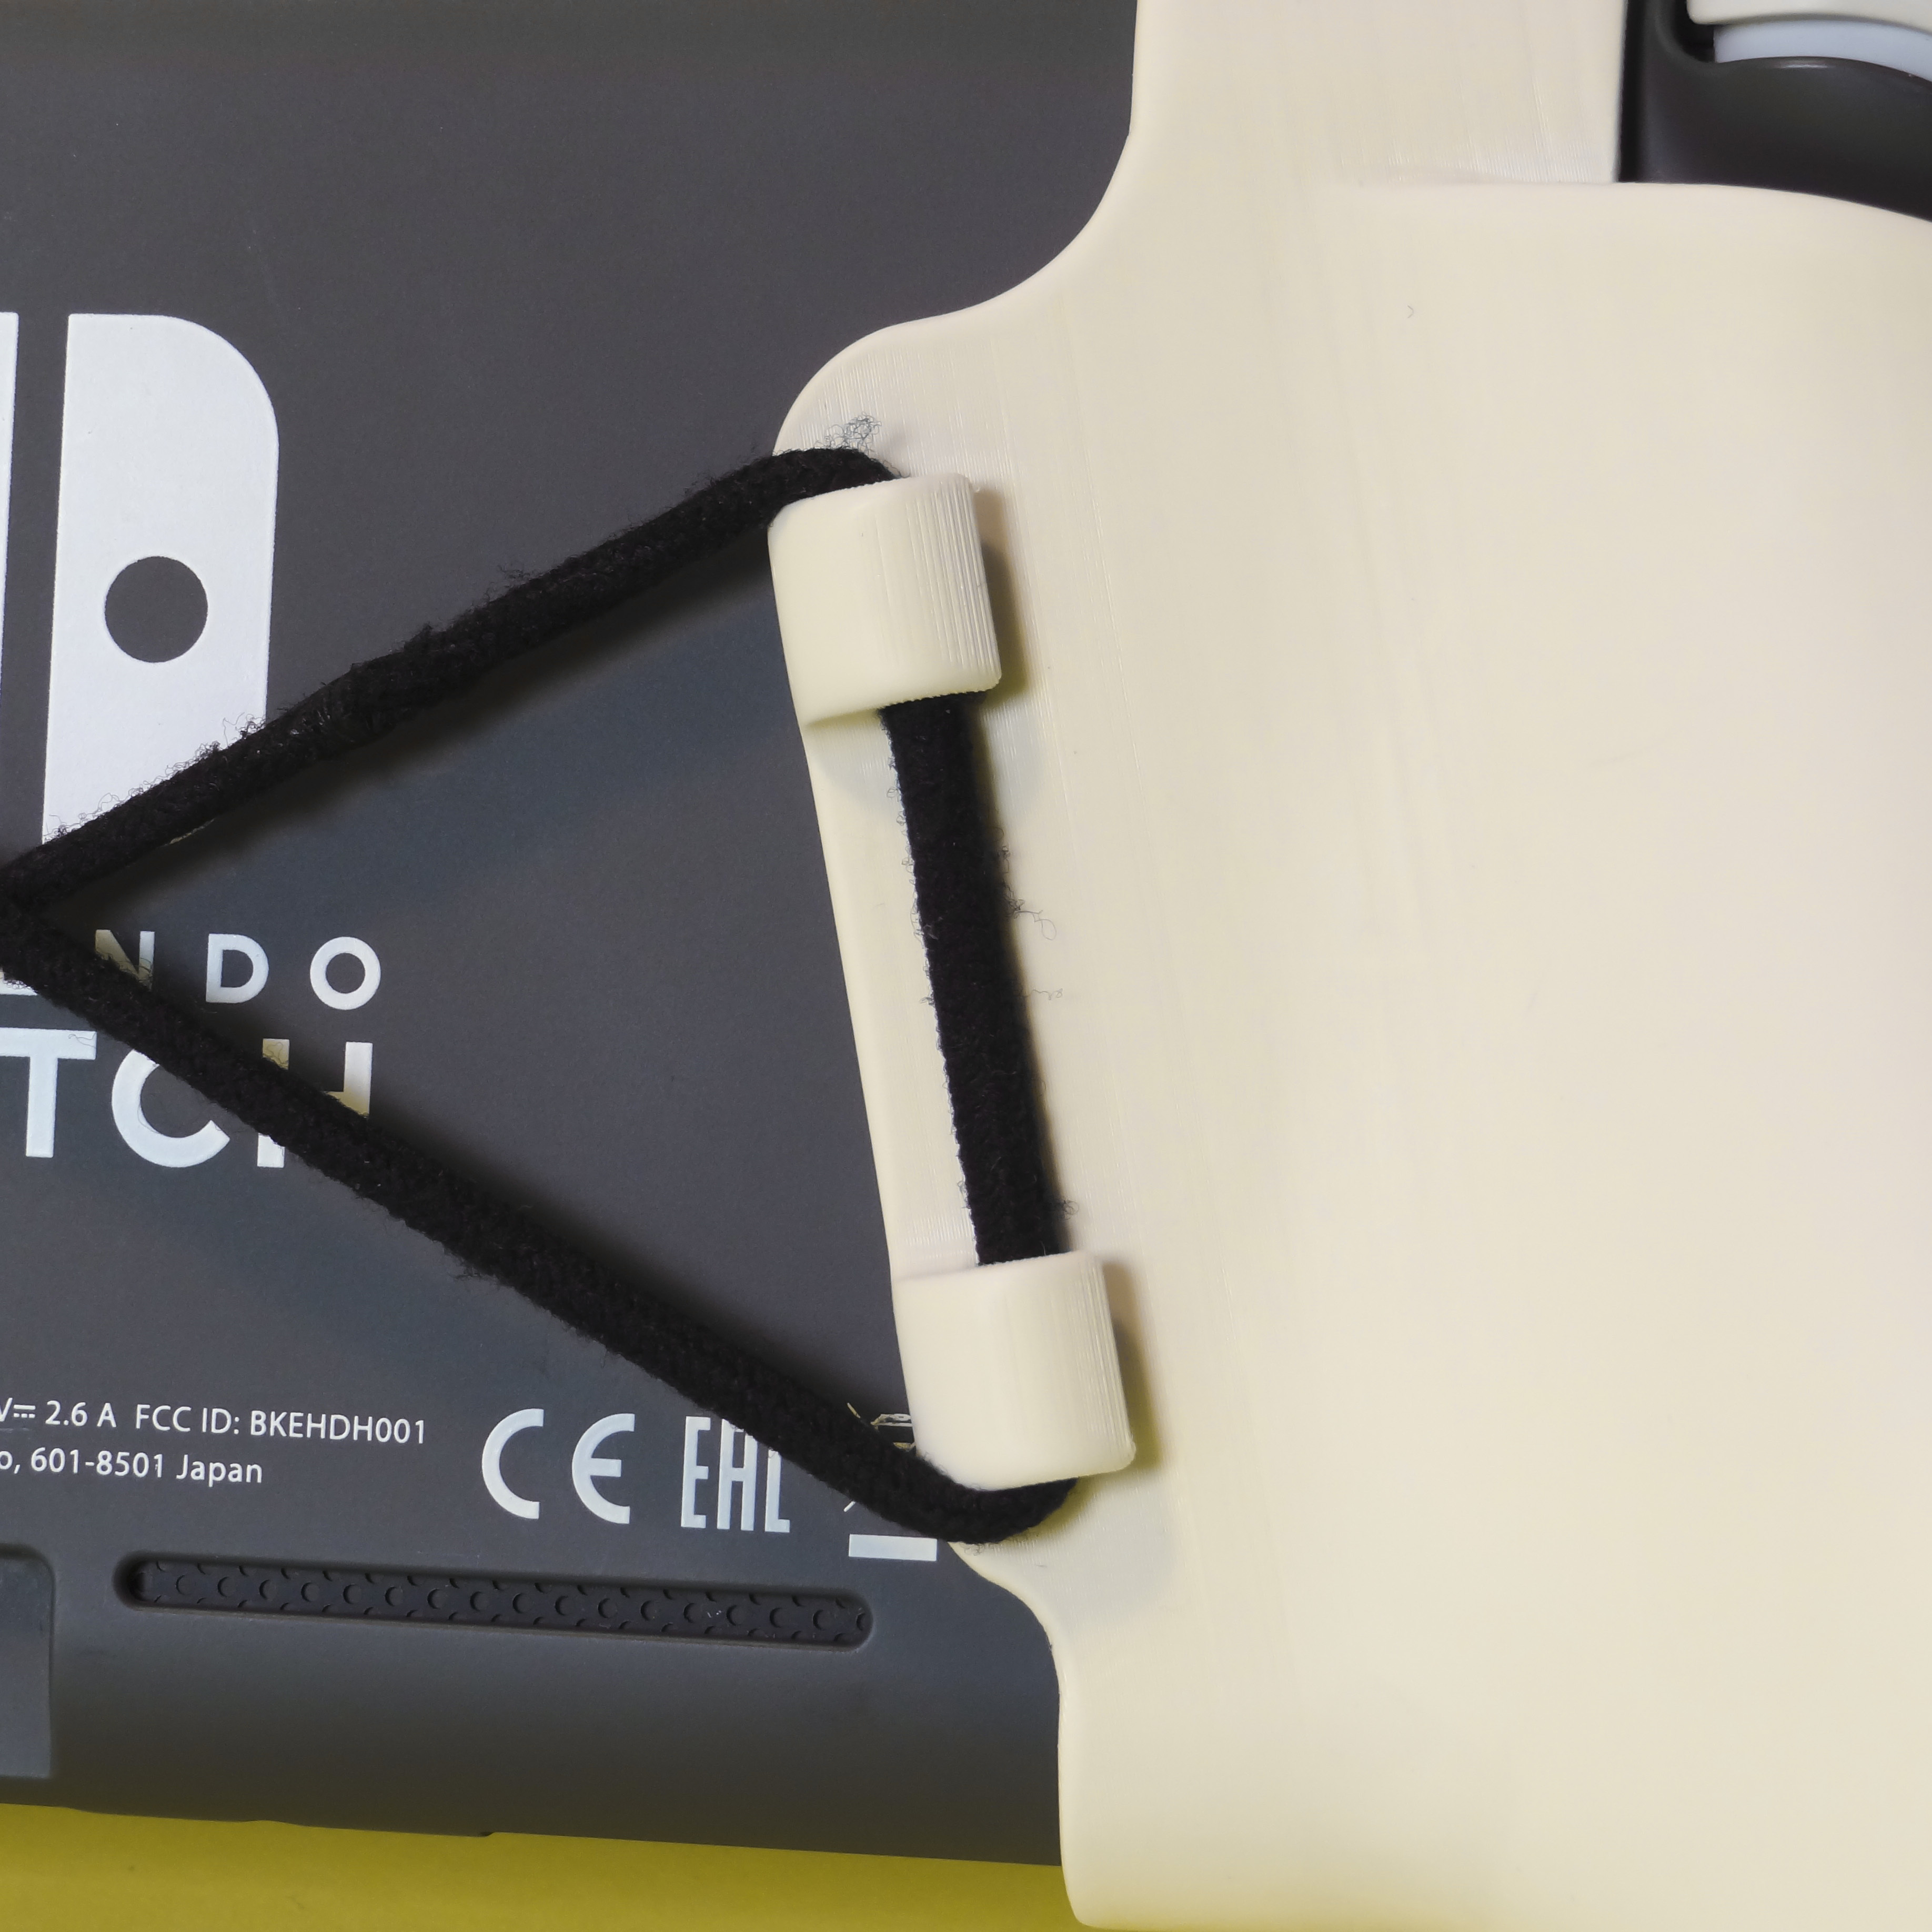
The split version by and large has the same pros as my previous design; it's easy to print and at a minimum only require some wet sanding on the inside surfaces to avoid scuffing the console. The downside is that whilst the two halves do snap into place there aren’t any suitable feature on the back of the console to latch onto and because of that there’s some sideways play. To solve this I’ve designed them to be pulled towards each other with a piece of elastic, like a hair tie. Personally I think this works just fine but I foresee that some may prefer a more secure fit, which brings me to the single piece version.
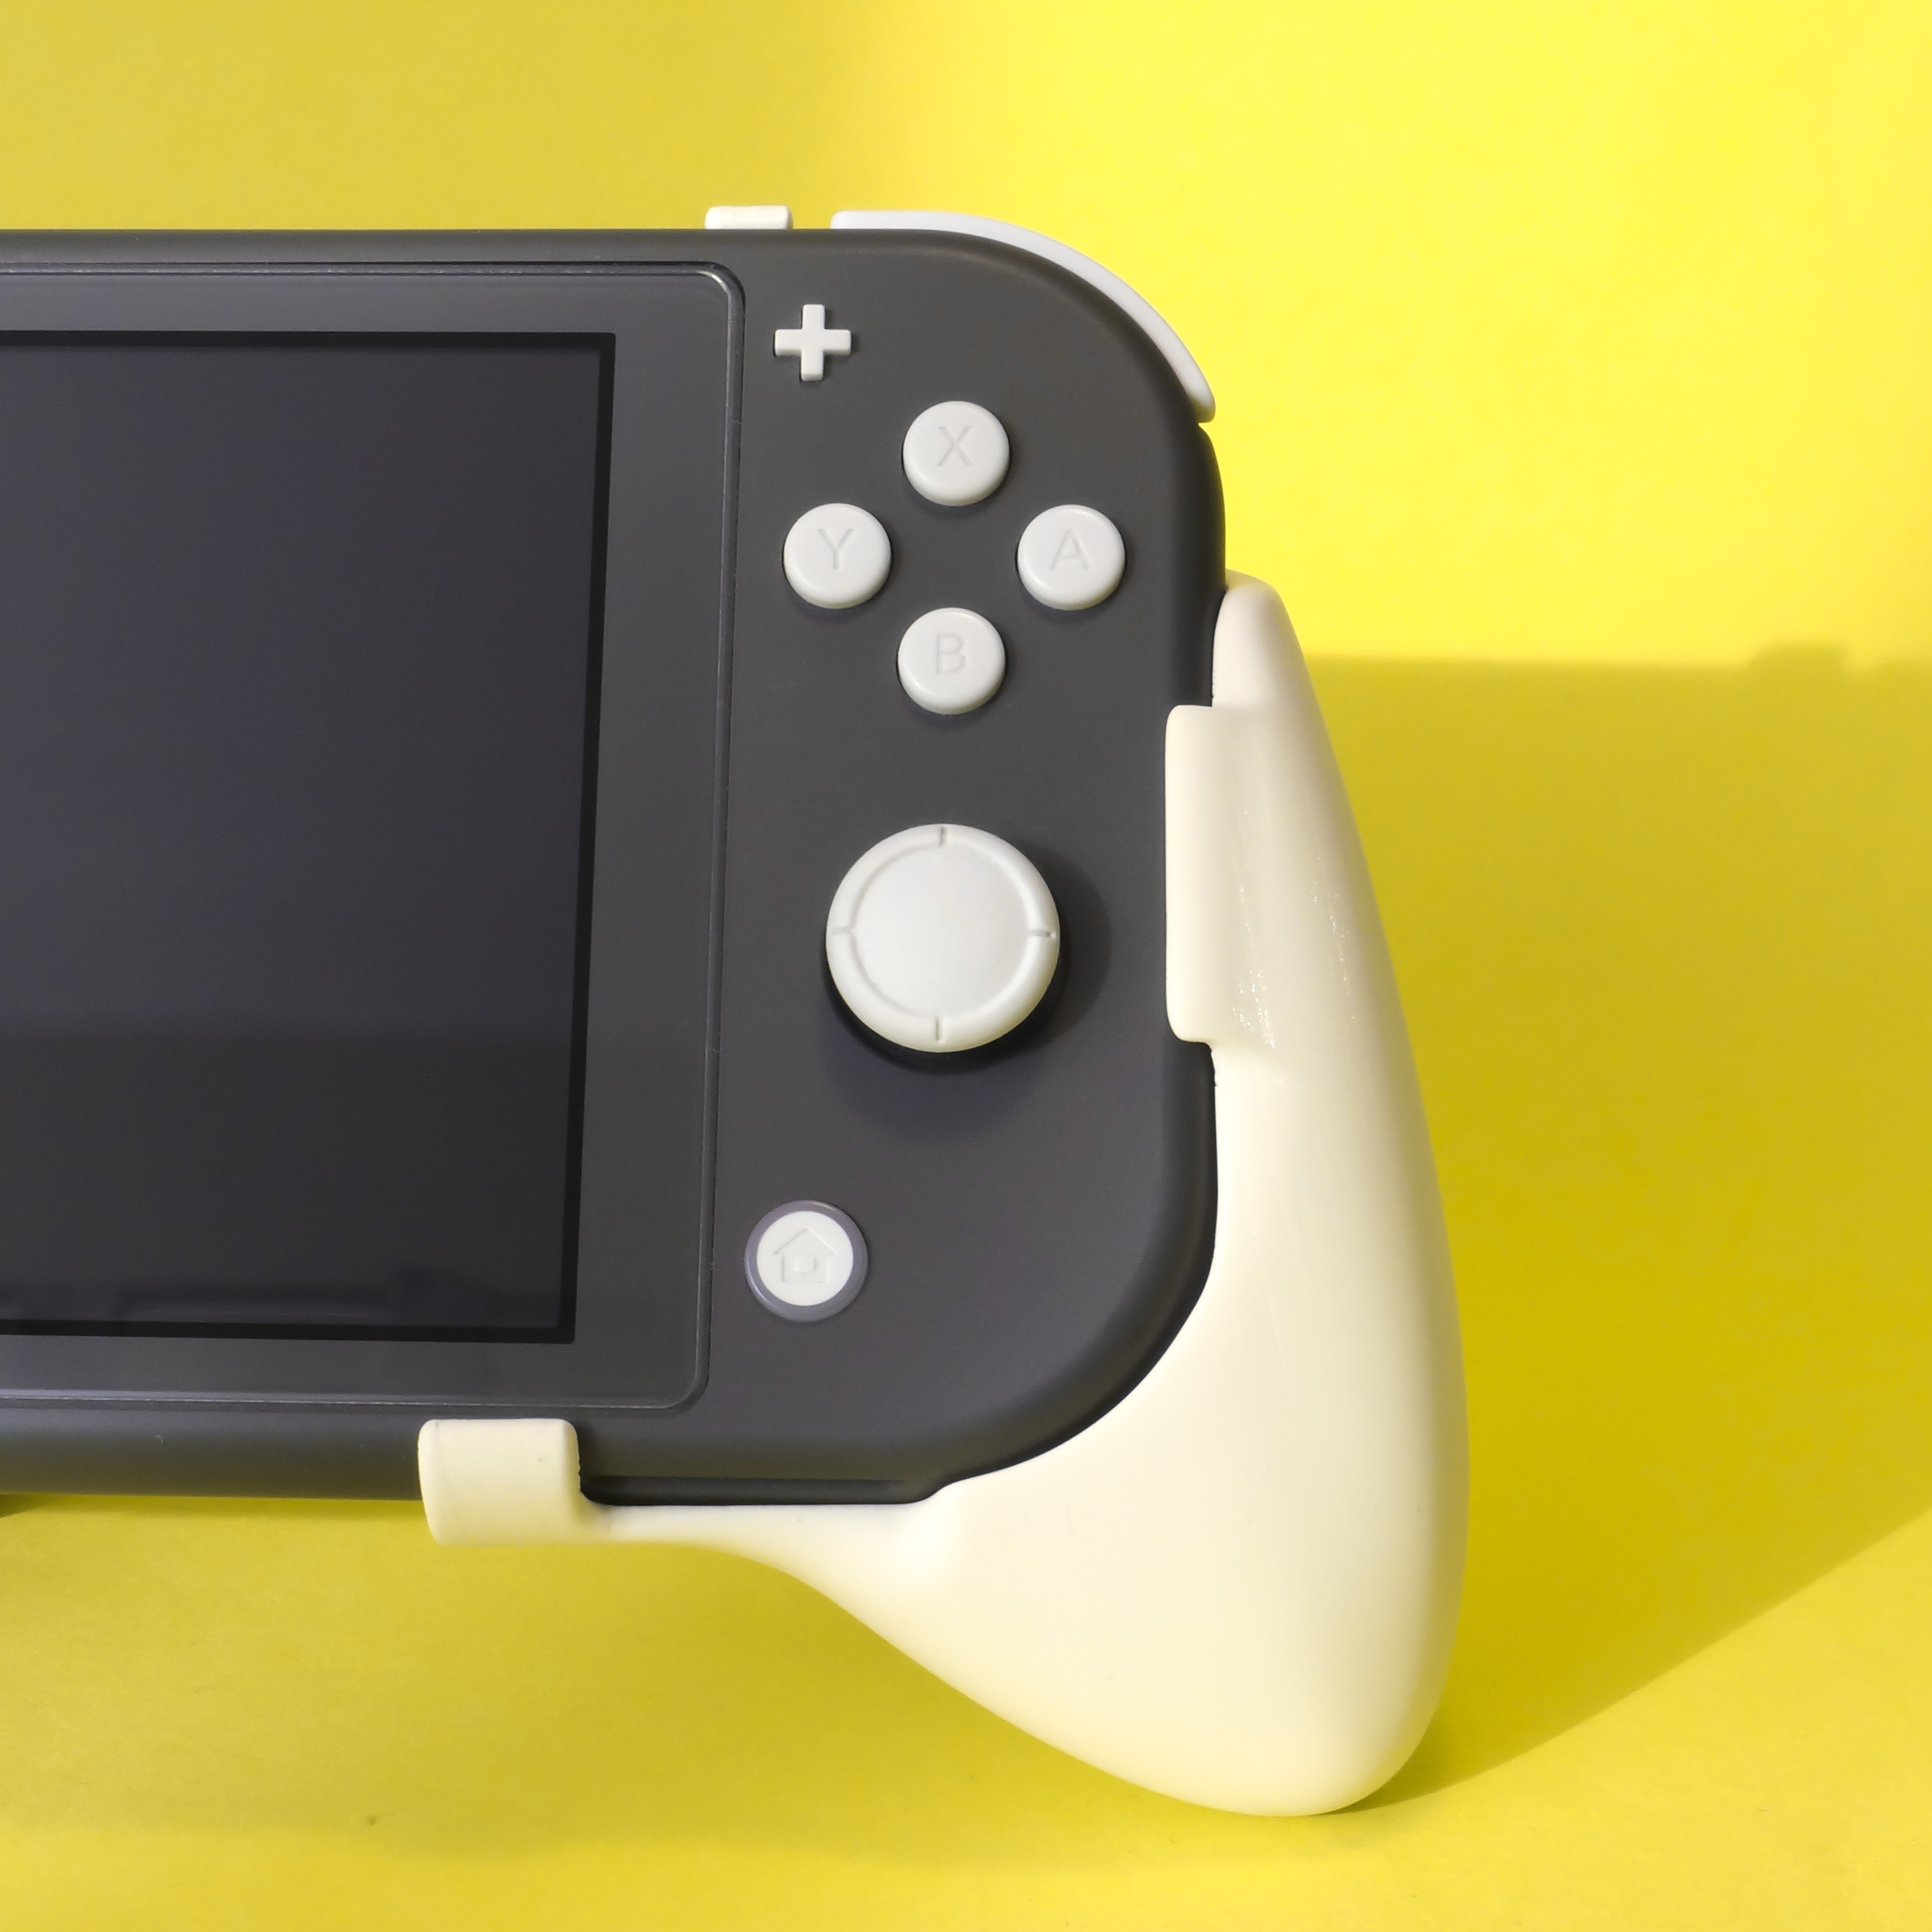
The single piece version unsurprisingly feels more solid in your hands. The only real downside, beyond not being as sleek and convenient as the split version, is that you’ll actually have to put some work into assembly and post-processing. You’ll need some epoxy or super glue as well as some round steel rods for alignment and to give the grip some more rigidity lengthwise (more on assembly further down). If you’re reasonably comfortable gluing and post-processing printed parts then it's likely not going to be a big deal, but I do want to encourage people to try the split version first.
The last thing I want to mention about the designs themselves is the printing orientation; it may seem a bit odd but all parts are intended to be printed sideways-up and at an additional angle. The sideways orientation aligns the strongest axis of the printed plastic with the features put under the most stress, not to mention that it minimizes the footprint and the impact of layer height on the surface finish. The additional 12° angle is also beneficial to the strength of certain features but it mainly serves to make the overhang significantly easier to print.
3D printing settings
Preface:
I've included a couple of 3MF project files that you can open in PrusaSlicer as a reference for the variable layer height and support settings I use, but they are NOT intended for printing.
Material, Nozzle-Size and Build Volume:
All parts are designed to be printed in PLA with a 0.4mm nozzle. Other materials may well work just fine but keep in mind that the parts may shrink in unexpected ways. The size of the largest part is roughly 125x50x80mm on the bed.
General Settings:
- Firstly: these parts have narrow footprints so I highly recommend a decently sized brim to help with bed adhesion.
- Secondly: variable layer height is hugely beneficial to vertical parts like these and I print all included parts at a baseline layer height of 0.2mm and only go down to 0.1mm for the overhangs and where there are horizontal features that benefit from the lower layer height.
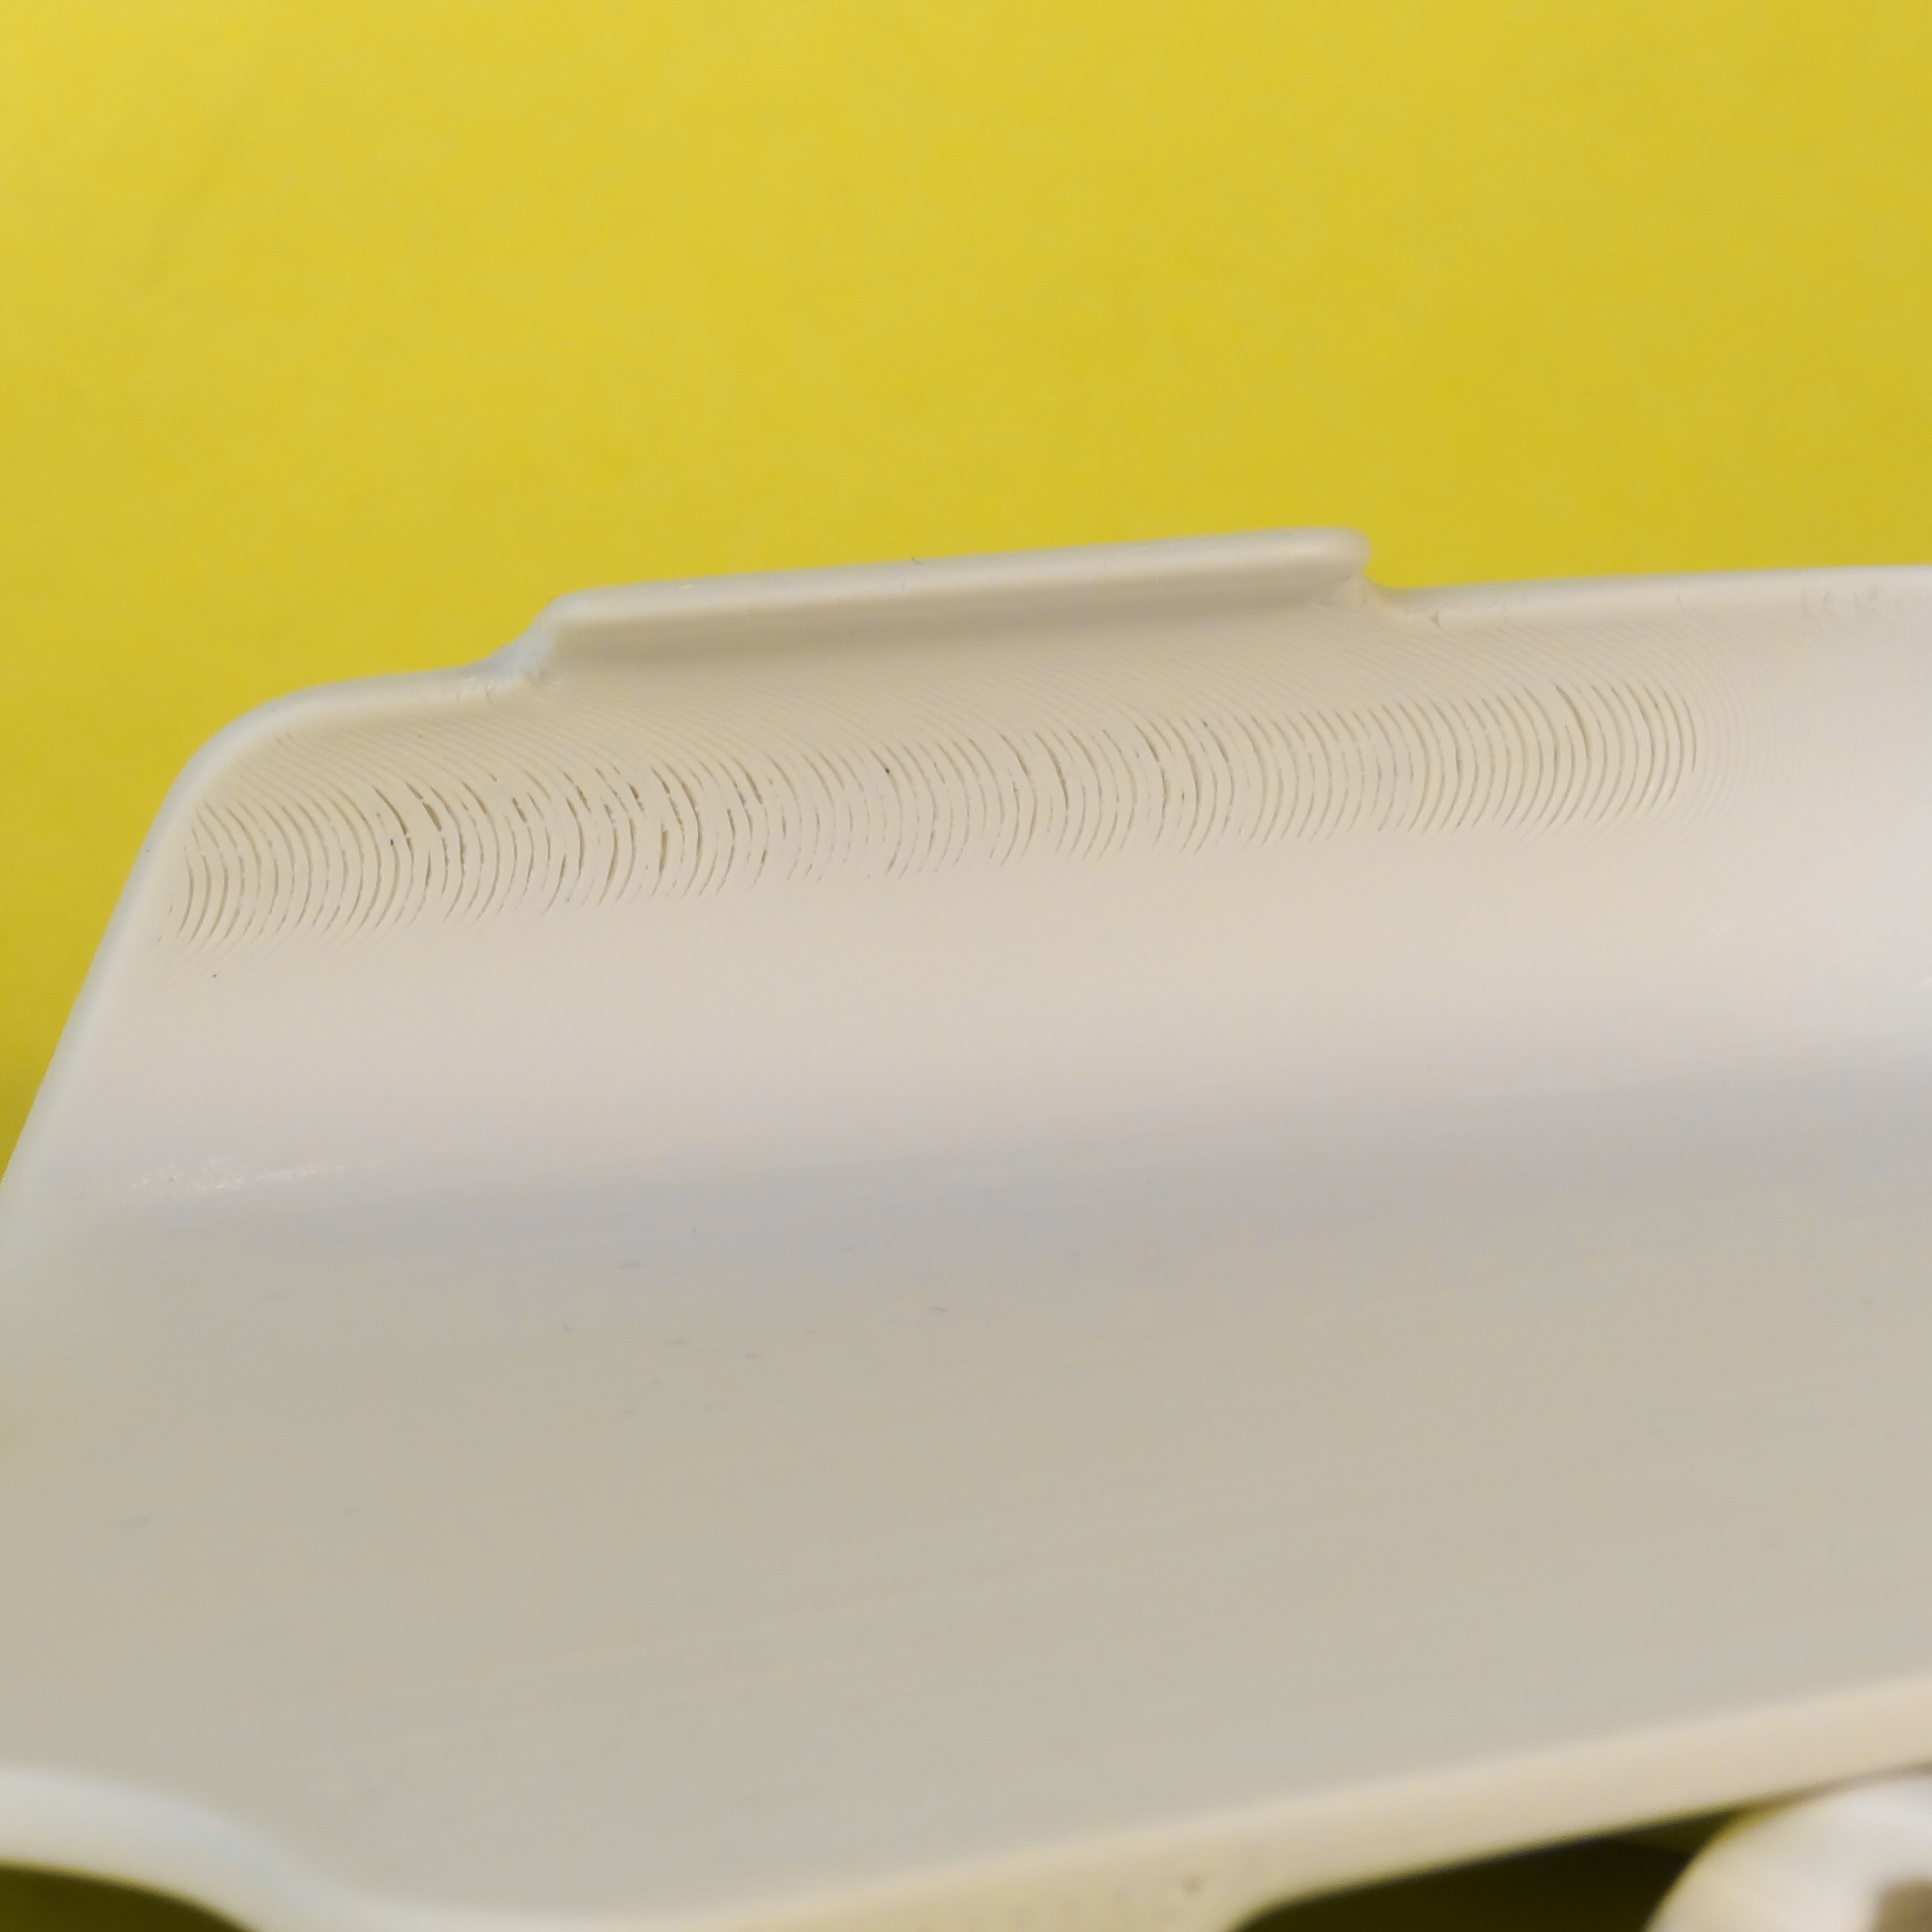
- Thirdly: the one critical aspect of printing these designs are the overhangs and like with my previous design I’ve included a 'calibration' model so that you can dial-in the settings without potentially wasting plastic printing an entire grip. The overhang should be printed with "Support Interface" which is pretty much standard these days. The two main settings to keep in mind are layer height and “Top contact Z distance”. You want to use a lower layer height so that there’s more overlap with the previous layer, and a “Top contact Z distance” that’s small enough for the interface to provide proper support but not so small that it fuses to the model. I use 0.12mm but don’t just assume that it’ll be the same for your printer. Get it right and the interface will snap of as a single piece leaving a surface with only some slight blemishes.
General Post-Processing Advise:
I recommend wet-sanding the entire grip, working your way up to at least 400 grit, but it’s the inside surfaces that matter the most. PLA is harder than the injection molded ABS that the console itself is made out of so the more diligent you are with the sanding, the less likely you are to scuff your console.
Instructions For the Single Piece Version:
additional material:
- Epoxy or Superglue
- 6x Ø2.5mm x 50mm round steel rods
The steel rods help align the parts and provide extra rigidity along the layer lines and glue joints. Easiest way is to get some round stainless nails and cut off the heads with a hacksaw or a dremel. I recommend that you do the rough sanding before gluing anything together, that way you won’t have to stress the glue joints as much. Also, take care that all the gluing surfaces are flat and scuffed-up to get a stronger joint. This is especially important for the two inner parts as the top surfaces don't print flat and end up with a staircased surface.
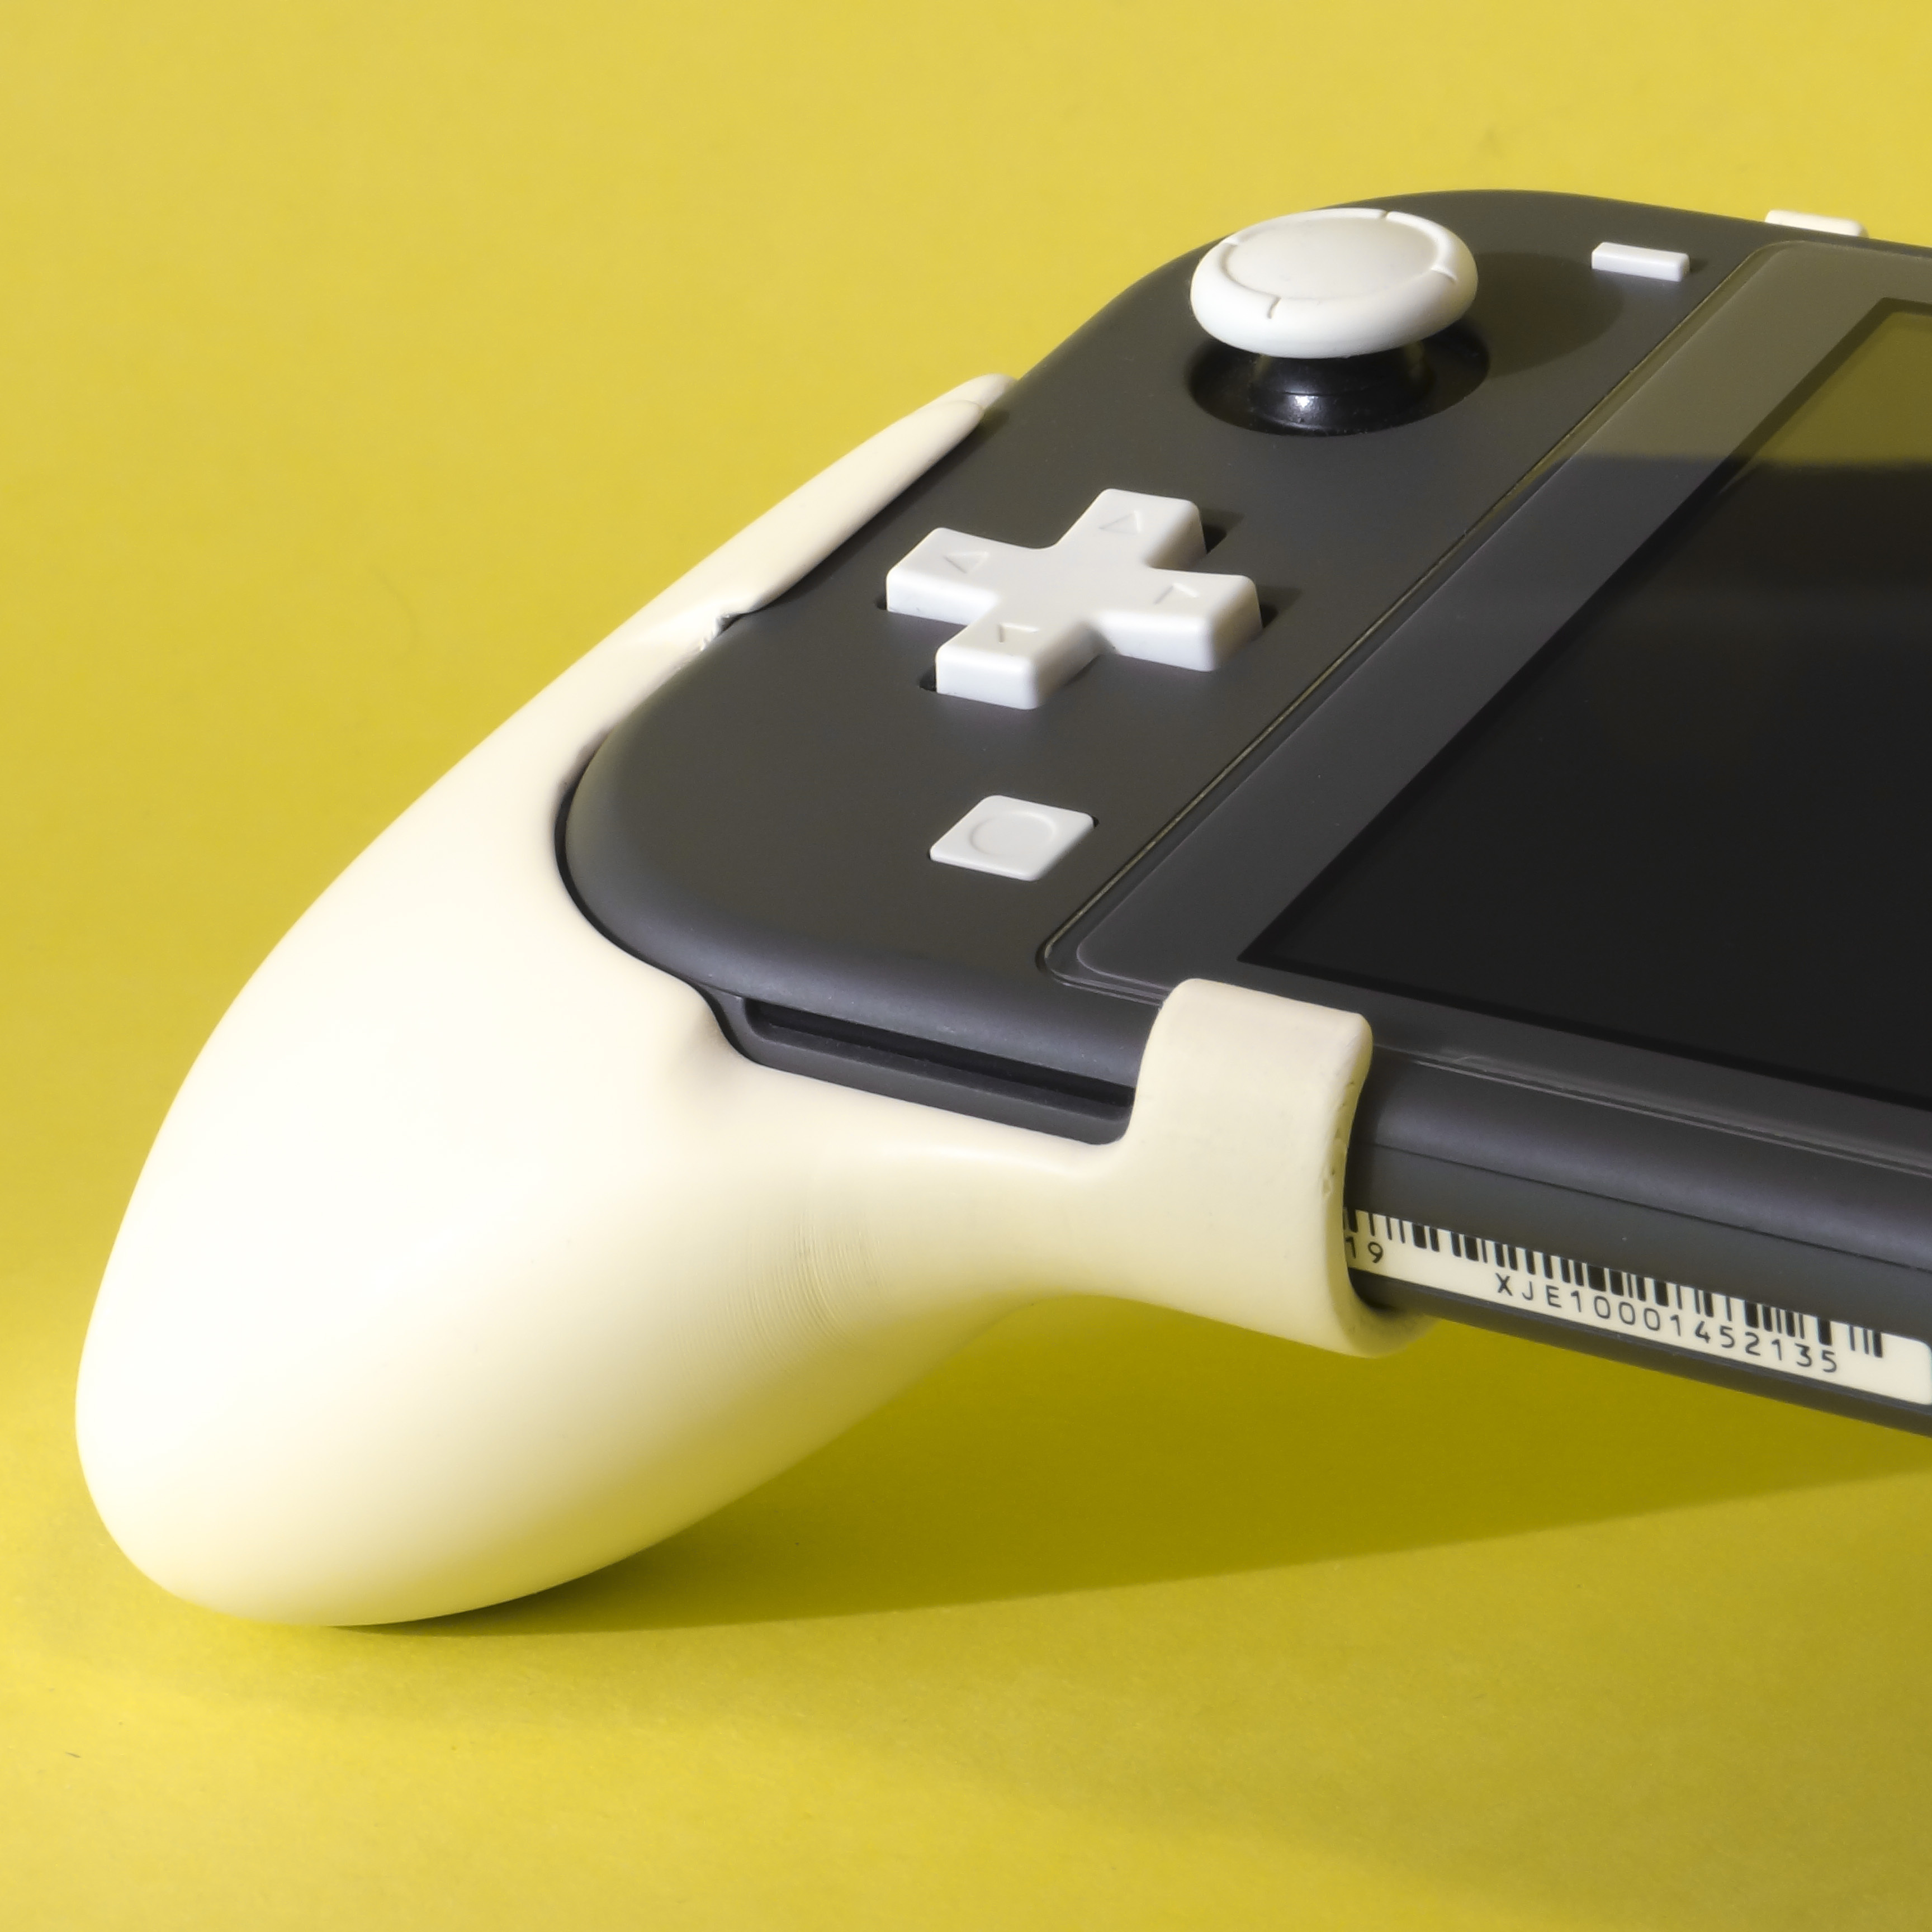
Finally; if you aren’t painting the grip then you may also want to line it with some painters tape or similar as seen in the pictures. That will both get you a more positive fit and avoid scuffing the sides of the console.
:format(webp)/https://fbi.cults3d.com/uploaders/13305071/illustration-file/36cf38d6-887c-4d3b-902b-6fe7114570b8/01.jpg)


/https://preview3d-images.cults3d.com/4xomz8nr0ytyaormuplxy6liiqap)
/https://preview3d-images.cults3d.com/1qnbt6zfsjt1dfn8krcr4n0ok4d4)
/https://preview3d-images.cults3d.com/7fikuzqwex1j6uw08s19vuwfu3br)
/https://preview3d-images.cults3d.com/211jkysovkjkaqi4roawsi6mocyh)
/https://preview3d-images.cults3d.com/3bol6deu08tj3c6oyaou2ckvbtjc)
/https://preview3d-images.cults3d.com/izbf65do0smvgpjcnp7xu7pjz6ax)
/https://preview3d-images.cults3d.com/yky7gzkcjf1zhhe74oa9dc0kcalc)


