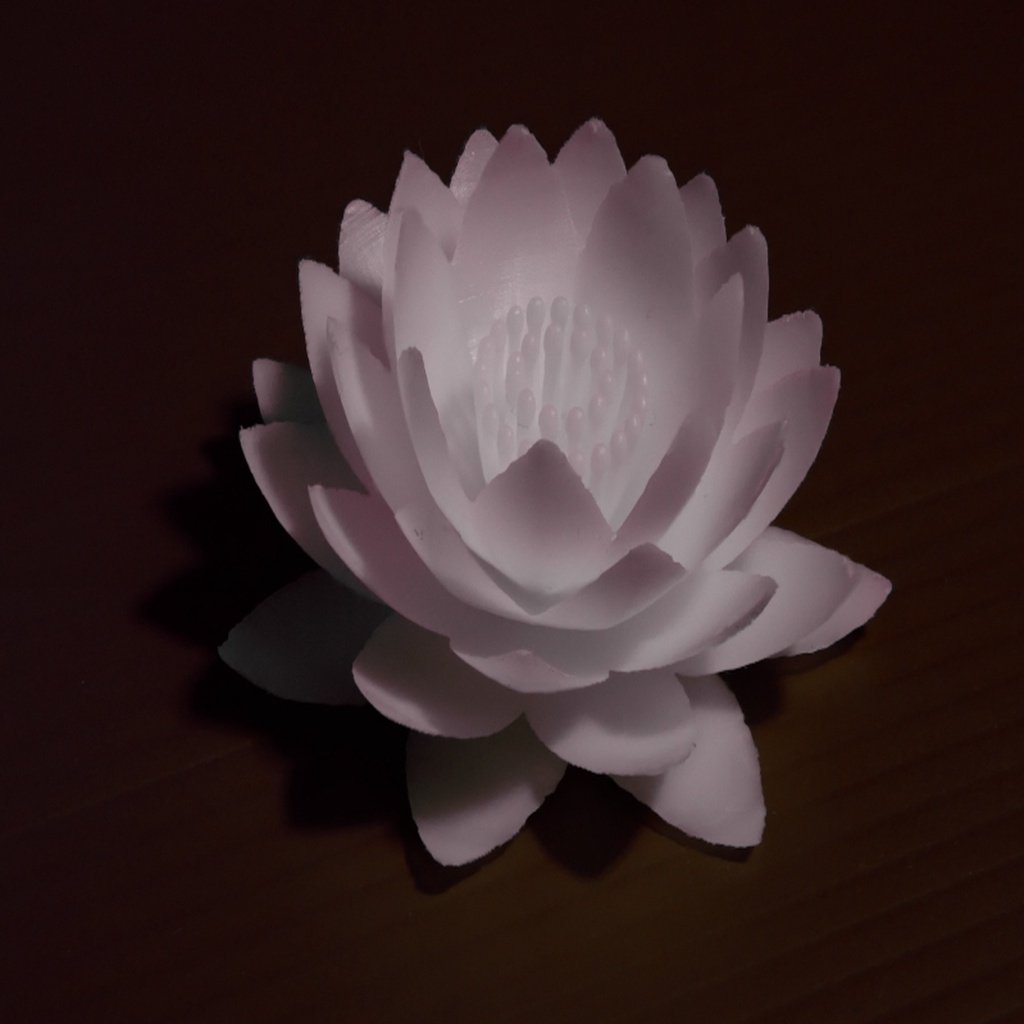
Lotus Flower Table Lamp


Print Profile(1)

Description
Lotus Flower Lamp printed with transparent PLA. A 2 foot length of trimmable remote-controlled color changing LED strip lighting was installed inside.
Removing the supports for the Lotus are tricky. Ensure that tree supports and tree organic are selected and on the build plate only is chosen. Otherwise you're going to have a really bad time of removing support material from inside the lotus.
Remove the spupports from the channel then from the interior central cylinder. I had to gingerly place my fingers around the lotus flower stamen, upside down, while doing this. After those have been remove, you can use the cylinder and channel to grip the lamp upside down and remove the supports from the lower petals. I had to use a flat edge knife blade to remove the final supports next to the cylinder, under the petals. In all, it took about an hour to remove the supports carefully. As this was a gift for my wife, it was worth it and it turned out great.
- To determine the length of cutable LED strip lighting:
- Unwind the strip light and start from the end. DO NOT REMOVE any sticky backing from the light strip.
- Tape the end onto one end of the inner cylinder core with the lights facing inward, and wind it around and down the core until you can't add anymore. Try to maximize the number of lights facing inward. Use another piece of tape to hold in place.
- Bend the light string backwards an insert the lighted core into the inner cylinder, with the light strip passing through the notch.
- Now wind the light strip on the outside of the inner cylinder with the lights facing outward. Once you have maximized the number of lights winding down the inner cylinder, give yourself one more for the final twist to exit the lamp.
- Now cut the light strip to the appropriate number of lights, starting your count from the powered end. Count twice, cut once.
- Install the lights following the same procedure you did to figure out the length. I wanted to maximize the number of LEDs pointing inward to the core and outward on the inner cylinder. Especially since the light strip I had could do effects.
- Ensure that you plug in the powered connection to your light strip and run that out through the bottom channel. If there is too much wiggle inside the channel, a little sticky tack under the connector can help hold it in place. My connector had an infrared receiver for the remote, so I made sure that was protruding out from the channel.
- Glue the bottom cap in place.