Creality K1 Side Mount Spool Adapter w/ Moving Peg
Creality K1 Side Mount Spool Adapter w/ Moving Peg


Print Profile(0)
Description
This is a variant of my other side mount that incorporates the spool holder directly on the side mount.
NOTE: This is only for the Regular K1 not the Max.
Things You'll Need:
6.5 inches (165mm) of Bowden Tube
M3x12 Screw to replace the front screw
M3x10 Screw to replace the back screw
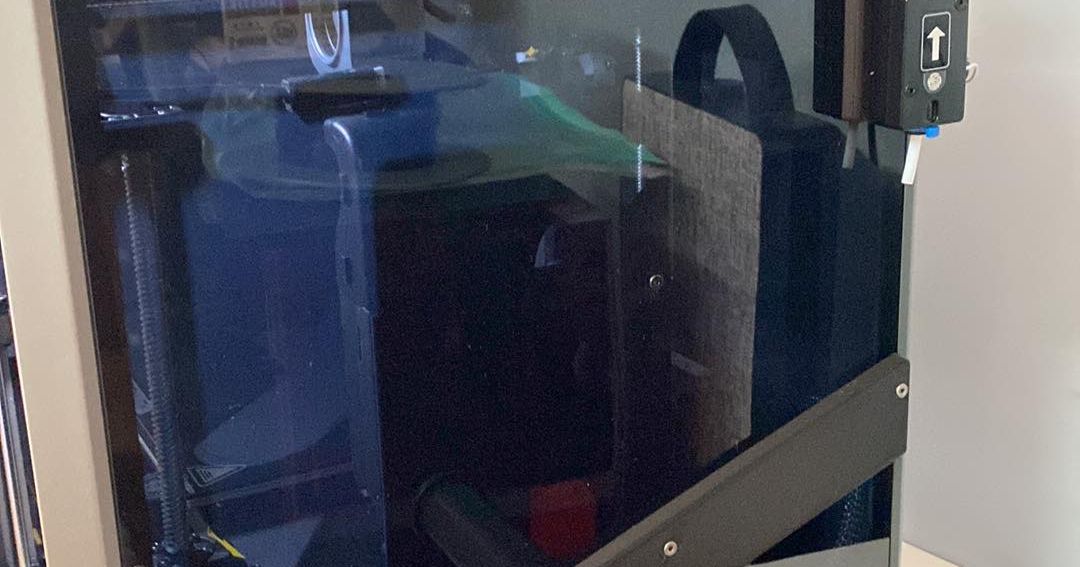
I took the side mount that MDFPereira had designed and modified it to be able to take the spool roller I designed. It can also take any spool mount that works on the back of the printer. I figured if someone had already printed a Spool Roller they like, they can just print this instead of my model that has it built onto it. This version is also good if you tend to move the machine a lot, this way you can remove the roller and not have it perturding off the side. I originally saw the version CHEP used on his K1 Max, which he added a peg to, to put the Bowden tube through. I liked the idea that CHEP had with the Bowden tube, but I didn’t want to have to relocate the run out sensor, so that’s when I came up with this.
The peg on my mount is not fixed in the model, it’s Printed in Place and can spin freely once it's broken free. On this version the peg is 3mm higher to accommodate the height of the spool holder's collar. I replaced the piece of the Bowden tube at the bottom of the run out sensor with a 6.5 inch (165mm) piece, that slides through the hole in the peg (It’s a tight fit), if you can't get it through make sure there is no debris in the hole. The moving peg allows the Bowden tube to flex to prevent it from pinching. I found that 1 inch (~25mm) of Bowden tube coming out of the peg provides the best angle for the filament to unwind while printing. You can adjust the angle by adjusting how much of the bowden tube is coming through the peg. Additionally the filament will keep the spool on the roller, so you don't have to worry about it falling off.
My Spool Roller that works with this can be found here:
https://makerworld.com/en/models/374159
The version of the mount that has the spool holder incorporated on it can be found here:
https://makerworld.com/en/models/374163
PRINT SETTINGS
I used Creality Print to slice the model, so keep in mind that these are the settings that worked for me and YMMV.
I purposely exported it to be on the bed diagonally. I found that the side fan can cause some warping, so the solution I found that worked for me was repositioning it on the bed and to also use a Brim.
Creality Print w/ Advanced Settings.
Default K1 Profile
Quality: Normal 0.2 mm
Filament: Creality - Black - Hyper PLA
Modified Settings
Walls: 5
Top/Bottom Pattern: Lines
Bottom Pattern Initial Layer: Lines
Top Surface Skin Pattern: Concentric
Infill Density: 100%
Infill Pattern: Lines
Generate Supports: Yes
Support Structure: Normal
Support Pattern: Zig Zag
Printing Temp: 240º
Initial Printing Temp: 240º
Final Printing Temp: 240º
Build Plate Temp: 60ºC (I use a Textured PEI Plate)
Build Plate Initial Temp: 60ºC
Build Plate Adhesion Type: Brim