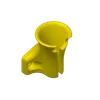
Extruder PTFE guide. "Bowden Guide" Series X/P
Extruder PTFE guide. "Bowden Guide" Series X/P


Print Profile(3)
Description
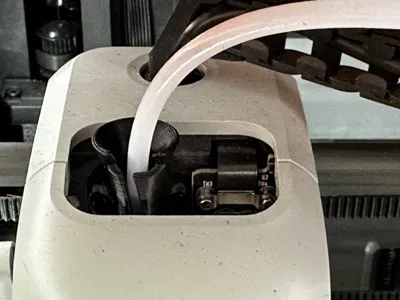
Extruder PTFE guide. "Bowden Guide" Series X/P
Yep, another one and for me, it's the last part of the puzzle.
📢 Issues Addressed:
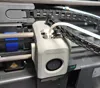
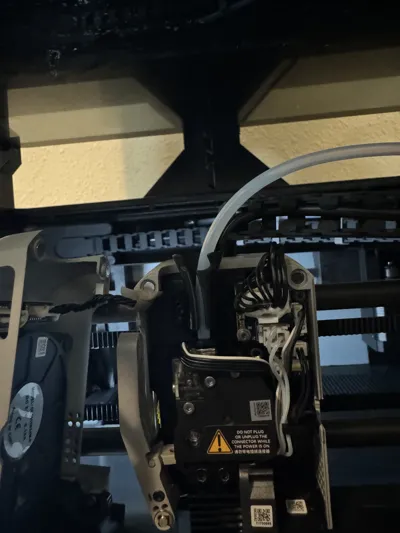
#1 It is to stabilize and line up the PTFE at the extruder intake.
#2 No more filament load failure.
#3 Prevent the PTFE from kinking or having a too-small radius.
📢 What is distinctive about it;
No moving parts.
No adjustment.
No, none, sens. Like my other solution, it just works.
The filament can be pulled out without removing this part or need to cut it short.
More room to de-engage the PTFE tube. An excellent and welcome plus.
History (If you care);
For the last six months, I have tried other designs. I tried a douzaine of 90 degrees and other designs, but they all failed sooner or later or did not address the source of the issue. None are as good as I like them to be (zero failure). Once every five to ten reloading or printing starts, the filament stops, backs off 3 times, and gives an error. Since I have a solution for all the other sources of issues, this was the last point that needs a better fitting alignment.
The source of the issue;
The original piece had two flays. It has too much space for the PTFE. And why is it slotted/floating? The fitting should never touch that piece; I don't see any functionality in that adjustment. I removed it to make things more stable and leave space to disengage the fitting without tools.
Material selections;
As for the material to use, Polycarbonate (PC) and PET-CF are my #1 recommendations.
ABS could be a good alternative and print in 16 minutes.
I would not recommend using PETg or PLA. They will get soft and fail. It's hot up here, especially if you print above 250c and the chamber is 60 to 70c.
If you print PLA only or have a P1P, you may be good, but take a chance to have a failure. I highly want to insist and discourage you from using PLA there. Don't even think of printing it and installing it. Then rate my design as 1*
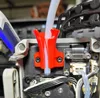
Installation:
Remove the original pieces by removing the two VERRY SPECIAL SCREWS. Don't lose them. You will not find a replacement, and BBL doesn't have a replacement.
Line up and screw-on in place this one. No adjustment or playing around.
Insert the PTFE until the fitting holds it well.
Printer setup;
I use BBL PC 0.20 layer 3 walls, 4 top 3 bottom 15% Grid infill and all speeds cut in half. It prints in 15 minutes, including the printer preparation. It is fast.
BBL ABS is quite the same. I changed the infill for 20% gyroid, but it's so tiny that it doesn't matter. It prints in 16 minutes and costs 2.5g of material.
BBL PETg is the same as ABS but slower.
Thanks, and keep having fun printing trouble-free.
PS: Look at my other solutions for the annoying little issues of the X/P series.
Don't forget to rate my work!!! Thanks.
Comment & Rating (48)


License
You shall not share, sub-license, sell, rent, host, transfer, or distribute in any way the digital or 3D printed versions of this object, nor any other derivative work of this object in its digital or physical format (including - but not limited to - remixes of this object, and hosting on other digital platforms). The objects may not be used without permission in any way whatsoever in which you charge money, or collect fees.


