Sale end soon Get the entire collection before sale is over on the 22th.
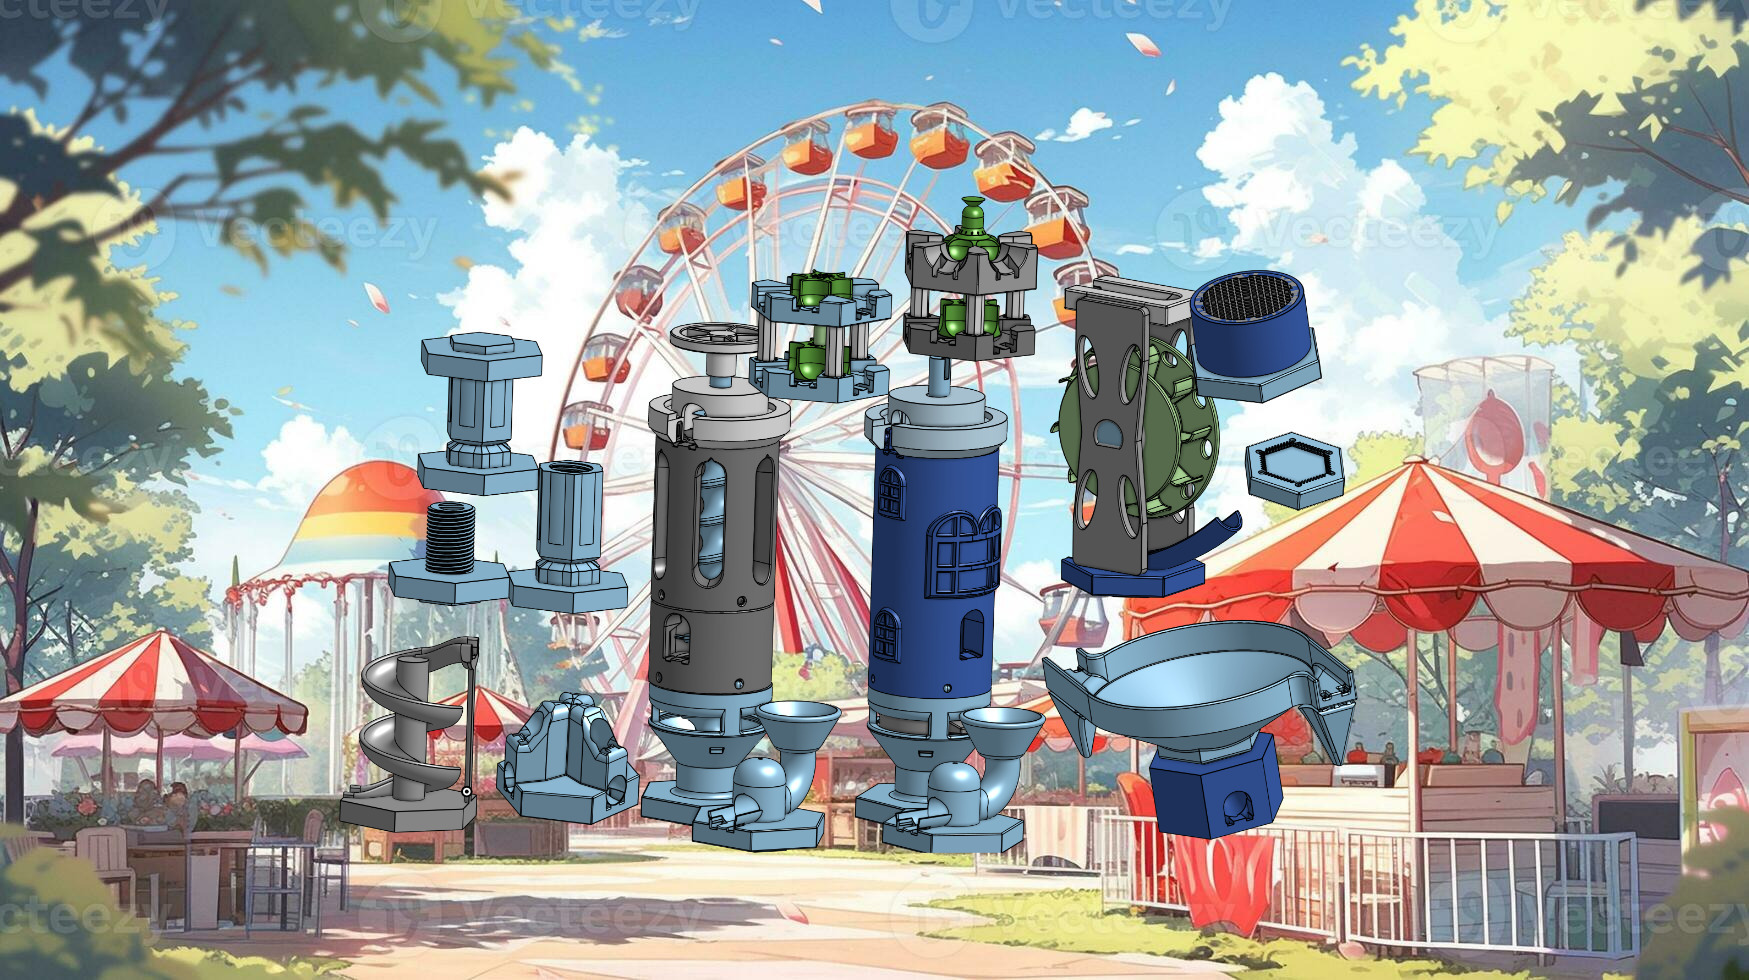
GRAVITRAX compatible set
At the moment there are 10 + design in the gravitrax amusement park. I am actively adding more with a few design in the in the works. All packages have now been uploaded with more documentation still to come. In the mean time while I am getting everything ready I am holding a grand opening sale for the collection. Sorry the video quality is terrible.. made it too long and didn't realize It has to be converted to a moving GIF.
**Updated 2024-04-21
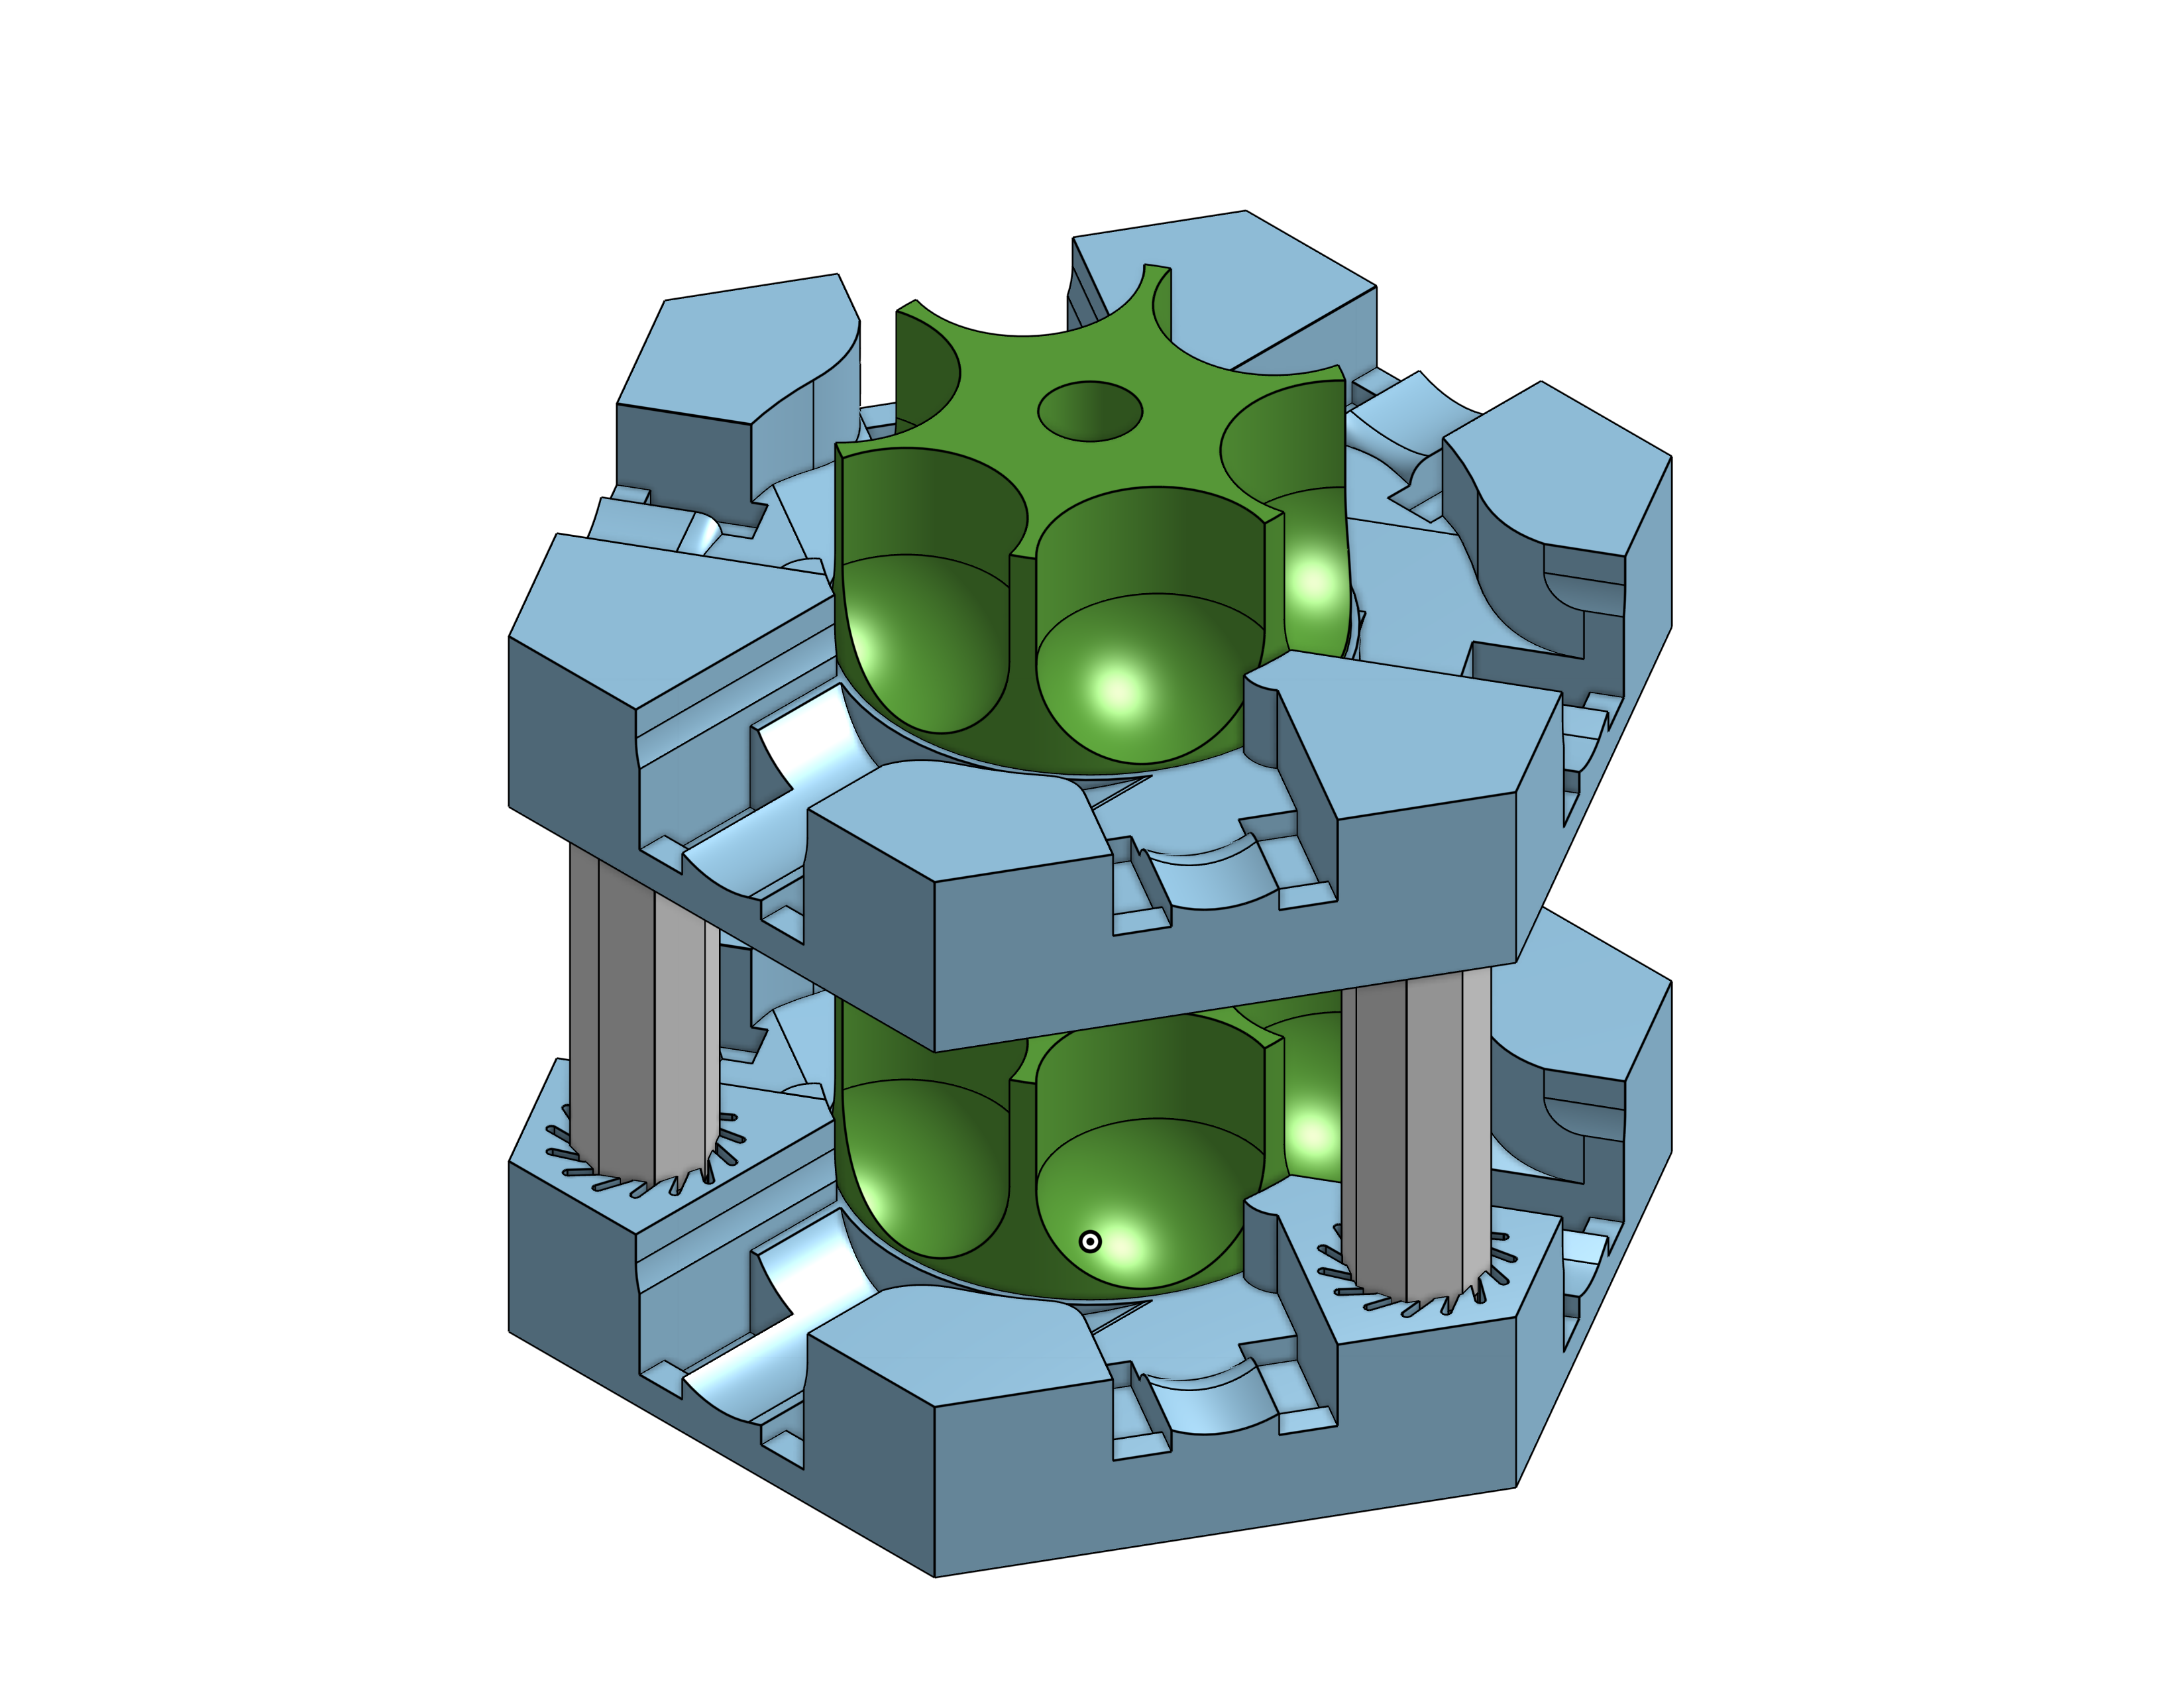
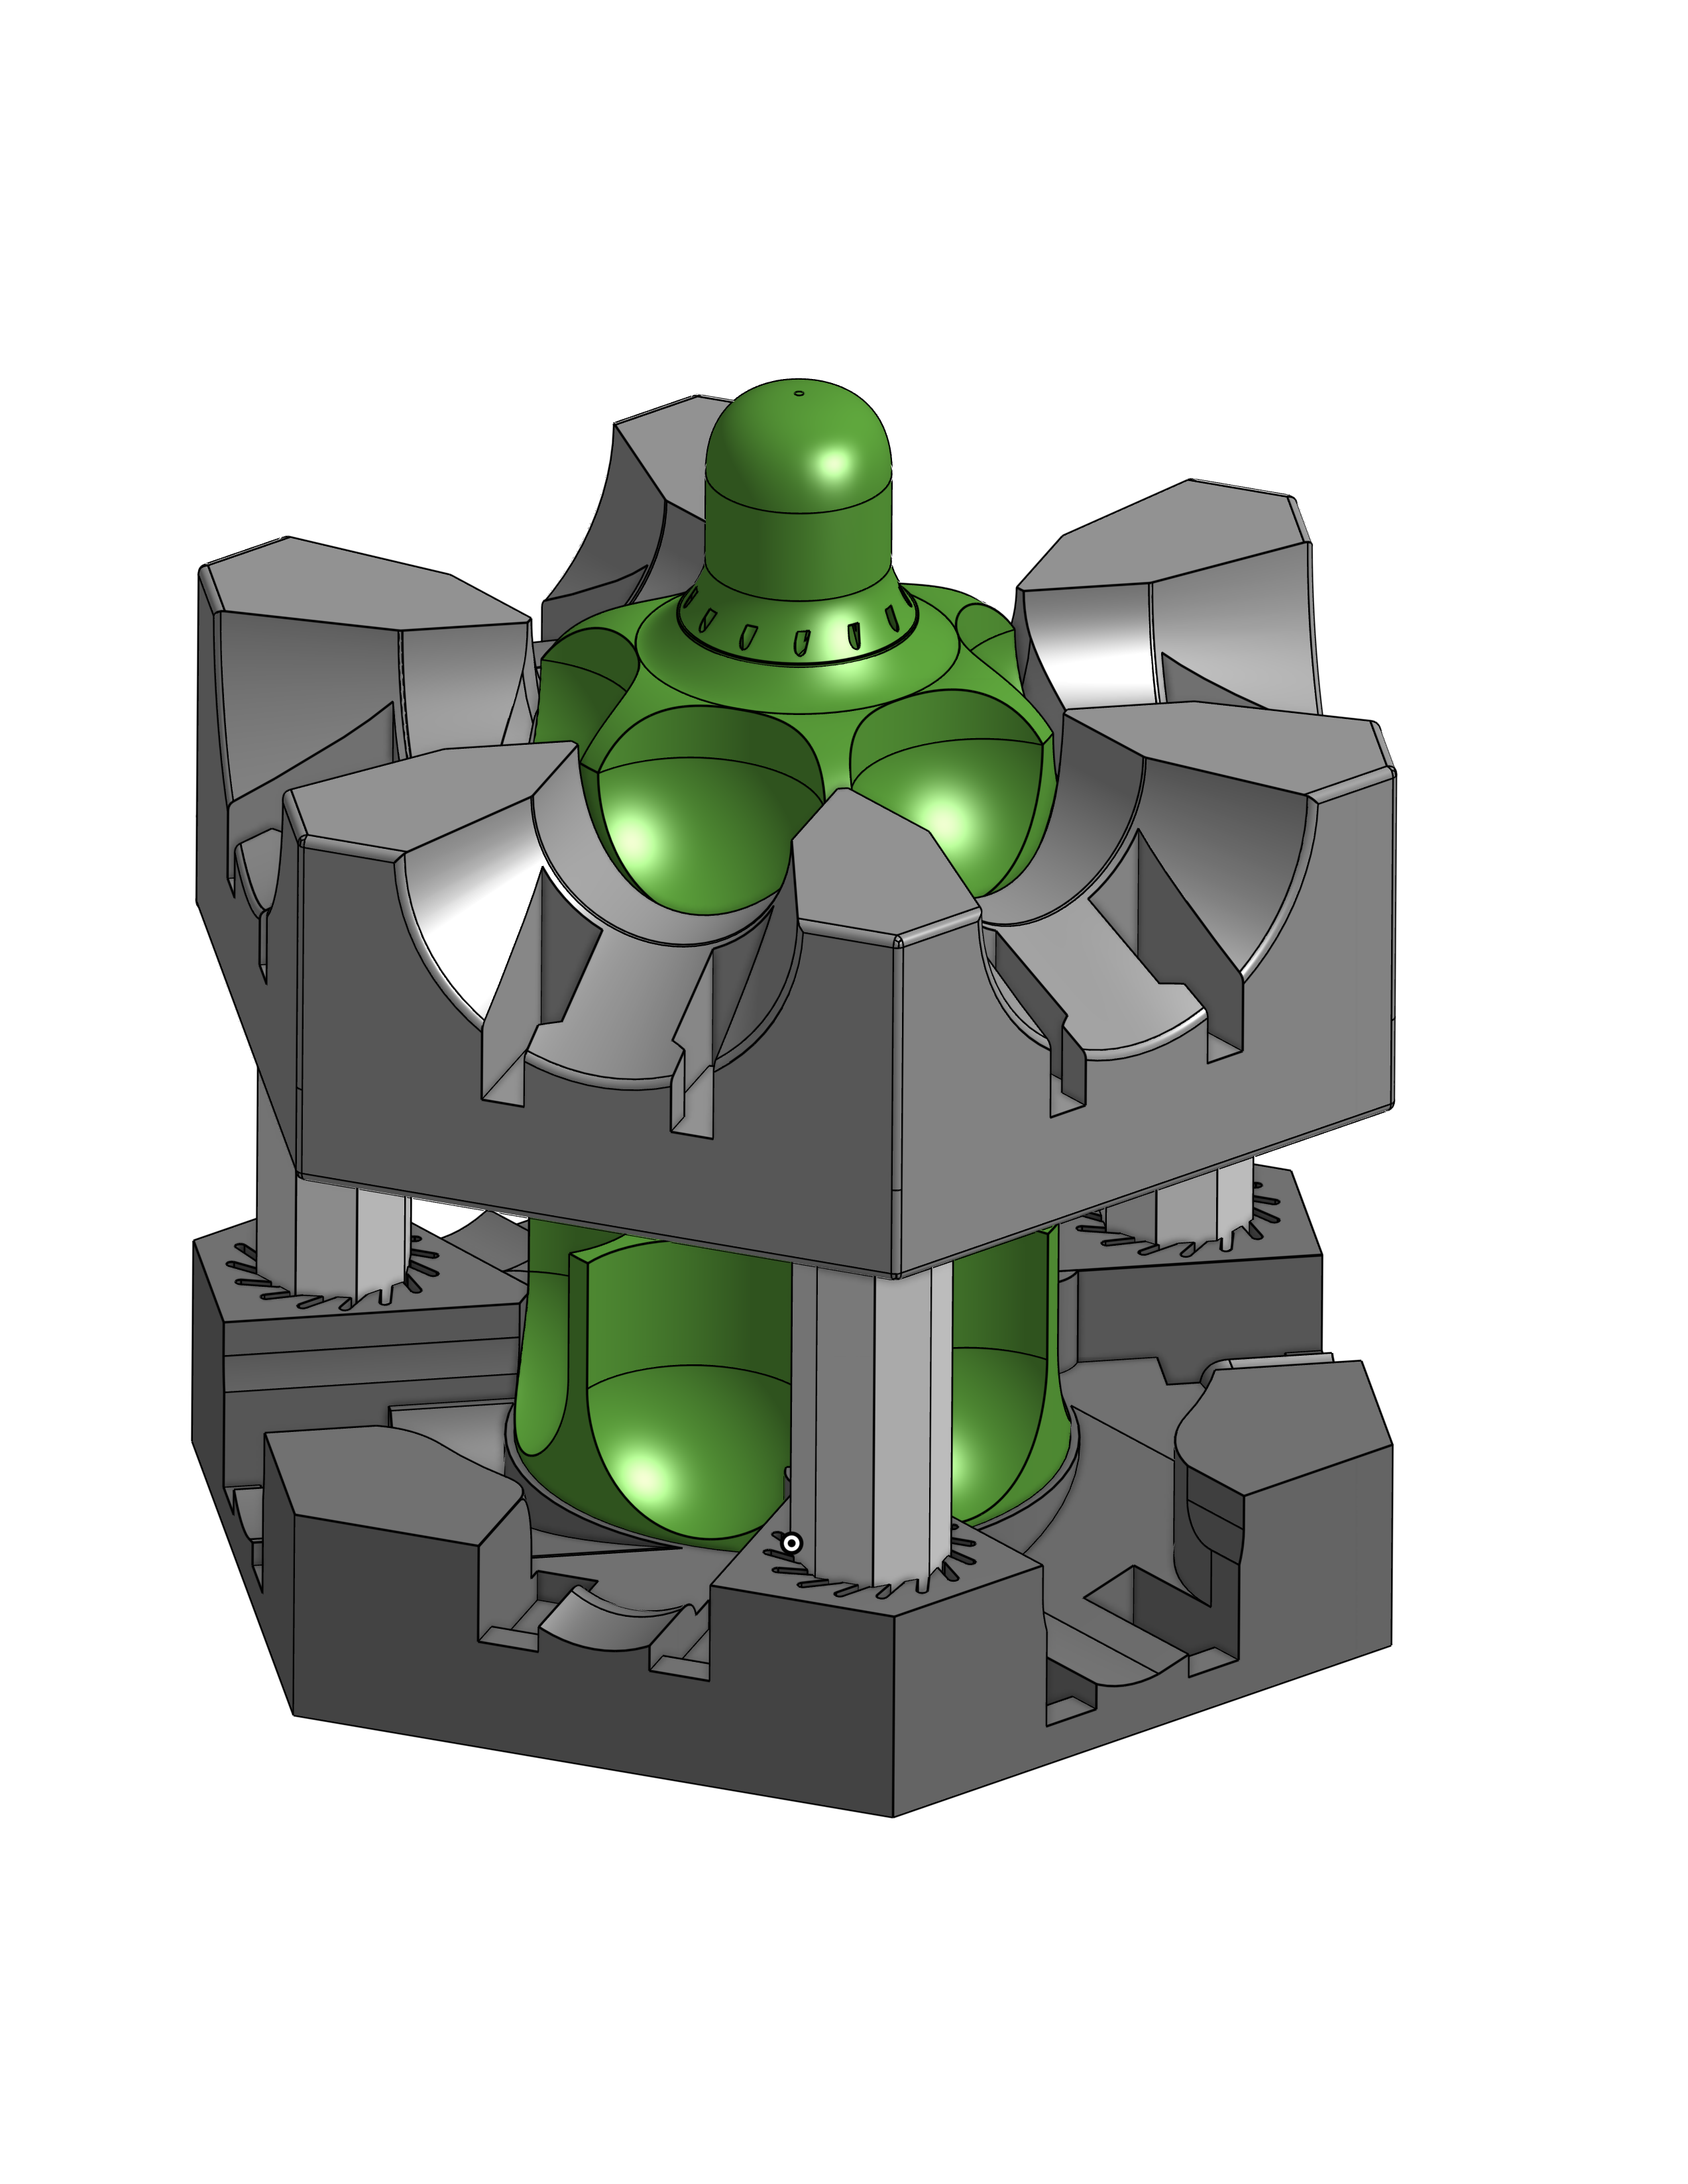
Started working on a two layer carousel this weekend, very similar to Gravtirax pro carousel. A few things to optimise & fine tune on the prototype. Uploaded an image of the design in progress.
Gravitrax Trampoline has been added to the set. Check out the Crazy Extra Large Trampoline. Worked better then I expected it to. Yes one version used a balloon but TPU printable insert is provided.
Added image of a few new Modules coming soon for the lighthouse elevator.
This all started when my son found a gravitrax spacer he wanted to try but it was not printable. I figured looked easy enough to design my own and the first variable spacer was born. A few month later the collection was growing. All design have been printed and have gone through several iteration and optimizations. Specific print instruction for each design are below but in general support are not required except for the base, custom break away supports have been incorporated. Tolerances are build into the design but my personal preferences to improve dimensional accuracy I suggest using "Exclusive" for the slicing tolerances in Cura. (equivalent setting exist on other slicers.)
I'll provide a resource section at bottom for related articles. And finally I wanted t give a shot out to Slant3d (https://www.slant3d.com/) one of the most valuable resources I found on 3d modeling. Many of the principles have been incorporated into these designs .. not that they optimised for mass production just yet ..
This collection is made of 10 "rides"
- 2 Layer Carousel: Similar to Gravitrax Pro Carousel
- 2 Layer Carousel with Spinner module
- Rotating variable spacer: The spacer can be adjusted in place. Center piece can rotate independently. Let me know in the comments if there interested in 4,6 x spacer as well
- A large funnel with two entrances
- Carousel wheel
- Spiral slide
- Vertical loop
- Modular Light house elevator
- Trampoline "Bouncy castle"
Future designs
- Light up / sound block " Fun House" I'm Asking the community to help me source Led & control module for this project
- Revision to remove supports from the base
- Additional modules for the light house elevator. Early preview have already been add to images.
All design where printed on an Ender 5 with a Micro Swiss direct drive extruder. If your using one the newer highspeed printers let me know if you had to modify any of the print settings .
Design Specific Instructions
2 Layer Carousel & Spinner Module
Coming Soon
XL Crazy Trampoline
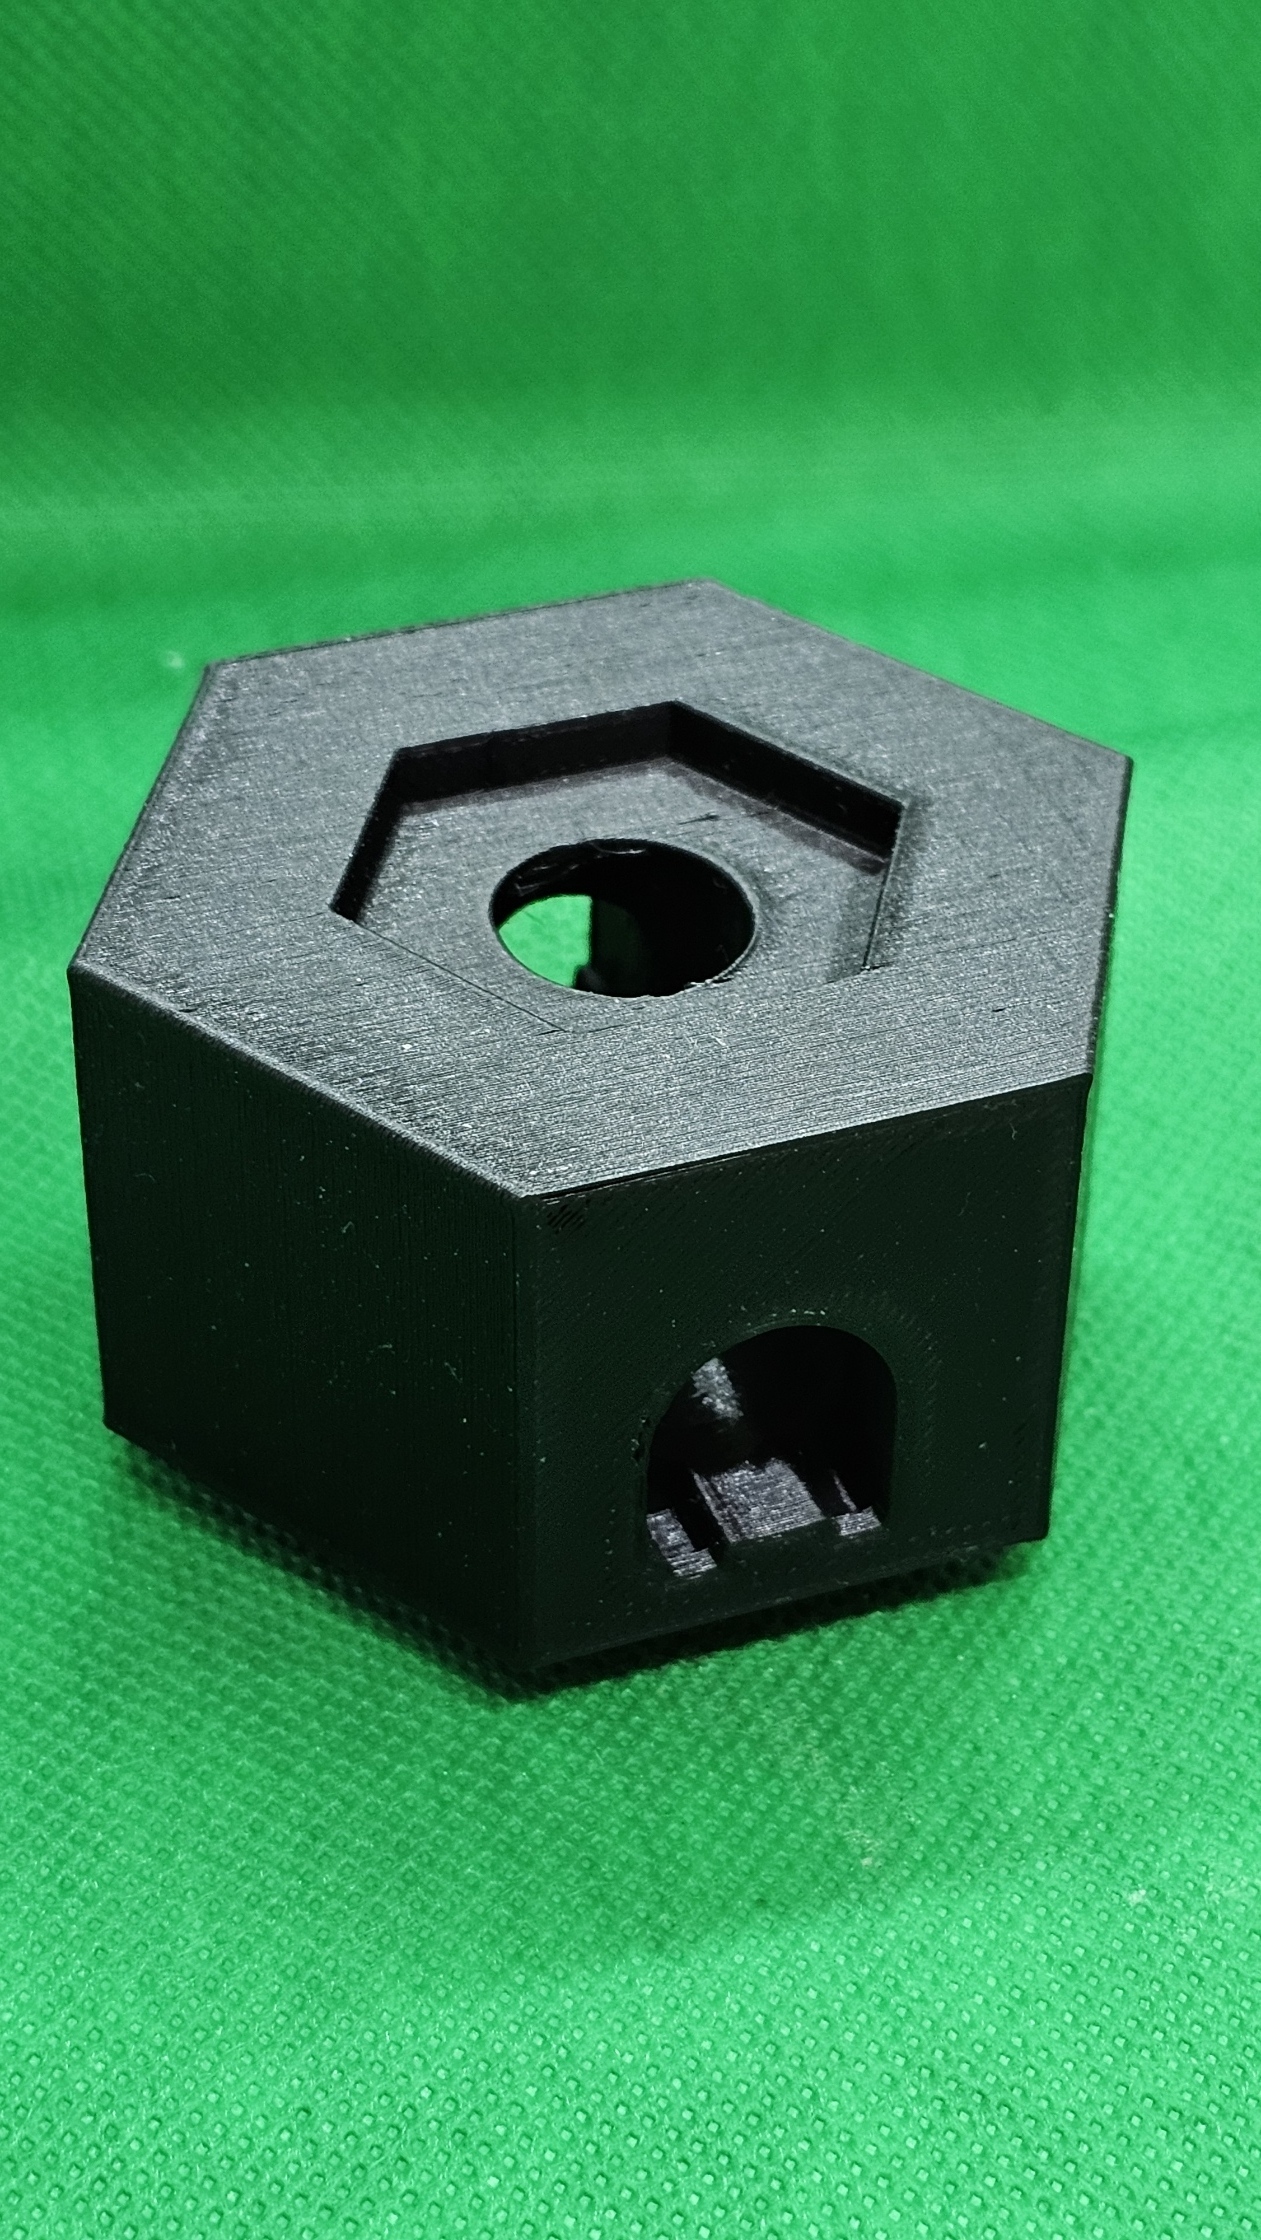
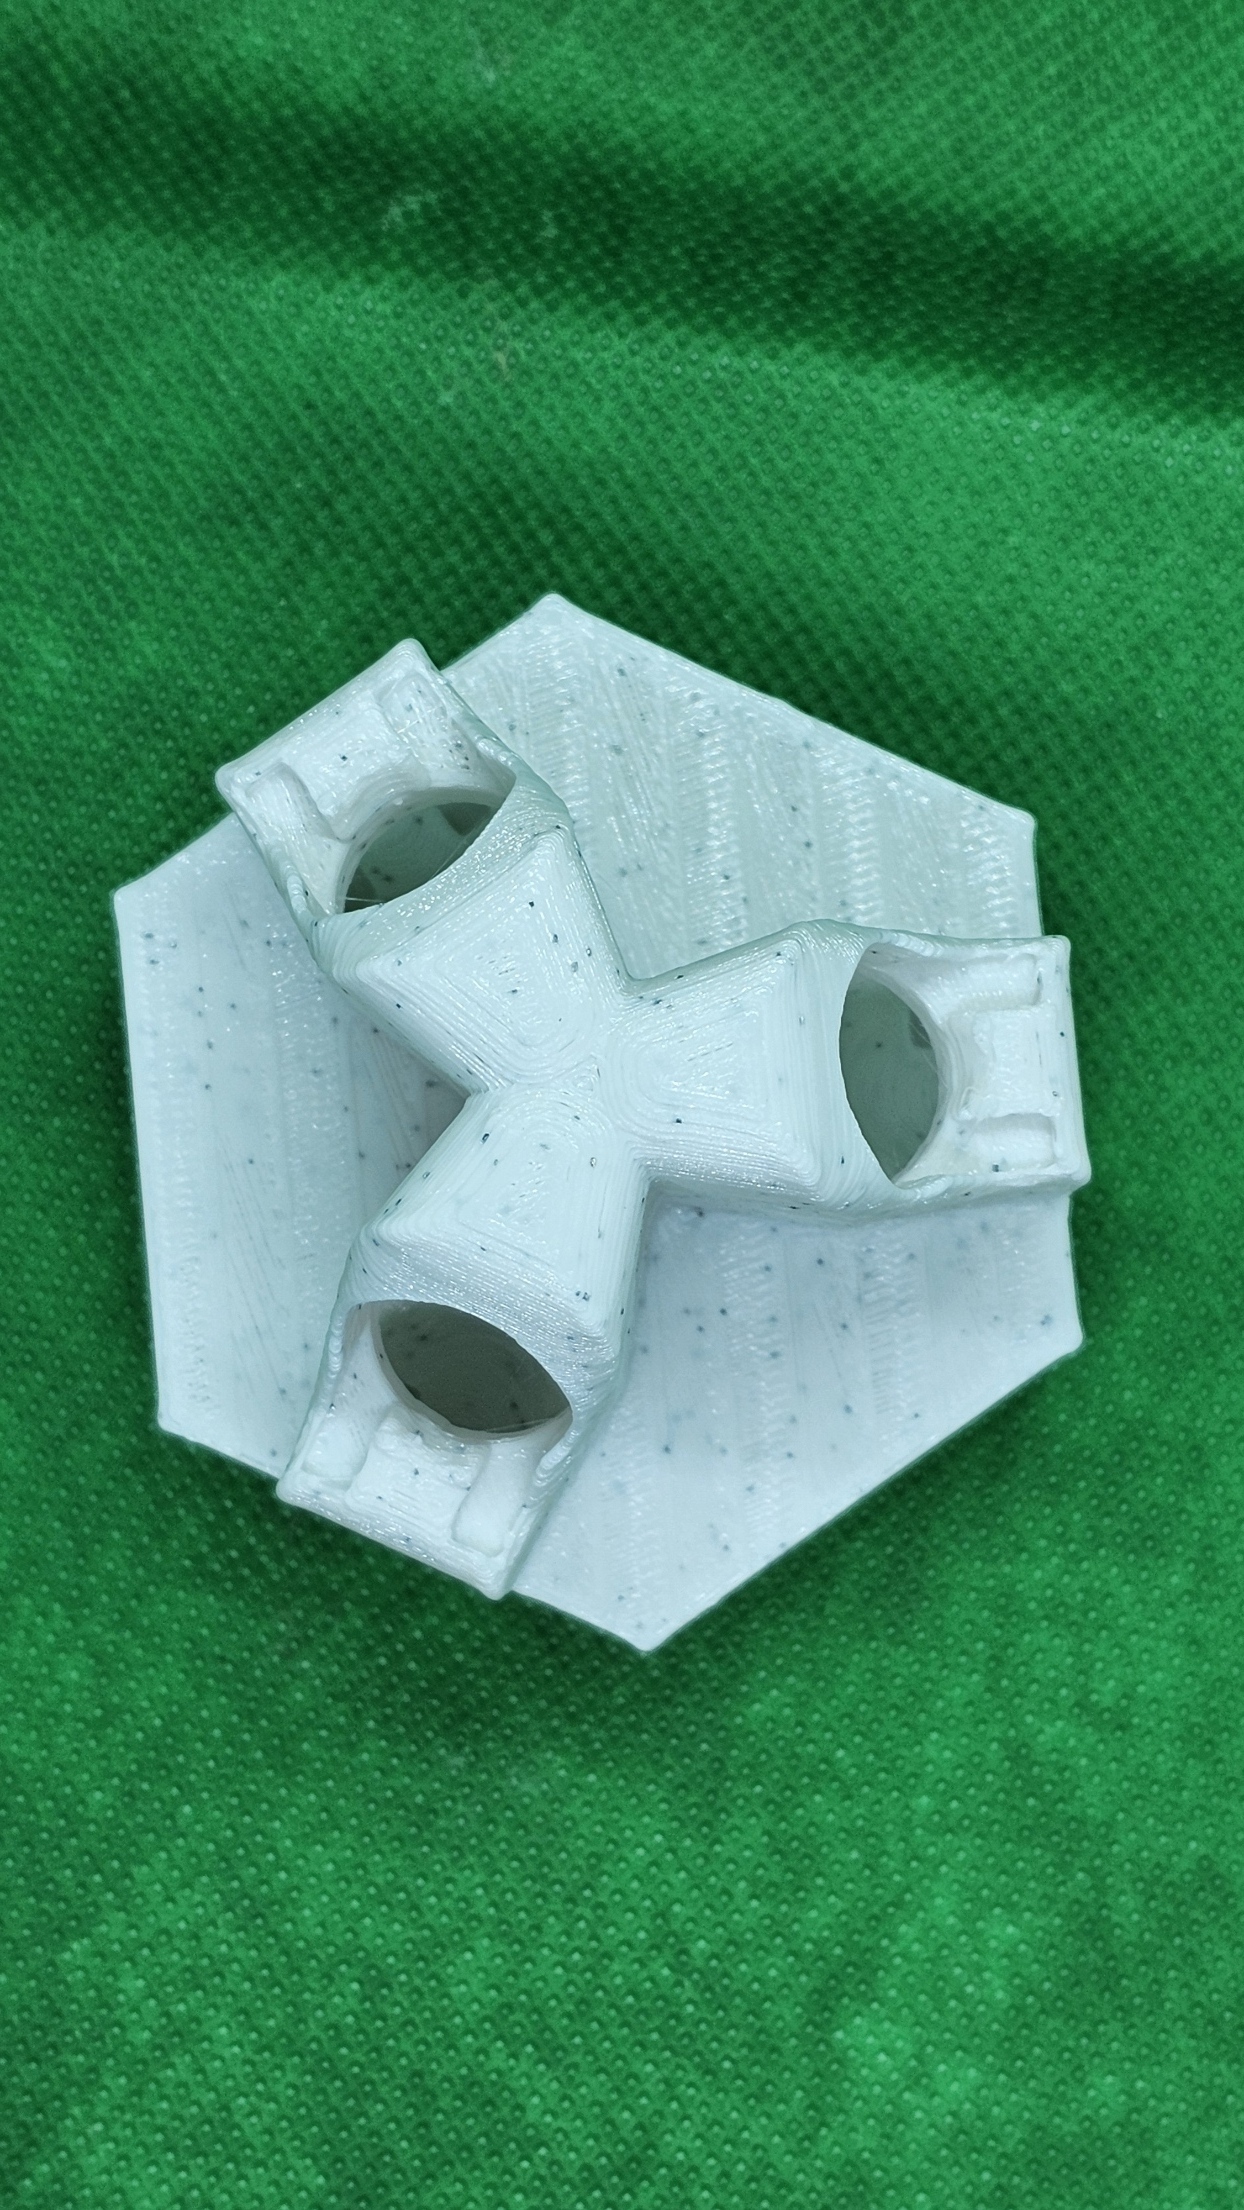
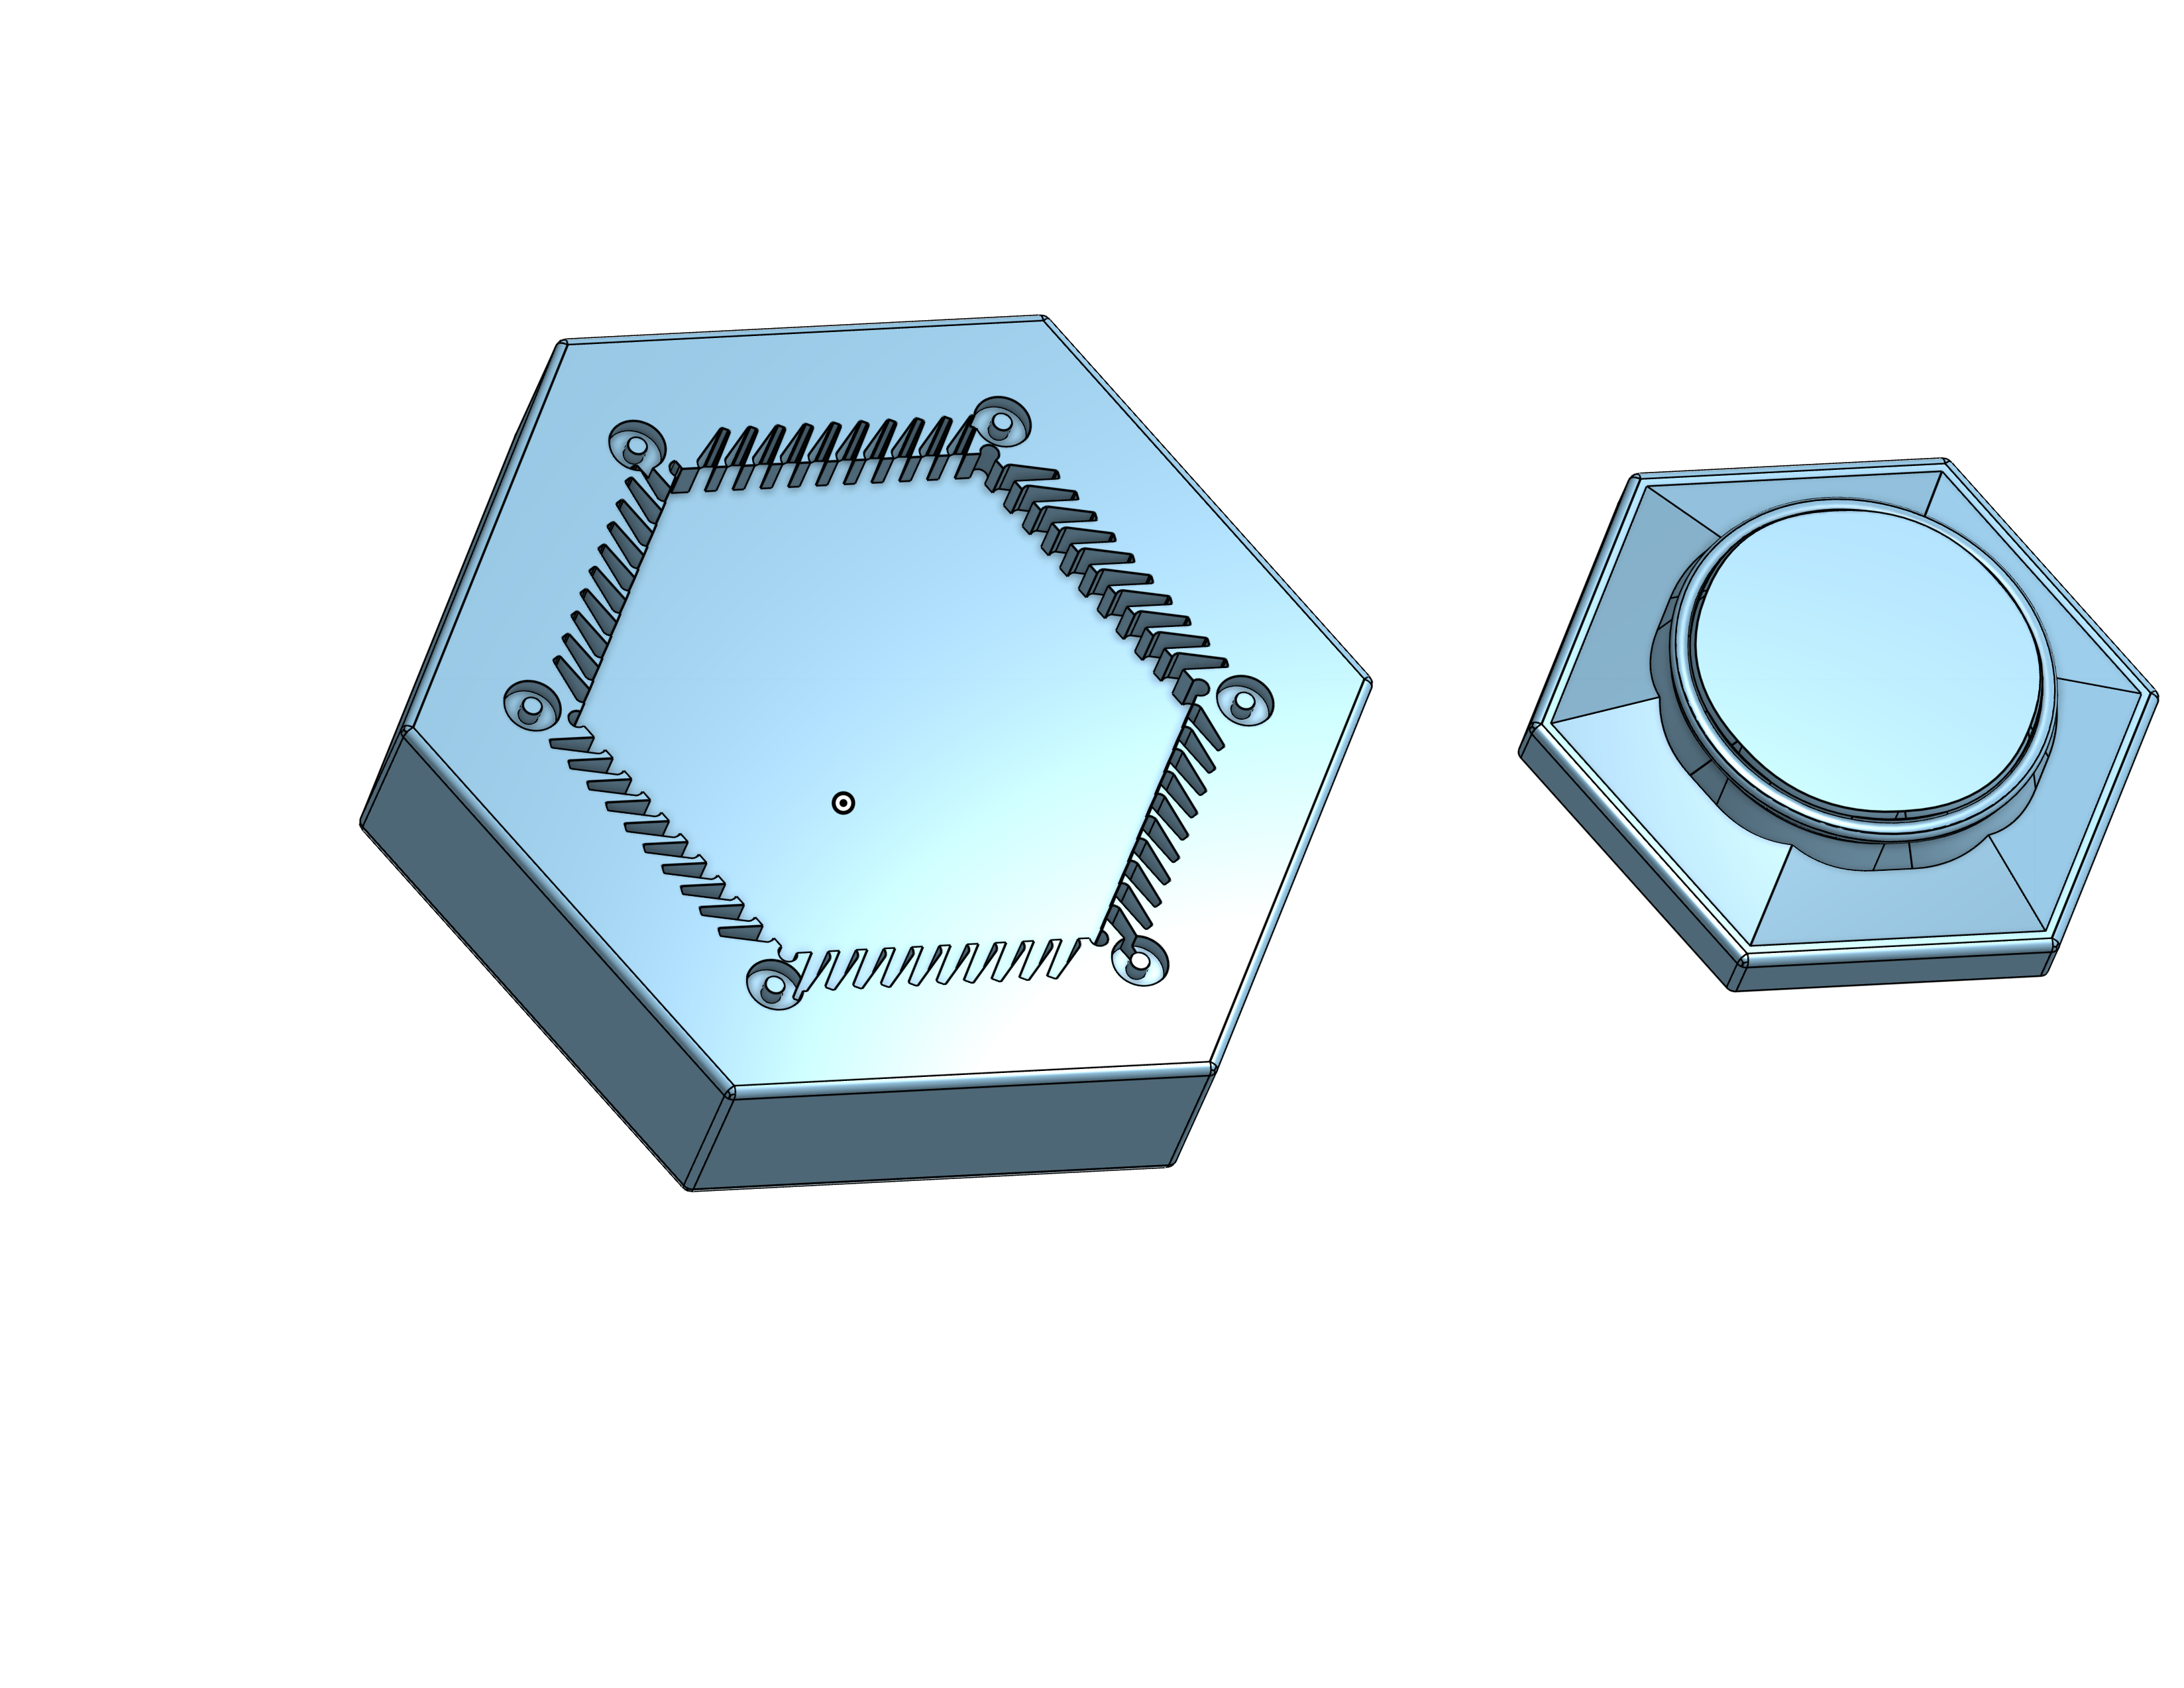
This is the gravitrax trampoline on steroids. Almost Twice the size of regular trampoline area and 2 cm high. The trampoline uses the new base design eliminating the need for supports on the base.
You can use different materials as the trampoline insert. The Rubber trampoline insert should be printed using TPU but a balloon will work just as well. The rubber trampoline is stretched and secured in the case. Several grooves are provided to set the tightness. The entire trampoline can be snap together although disassembly might more challenging depending on the material your try.
The trampoline consists of 5 files, Printing layout is strait forward. The base with new snap-in hex insert. A trampoline cover to secure the rubber material to the base. And the rubber trampoline it's self.
Trampoline Assemble Instructions
- Snap the hex-insert into the base. Use a bit of force as it's a permanent snap. Once inserted should be very difficult to remove
- Rap Rubber trampoline around the neck and hold in place while securing with the cover.
- A Bit of force may be required to fully insert the cover on to the snaps. Depending on the what material used.
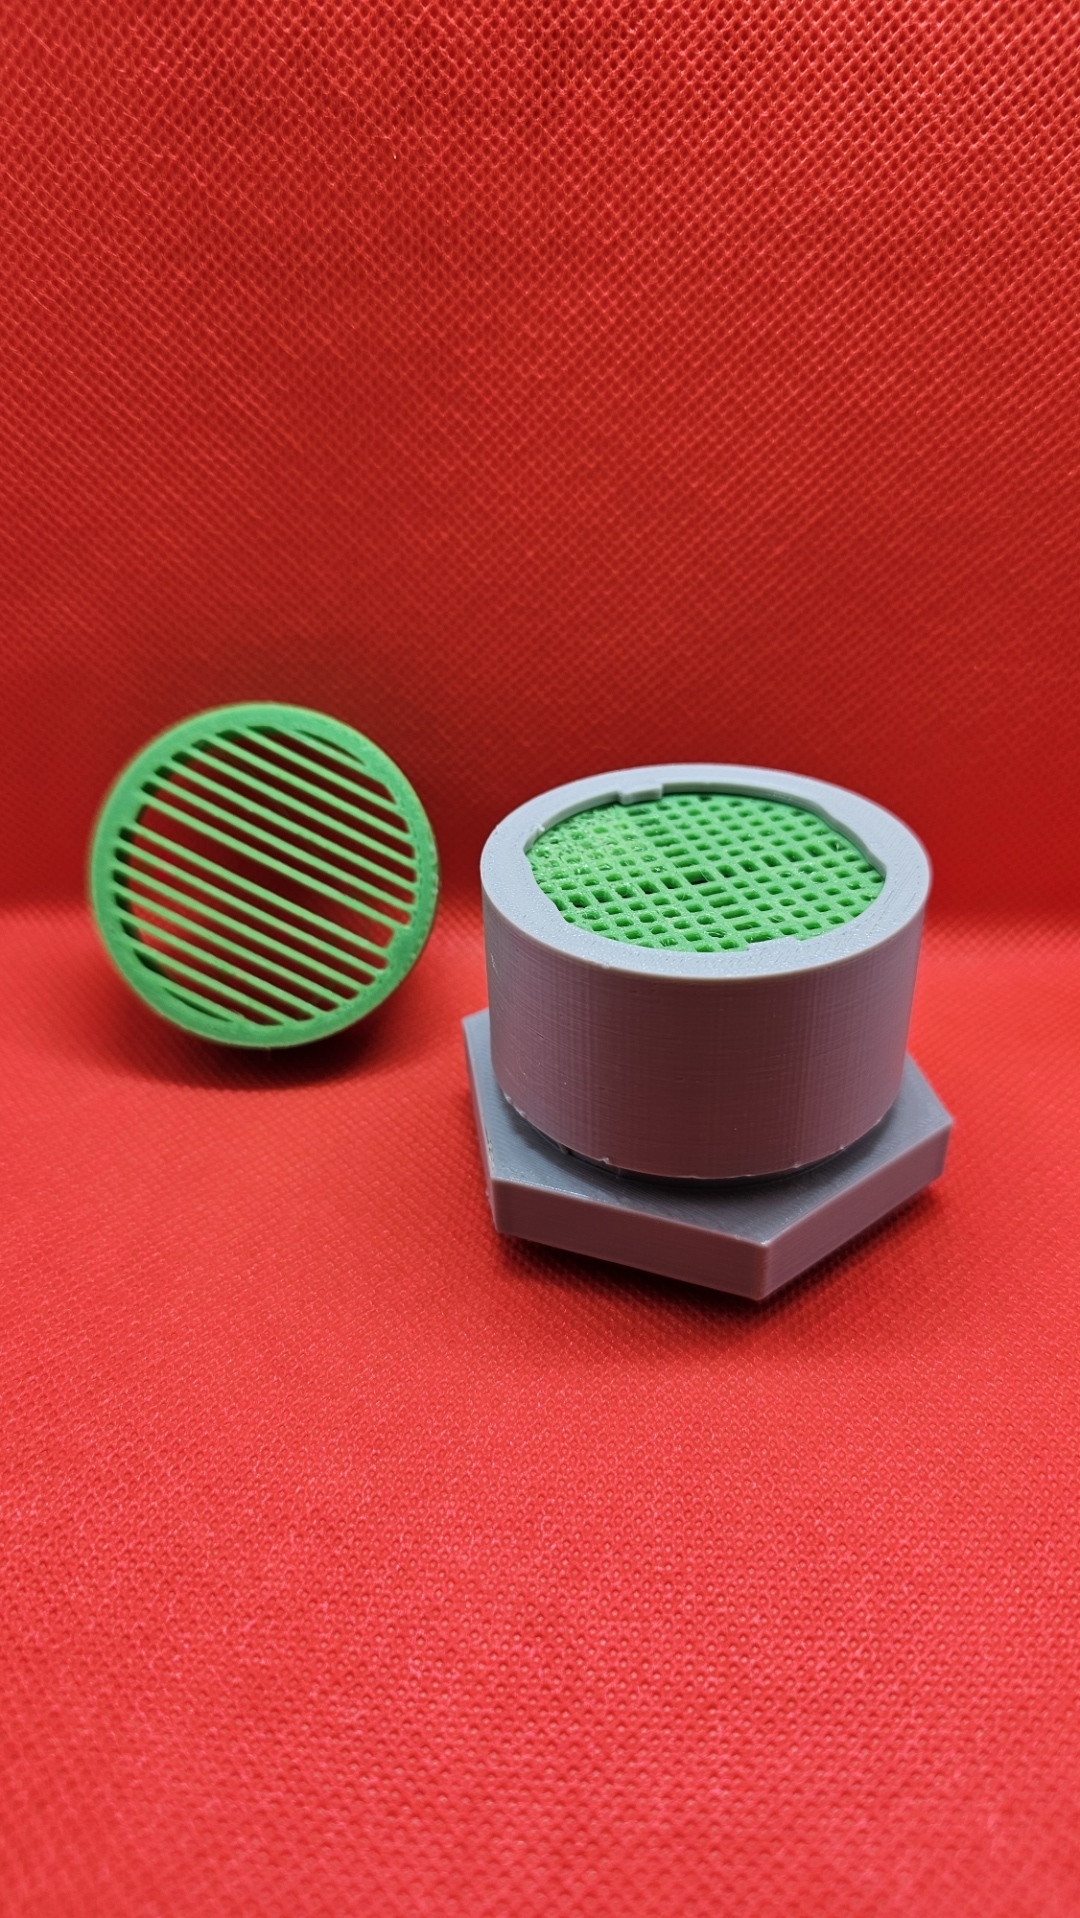
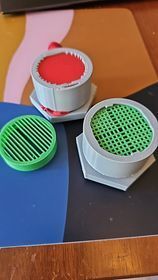
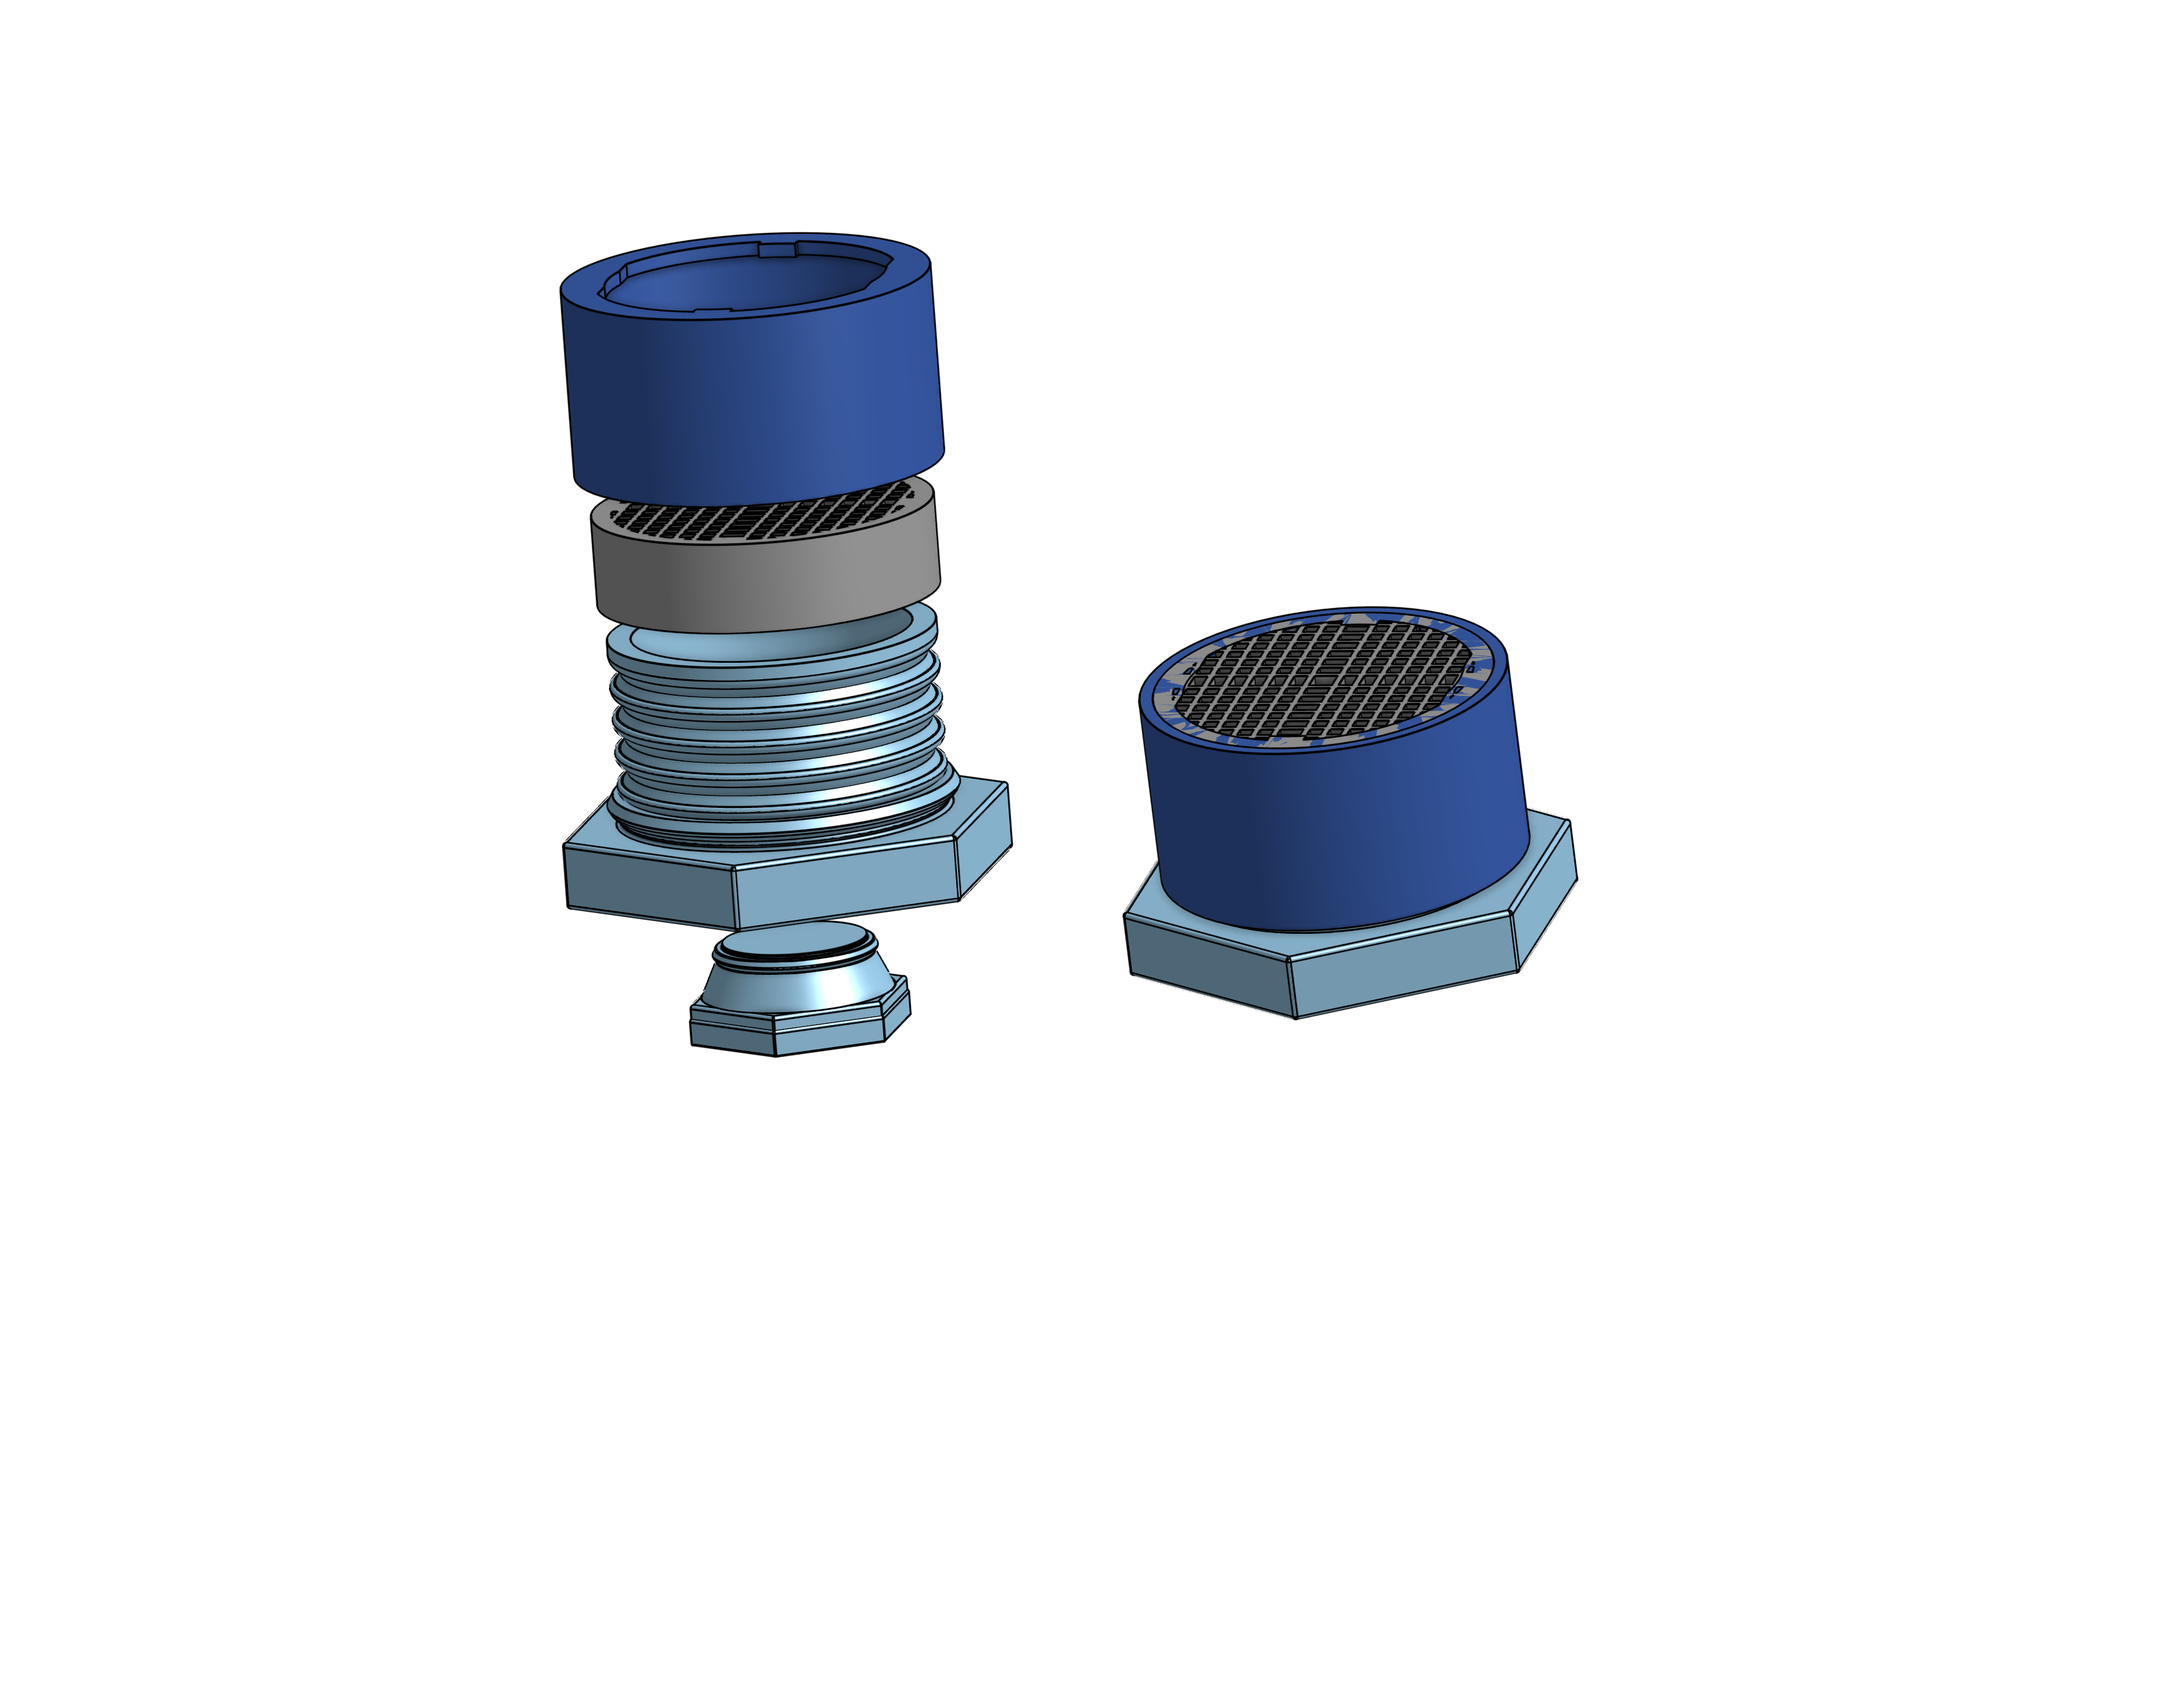
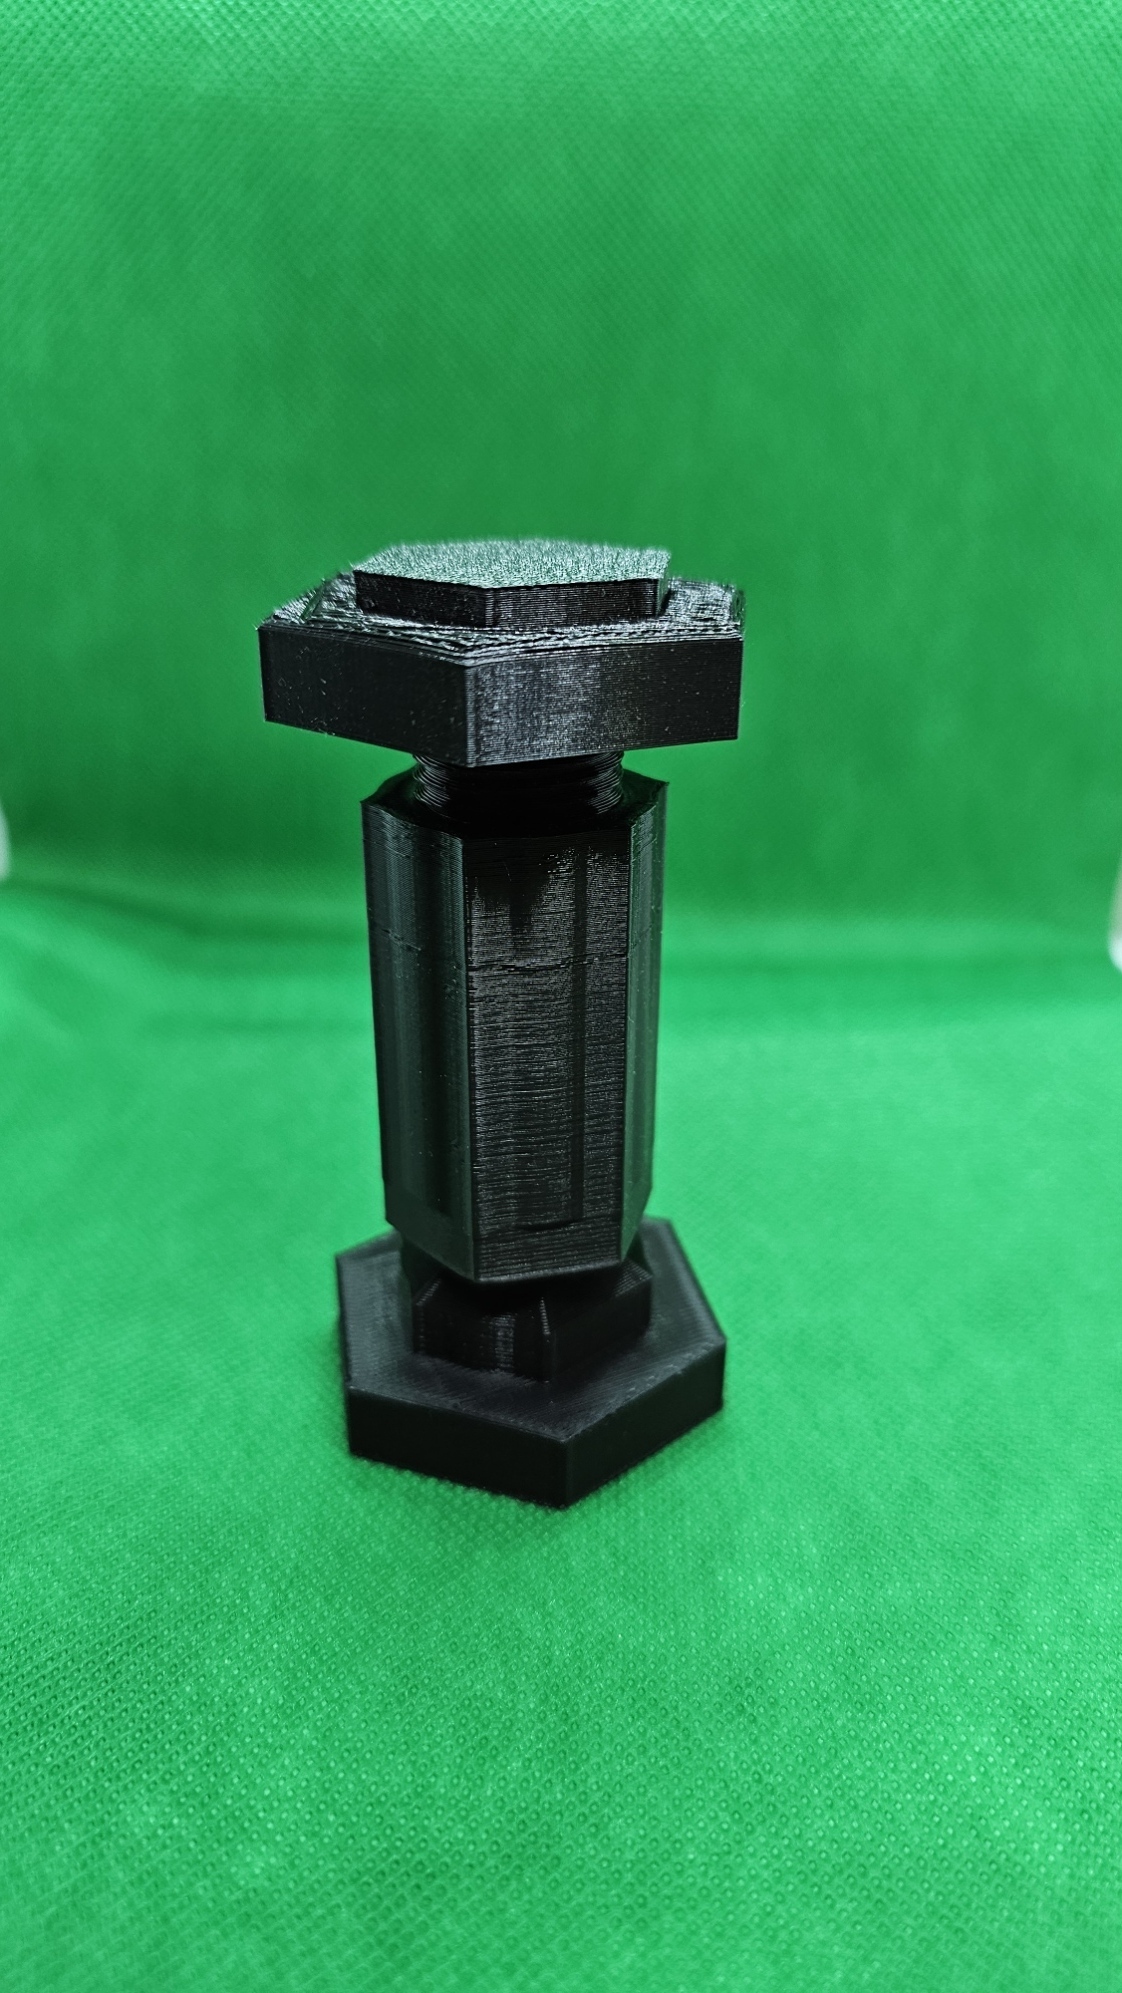
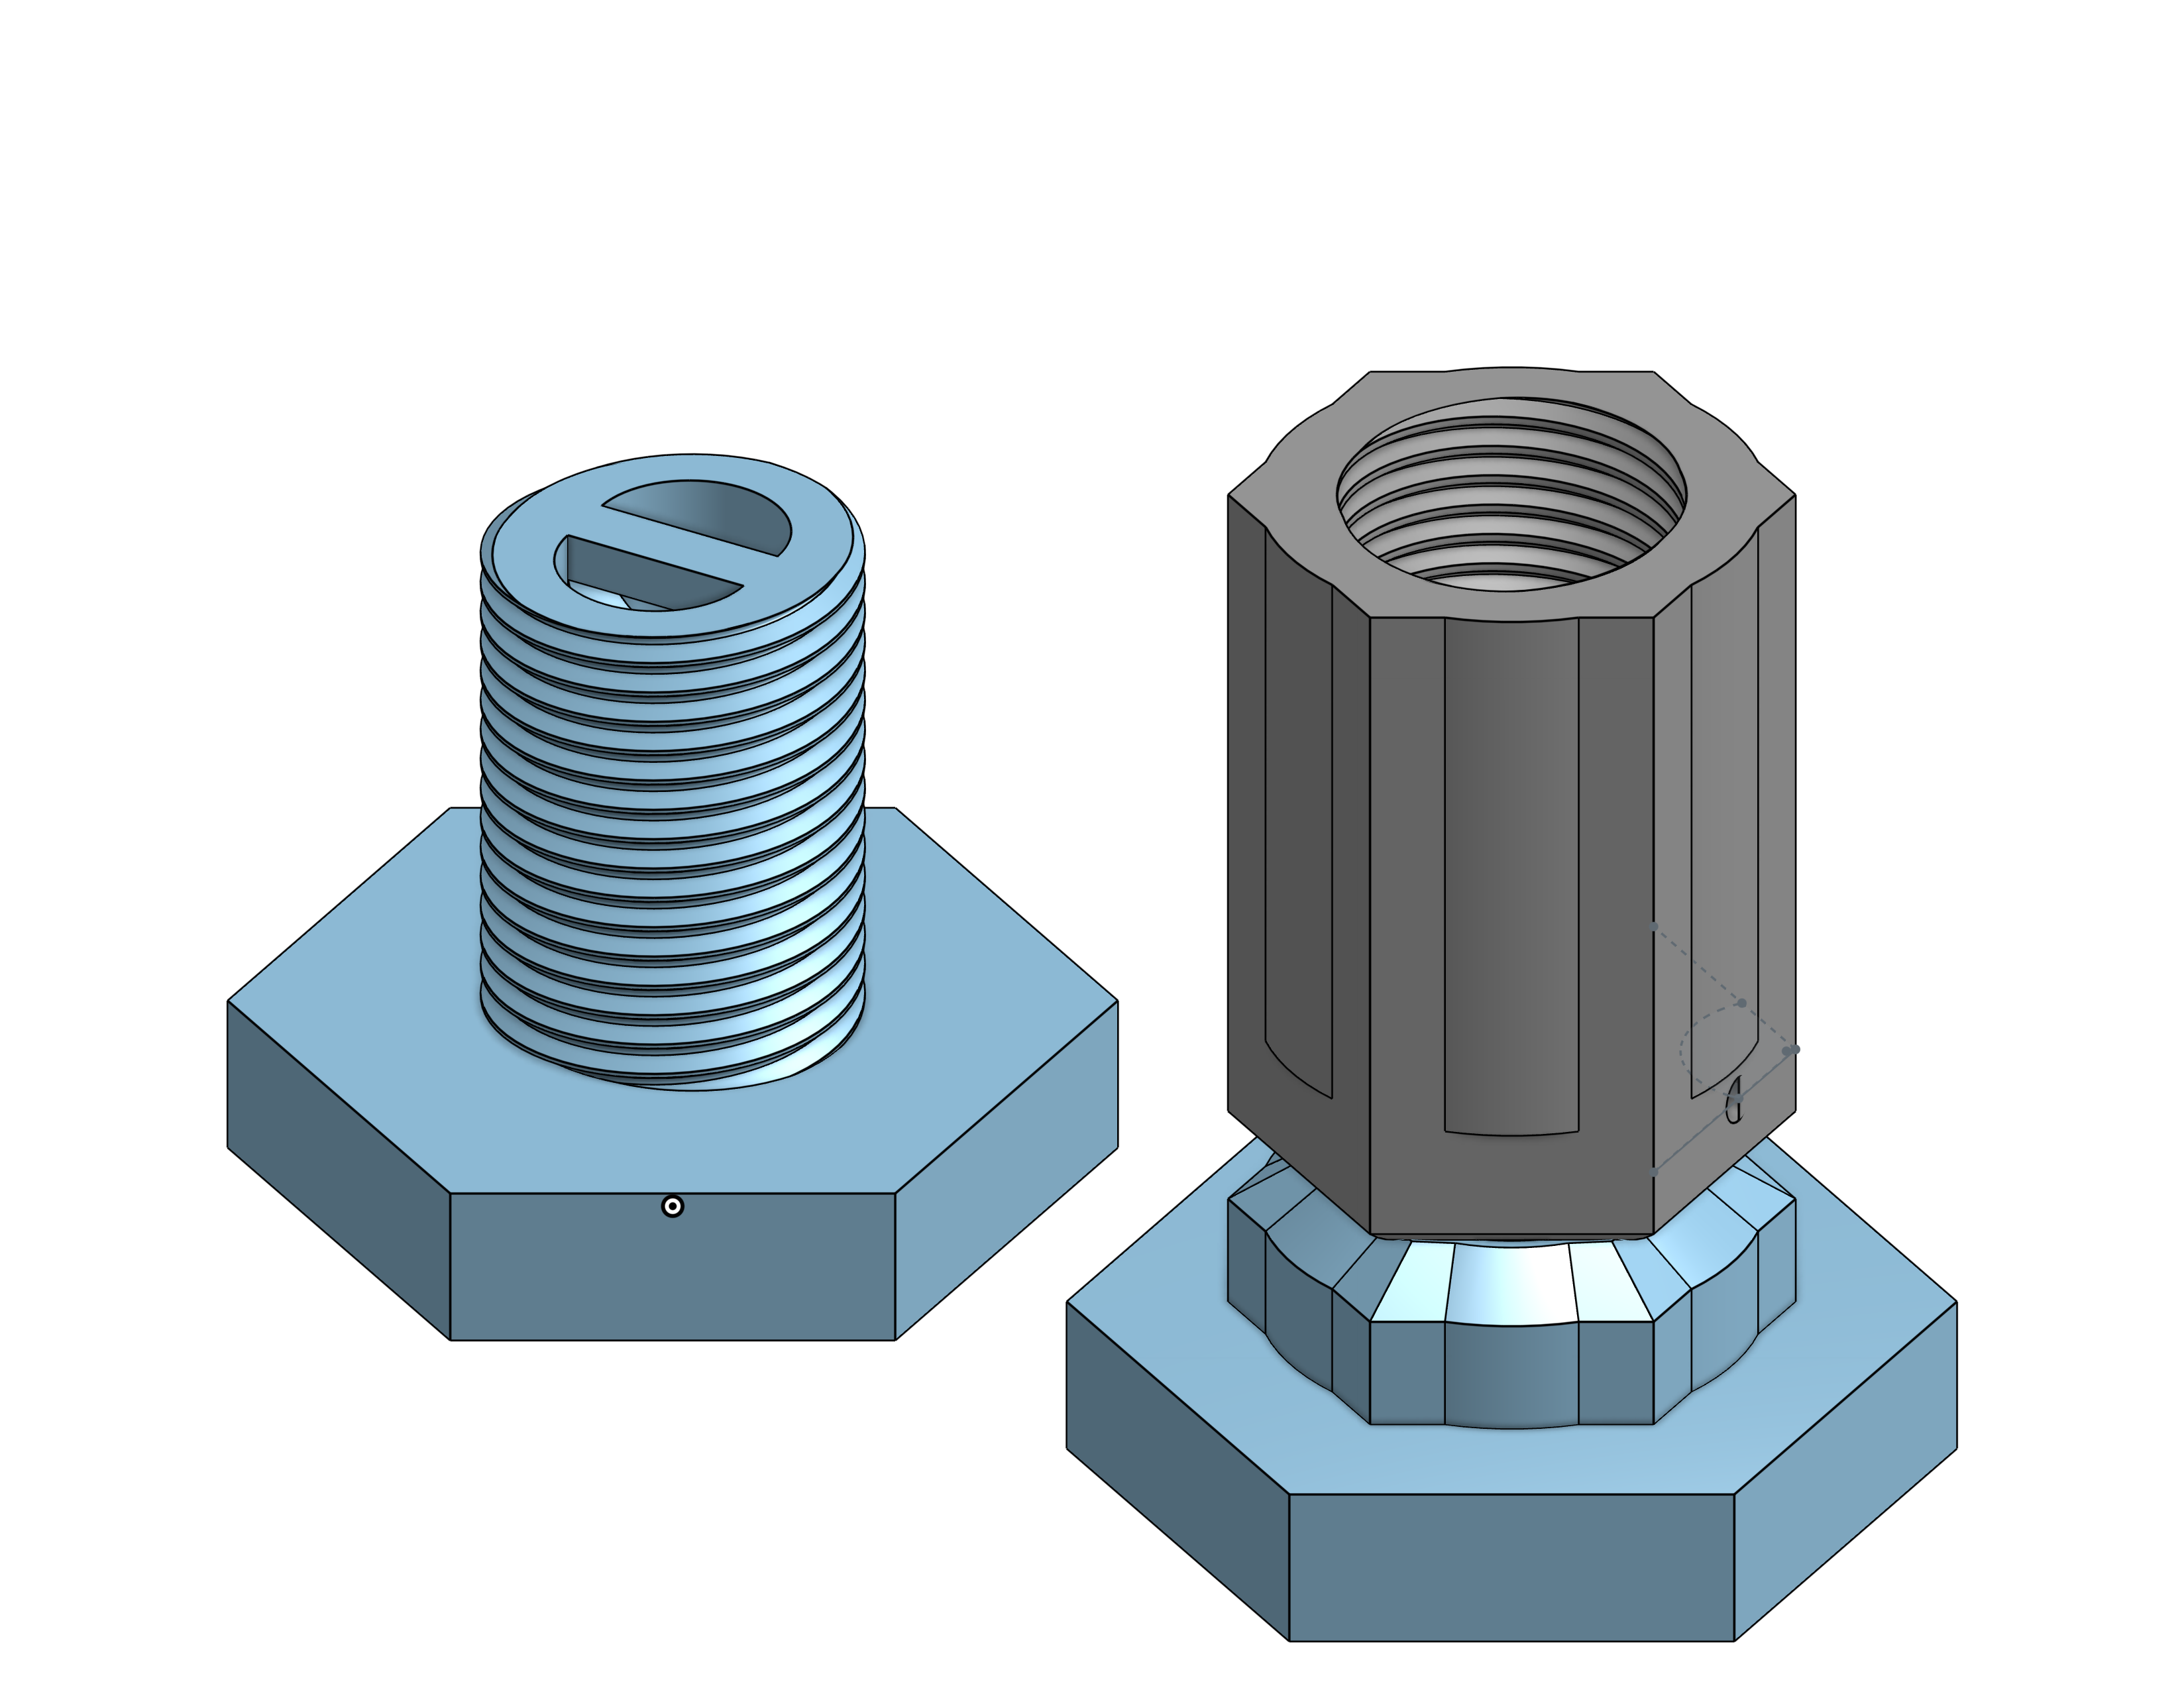
Rotating Variable Spacer:
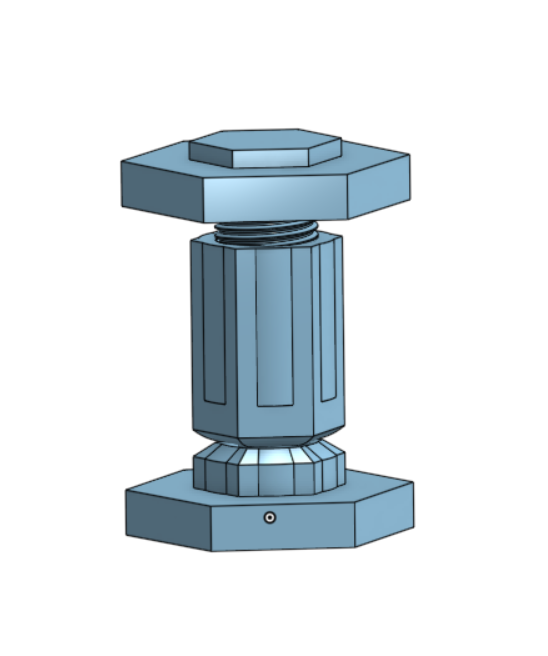
The spacer is composed of two parts with the threaded insert and a rotating neck that lets you set the desired height. The Hight can be adjusted while in place in the track. A hole has been provided on the side and bottom of the threaded insert where you can tie a string or rubber band to prevent the top from falling out. (but I haven't used ribbon to secure it either.. ) I have provided a single file with both parts they should print well but make sure your printer is well tuned and pay close attention to the print instruction for threads. If you have ever tried working with thread you know they can be a pain and he tolerances can be tight. Two version have been provided, one with a larger base for better stability.
Variable Spacer Notes:
Special setting required for threaded insert. For Cura, set outer wall before inner and under experimental set slicing tolerance to Exclusive. These setting are required for threads to properly print.
Supports required for only base of threaded insert. set support touching bed only.
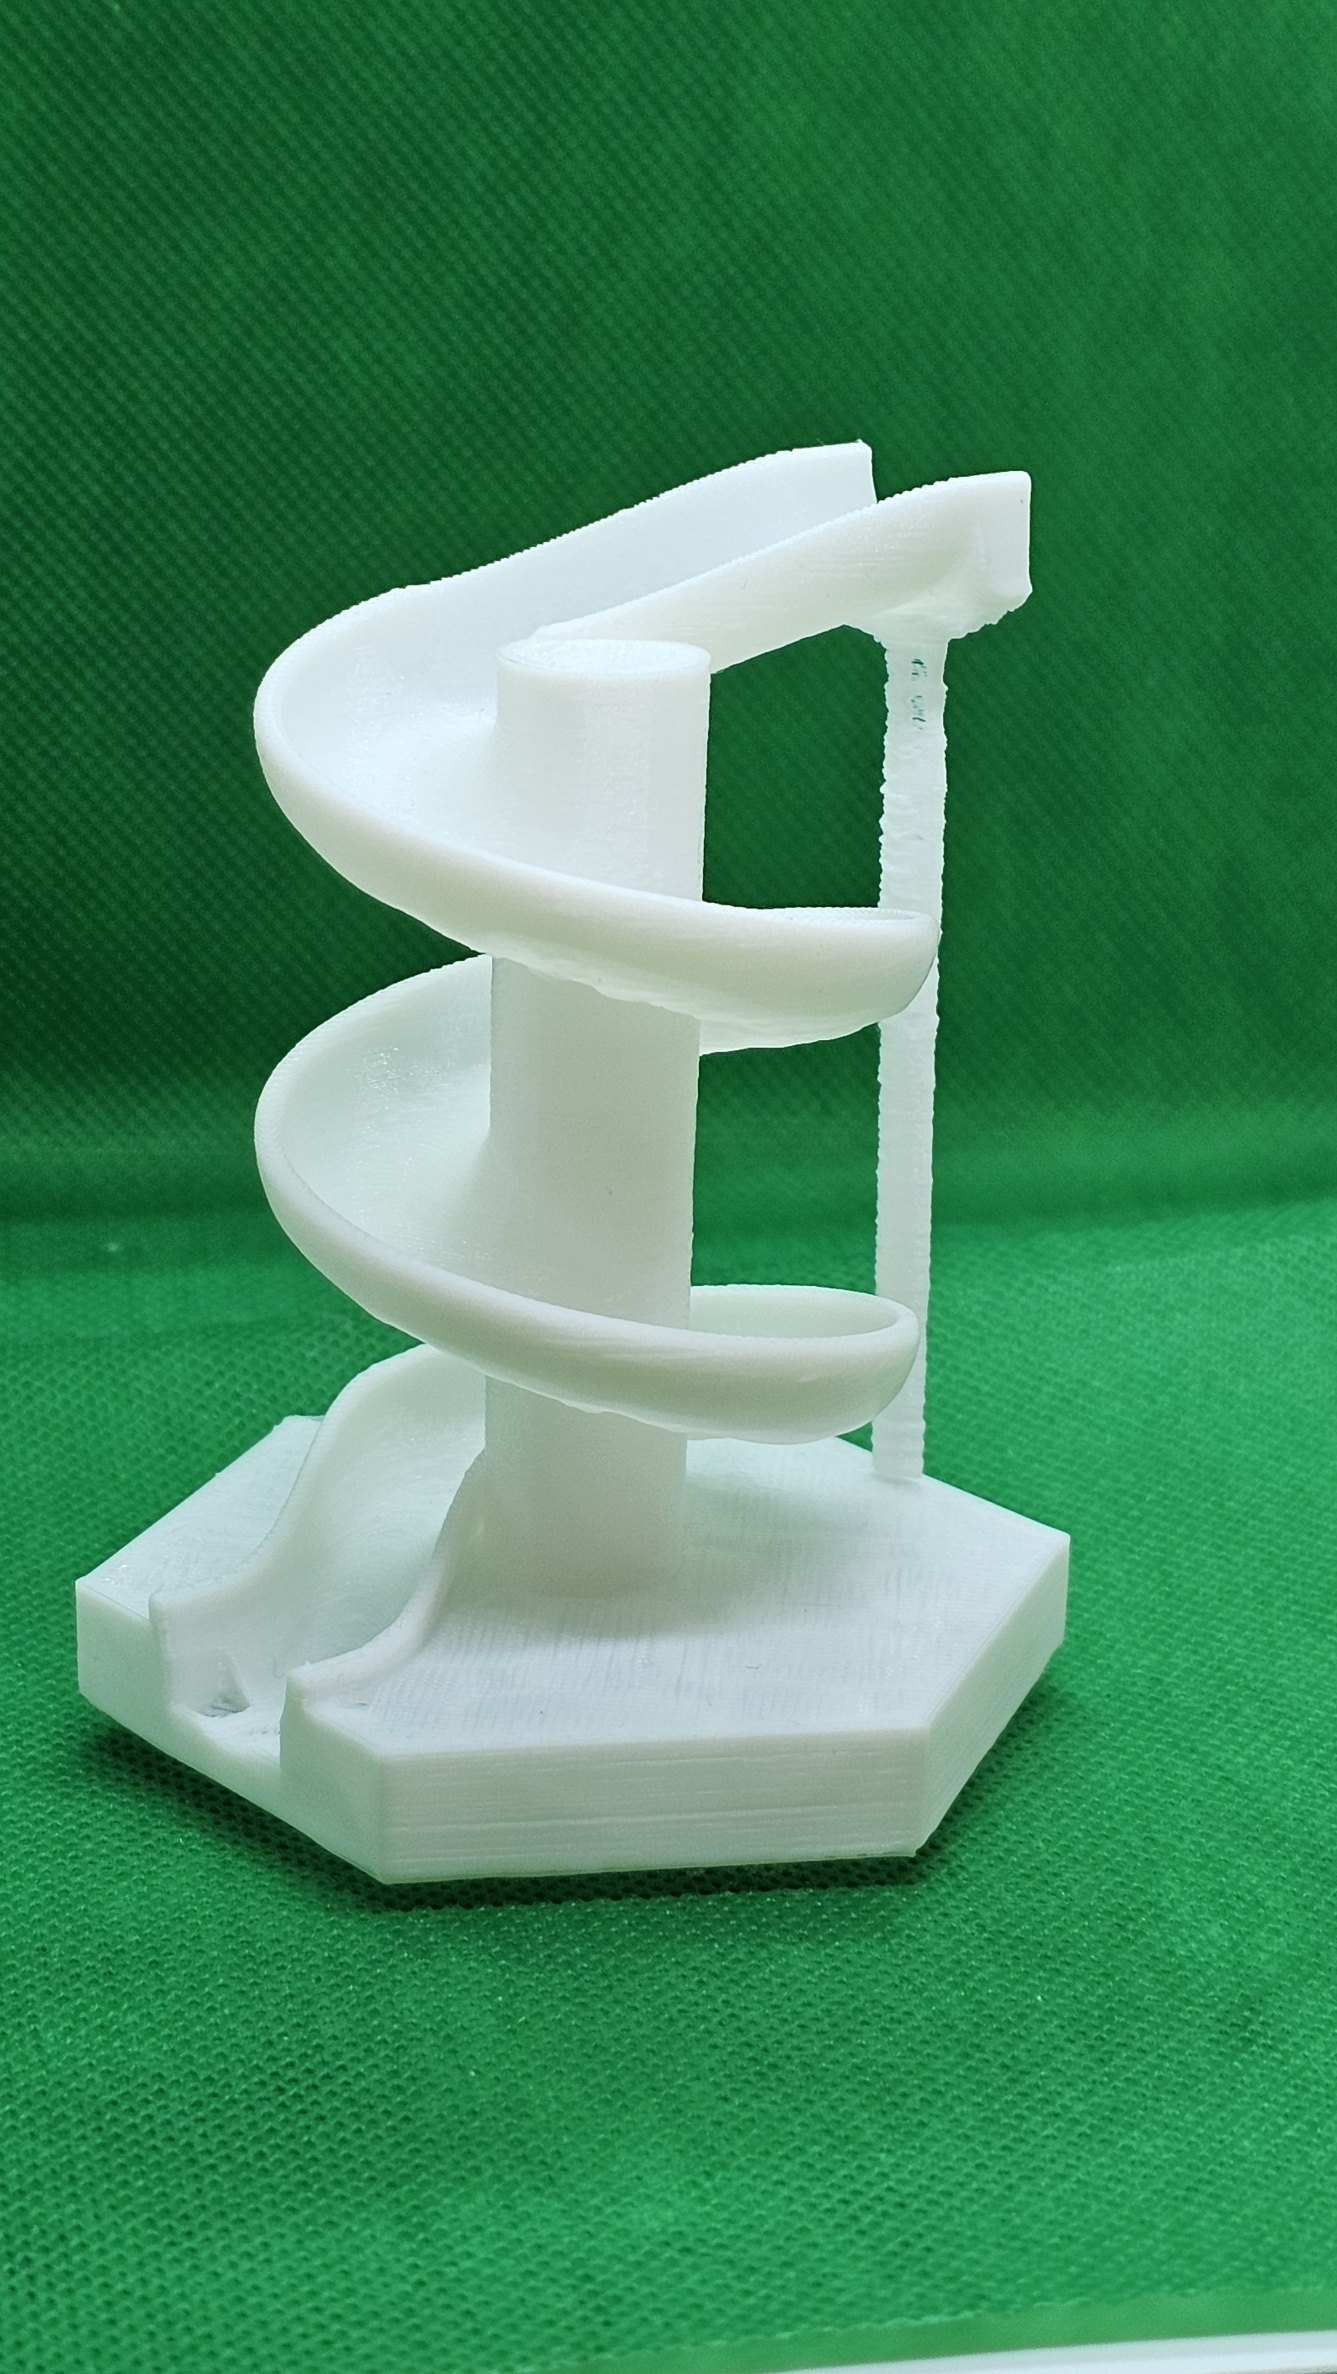
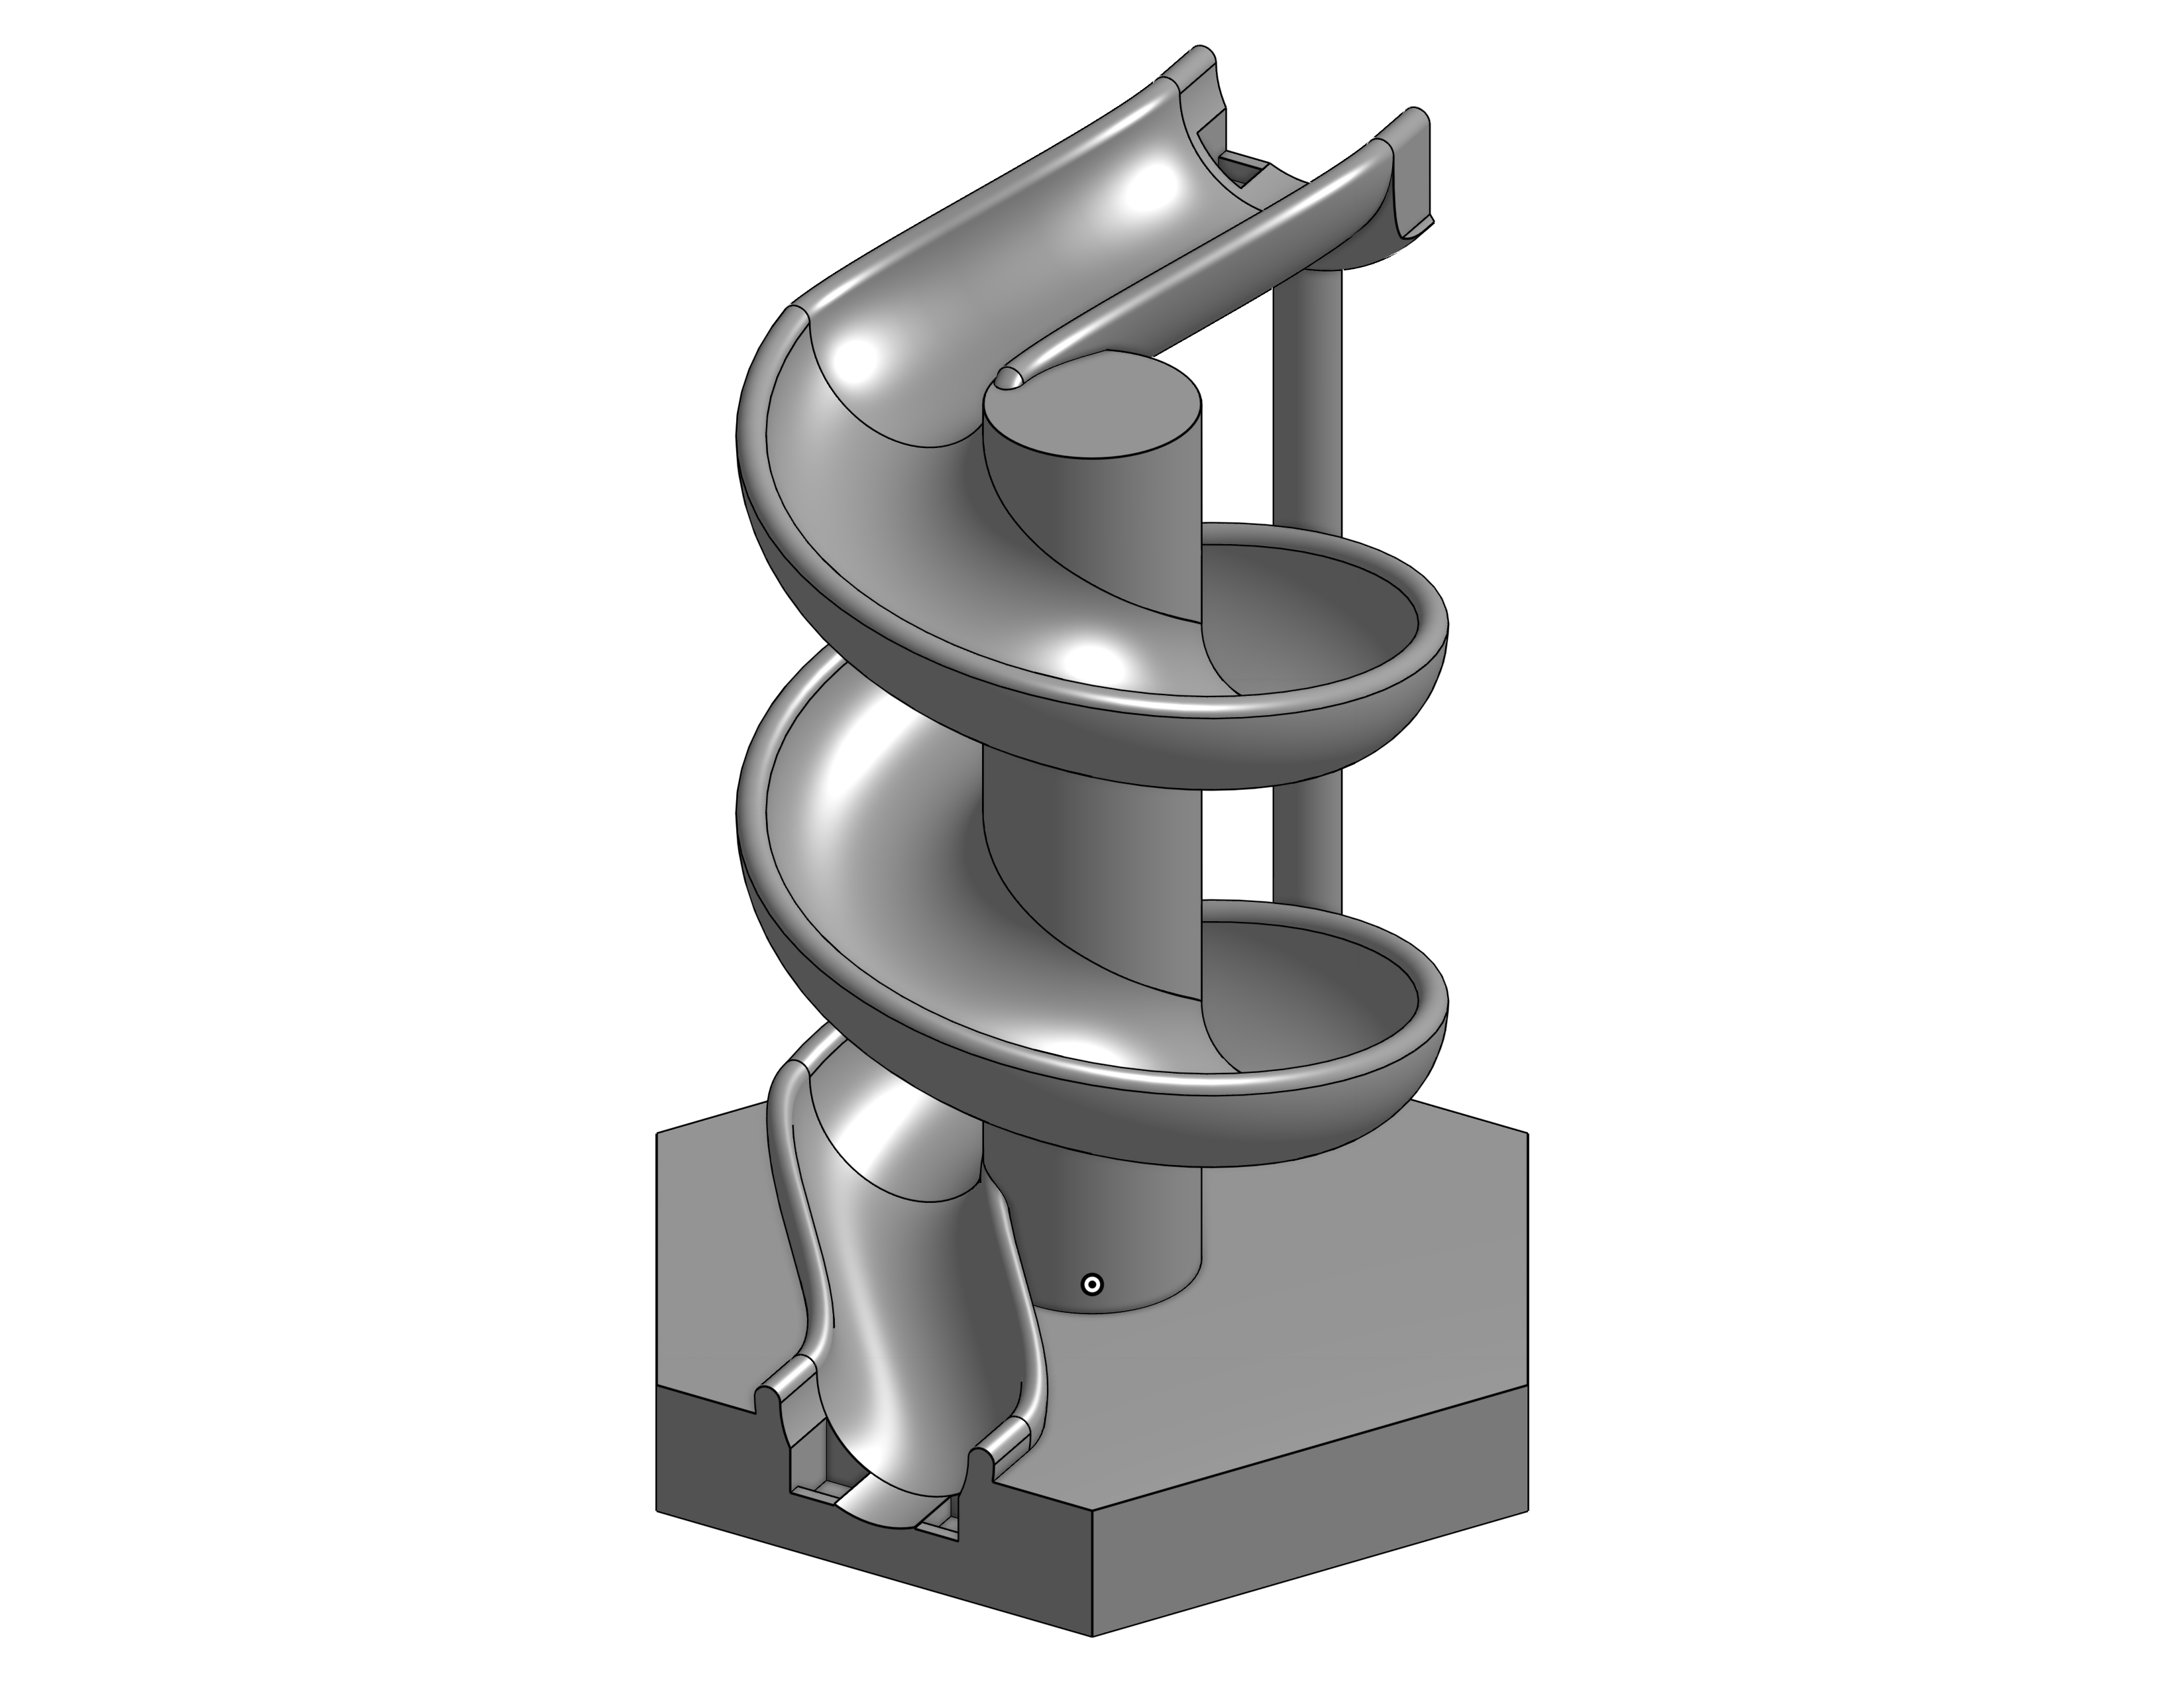
Spiral Slide & Vertical Loop
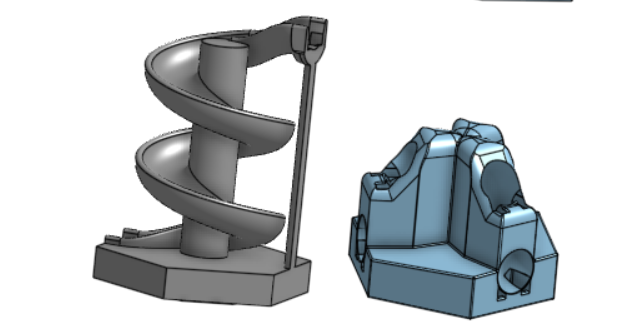
The Spiral Slide and Vertical loop are each single file straight forward Prints. The slide has a built in custom support for the lip. You can either break it away or keep it place. Vertical loop has a 180 degree turn with three independent paths.
Supports are only required for the base. Both are printed Standin upright. Don't forget to reset "set outer wall before inner wall " from previous print. (In most cases this would have been set to inner wall before outer. )
Large Funnel:
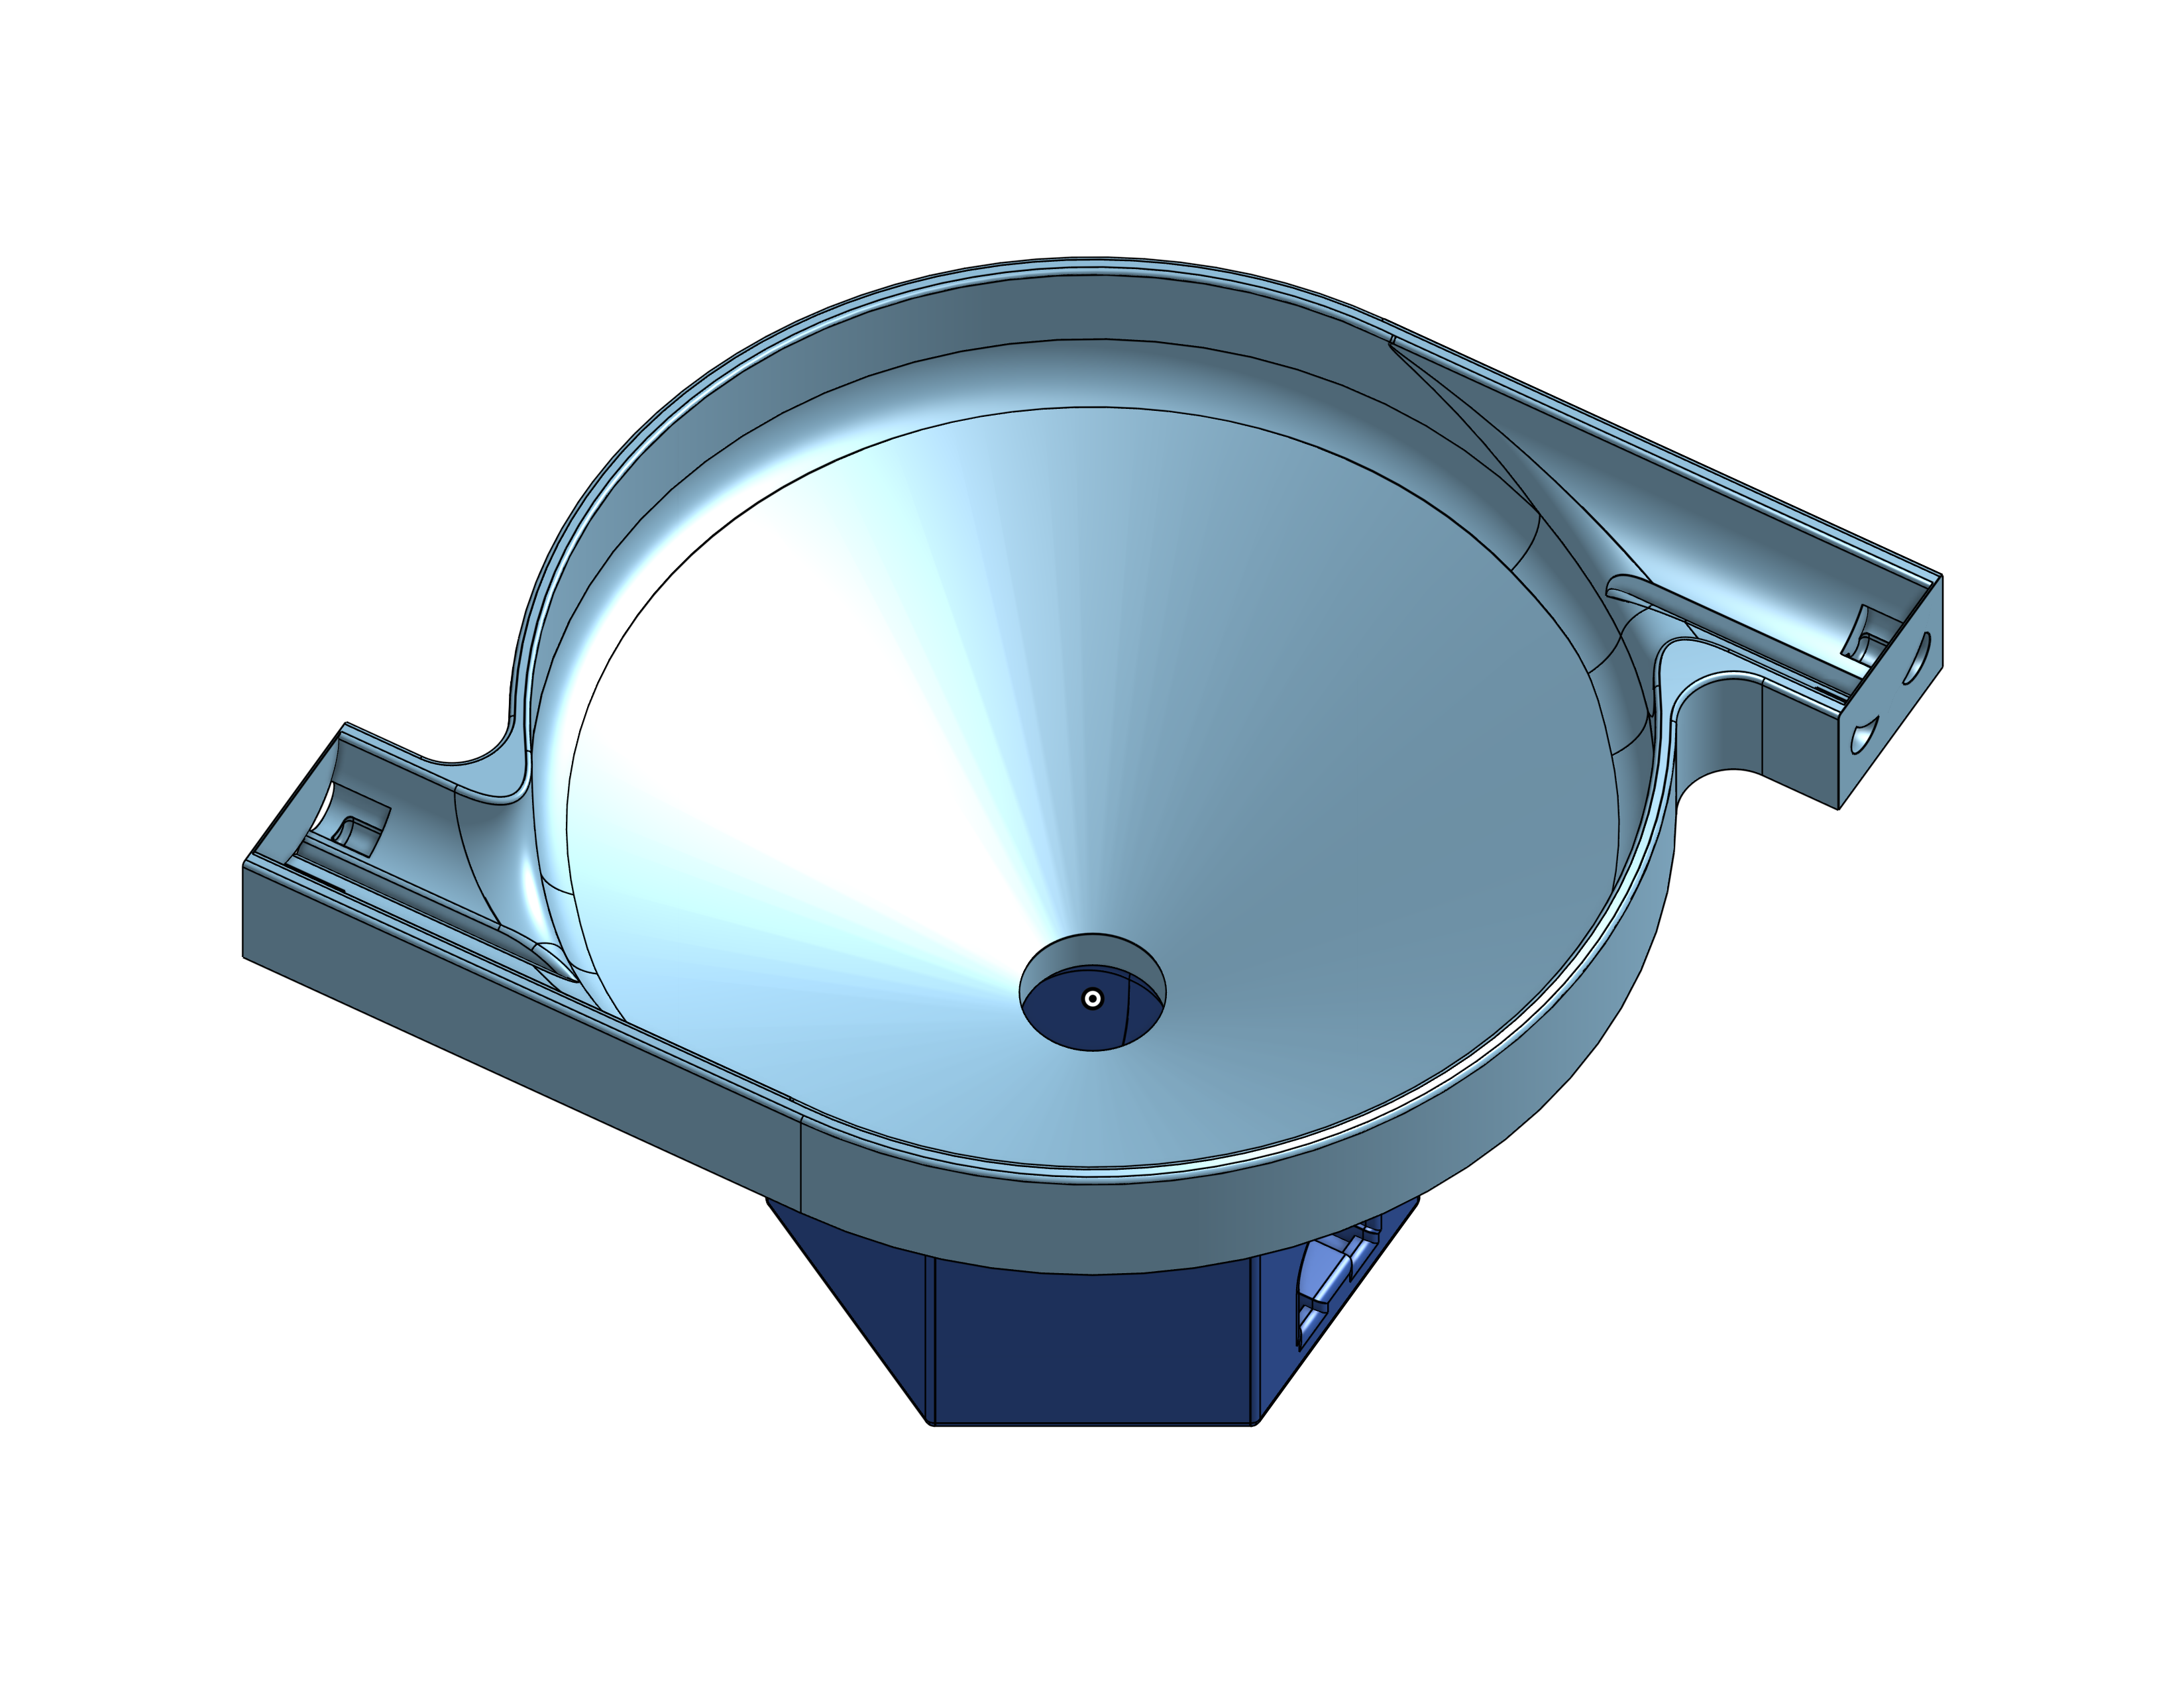
The large funnel consists of two files. A funnel with two entrances and base with two exists. The funnel can be placed on the base with your choice of orientation. The funnel is about two squares wide with the lip lining up with left front & right back spaces. Combining with the variable spacer makes for interesting tracks. The design of the funnel incorporates a thin break away support at the lip. The funnel is intended to be printed upside down. Supports are not required for the funnel. Be sure to turn on “print thin walls” in your slicer settings. I suggest printing the funnel by itself unless you know your printer well. The base can be printed on its side with one of the exit holes facing the printer bed, this will reduce the amount of supports required. Use a support blocker to prevent slicer from placing a support through the hole.
Funnel Print Instructions
- Enable Print thin walls
- Supports for only the base
- Support blockers base holes
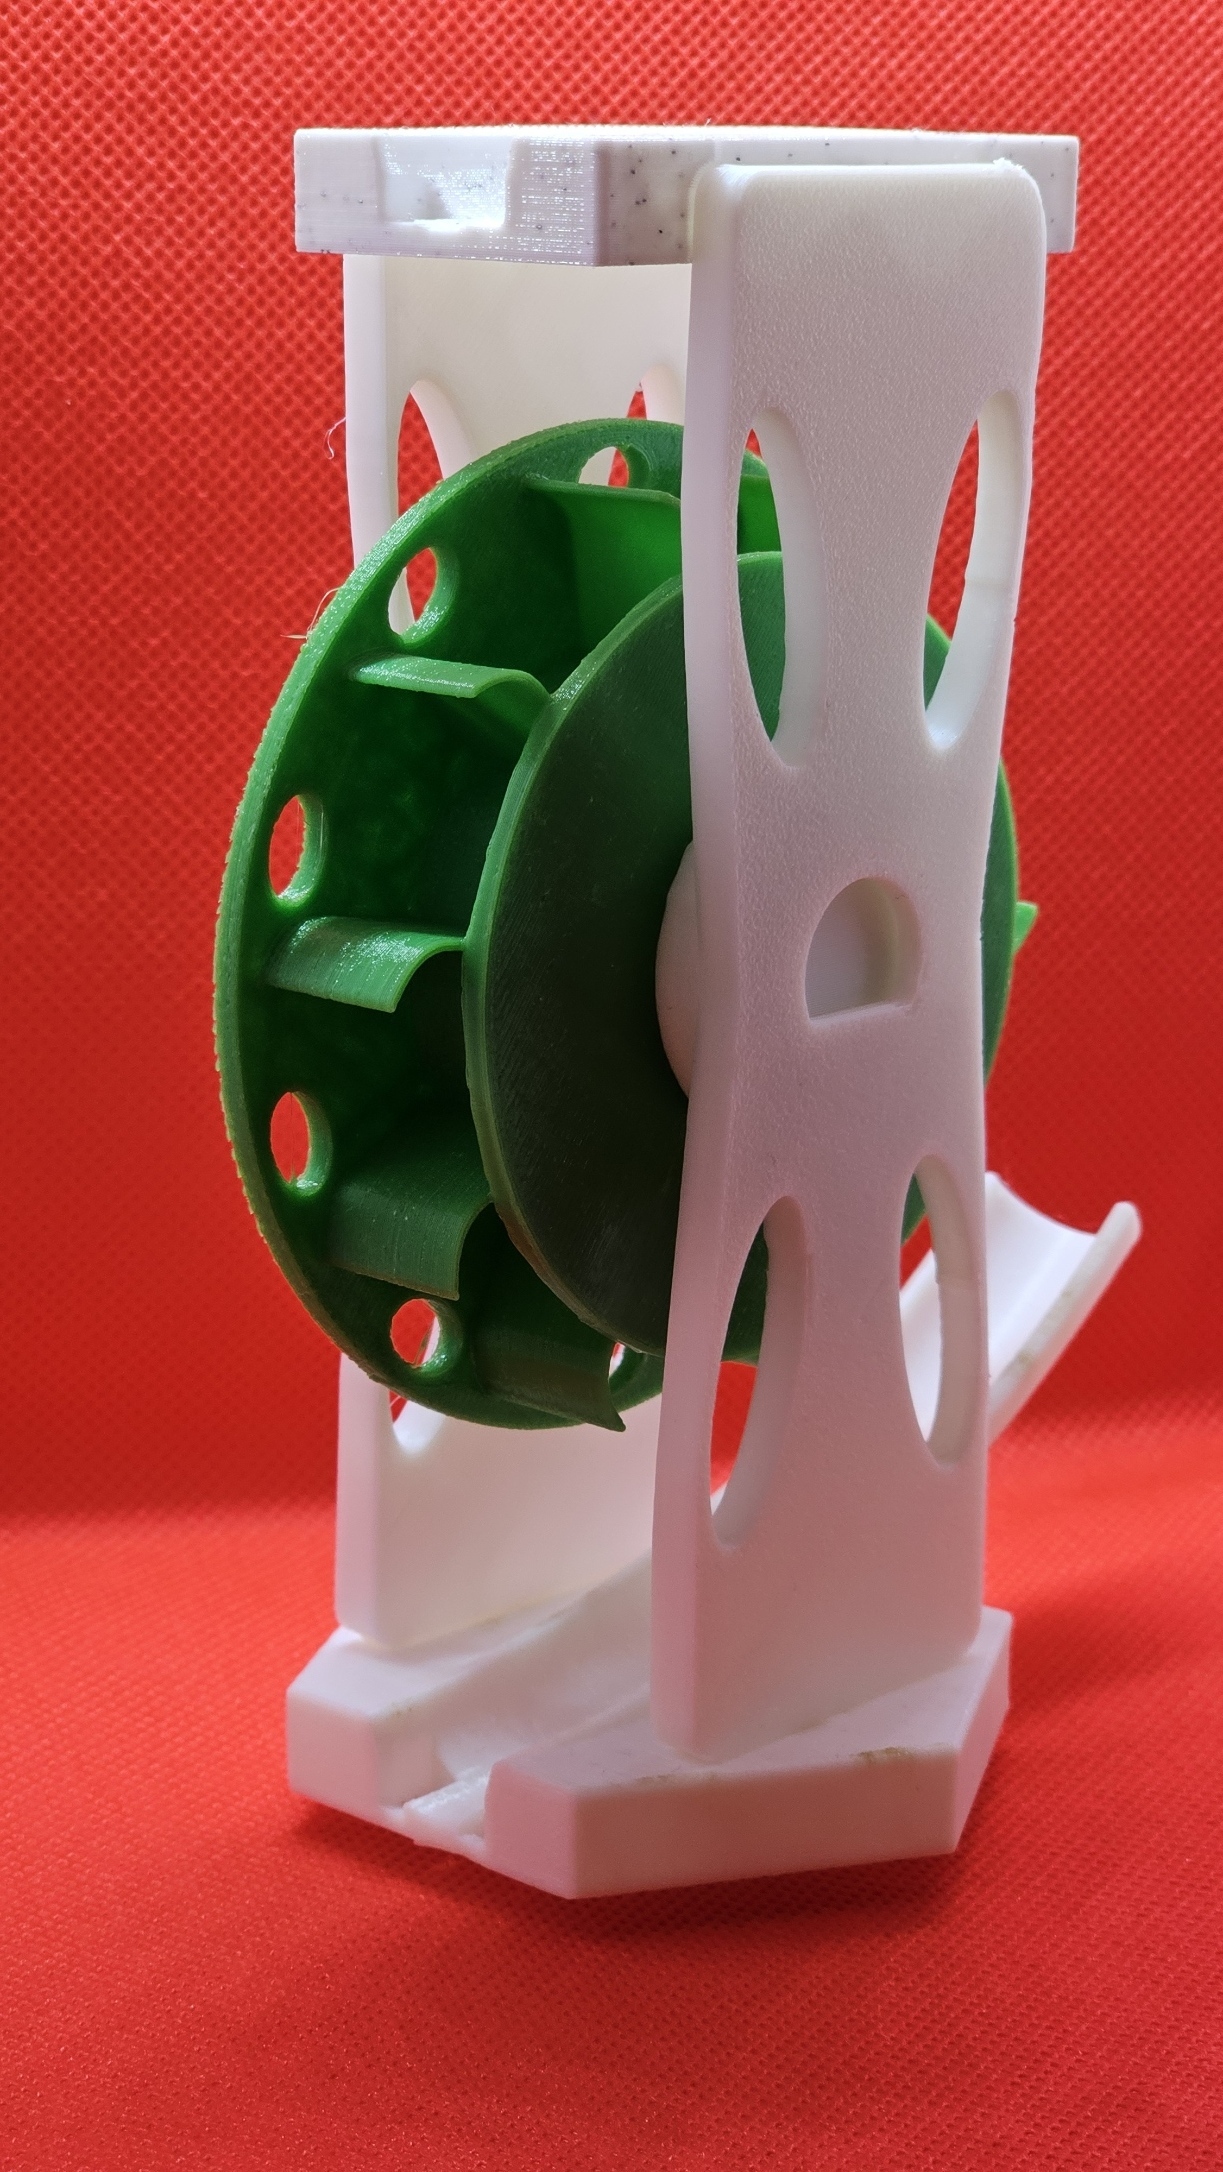
Carousel Wheel

The Carousel Wheel consists of 6 files. A suggested bed layout is below. The suggested layout will produce fine results with only minor non visible artifacts in the slot of the top ledge /part. Depending on you printers bridging capability. If your a perfectionist flip the top upright with the hole facing down. (this may increase print time)
The ball enters the top and journey to the bottom through the wheel and exists at the bottom in the same direction. See the video. The carousel is approx. 144 mm tall lining up with two standard gravitrax post Hight (as well as glass stand & parts ).
The legs are interchangeable (no difference between left/ right) The legs have snaps designed into the top & bottom with "support pin" built in. You can either break the pins by pressing the snap or leave them in place. Wont really make a difference. The pins will likely just pop out the first time you insert the legs.
Assemble the wheel as per diagram
- Insert the peg & wheel on one of the legs. Peg is a press fit
- Make sure the larger side of the wheel has it back to the leg
- Attach the top to the leg as per diagram. Leg will snap into place. First time might be a little tight especially if the pin is still in place.
- Attach the second leg but don't over tighten yet
- Snap the second Leg to the top
- Press second leg to secure to the peg. There is a ledge to prevent the peg from coming through center hole
- Snap the carousel into the base
Note: the Carousel can be taken apart and reassembles again. The base after repeated inserts may become loose after a while.
Carousel Print Instructions
The Carousel should print very well with the suggested layout. If you are having challenges getting your printers bed fully leveled (who doesn't every now & then .. ) Try printing the legs separately.
- Enable print thin walls
- Supports for only bottom. The curved portion does not require supports
- Optional : set support blockers for the front of the base
- No other supports required for the suggested layout. Slicer should only place them on the base/bottom part
PS: Yes the top makes a very satisfy snapping sound ... While optimising I made a very addictive fidget toy out of it..
Carousel Layout

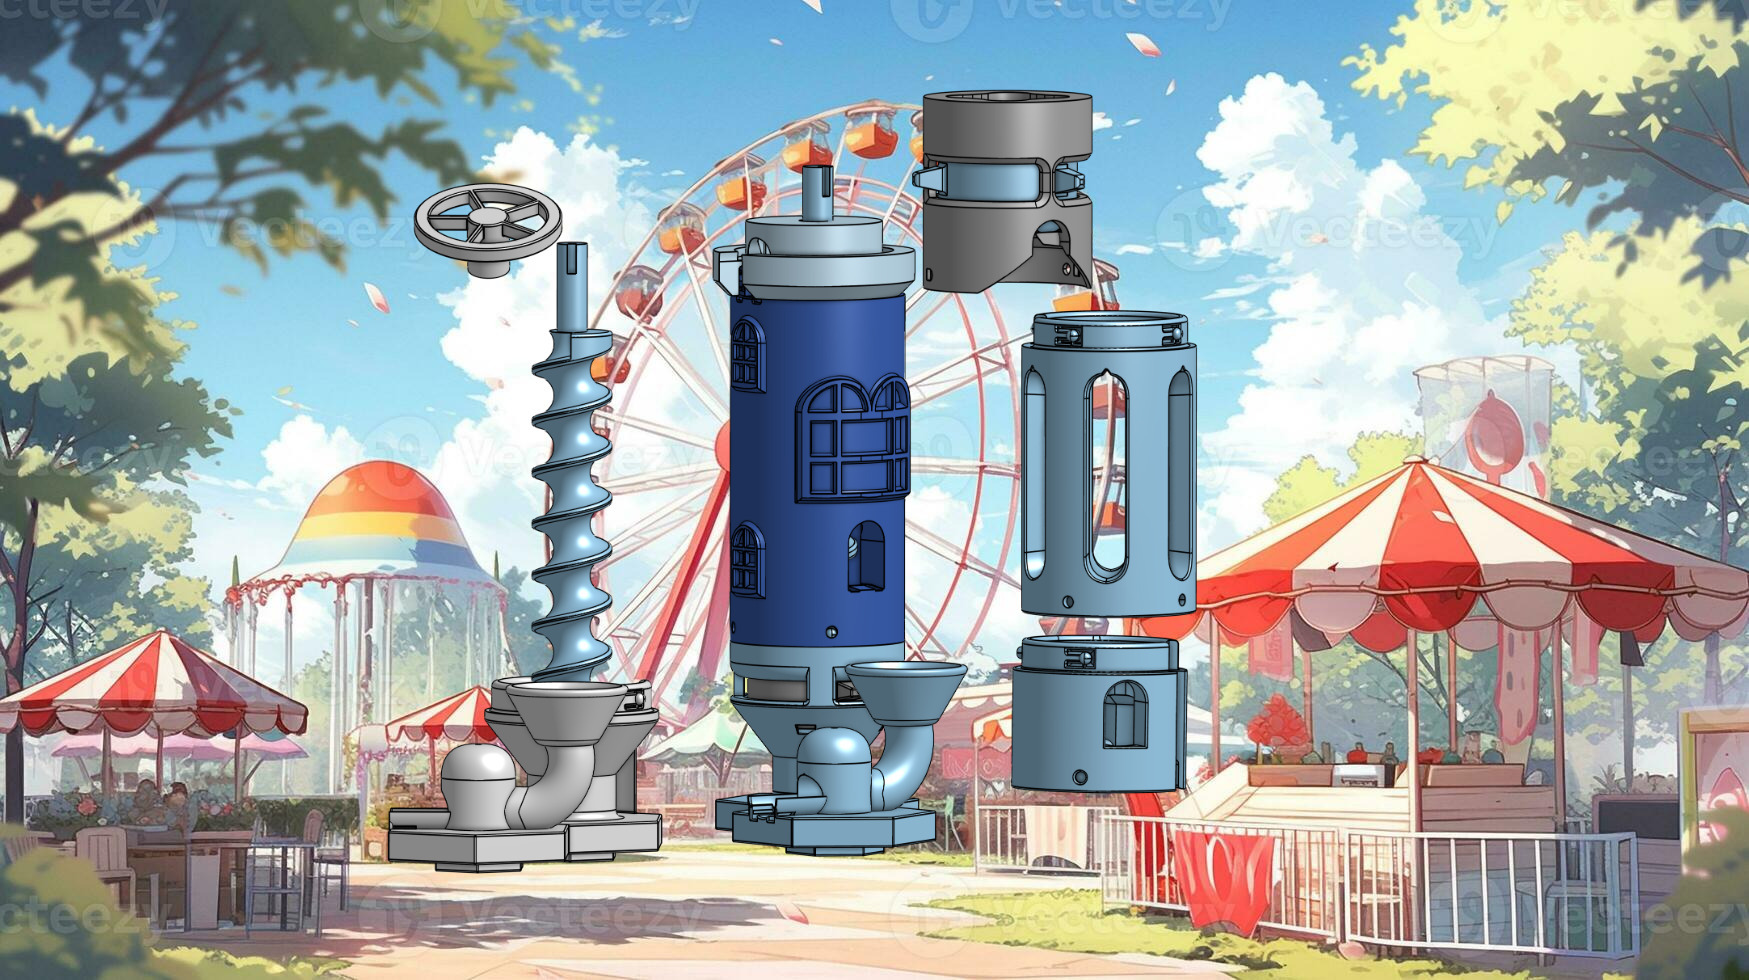
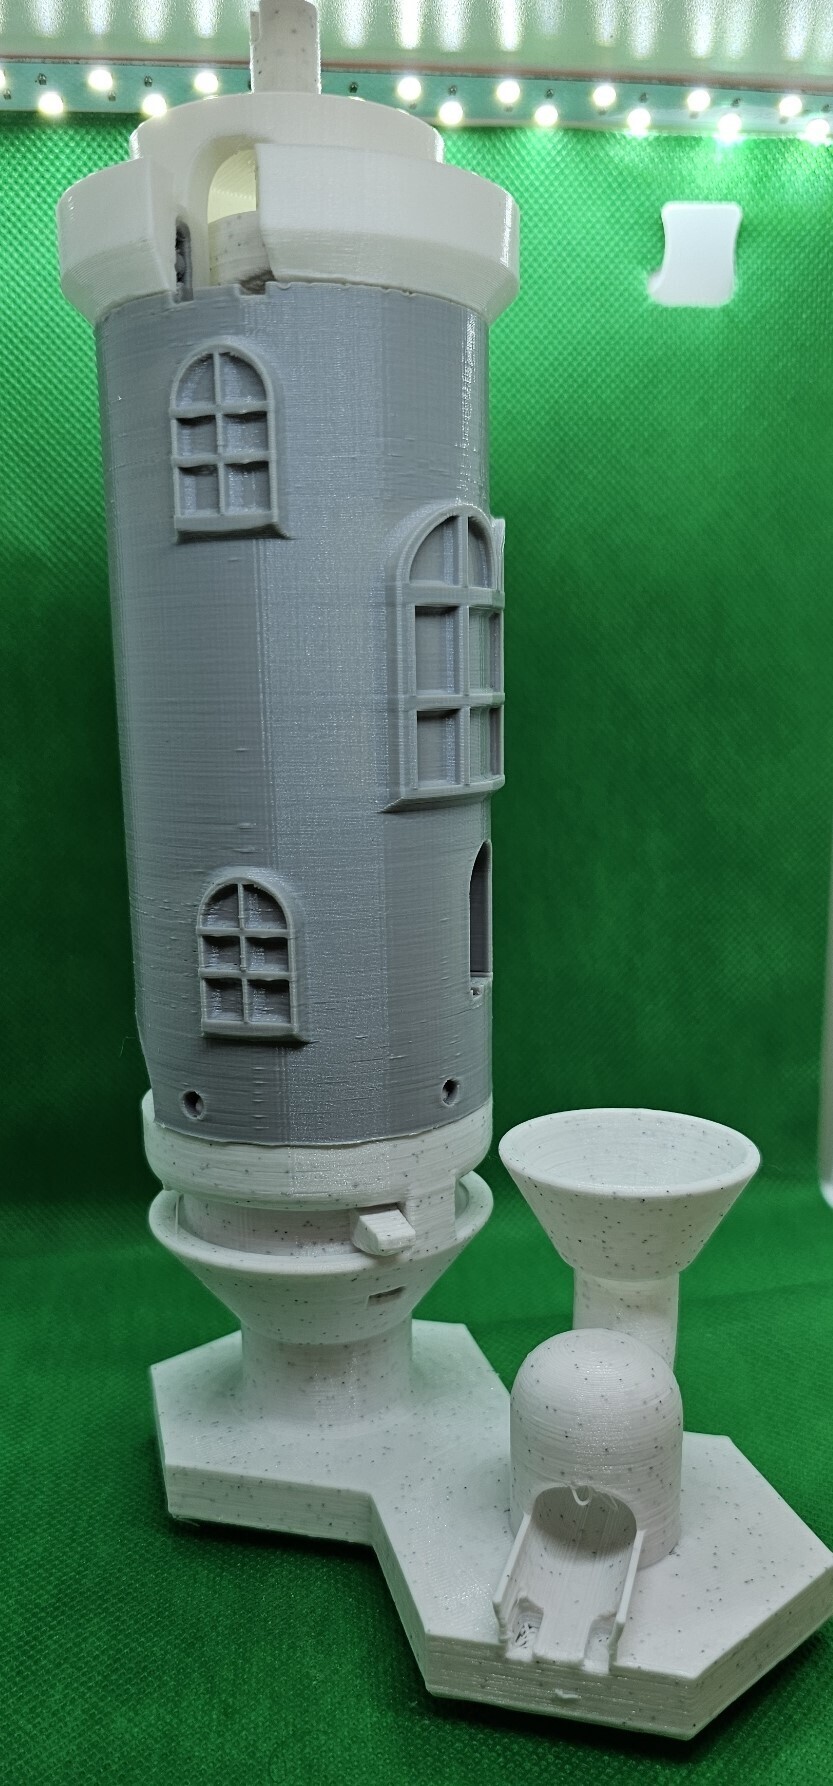
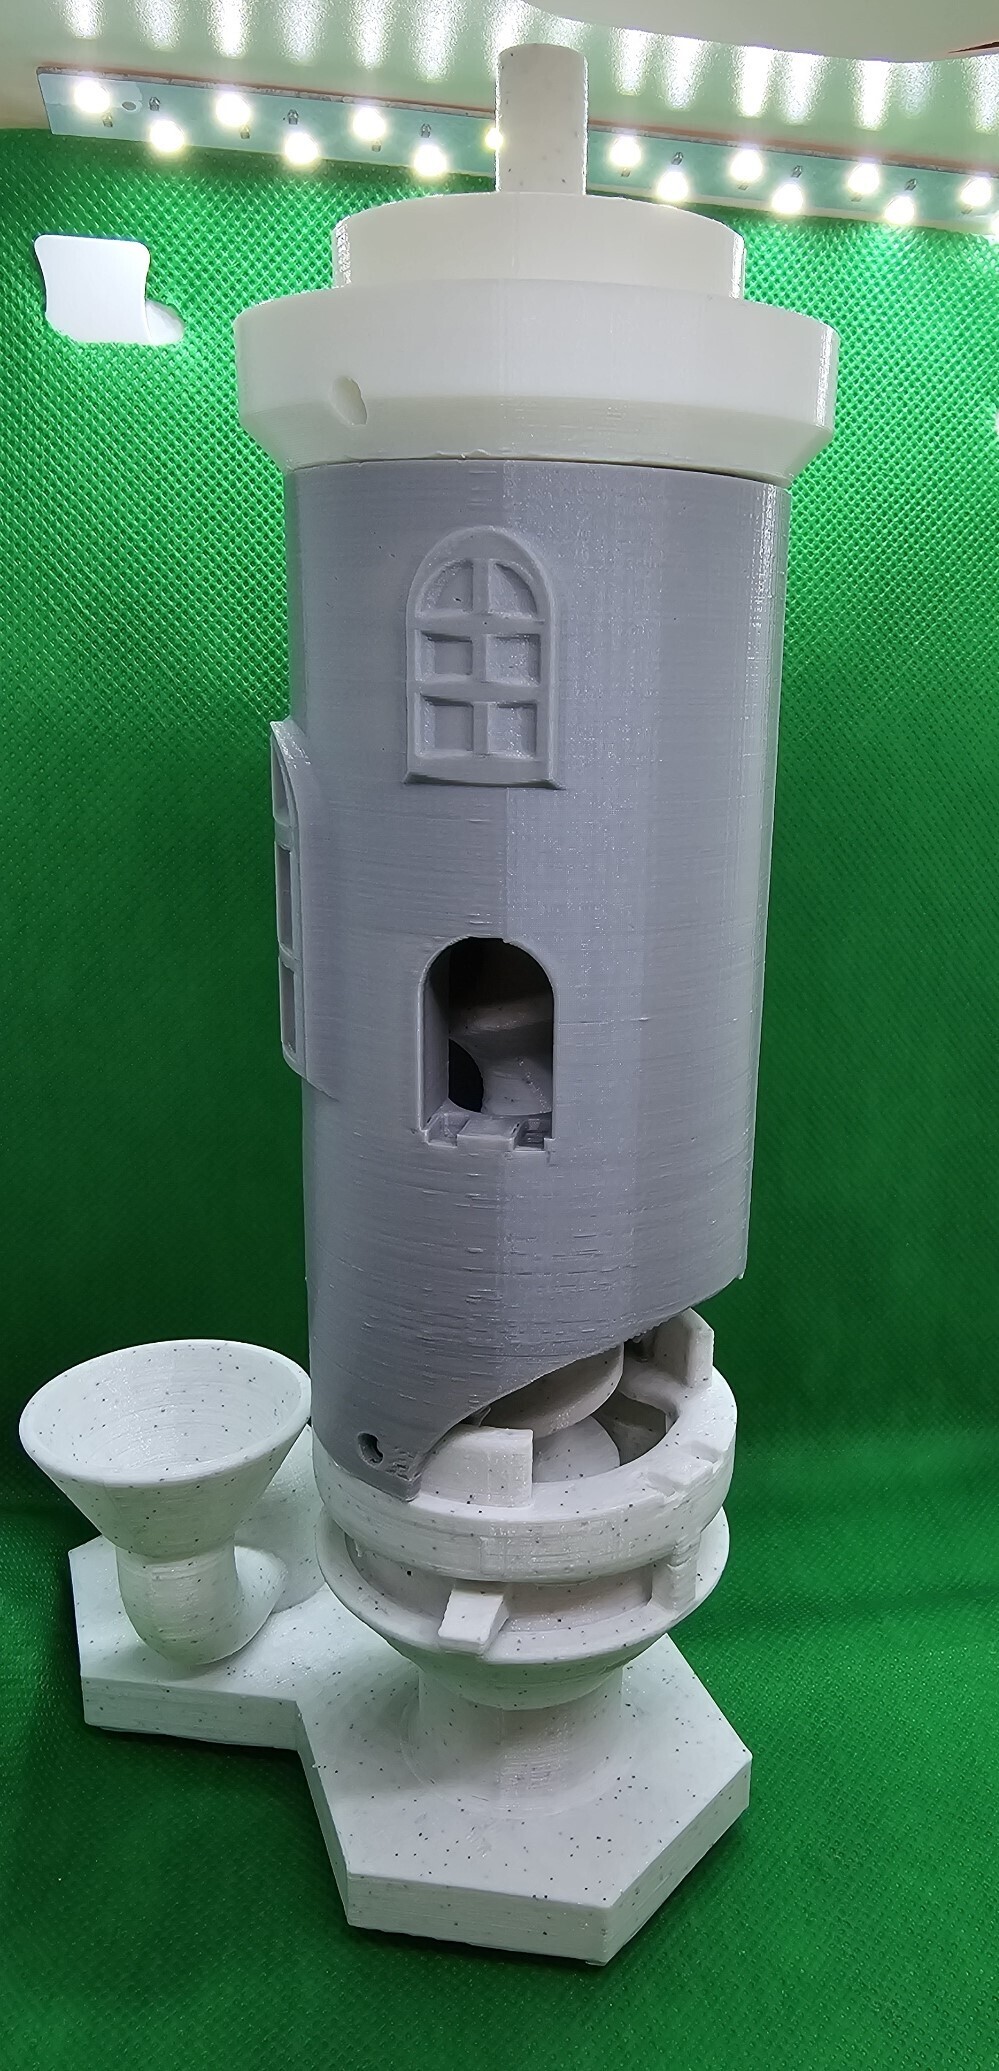
Modular Lighthouse Elevator
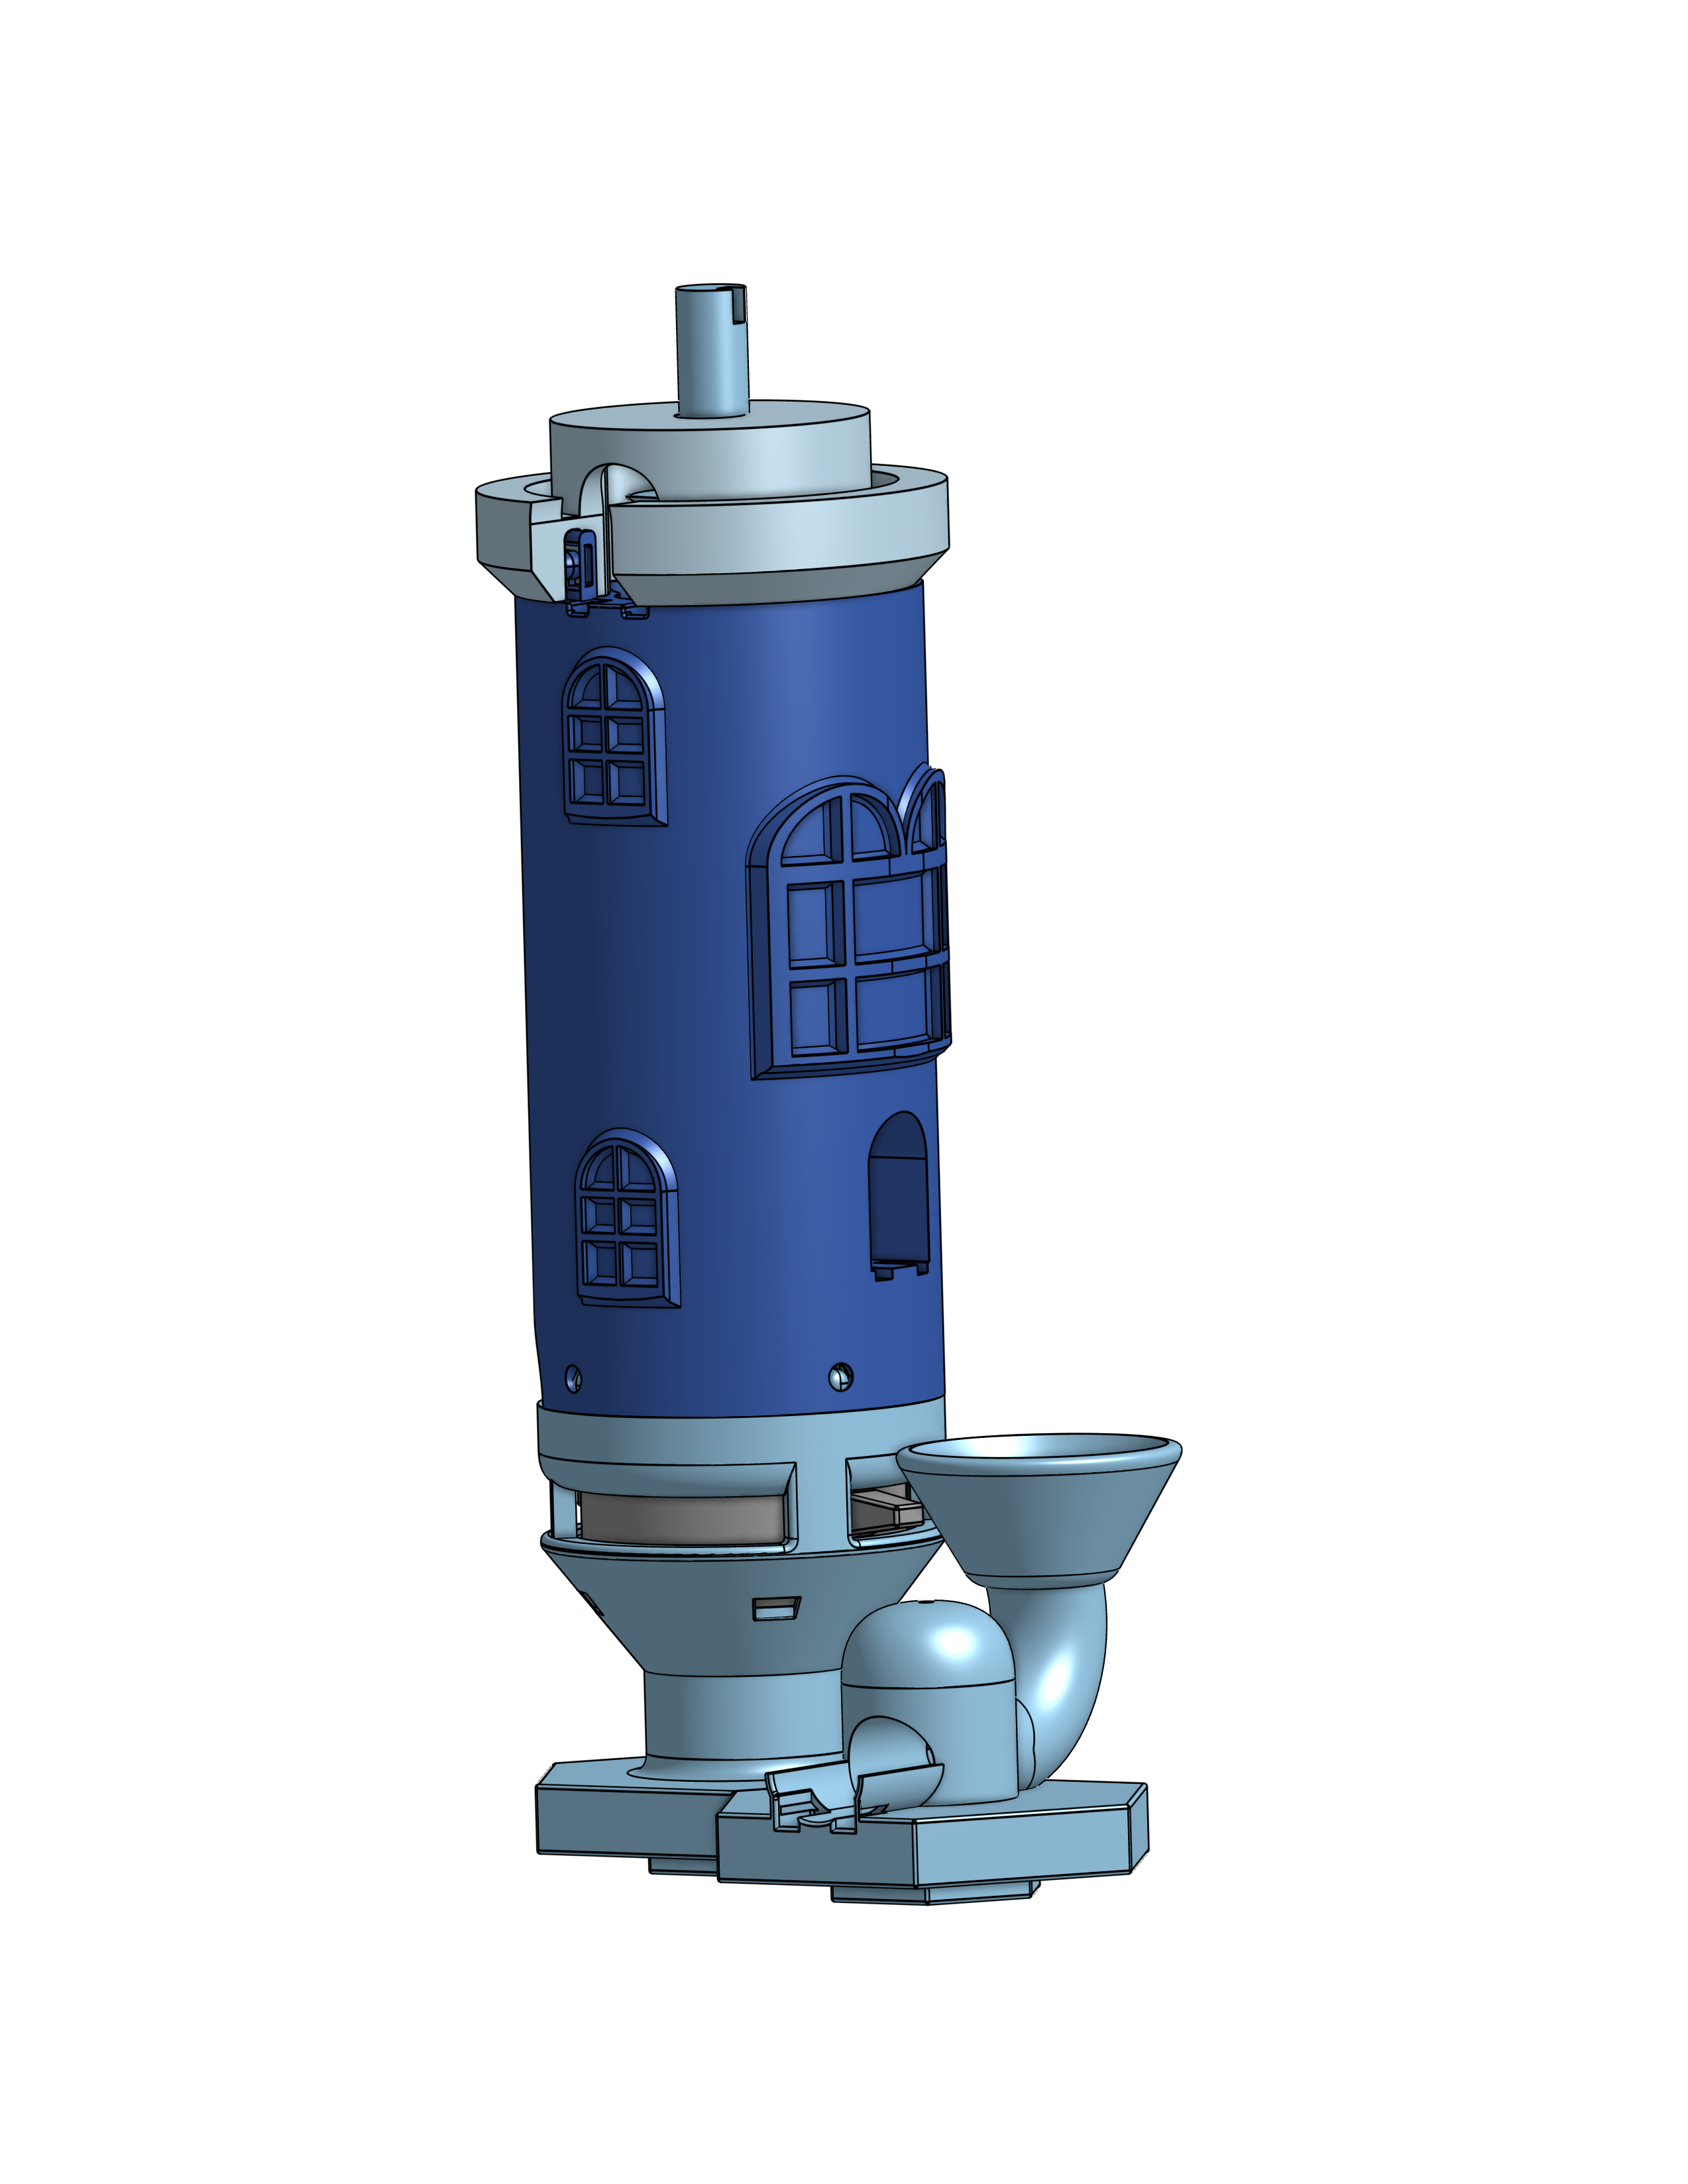
The light house is 182 mm tall, composed of three parts, base, spiral case and a top. All which can snap together with different top & spiral case options. The lighthouse Elevator was inspired by the really cool looking light house on the site made with Tinkercard. I decided to take the modularity theme and apply to an elevator. This design went through several iteration with a few more tweaks still to come. The main idea is to provide different configuration of the lighthouse for manual & electric version, different paths and the ability to alter path of the ball. The default light house has single entry on the bottom and 4 rides up and a future lighthouse module with 2 entries on the bottom and 2 rides up etc. Not to mention the varies exit paths. There is a selector slider on the base to alter the direction of the ball. The different lighthouse modules can be snaped to the base and potentially to each other.
The present lighthouse configuration(s) consists of the following
- The main base with a selector switch / slider to alter the balls path. As well as a Drop bucket
- Two light house modules with 4 paths & multiple exit. One has a larger entrance door to make it easier to see
- A lighthouse top with an exit. Two paths which lead to the top
- Optional wheels to turn the spiral elevator
Modules in the works
- Motor module that can be snaped in on the top
- A light house selector that can be snaped in mid way to alter the balls direction in flight
- Lighthouse spiral extension to allow building longer lighthouses
Print Instruction/ Post Processing
Depending on your printer there may be a few post processing steps required. A few tools may be help full. You likely have some of these already but I'll mention them here. One tool which i highly recommend getting Deburring tool (I waited nearly 4 yrs before I got mine. ) It will make any cleanup so much easier and will prevent nicking you fingers. The easiest way to clean up Brims.
- Small Needle nose Pliers - One with rounded tips
- clippers
- Deburring tool - if you had adhesion isses will help remove Brim
Light House Base
As before support are only required for the bottom. Your slice may lace superfluous supports use support blockers to prevent the extra supports. See diagram below for location of support blockers.
The base has a number of built in supports and requiring enabling thin walls in your slicer. The base has a print in place slider and the spiral center. The spiral support can be clipped and removed. The spiral also has support (2mm) in side the base to help with stability while printing. Gently turn the spiral to break it free. Once free a few turns may be required until it spins freely. If your having challenges breaking it check your your printer retractions and extrusion. Any extra artifacts may make it harder to break free. Enabling combing may help with reducing retractions. I have smaller base test prints that can be used to trouble shoot.
The slider / base have two thin supports. See diagram below These help with bridging. Depending on you printers bridging capability the slider's casing may have a few artifacts but should not affect function. You will need to ensure that the Z seam does not print in the middle of the sliders casing. Other wise it may start printing the bridge in mid air. I have provided some z seam setting to enforce z seam location but please verify where the slicer placed the seam. For Cura Enable hide z seam with user specified set to - Front Right.
:format(webp)/https://fbi.cults3d.com/uploaders/19973743/illustration-file/3a671c79-e2cc-43f2-b439-93342646fa95/theme-park-cartoon-scene-background-ferris-wheel-with-souvenir-shop-on-sunny-day-generative-ai-photo.jpg)


/https://preview3d-images.cults3d.com/y6nqu4kqhwbsupfn313eot44e6il)
/https://preview3d-images.cults3d.com/d7hnlhfqh4oc6c8d8ecl44vprd4x)
/https://preview3d-images.cults3d.com/df43gx7kym1x2ytybmp9exhij0mi)
/https://preview3d-images.cults3d.com/gs347ee69o8i7txijgmtmwd84b6c)

