Dual Material Grippy Guitar Pick
Dual Material Grippy Guitar Pick


Print Profile(2)


Description
***This is not an original design, but a process that I use to 3d print my dual material picks I play with on my Bambu P1P
Thank you to Mikolas Zuza for the awesome design and please check out his other incredible pick models. ***
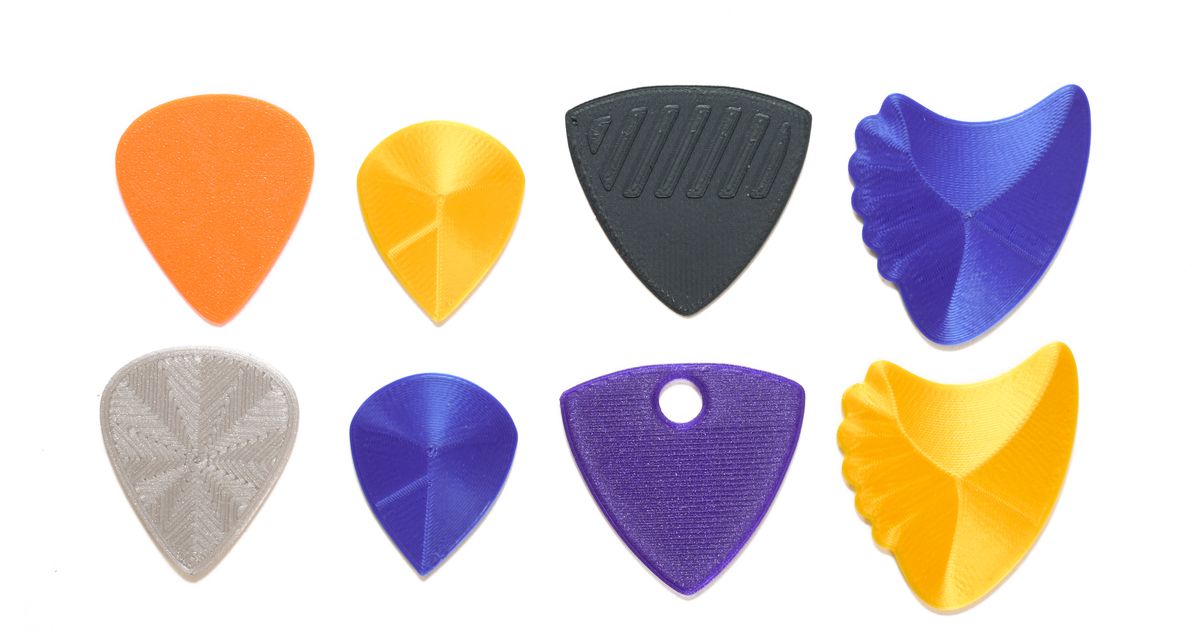
Hey everyone! I uploaded the model of the 3D printed Stratocaster I designed a while ago and I thought I would also upload the current picks I 3d print as well. The general idea of this method is to use PLA to create the structure of the pick while using TPU to create a layer of grippiness that you can hold onto while you play. I do this by printing each pick in halves and then gluing two halves together to make a whole pick. Please read through the print procedure if you are not familiar with swapping materials mid-print.
The procedure I have listed is specifically for the model I have linked to create a 1.2mm pick. If you want a .6mm pick cut the model at .6mm in step 3 of setup. If you want a 1mm pick, you need to print one half cut at .4mm and one cut at .6mm. I have will both print profiles attached if you do not want to do your own setup.
Printer: Bambu Lab P1P w/ .4mm hardened steel nozzle
Filament: Elegoo PLA+, Duramic TPU 95A
Please make sure you have properly calibrated and dried TPU before doing this or your end result will be quite stringy
Print Setup:
- Add your filament profiles using the “+” button

- Load Pick STL into slicer and enable Prime Tower (This will give you time to swap out the filament)
- Cut the model at a z-height of .4mm and only keep the upper portion. (There should only be 5 layers when the model is sliced)

- Assign the material to be PLA and copy paste as many picks as you want, remember each one is a half so for 5 picks I printed 10.
- Slice the model and drag the right slider down to layer 4. Right click on the plus button and click “Change Filament”. Change to TPU.

- Re-slice the model. It should look something like this when finished.

Print Procedure:
- Disconnect AMS if you have one and load PLA Filament
- Start print normally
- When the print starts layer 4 on the prime tower, pause print. The print settings should change to whatever your tpu print settings are, but will not auto-pause. (Please let me know if you know how to get it to pause on filament changes)
- Unload PLA and load TPU
- Resume print
- Once finished allow to fully cool or pick may be warped
Post-Processing:
- Take ½ of pick and dot with superglue around the edges
- Place another ½ of pick on top and press to seal together
- Try it out!
Results:
Probably my favorite pick to play with. They are very easy to produce and pretty durable. I've been playing around with this method with dual material and this is the most foolproof way I have found to do it.