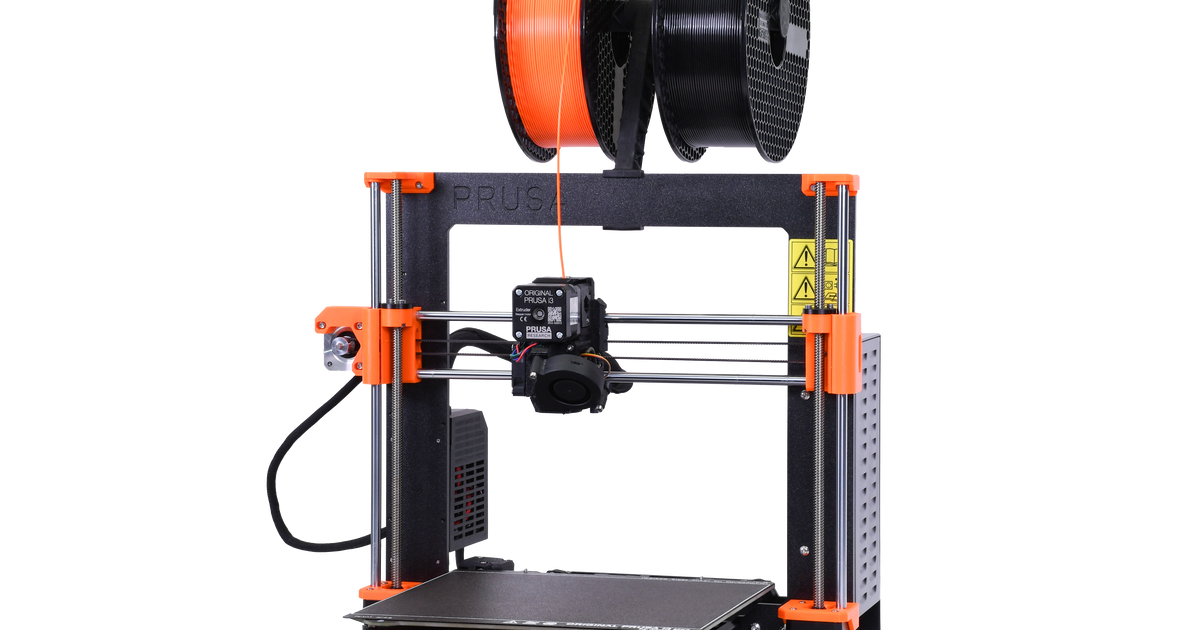
Prusa MK3 Z axis and Y stepper upgraded parts (MK4 inspiration)
Prusa MK3 Z axis and Y stepper upgraded parts (MK4 inspiration)
Print Profile(0)
Description
Quick settings for those who are in a rush:
PET-G, 3 perimeters, 20% cubic infill, 1 mm top and bottom, I made them with 0.2 mm layer heights but you can also make them with 0.3 mm layer height
Also for the Y stepper mount you'll need to change a hex nut with a square nut and if you wish to use the 3'rd mount hole for the stepper you'll need an M3x22 socket screw (you should have a nut and screw in your Prusa spare fasteners zip bag).
Hello everybody,
Just so you know I got really excited when the Original Prusa Mk4 was released that I checked it up in every footage that got released day by day. Thank you Prusa for giving us awesome products.
And thank you for upgrades for the Original Prusa i3 Mk3s+, the 3.5 , 3.9 and full mk4.
For my area of work I decided that the 3.5 upgrade will benefit me, and I will purchase it, that's for sure.
However, taking into account that the 3.5 upgrade won't come with upgraded printed parts, I started upgraded the original parts in order to reach as much as possible Mk4's rigidity. I am an engineer after all and I can't help myself not upgrading parts, create new ones from scratch, it's my life's work and I enjoy it. From what I felt after these upgrades the printer got a bit more stiffer and a bit more silent.
I felt really good with these upgrade and I would like to share my experience with all of you guys out there.
BONUS ??? (if you got to here, you're awesome)
I couldn't resist and also made an LCD Cover to resemble the one from the Mk4, ohhh… and the Click knob too!
The trick here is that basically it's an MMU print and I don't own an MMU, so I did the filament change manually. For those of you how don't have an MMU and would like to try this crazy “experiment" I've added the G-code that I used with 5 filaments. Also I've added the general 3MF for anyone with MM capabilities and wants to try.
CAREFULL !!!
You'll need to assist your printer for the first 2 layers as you would in a manual filament color change.
Please check the G-code before you print (in your G-code viewer), because you need to learn the order of colors for each word or symbol on the LCD cover. It's nifty for keeping track of the color change to keep an eye on your PC screen.
Thank you for reading all of my thoughts and let me see your makes , comments, remarks.


