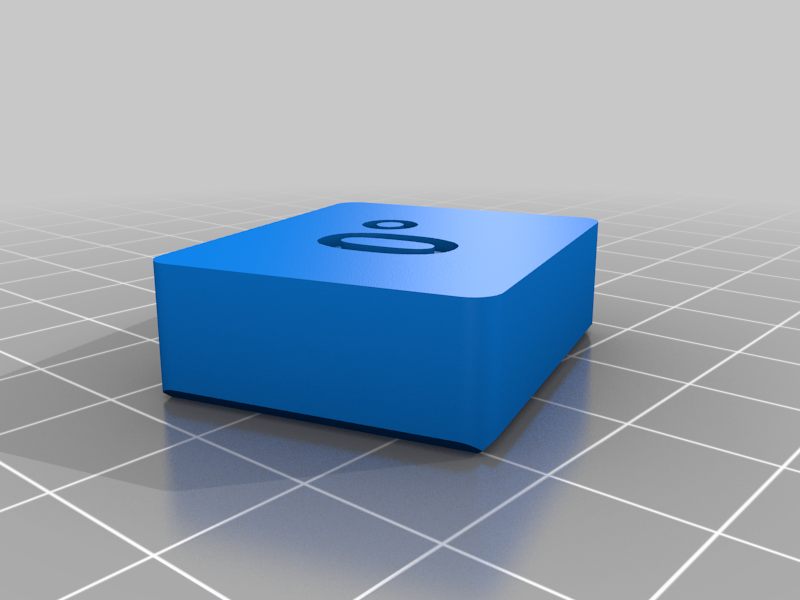
Knife Sharpening Tool v2.1 from CNCKitchen - Remix
Remixed by
Copyright Claim
Knife Sharpening Tool v2.1 from CNCKitchen - Remix
Remixed by
Boost
20
34
0
Print Profile(1)

0.2mm layer, 5 walls, 35% infill
Designer
10.5 h
3 plates
Boost
20
34
0
0
33
19
Released
Description
This is an improvement on CNCKitchen's Knife Sharpening Tool v2.1 to make it more accessible and easier to build. The original is found here Knife Sharpening Tool V2.1 (with video) by CNCKitchen - Thingiverse
Changes:
- The original bill of materials had some mistakes and suboptimal choices, so I updated it with my changes and recommendations. I included McMaster-Carr links so that there is no ambiguity as to what is needed, but you can likely find equivalents or substitutes for cheaper. None of the links are affiliate links, it is simply what I would use as the best part.
- I created models to replace the 3 metal rods. While using metal rods (especially for the handle) is still recommended, this is cheaper and more accessible if you do not already have them.
- The knob was the incorrect size for the size bolt needed. I replaced it with a thumb screw or hex bolt.
- Added assembly instructions because the original video left some ambiguities.
- Created a print profile and arranged models on build plates to save time.
Please post your versions and any improvements you think of!
Bill of Materials
Sharpening Stones
Hardware
- 2x M5, 20 mm long. Socket Head Screw
- Z axis clamp, longer length can work
- https://www.mcmaster.com/91290A242
- 3x M5 Hex Nut
- 2x for Z axis clamp, 1x for blade stay
- https://www.mcmaster.com/90593A004
- 1x M3, 12 mm long, Socket Head Screw
- Guide Body, longer length can work
- https://www.mcmaster.com/91290A117
- 1x M3 Hex Nut
- Guide Body
- https://www.mcmaster.com/90593A001
- 1x M6, 12mm long, Thumb Screw
- Used for loosening mechanism to move Z axis up and down, longer works, other varieties work, can be a regular bolt
- https://www.mcmaster.com/92545A183
- (optional) 1x M6 threaded insert ruthex M6 Threaded Inserts
- 1x M5, 20mm long, Thumb Screw
- Used for adding pressure on the sharpening stone to keep it from moving
- https://www.mcmaster.com/92552A447
- (optional) 1x M5 threaded insert to make threading easier ruthex M5 Threaded Inserts
- 1x M5, 16mm long, Hex Head Screw
- Blade Stay, longer length can work
- https://www.mcmaster.com/91310A123
- 1x M5 Washer
- Blade Stay
- https://www.mcmaster.com/93475A240
Magnets
- 5x 10mm diameter x 2.5mm thick (max) magnets
(optional) Rods
- 1x 10mm diameter x 180mm aluminum rod/tube
- 1x 10mm diameter x 300mm aluminum rod/tube
- 1x 6mm diameter x 280mm aluminum rod/tube
Printing Settings/Tips
- The first plate has all the parts you need to print. The second plate has all the optional guides. Finally, the third plate has rods if you are in a pinch.
- I printed with Bambu PETG (Lake Blue) using a 0.4mm nozzle. PLA and likely any material would be fine if you are mindful of possible impact on tolerances.
- Sparse infill set to 35% gyroid. Set lower if faster, higher if stronger and heavier. Wall loops are set to 5 for added strength. With these settings the model is very sturdy.
- Ignore floating cantilever warning, it prints fine without supports with Bambu Lab PETG.
Assembly Instructions
Feel free to watch the original video as well: PERFECTLY sharp knifes! 3D PRINTED sharpening tool 🍴 (youtube.com)
- Do any postprocessing. I found that I needed to file down stringing in the body where the blade stay slides. Also, some of the holes in the body and GuideBody2 needed some slight cleanup.
- Insert 10x180mm rod into the Z axis hole in the body. Tighten using two M5x20mm and M5 nuts
- Insert Sphere into GuideBody1. Place GuideBody2 over. Use M3x12mm bolt and M3 nut to fasten the two pieces together.
- (Adjustable later) Slide the result from Step 3, into the Z axis rod from Step 2. Use an M6x12 (or longer) bolt as a set screw to keep it from moving. This is where you could use a threaded insert to make threading the bolt in and out easier.
- Insert 6x280mm rod into the end of the handle.
- Take a sharpening stone and slide it into the handle. Use a M5x18mm (or longer) to help keep the sharpening stone in place. This is another place where you could use a threaded insert to make threading easier.
- (Adjustable later) Install Blade stay into body with M5x16mm hex head bolt, M5 Washer, and M5 nut
- Take the 10mmx300mm rod and slide it through the holes in the front of the body and add the feet to each end.
- Place magnets into the magnet slots in the body
- Slide the rod into the sphere in the guide body and now you're ready to start. Be sure to adjust the Z axis for your desired sharpening angle using the provided guides! 20 degrees is a good balance for many kitchen knife applications.
knife
sharpener
knife sharpener
kitchen gadget
kitchen
diy
tool
tools
home improvement
cnckitchen
household
kitchen accessory
practical
gadget
remix
home
knife care
improved
user-friendly
easy
functional print
functional
pla compatible
tool upgrade
3d printer
kitchen equipment
sharpening solution
cooking accessory
utility tool
v2
3d printing
Comment & Rating (0)
All
No more


