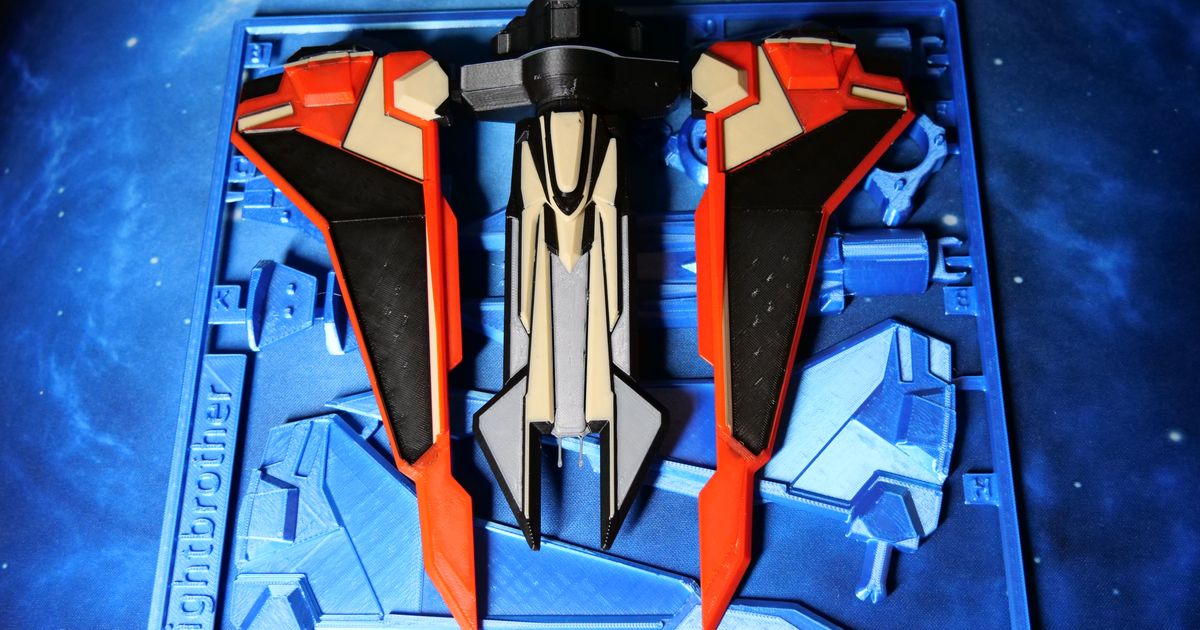
Star Wars Kom'rk-class fighter kit card
Remixed by
Copyright Claim
Star Wars Kom'rk-class fighter kit card
Remixed by
Boost
9
15
2


Print Profile(1)

0.2mm layer, 2 walls, 15% infill
Designer
4.5 h
1 plate
Boost
9
15
2
0
16
7
Released
Description
Instructions:
- Compress the springs in part A by inserting a wing into the channel. Use your fingers to guide the pressure of the knob to gently push the spring inward until the most outward leg of the spring is even with the connecting holes on the hub. Remove the wing knob. Repeat on the other side. Check the gif in the pictures.
- Assemble wing hub by pressing parts B and C on part A. Align the knobs on part A with the holes on part B, apply even pressure until flush. Align the knobs on part C with the holes on part A, apply even pressure until flush.
- Assemble ship body by aligning parts D and E. The half cylinders of parts D and E come together to form a full cylinder with their end connector aligning to form one large connector.
- With part C forward slide the assembled wing hub onto the cylinder of the ship body until flush with the cockpit of the body. Spin the wing hub assembly and make sure it moves freely.
- This part is a little tricky so be careful! Slide part F over the remaining portion of the cylinder until flush to the hub. Spin part F until it moves somewhat easily, remove part F and attach it to part G by aligning the holes and knobs as above. Now align the connector with the opening in part G and press part G evenly onto the connector until the connector tabs are flush with the back of part G. There should now be 3-4 mm of wiggle room on the cylinder for the wing hub to spin more easily.
- Attach booster to wing by aligning the holes on the wings to the knobs on the boosters. Repeat for the other wing.
- Insert the knobs of the wings into the wing assembly.


This remix is based on
License
This work is licensed under a
Creative Commons Attribution-NoncommercialRelated Models


© 2024 MakerWorld