Motherboard Cover + optional RPI mount extension - Creality K1
Motherboard Cover + optional RPI mount extension - Creality K1


Print Profile(0)
Description
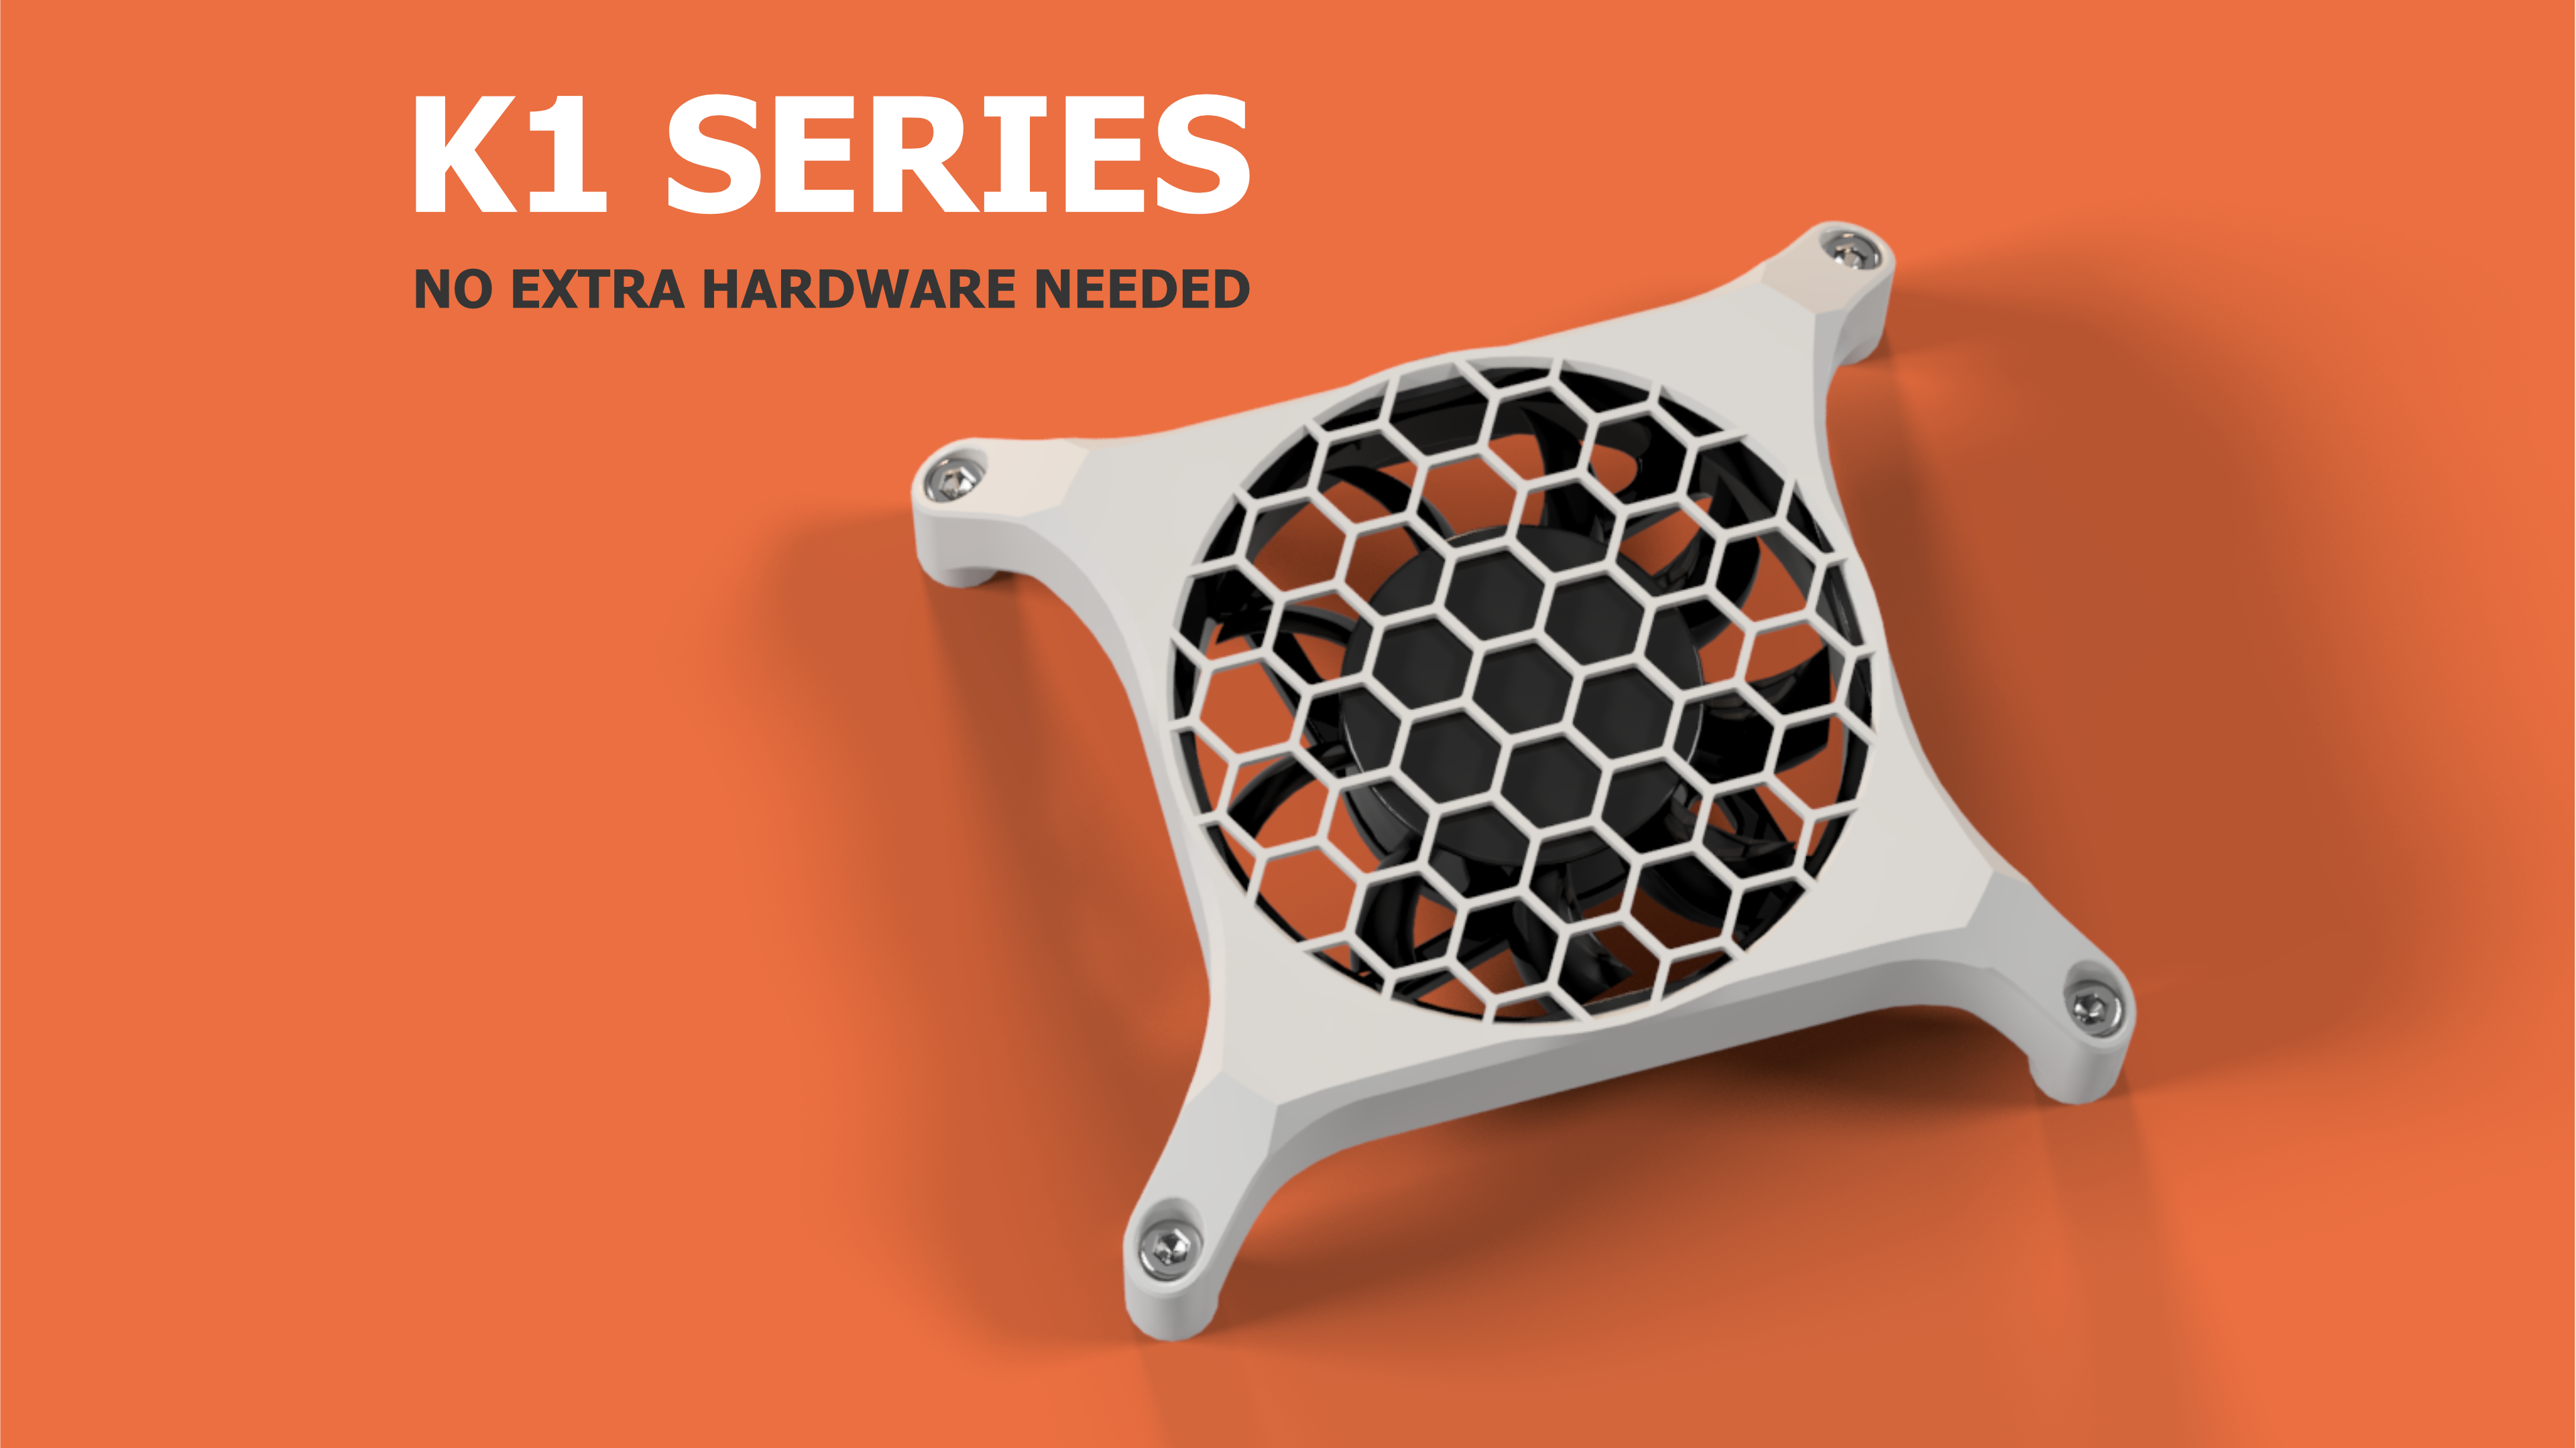
This is only compatible with the K1 (not the Max).
The main goal of this mount is to have some protection over the motherboard if you're using your printer without the bottom panel. And if you install this mod you will no longer be able to attached it anyway.
The second objective is to move the motherboard away from the belt and for even more security I've added a cable cover.
And the third reason is to be able to use the empty space next to the board to mount something else. For now I've made a RPI mount because I'm hoping it will be possible in a near futur to control the K1 board with it. And if that can inspire people who have the knowledge to make it come true, that would be wonderful.
And if you want to mount other things, you can remix it. All the parts are also available in step files.
For the build you need to print this model too
Motherboard Fan Mount Mk2 Collection
Bill of material
• 8 neodymium round magnets 6x3mm (2mm should work as well).
• 4 heat set inserts M3 5x4mm (WxH).
• 1 M3 x 8mm screw
Instructions
1 - Printed Parts post-processing
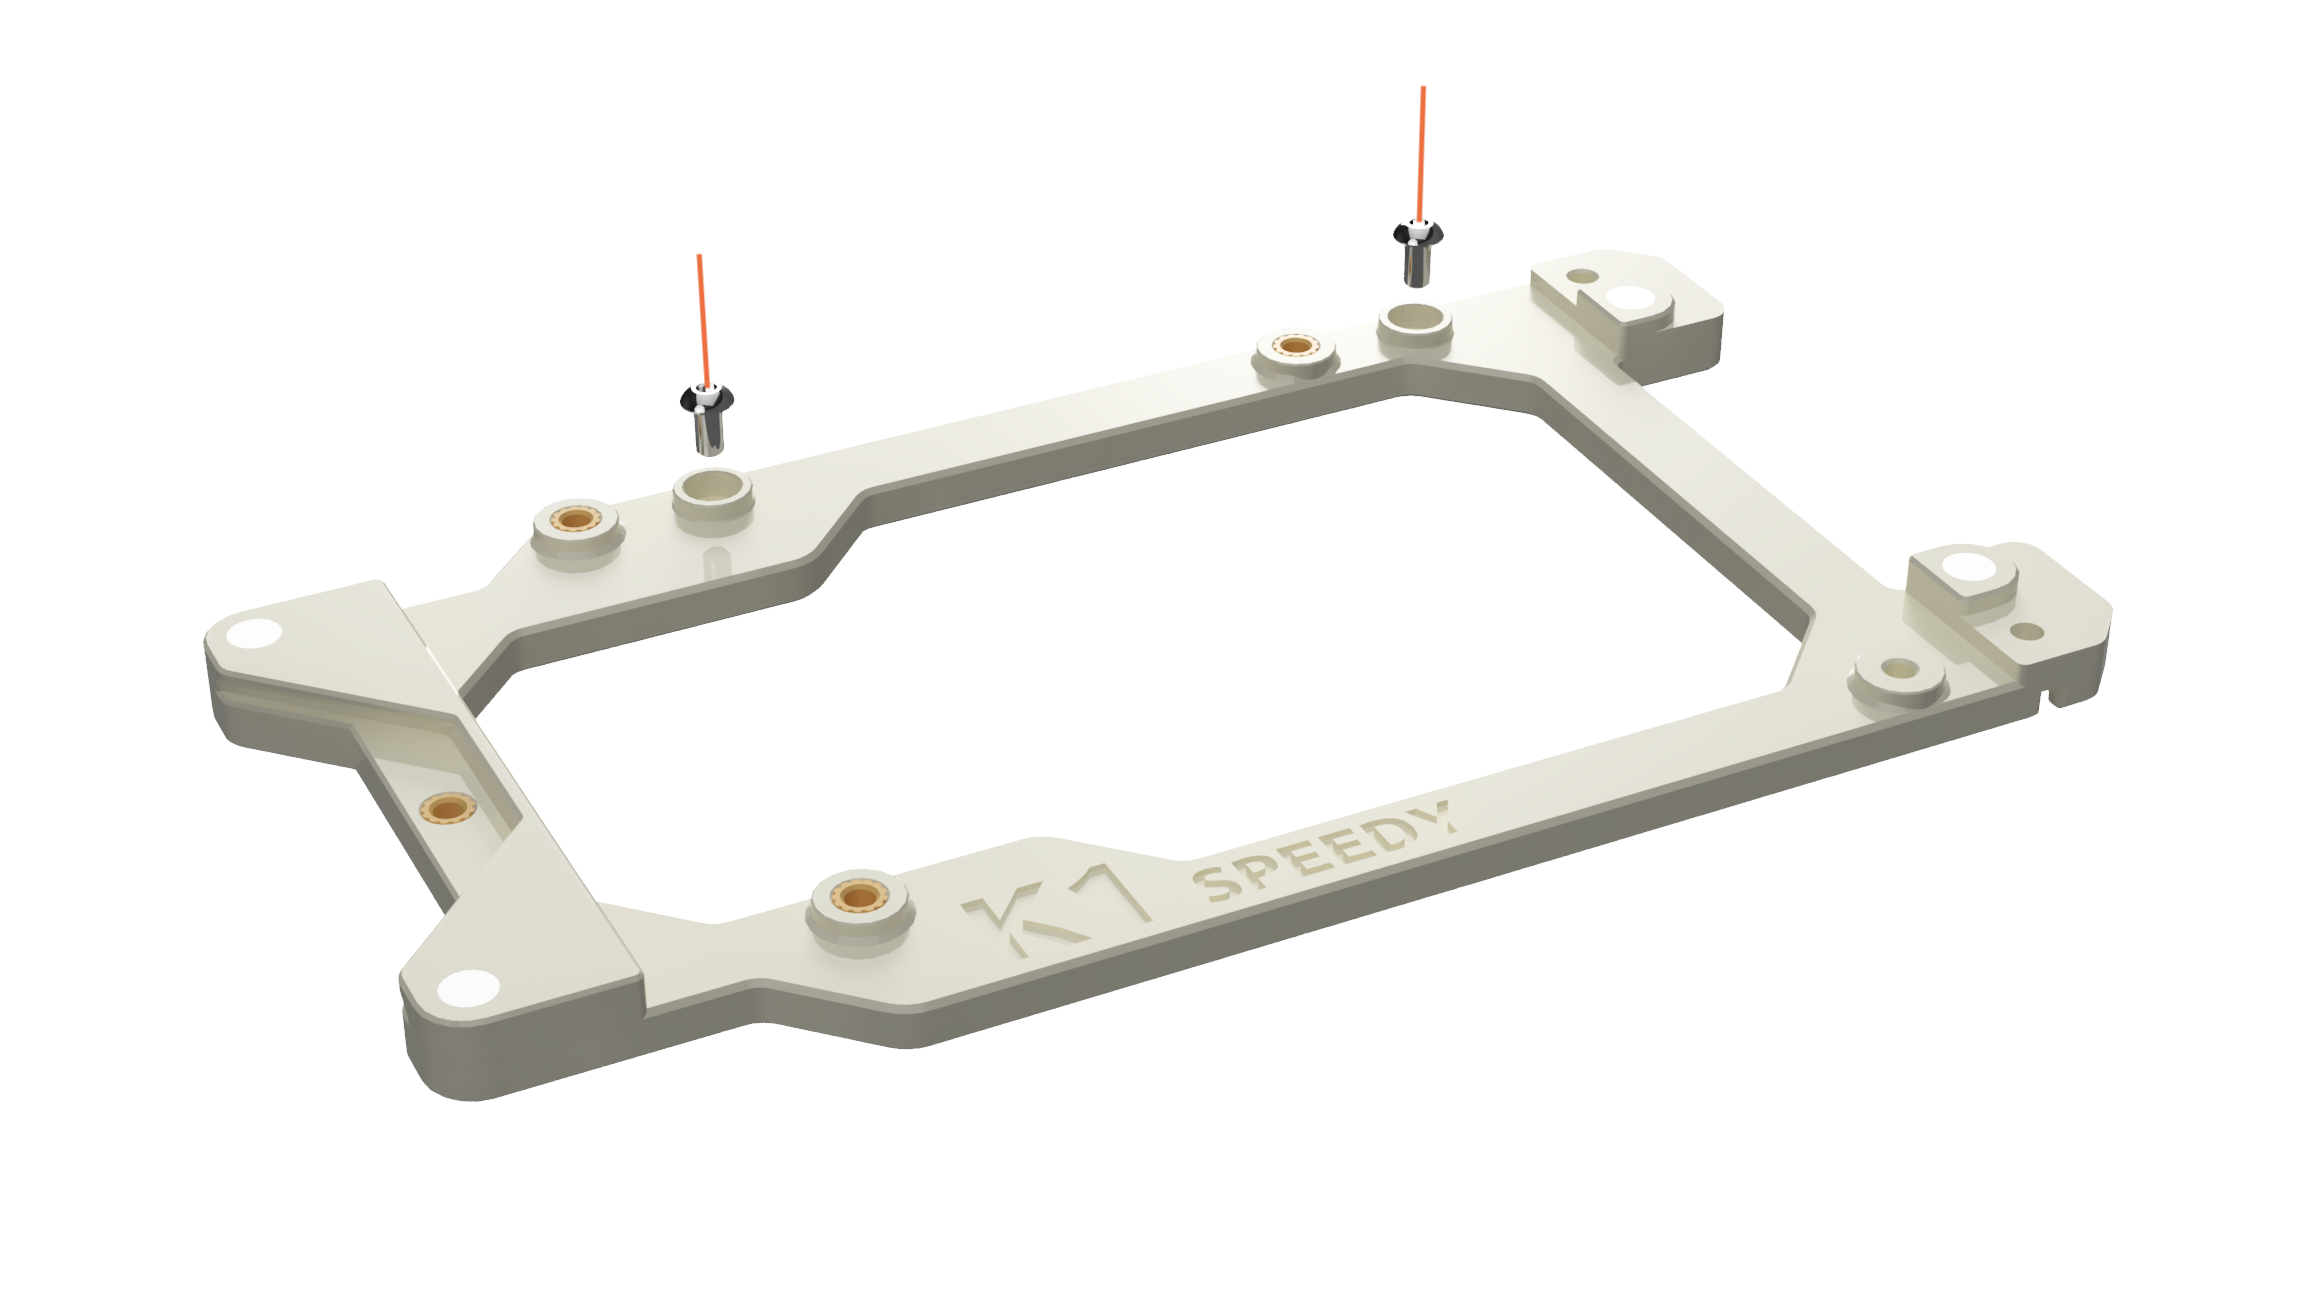
- Add the 4 heat set inserts on the motherboard mount using a soldering iron.
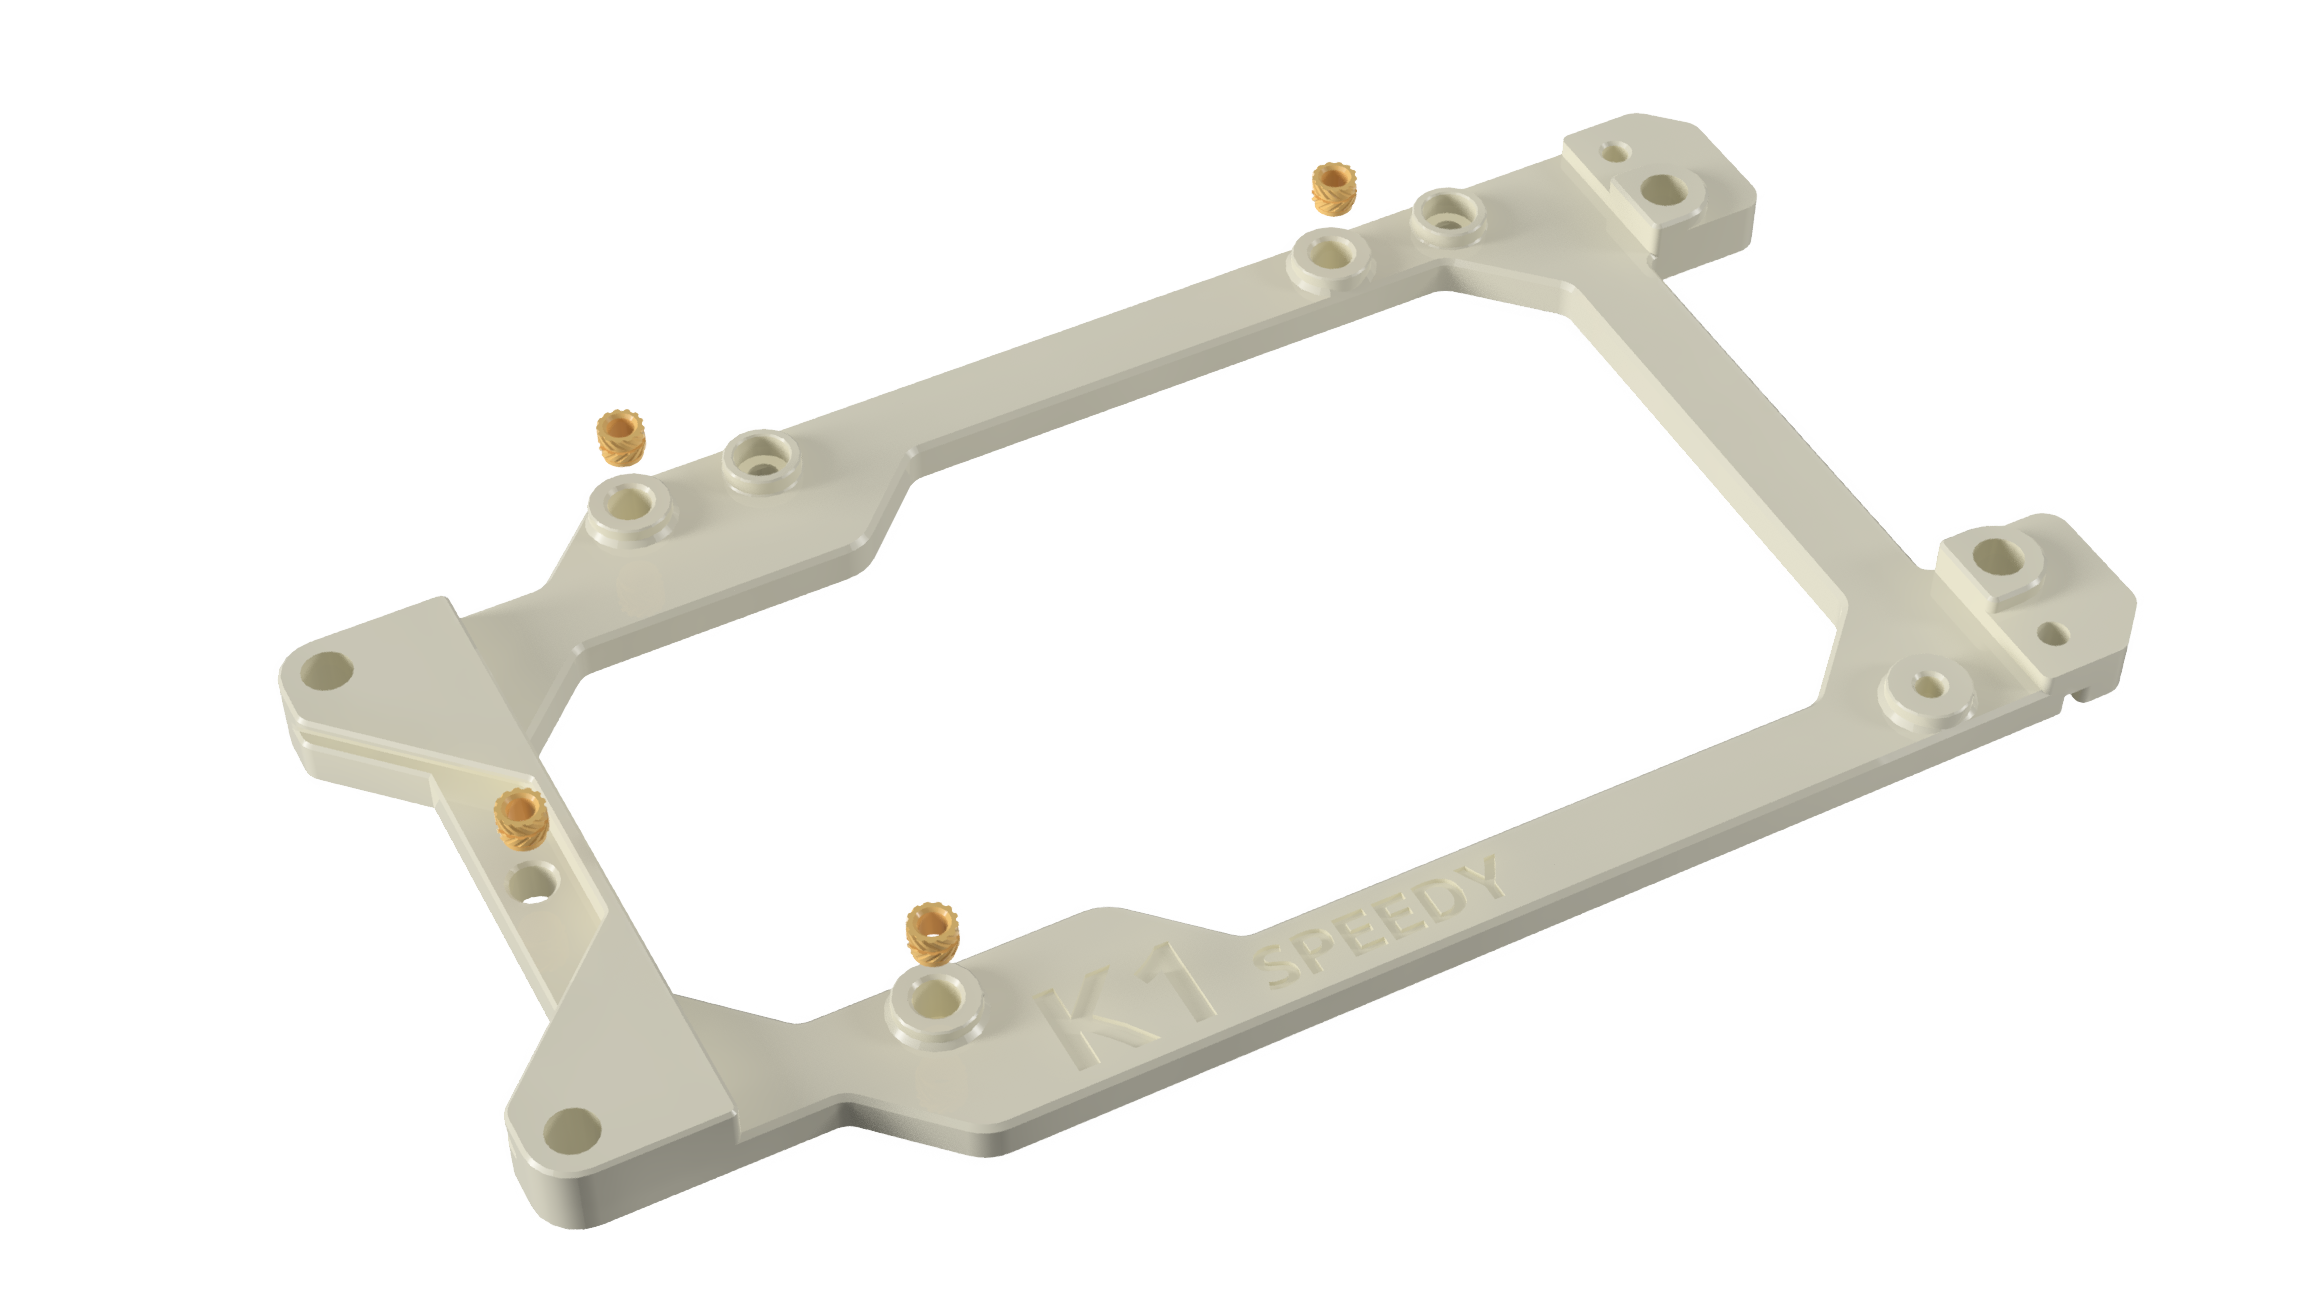
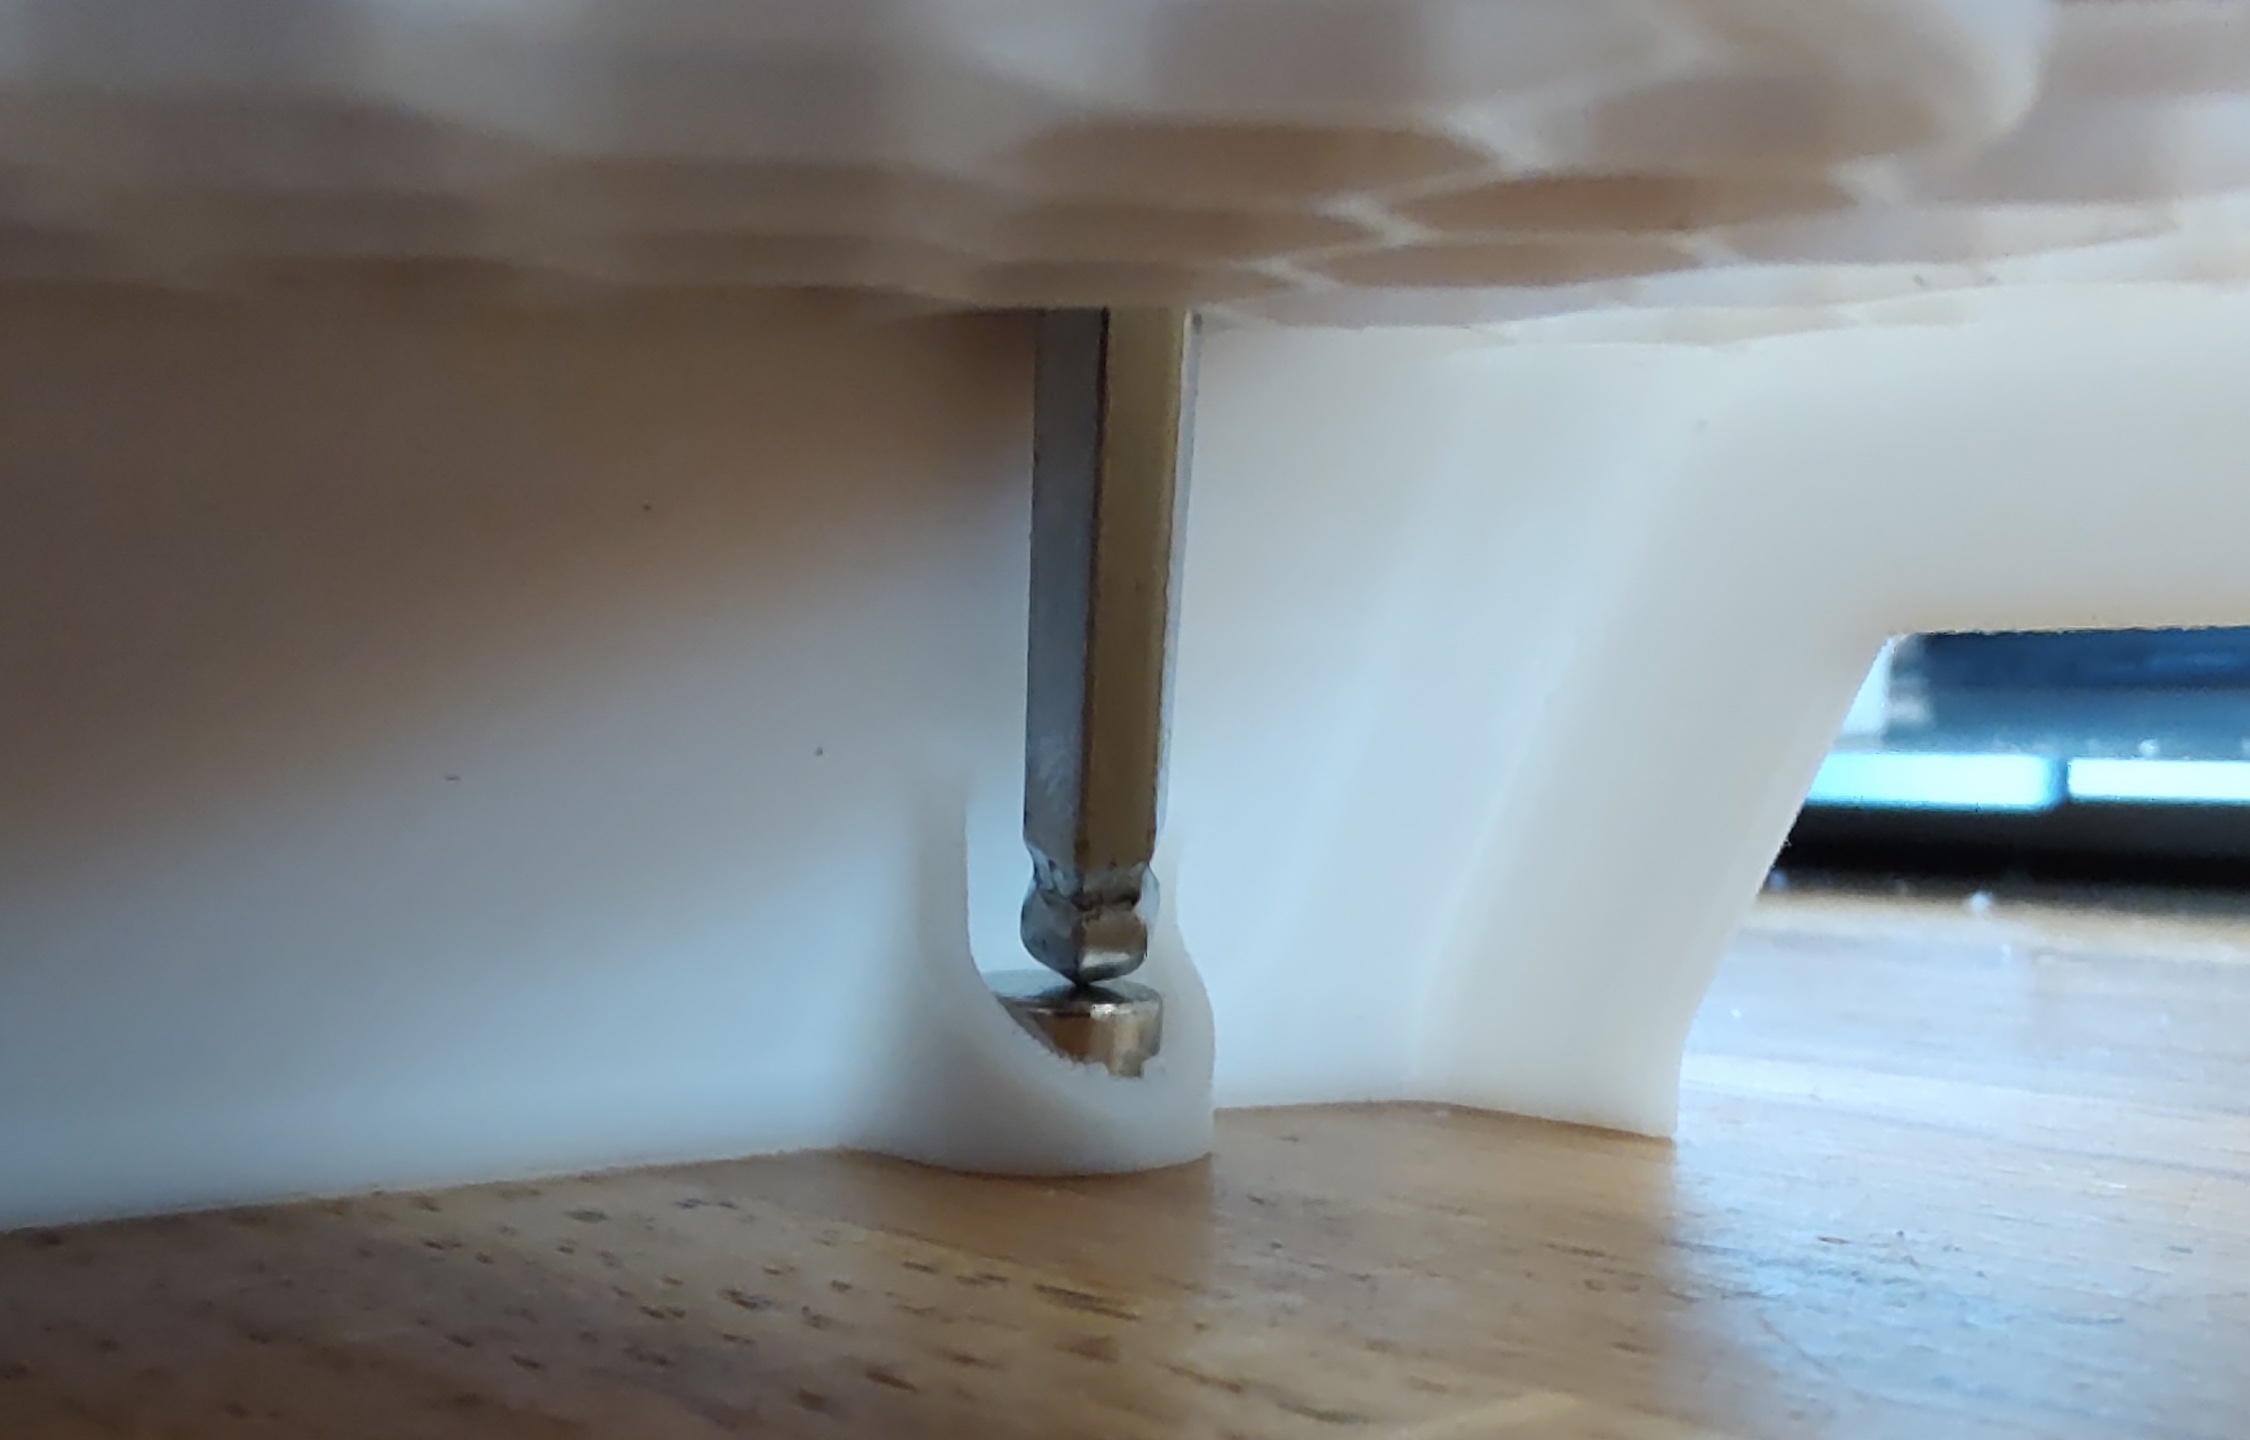
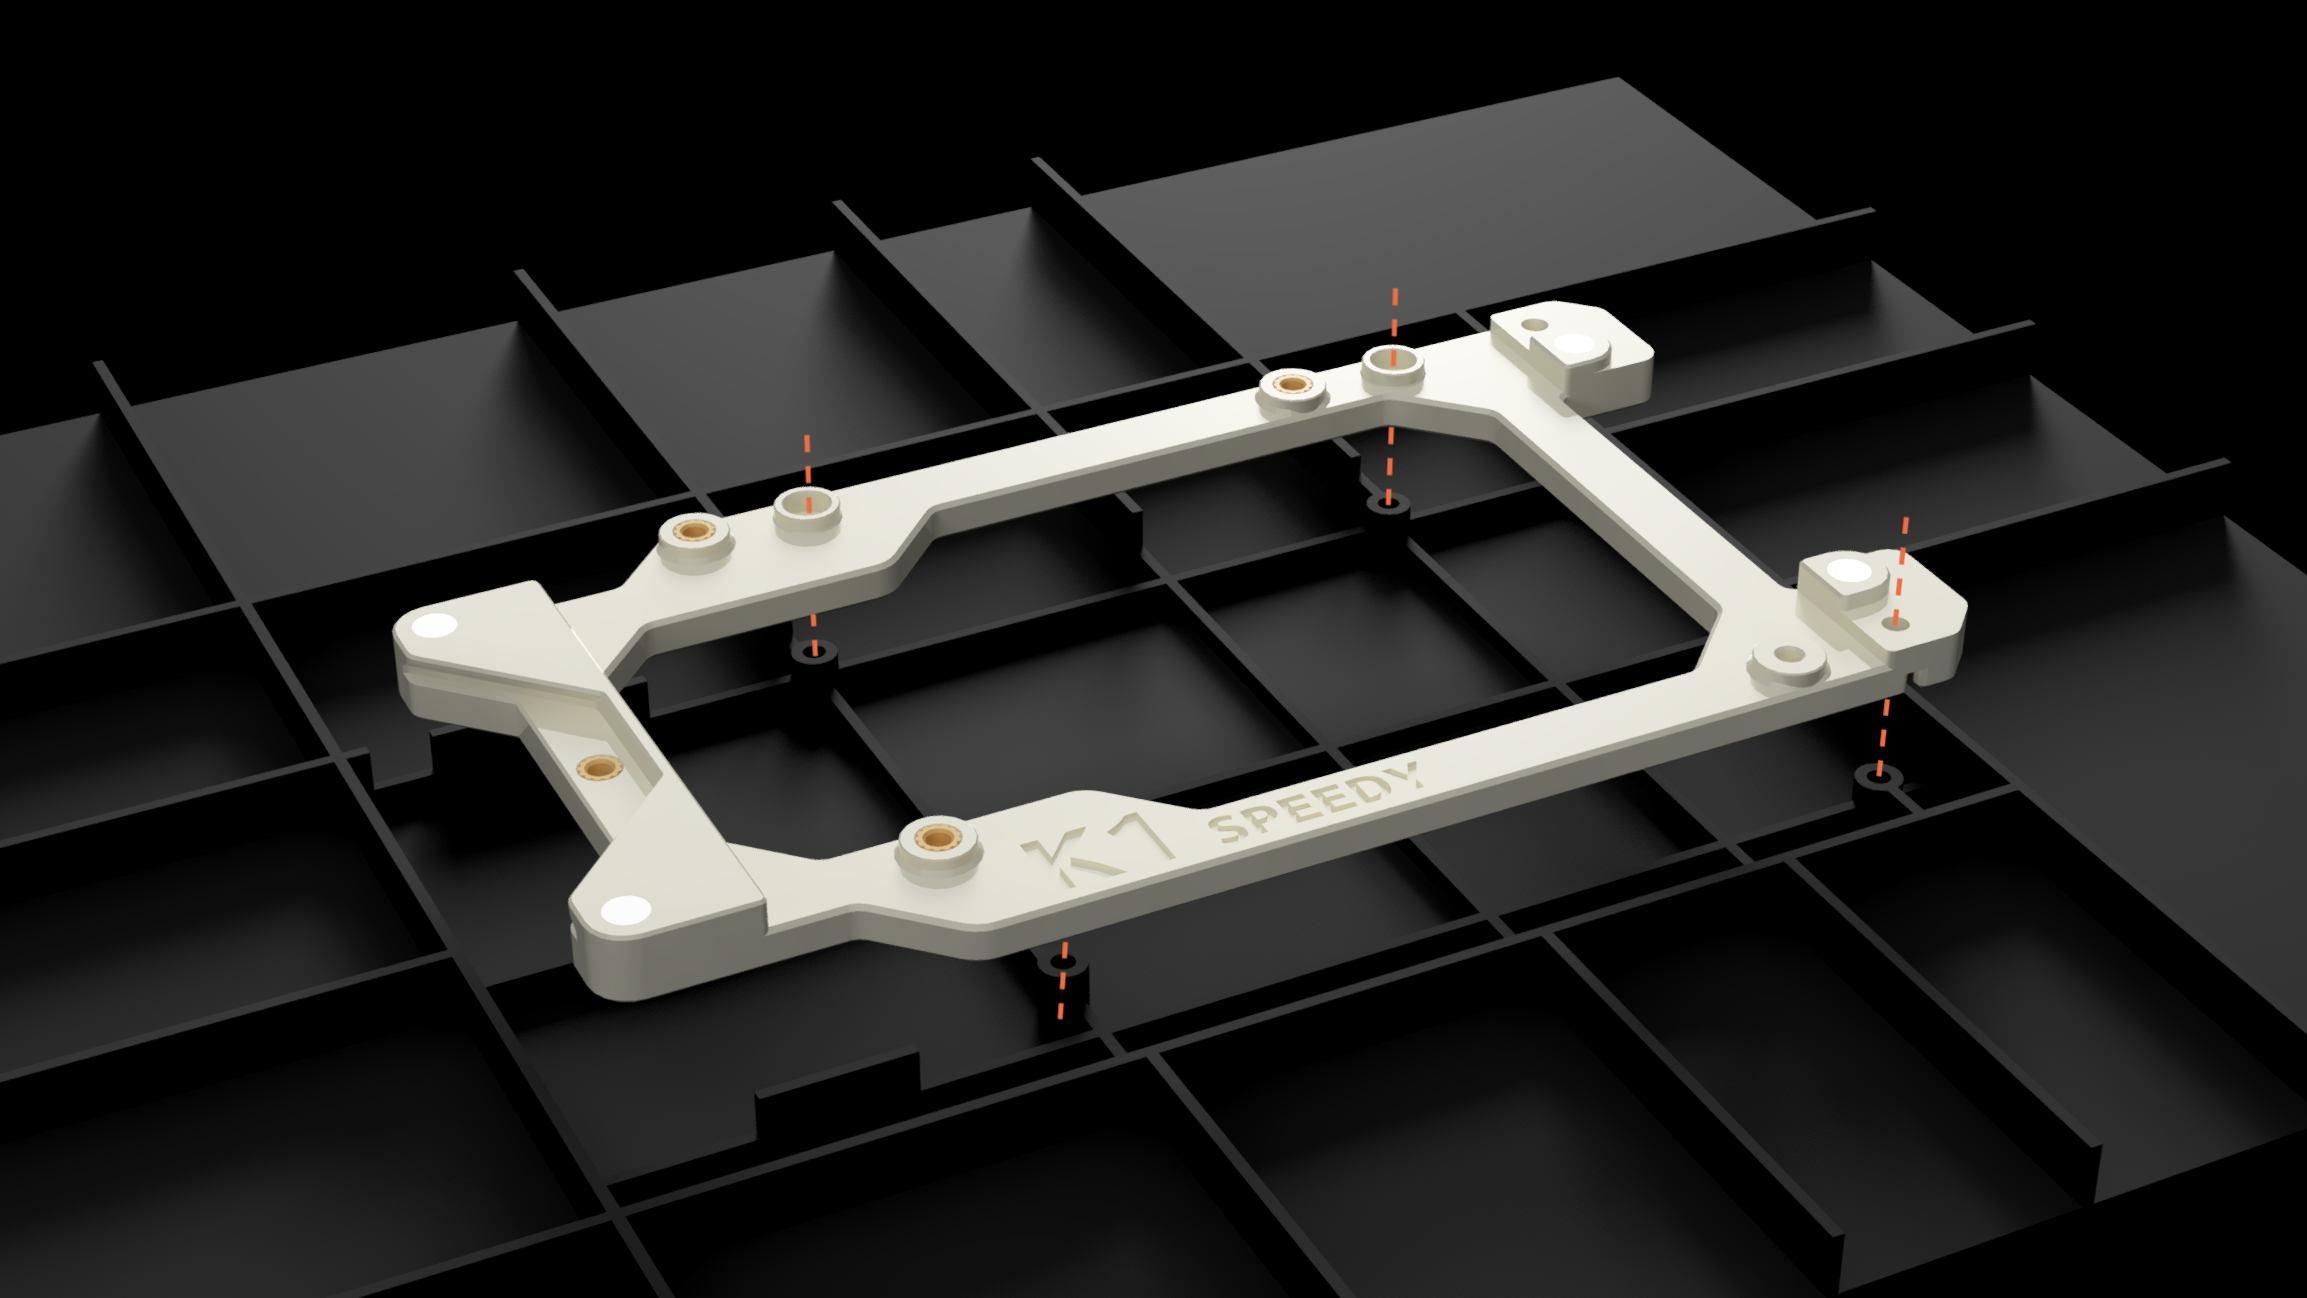
- Insert the magnets into the motherboard mount from the back and push them using the big Hex key you received with the printer for example. Push them until they are sitting flush with the top surface.
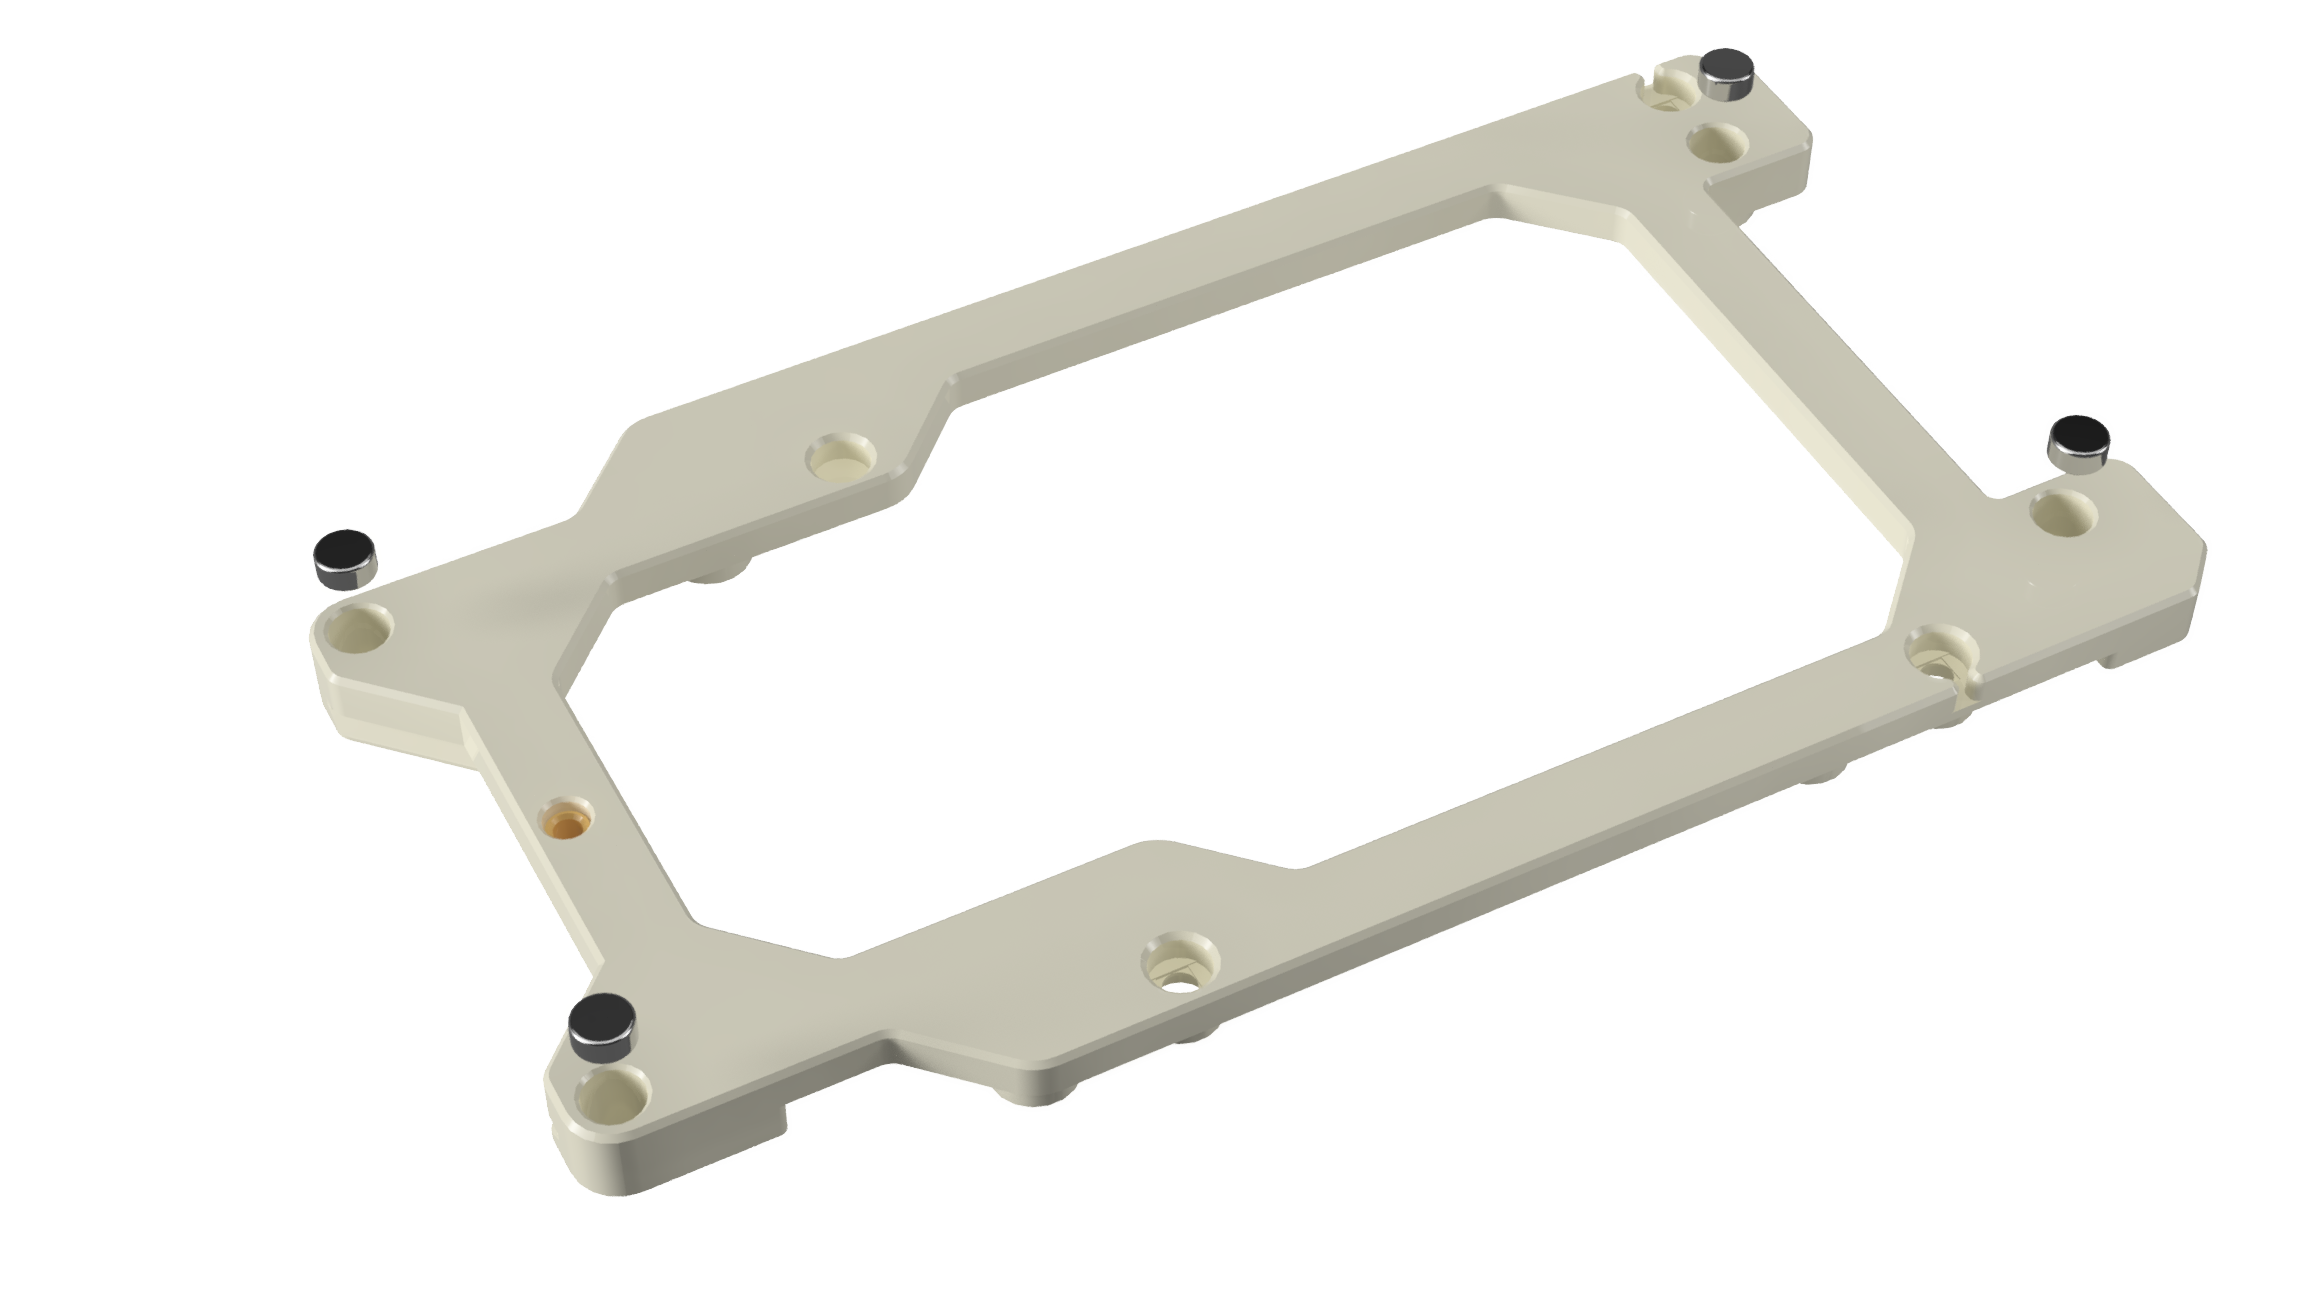

- Insert the magnets into the motherboard cover. Pay attention to match the polarity of the magnets on the motherboard mount.
Start by placing it by hand like so, then use a pliers to push it further in. And finally push it all the way using the Hex key through the Hex grid.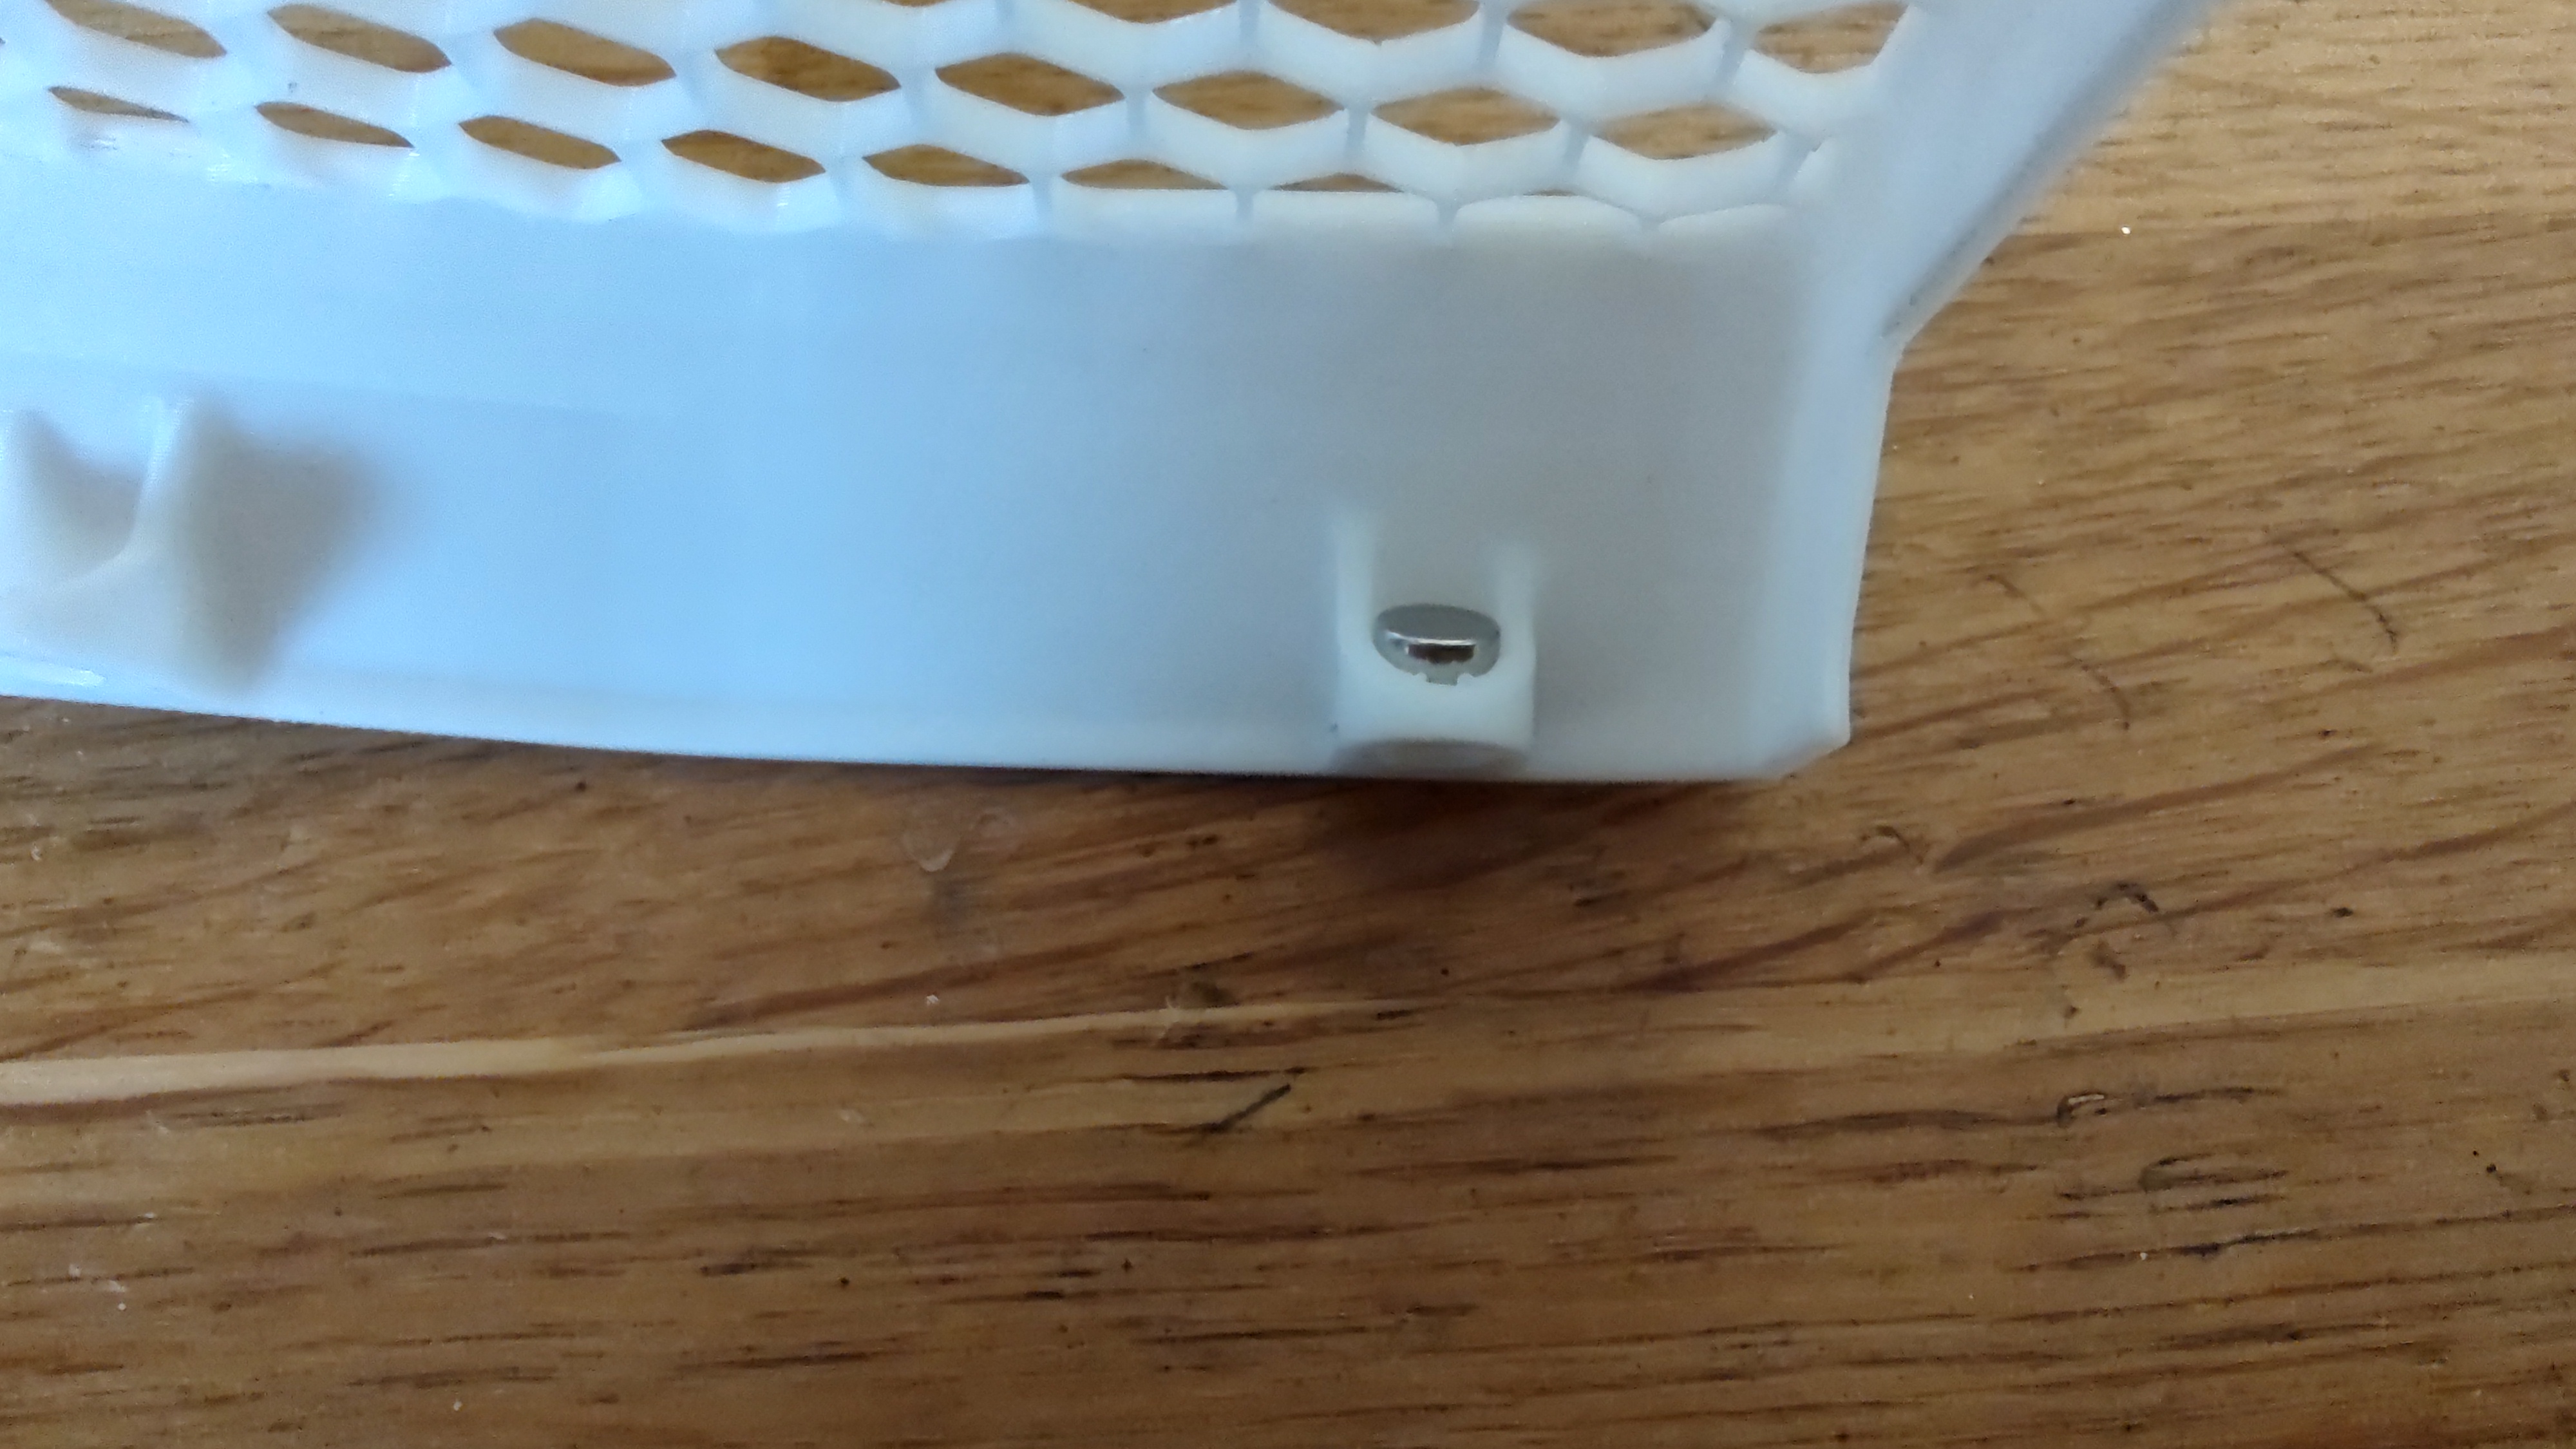

2 - Printer preparation
- Shutdown the printer and unplug it.
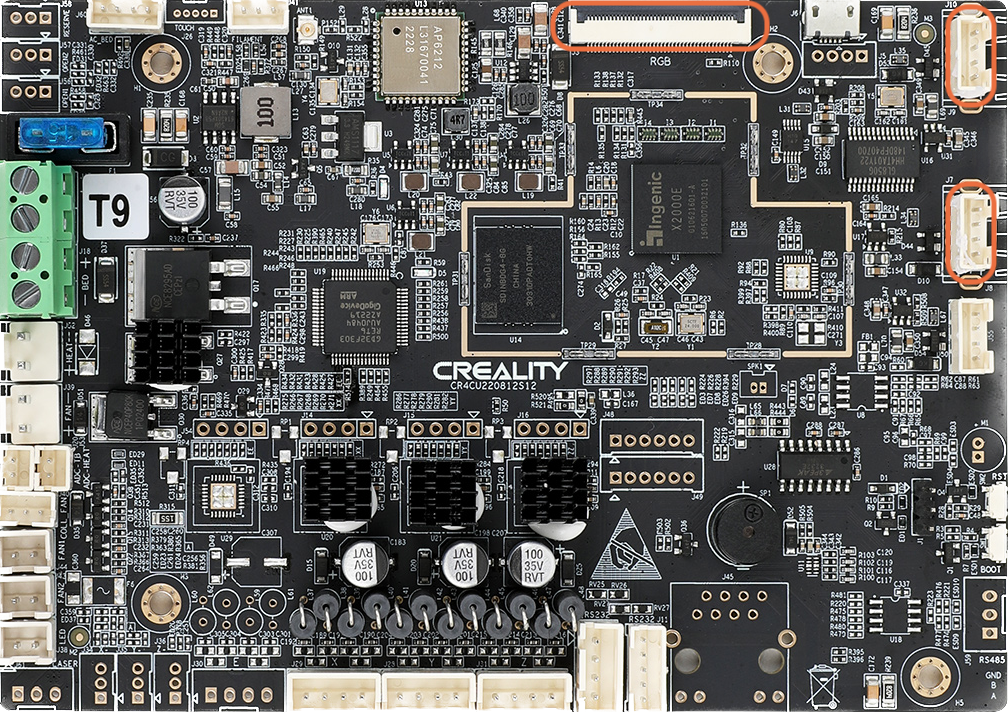
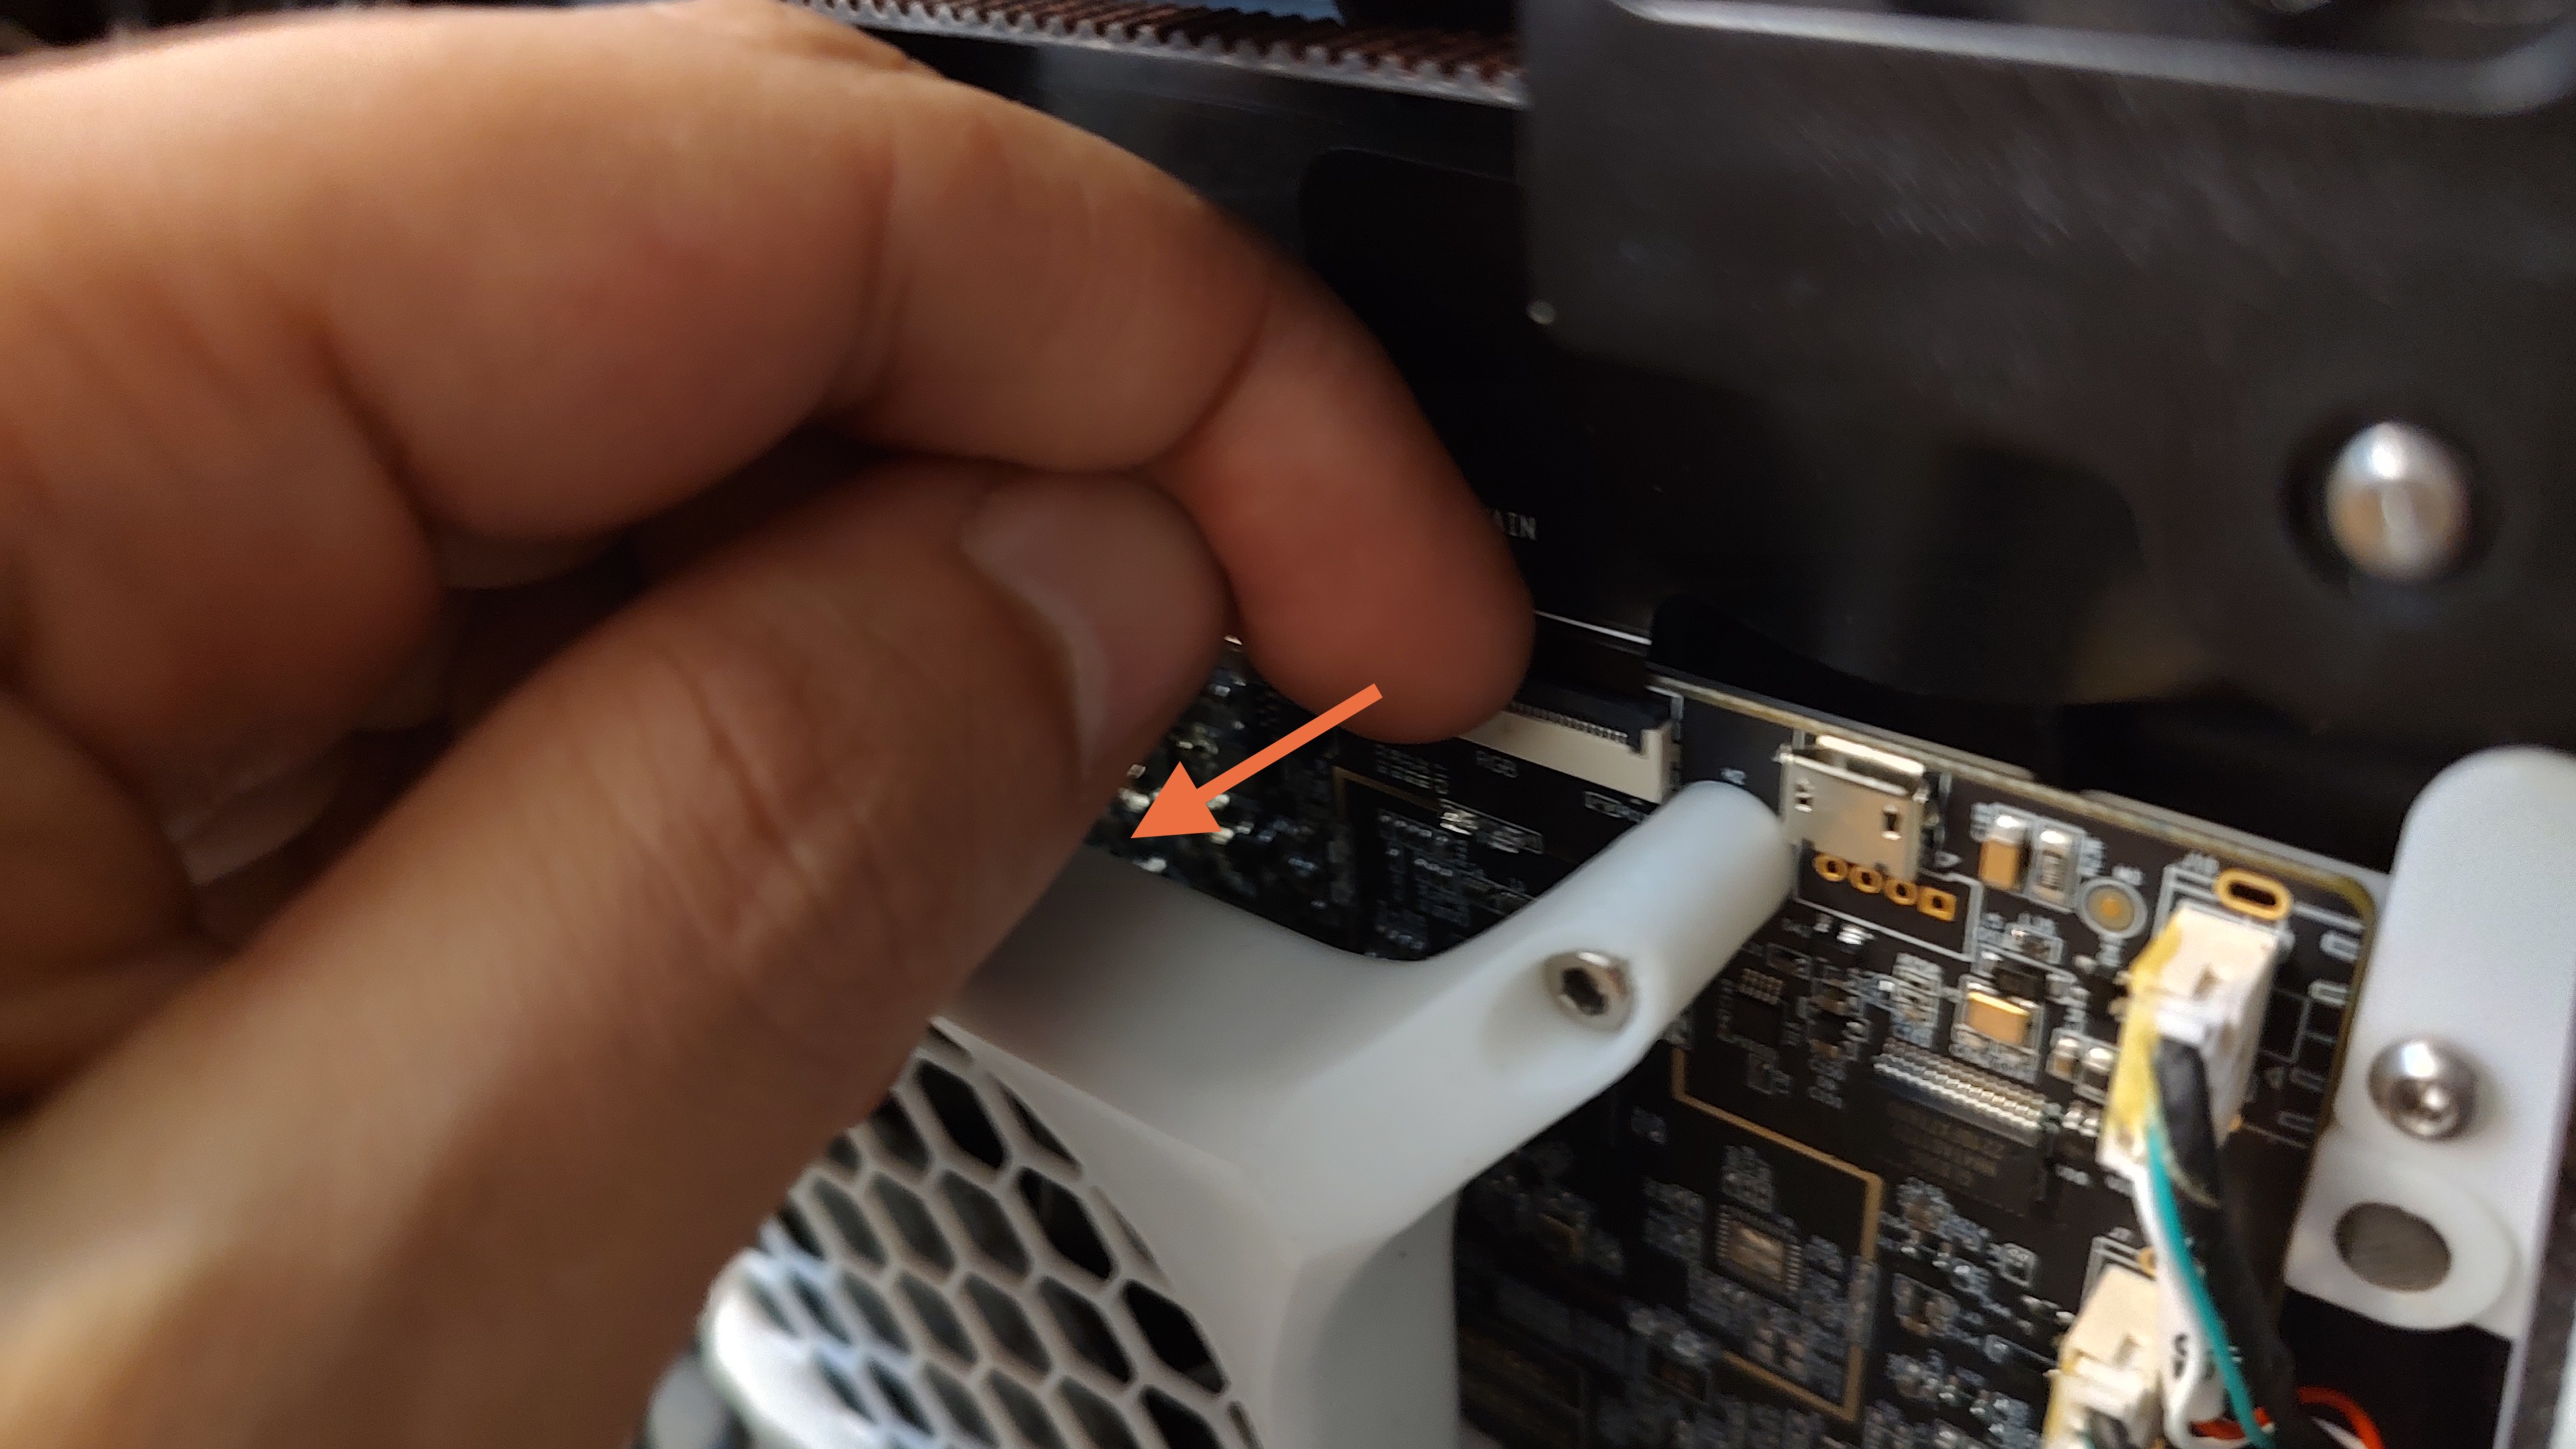
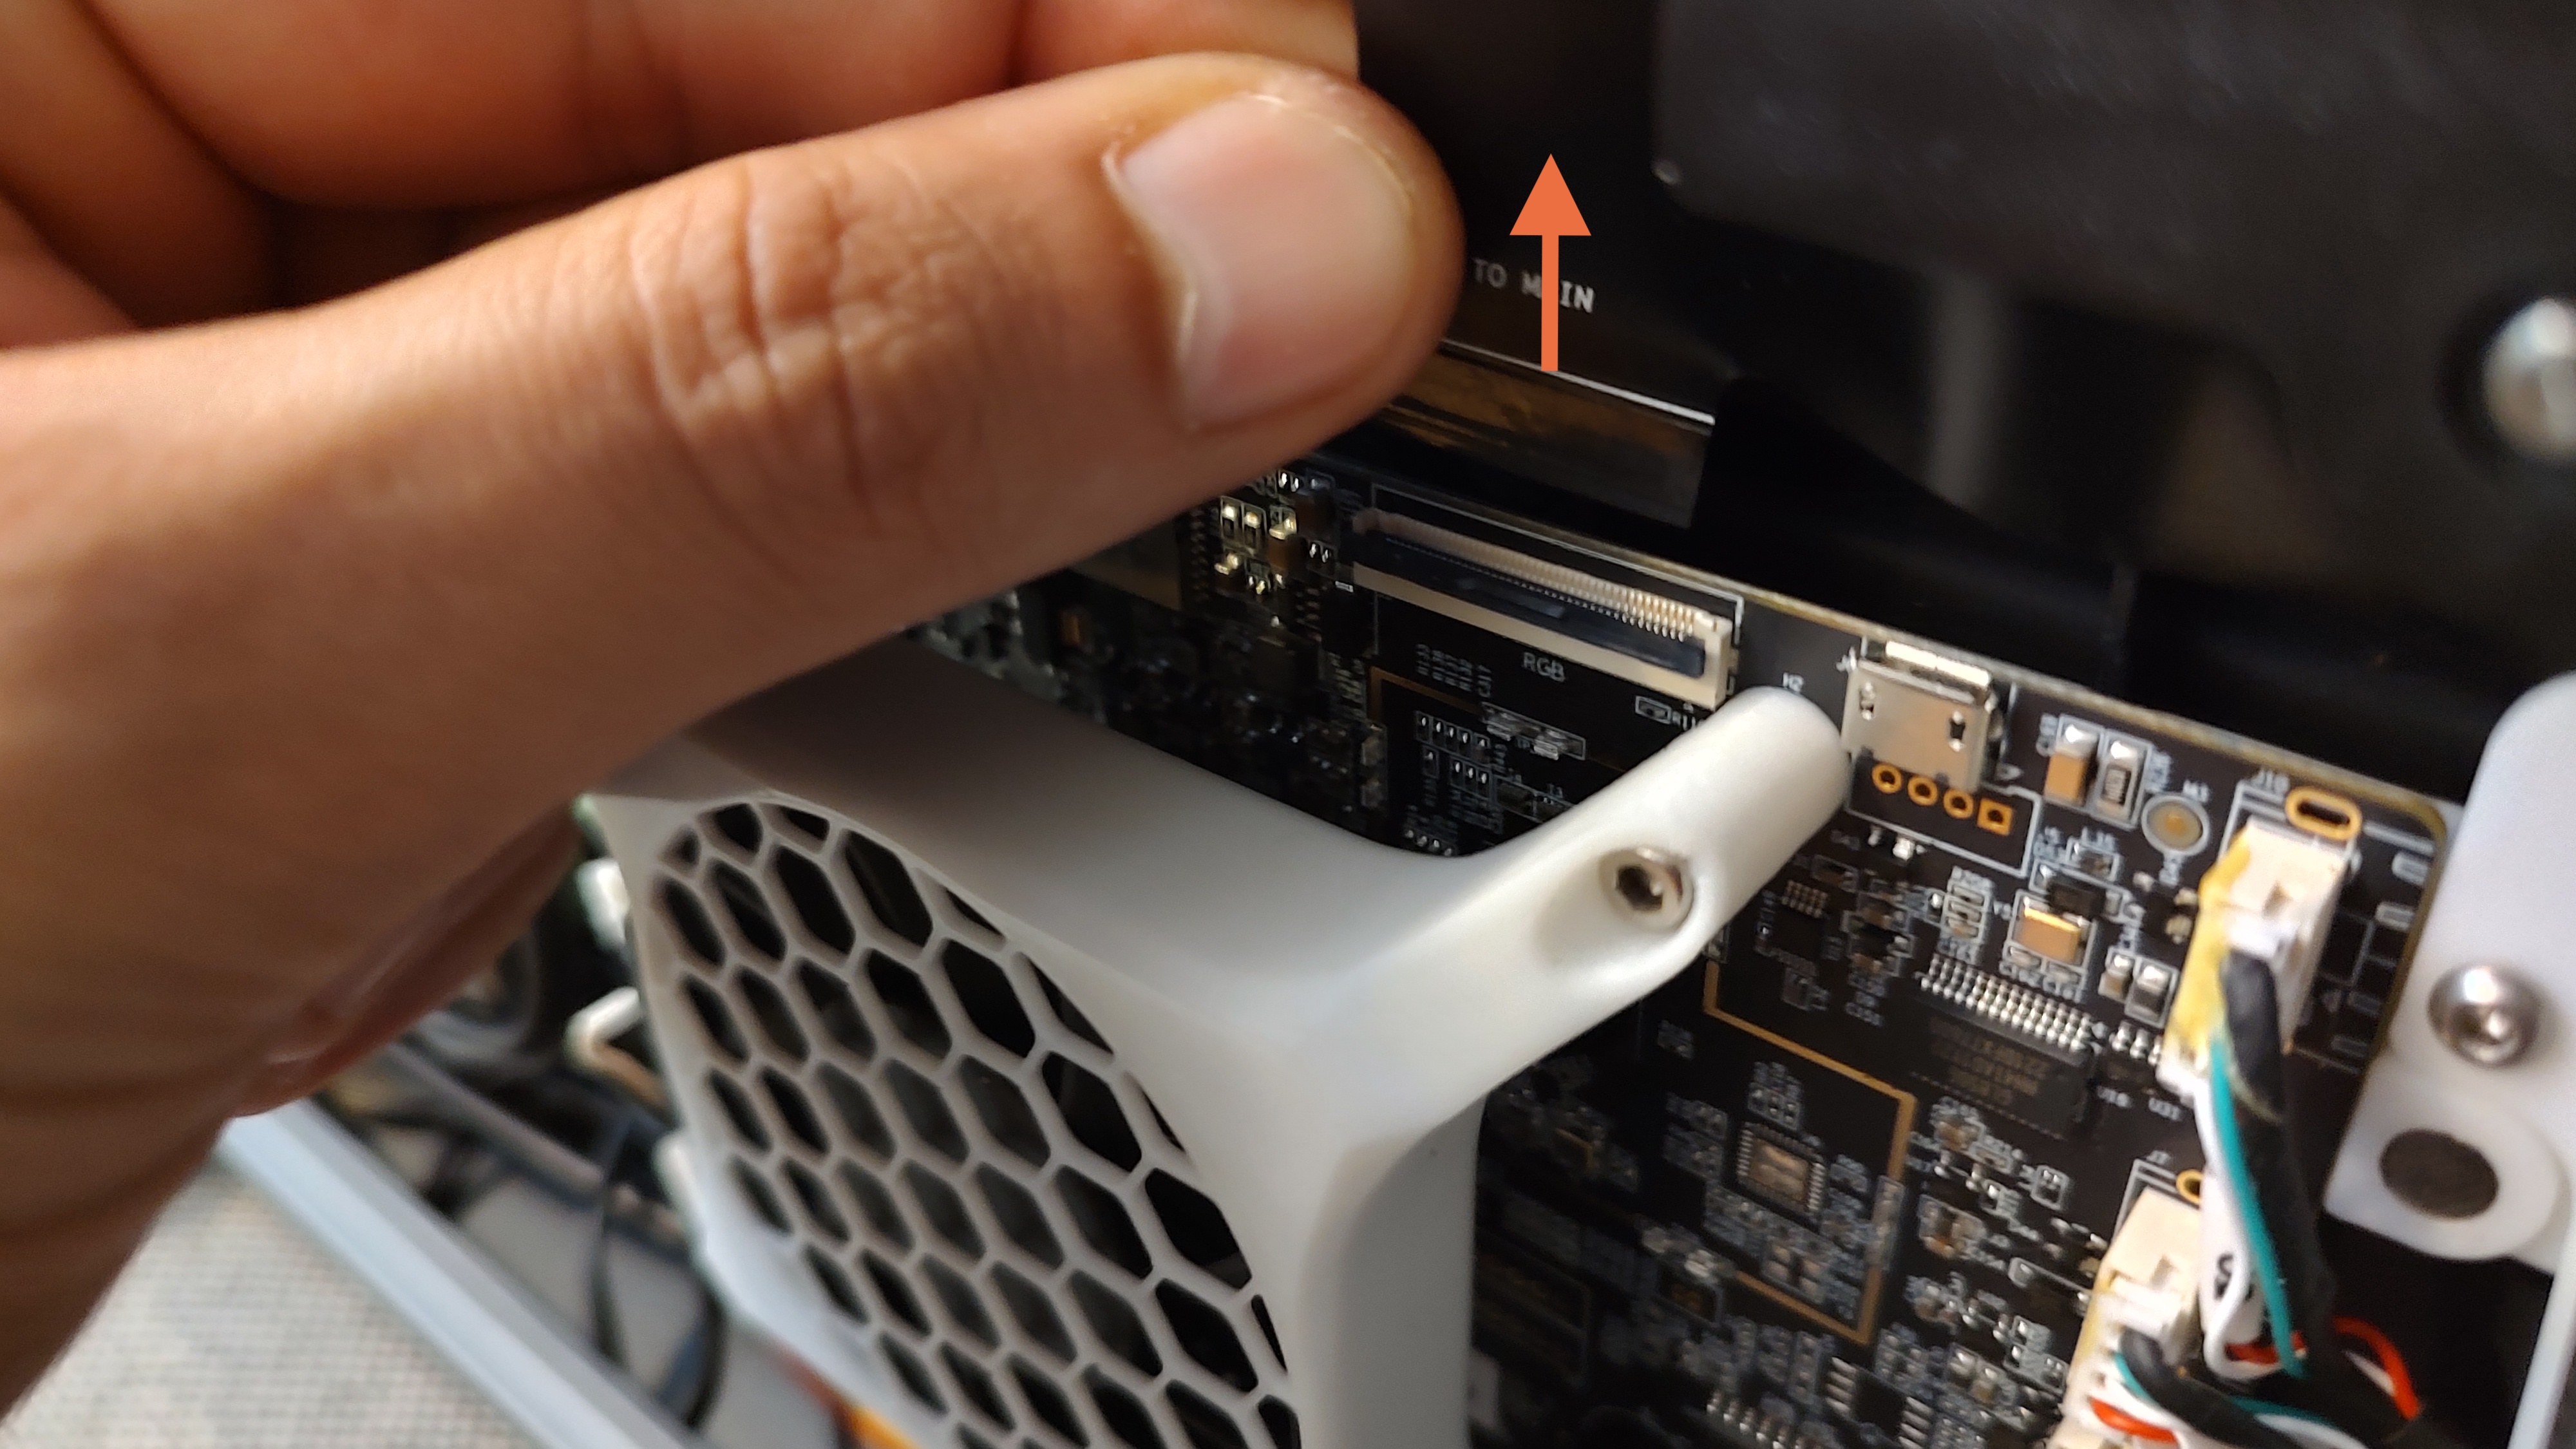
- Unplug the two USB cables, and the ribbon cable from the motherboard (the ribbon connector has an upward lever, the black plastic part ).

- Remove the touchscreen and unplug the ribbon on this side too.
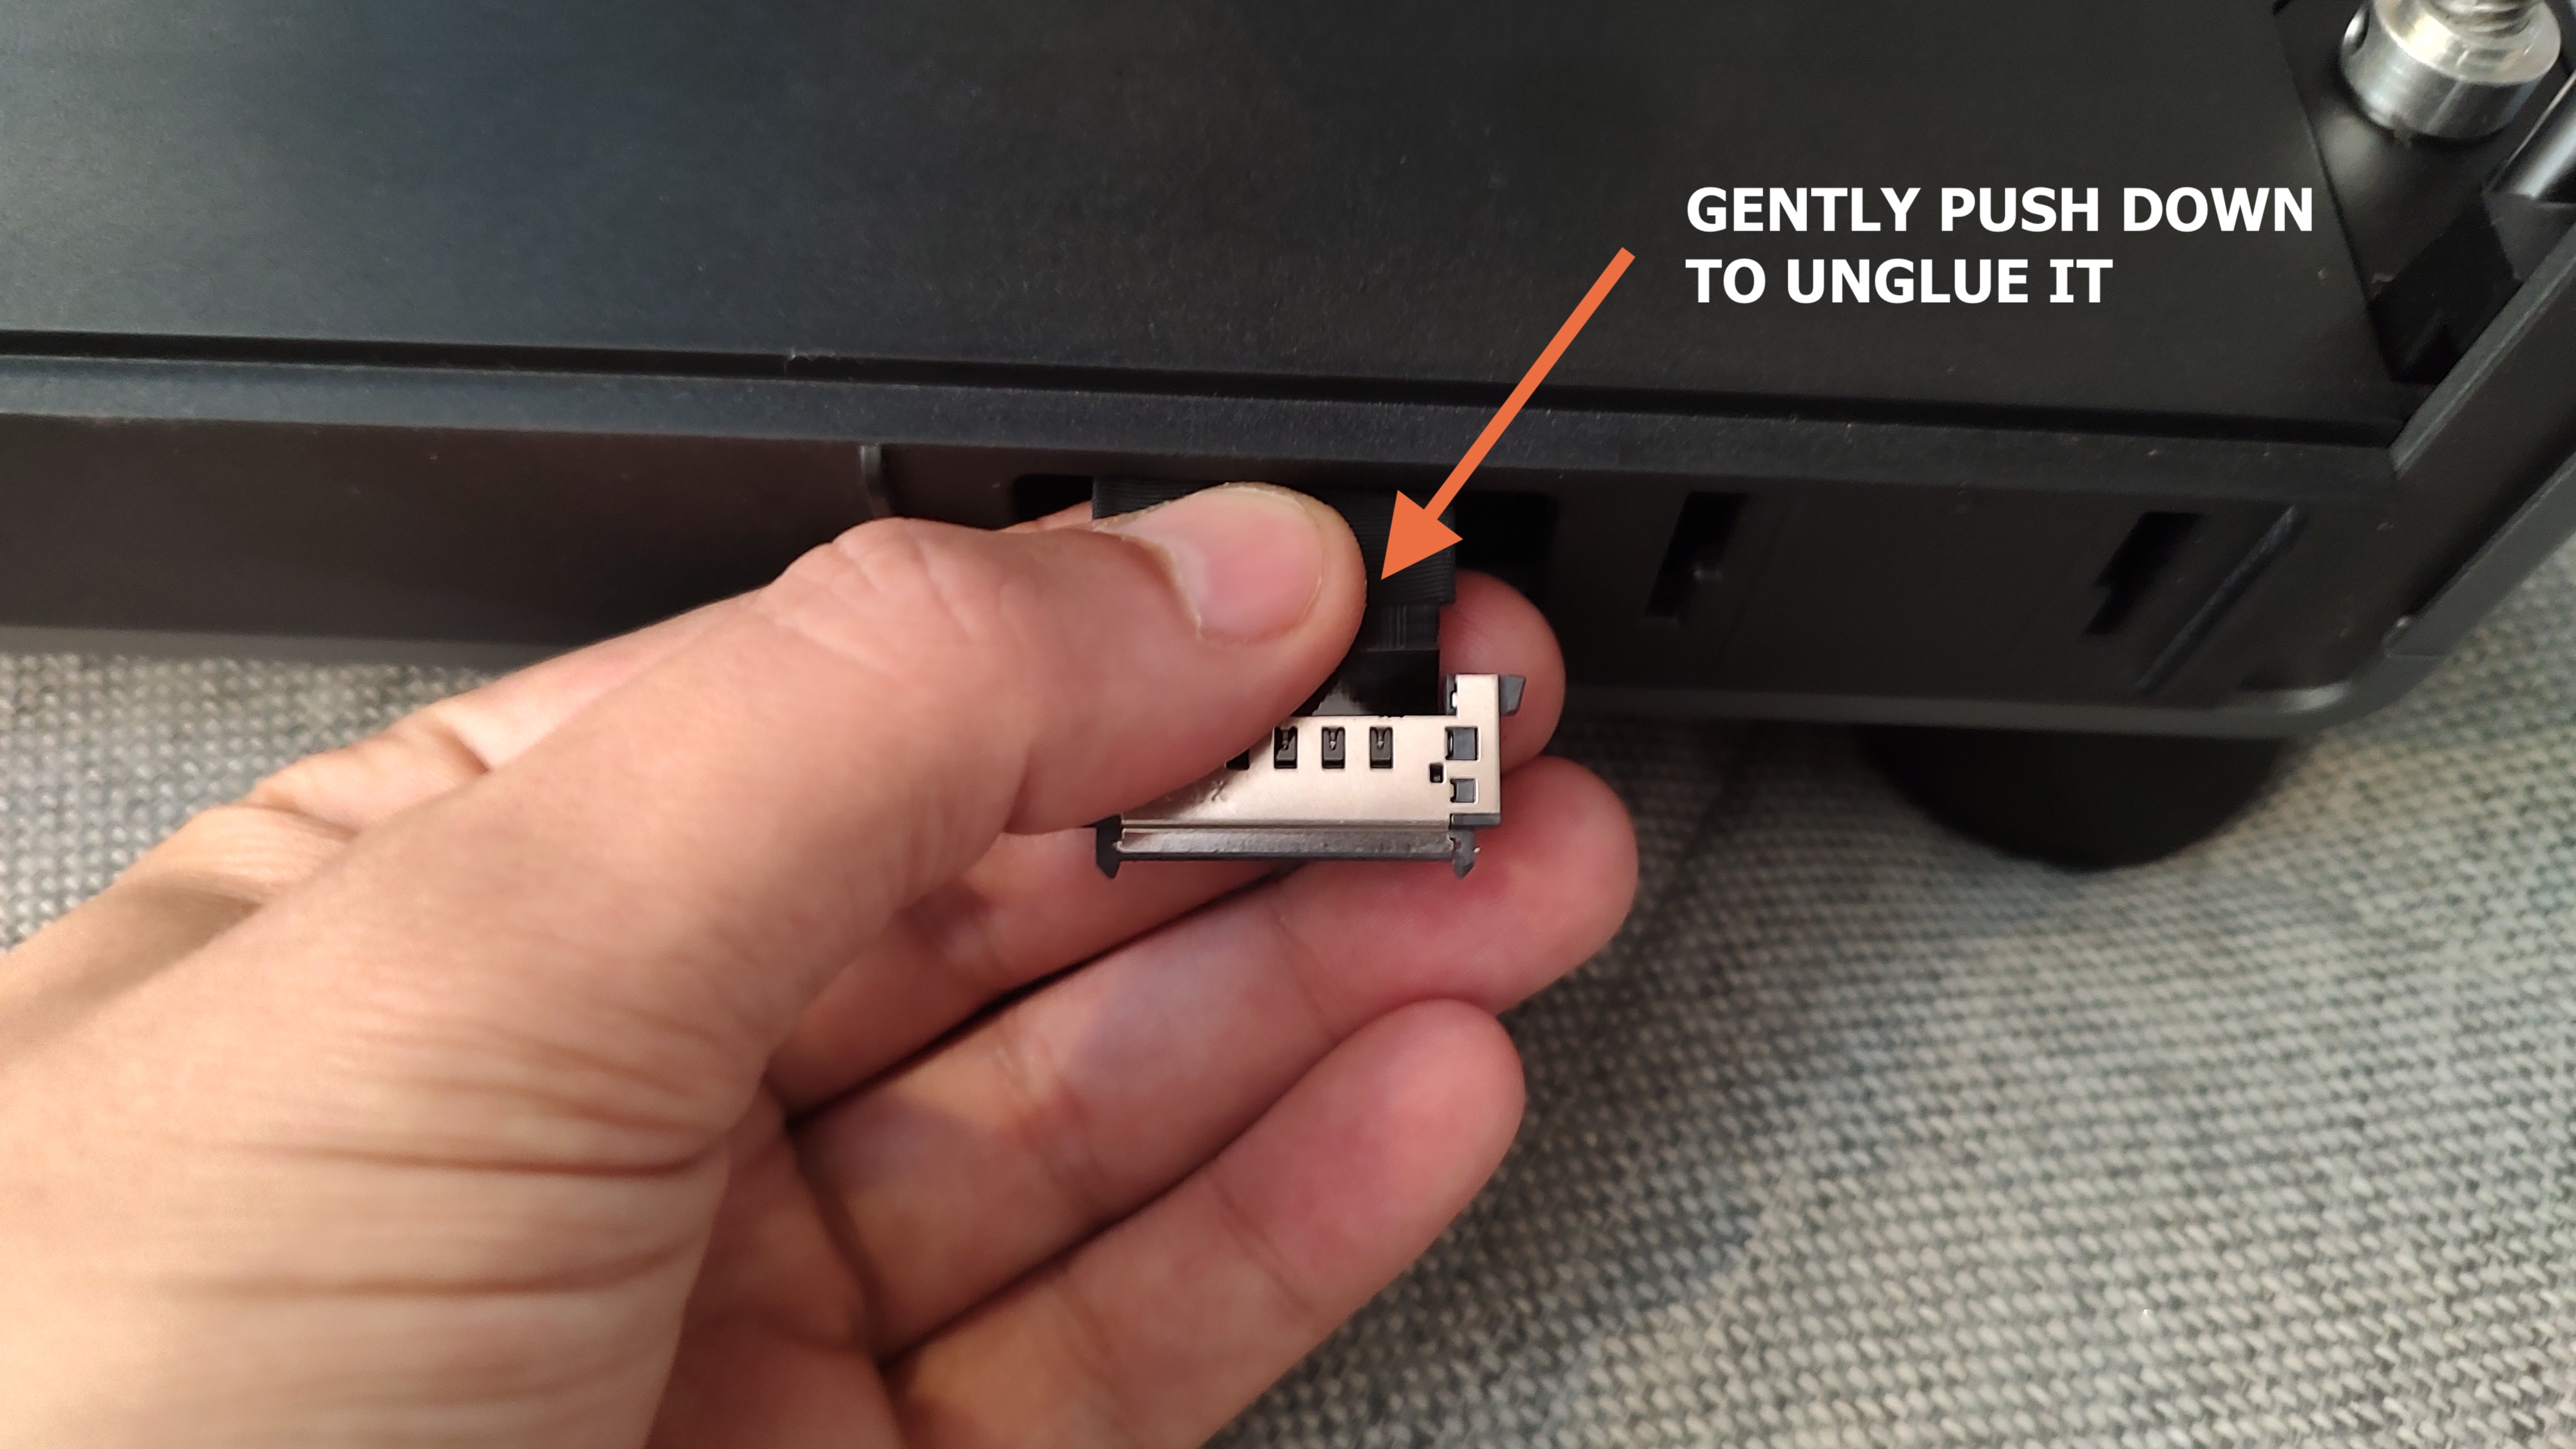
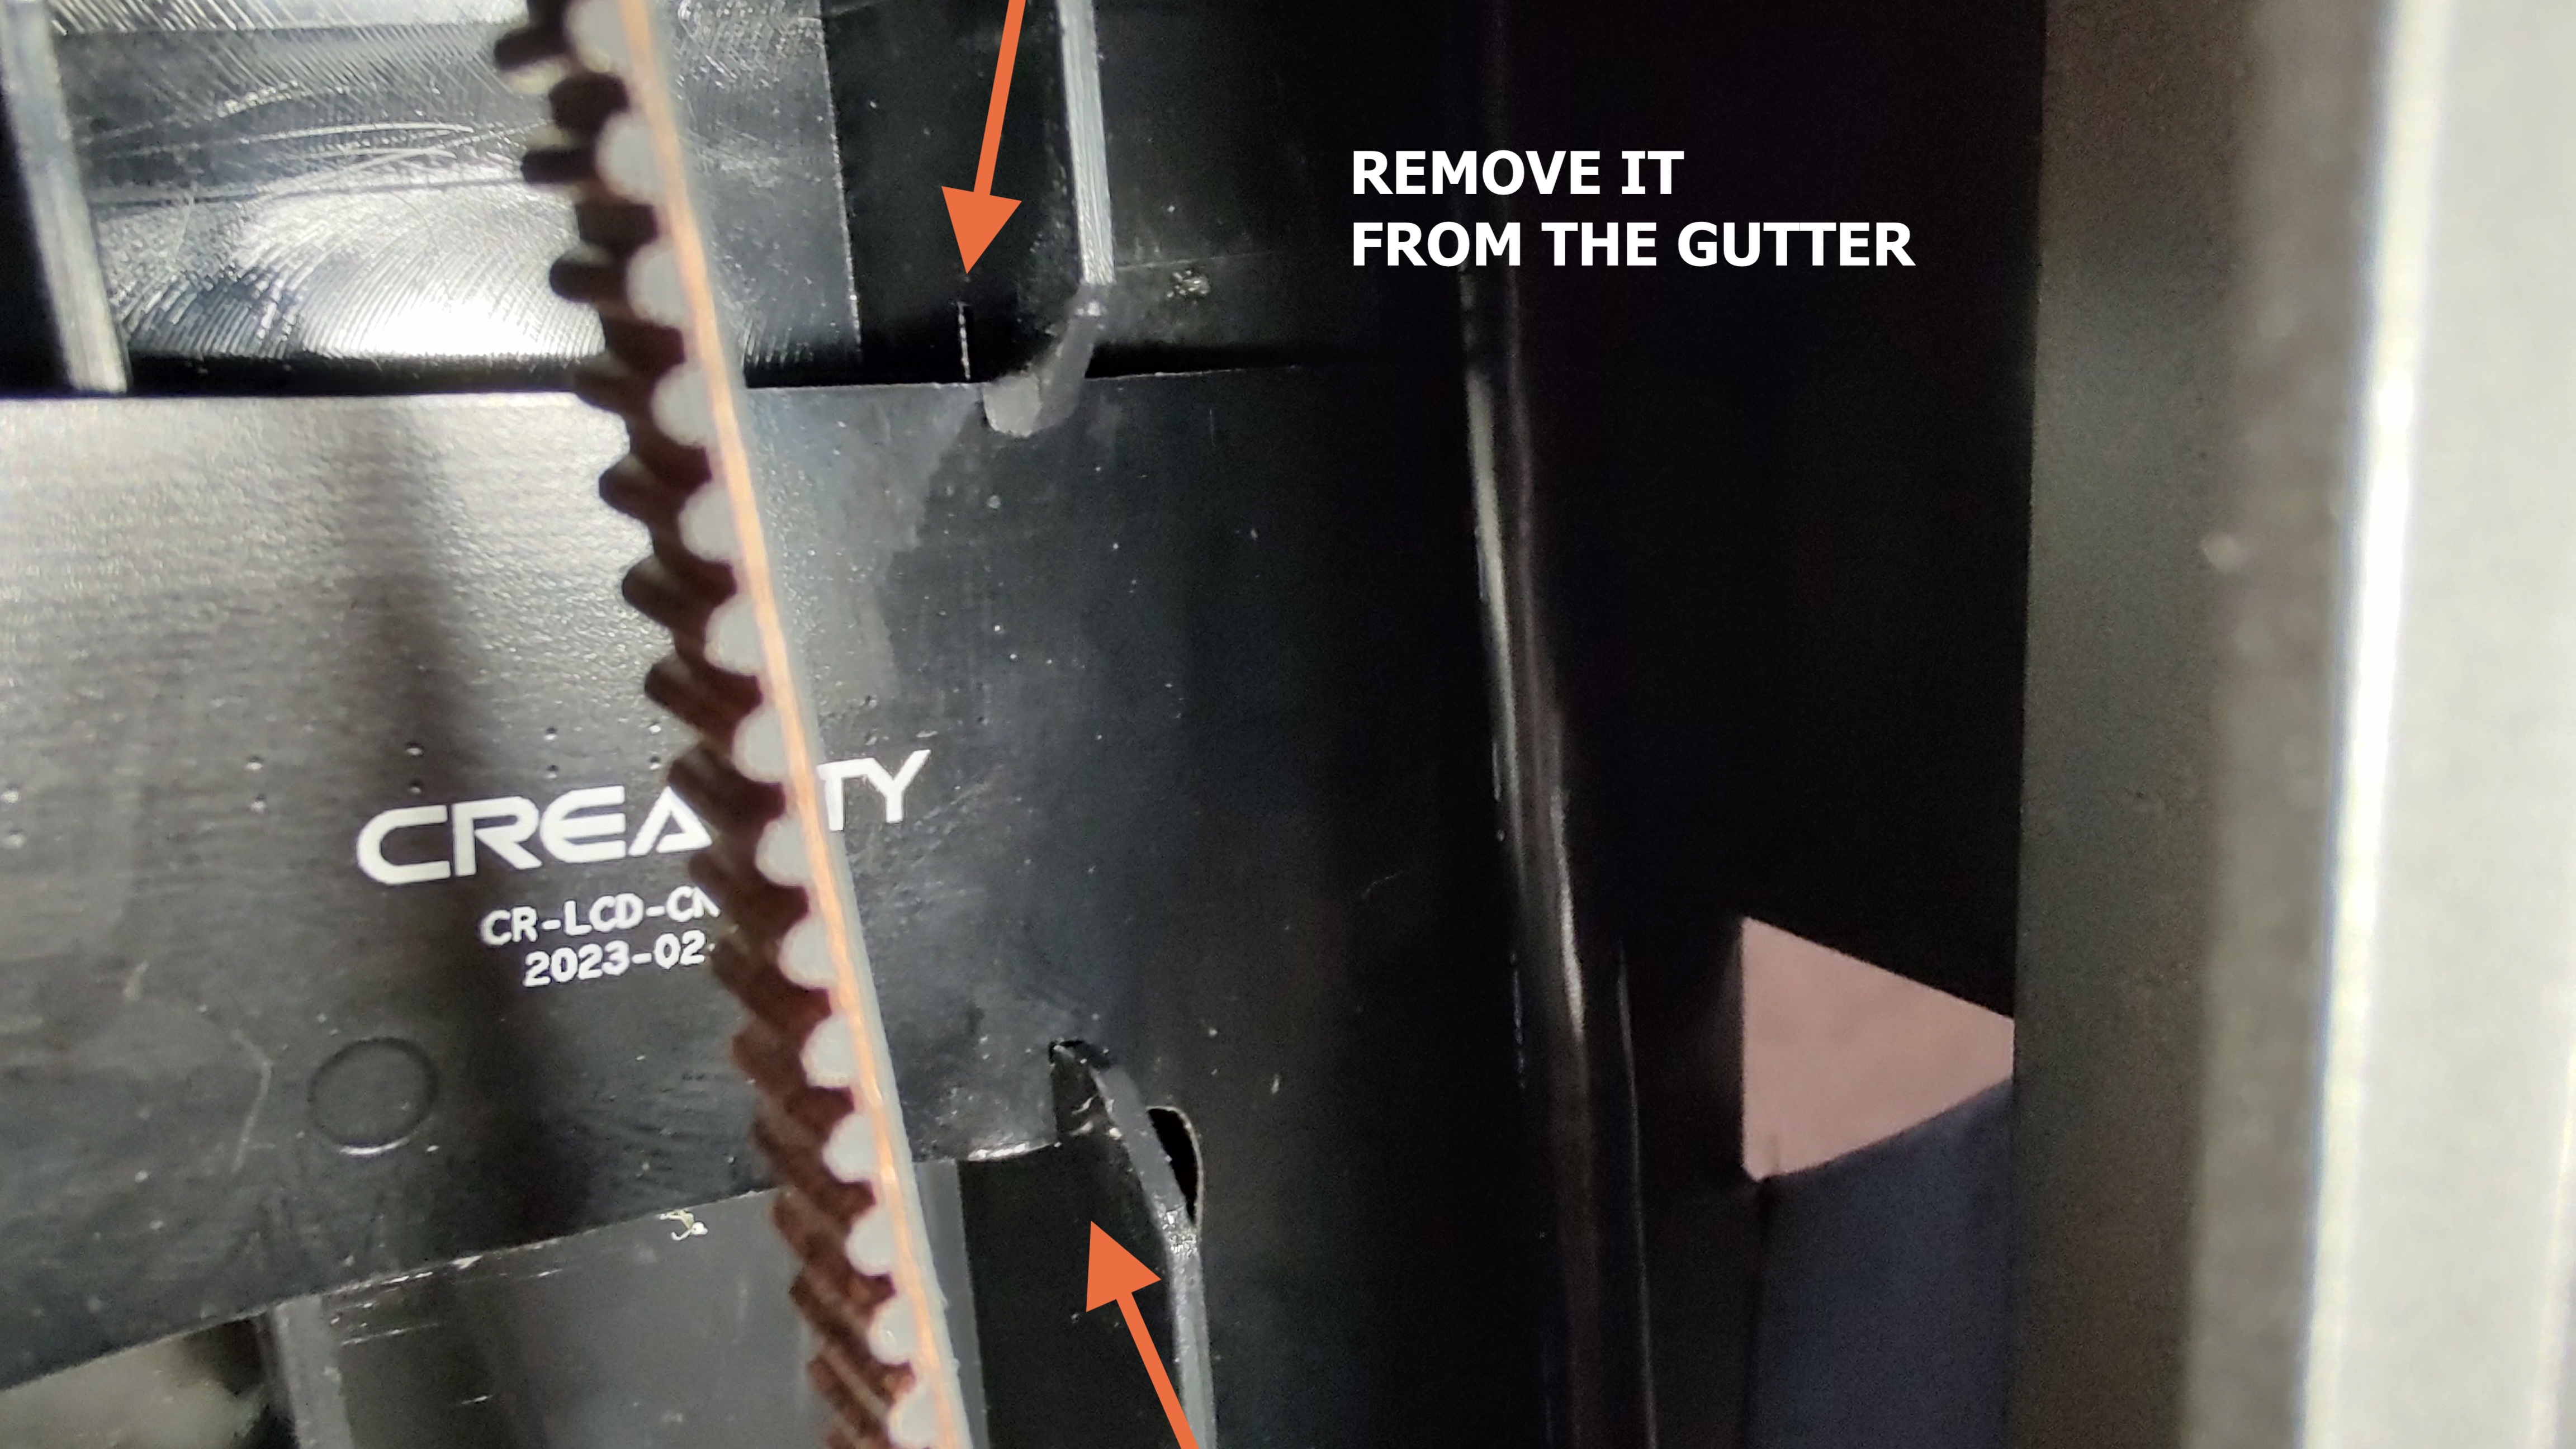
- Now the tricky part. You need to unglue the ribbon cable from the the plastic casing and remove it completely. Be careful, it's fragile and it's locked in place in a gutter, be gentle.
- Cut the zip ties around the 2 usb cables. And redo their cable management. You need to maximize the length of those two.
- Unscrew the motherboard. You don't need to remove the other connectors. Just put the motherboard on the side.
3 - Installation
- Place the motherboard mount in position. And push it in place. You will need to push hard, so retain the plastic casing from the other side with your second hand.
- Use 2 M3 x 6mm screws that were previously holding the motherboard to secure the mount.
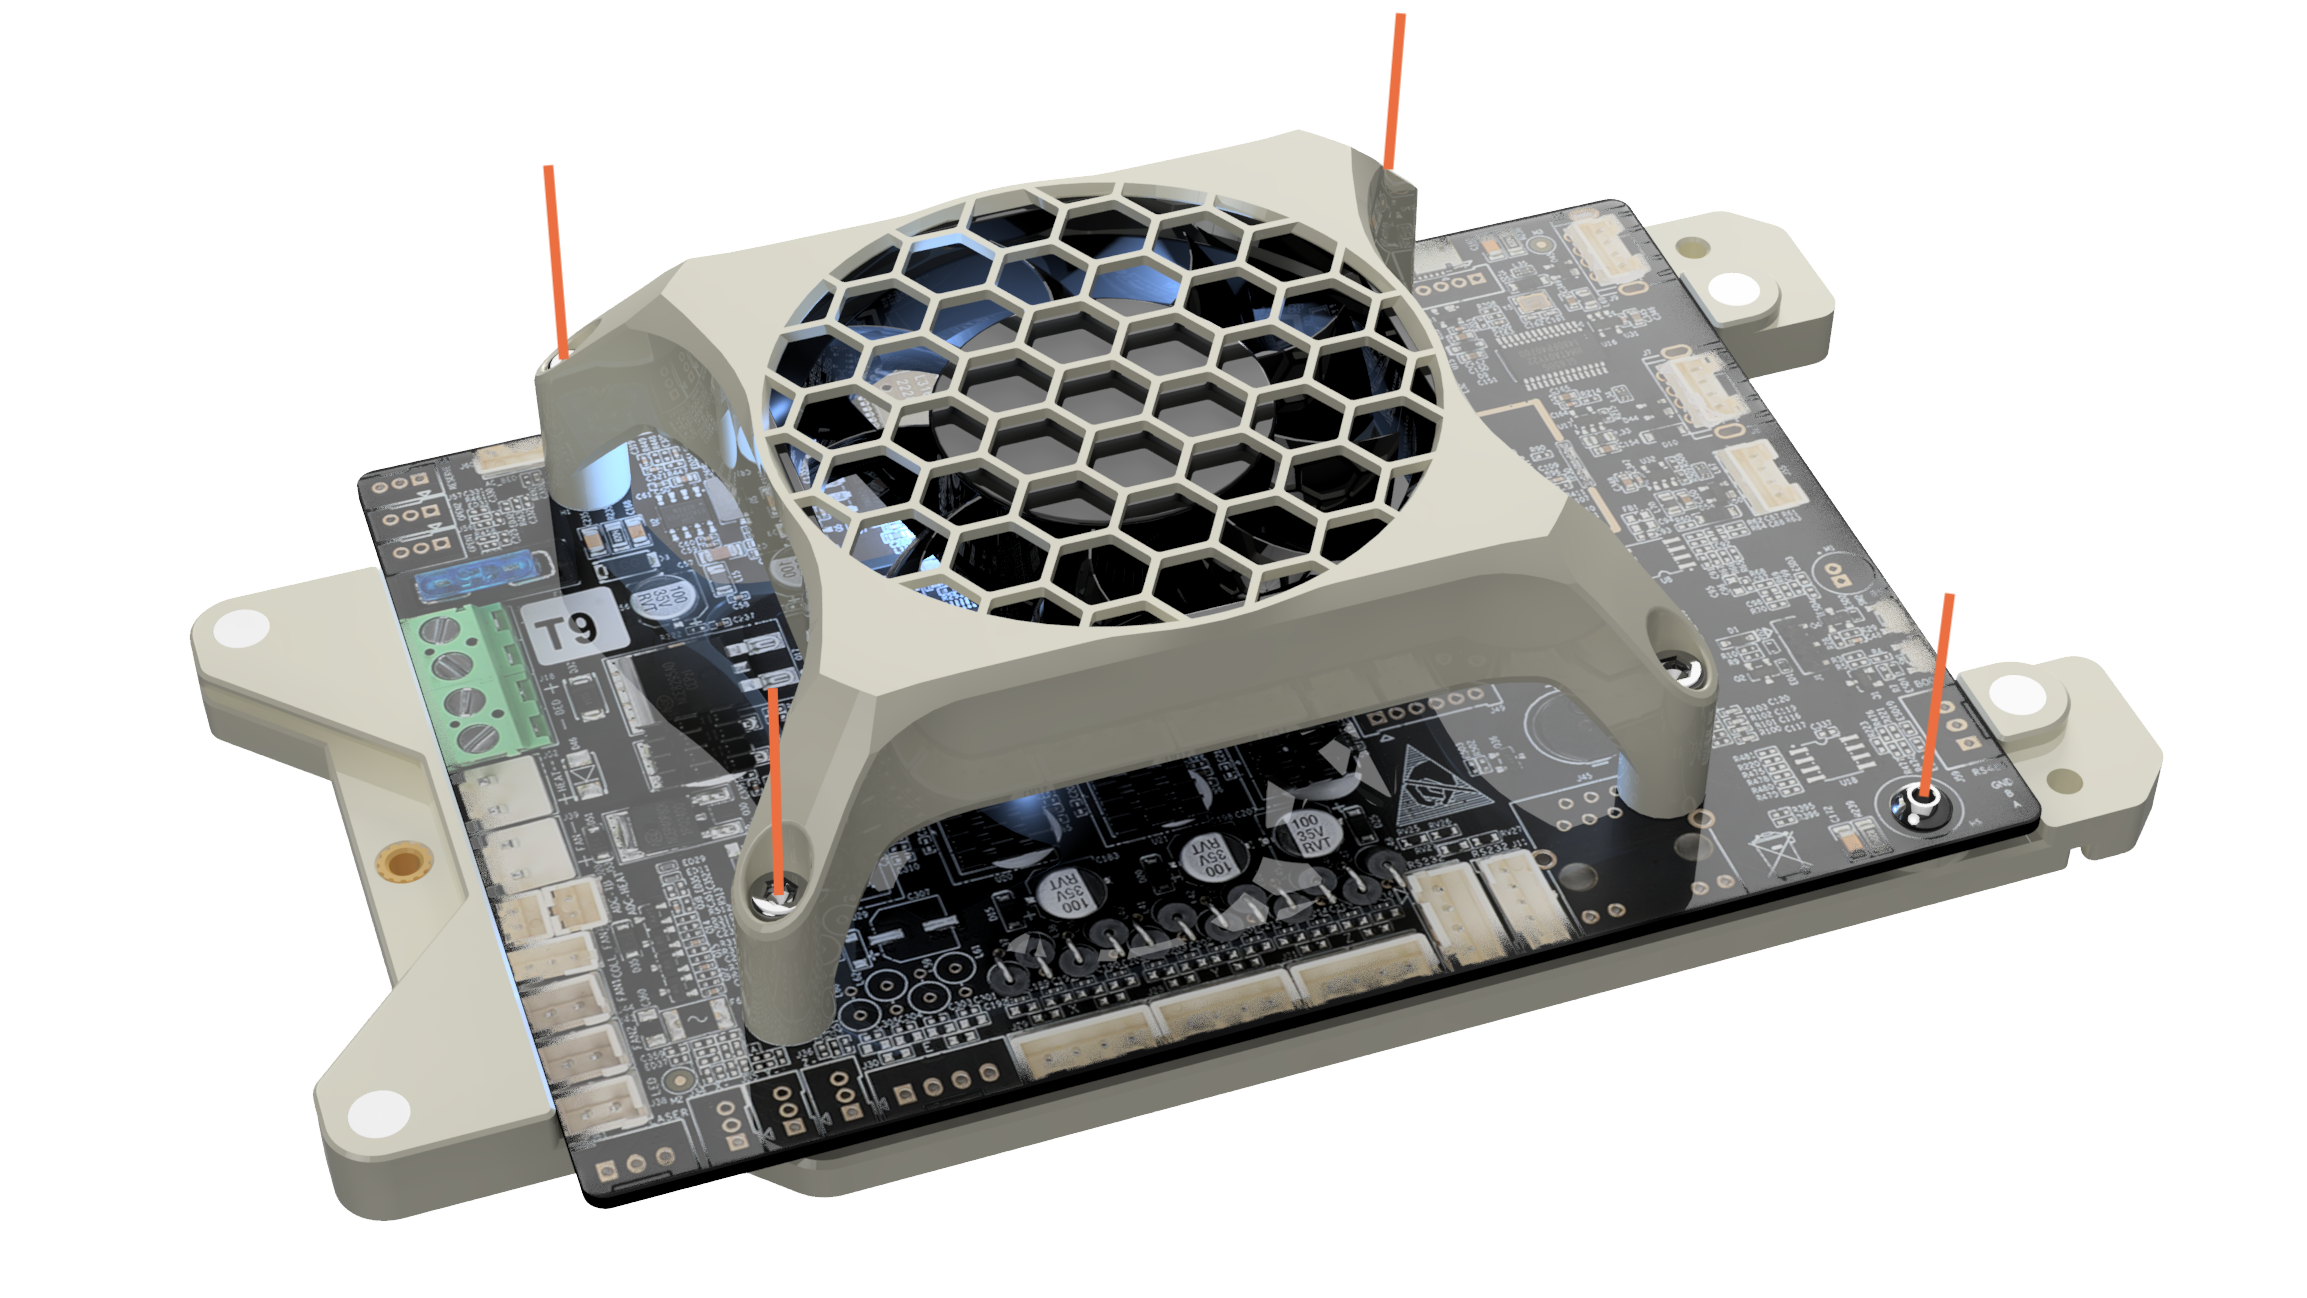
- Place the motherboard and secure it with the fan mount (3 M3 x 18mm screws from the fan) + 1 M3 x 6mm for the remaining hole (previously on the motherboard).
- Plug the 2 USB cables back onto the motherboard
- Plug the ribbon cable to the motherboard and place the other end inside the exit hole without channeling it inside the gutter. Place it between the gutter and the belt.
- Plug it back into the touchscreen and mount it.
- Add the cable cover and secure it with two screws. ( 1 M3 x 6mm from the motherboard + 1 M3 x 8mm from the BOM)

- Add the motherboard cover and voilà it's done. 🎉🎉🎉
Want to support my work ?
Enjoy this model? Your support means the world to me! If you love what I do, remember to like and rate the model. You can also follow me to get the latest updates.
If you wish to further help me to fuel future projects, consider buying me a coffee, I'm literally running on those! Every cup counts and is immensely valued.


